 |
|
 07-19-2009, 07:53 PM
|
#1 | |||
|
Tri-State Aficionado
Join Date: Jul 2009
Location: 07677 & 18424
Member #14100
My Ride: 2003 Mazda Protege5, 1955 Chevrolet Bel Air iTrader: (0)
  |
My '55 Bel Air build
Quote:
Quote:
Quote:
|
|||

|

|
|
07-19-2009, 07:53 PM
|
#2 | |||
|
Tri-State Aficionado
Join Date: Jul 2009
Location: 07677 & 18424
Member #14100
My Ride: 2003 Mazda Protege5, 1955 Chevrolet Bel Air iTrader: (0)
|
Originally posted April 3rd, 2009
Quote:
Quote:
Quote:
|
|||
|
|
|
|
07-19-2009, 07:54 PM
|
#3 |
|
Tri-State Aficionado
Join Date: Jul 2009
Location: 07677 & 18424
Member #14100
My Ride: 2003 Mazda Protege5, 1955 Chevrolet Bel Air iTrader: (0)
|
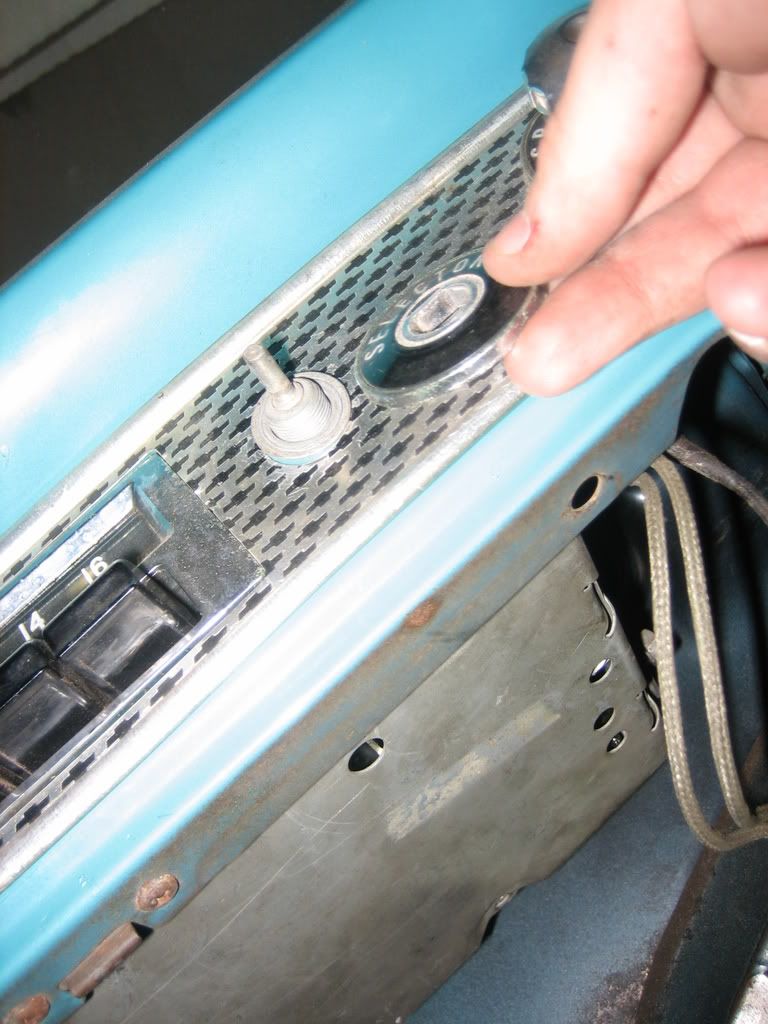
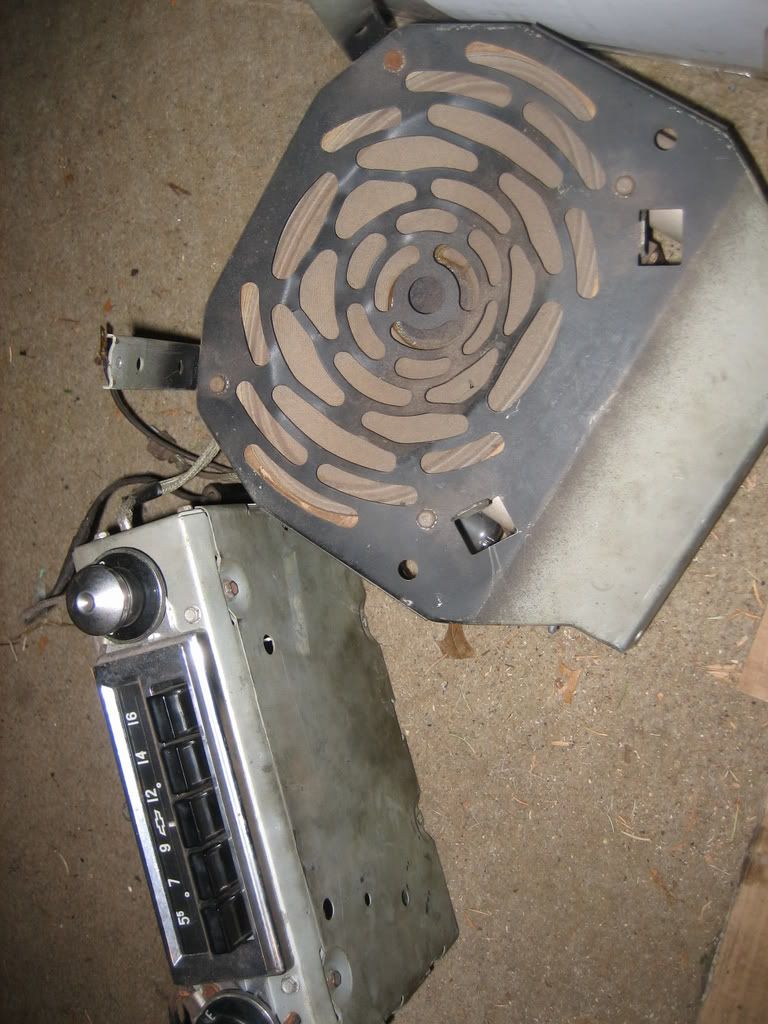
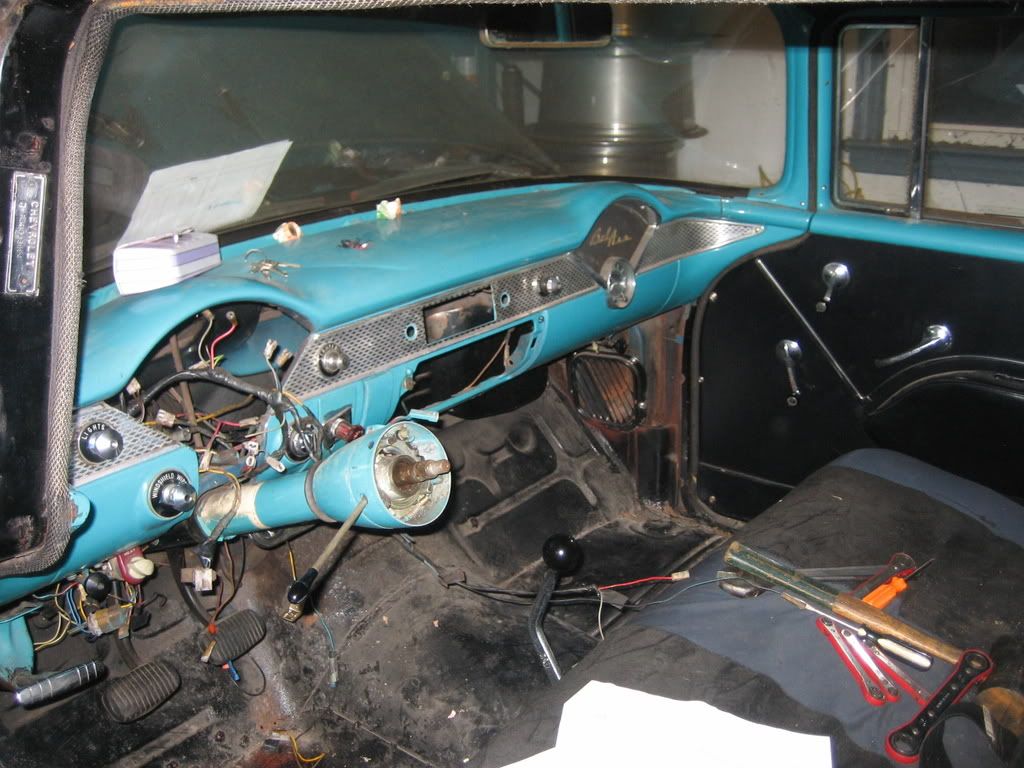
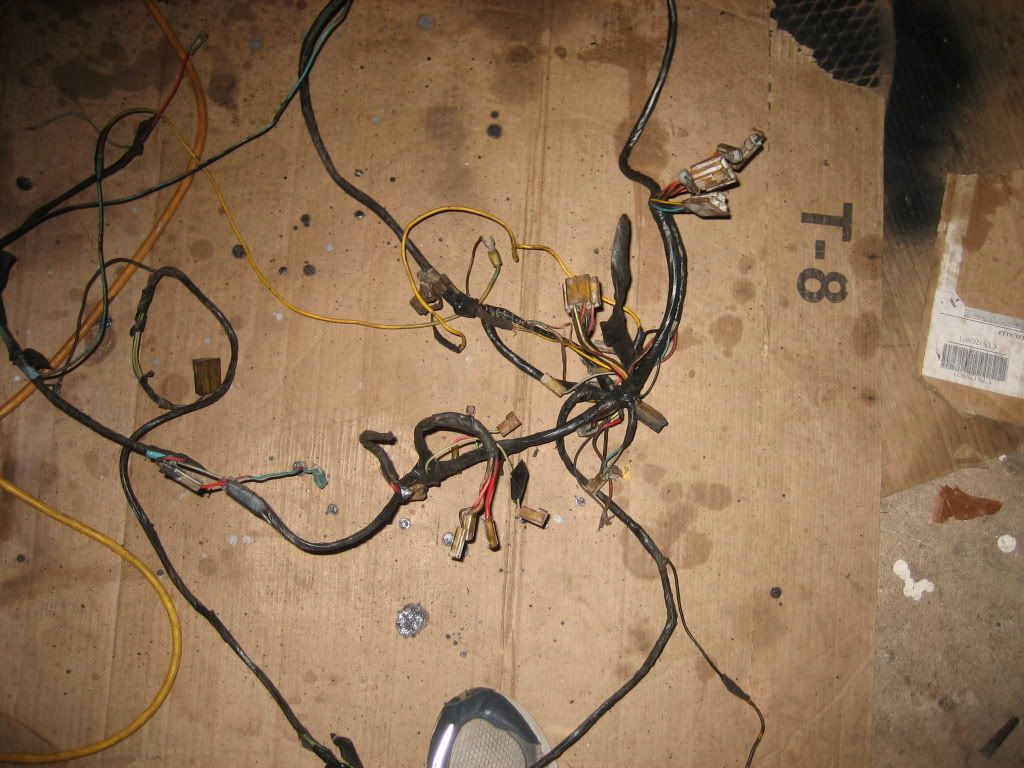
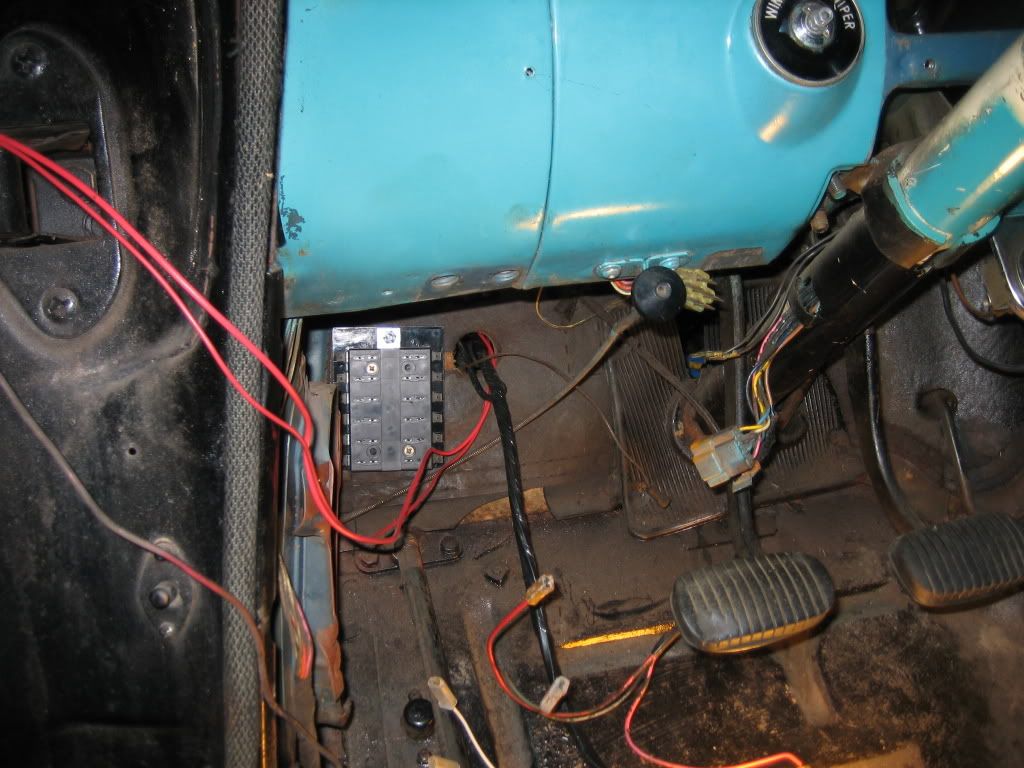
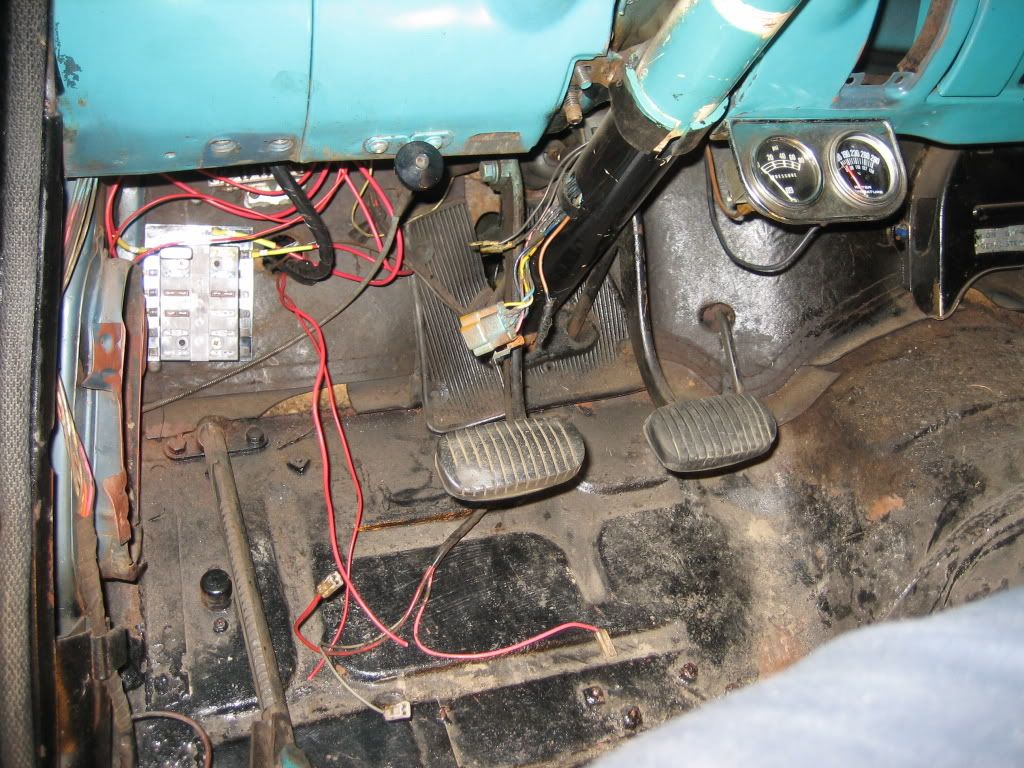
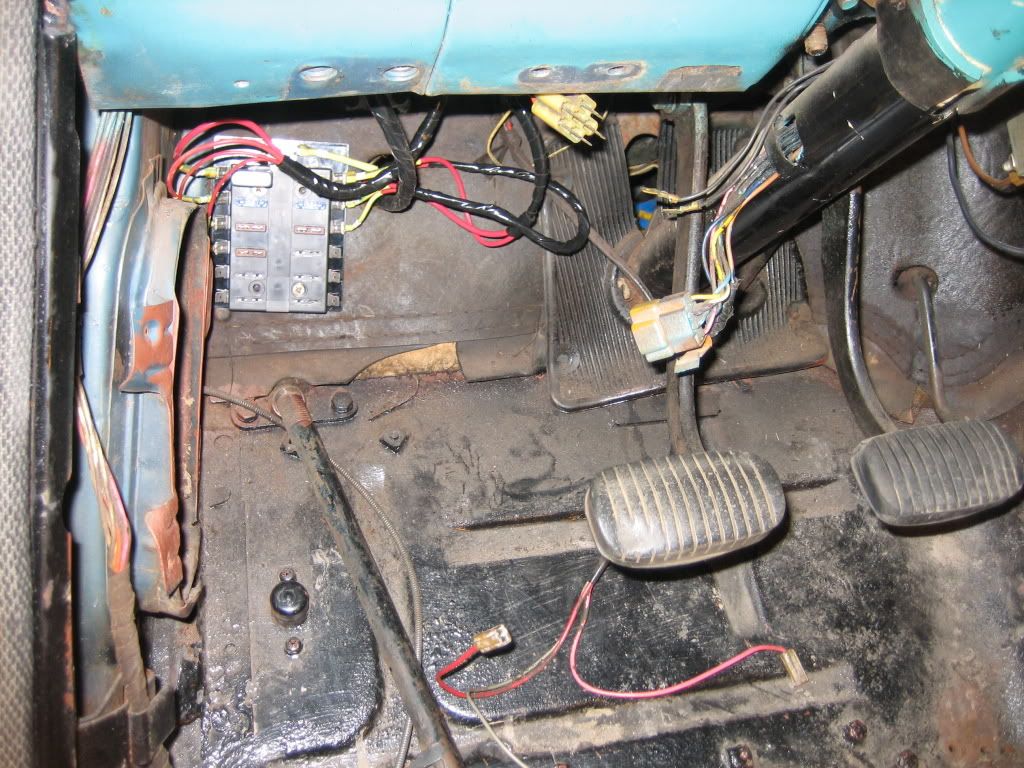
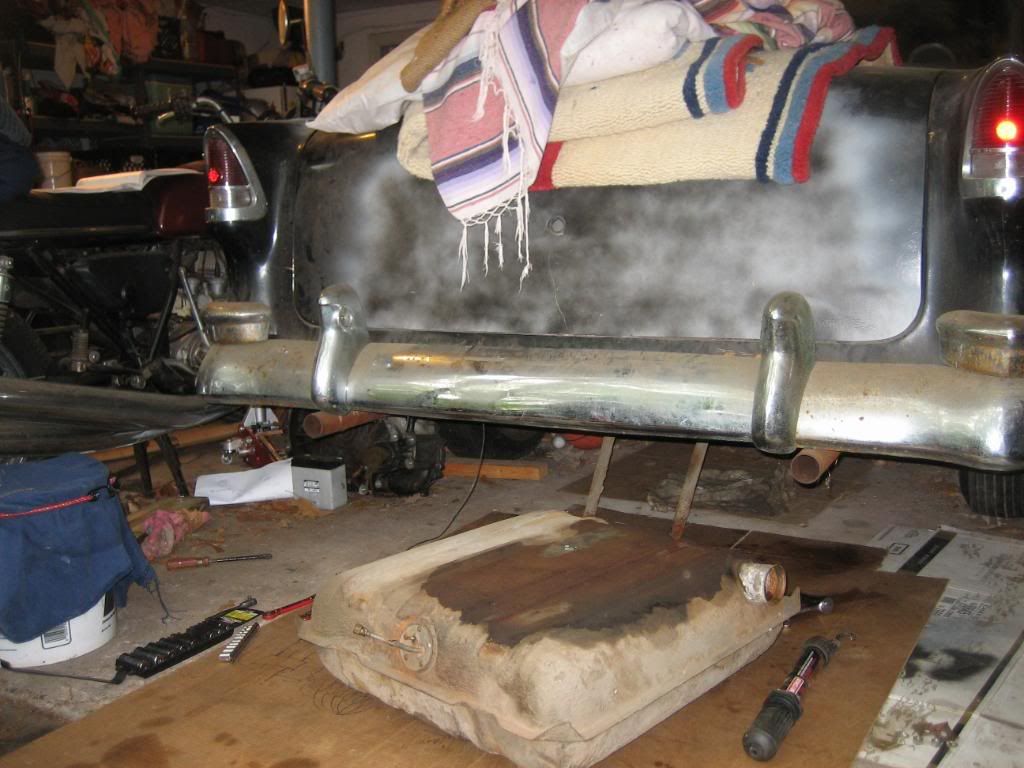
Good progress has been made!
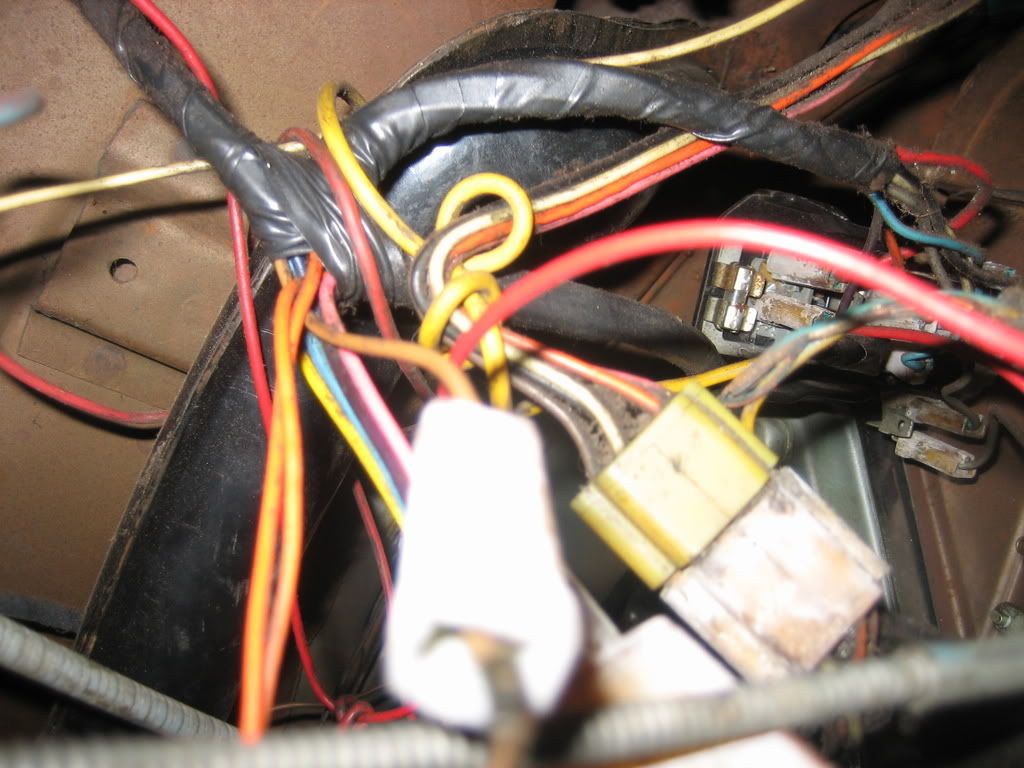
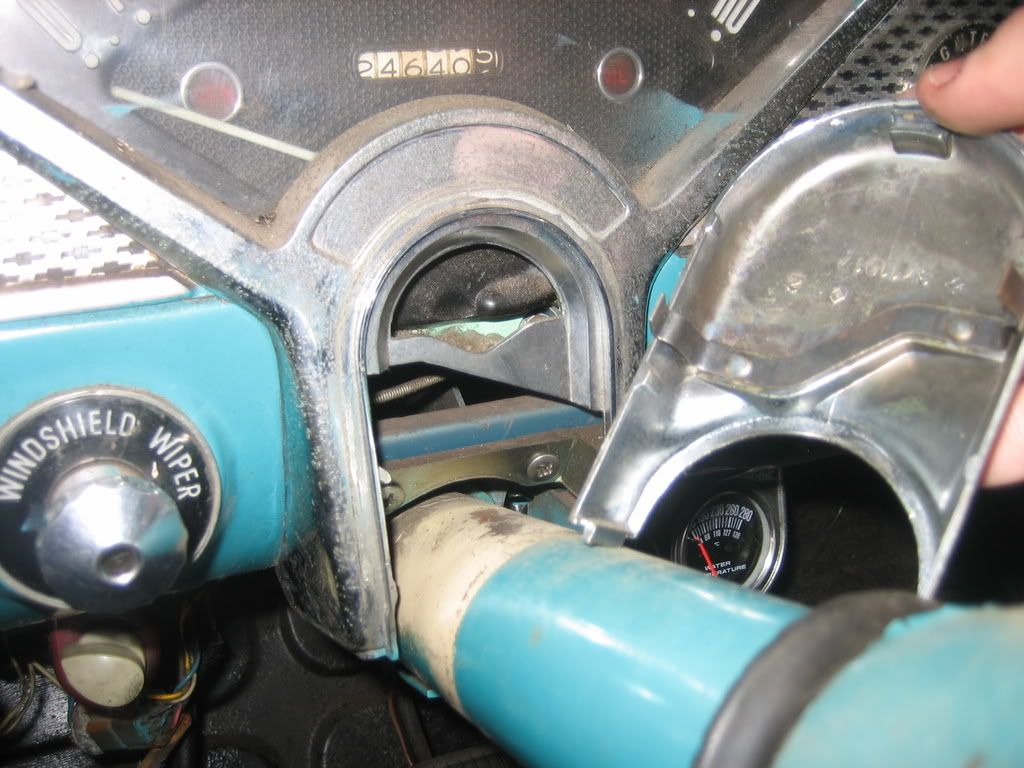
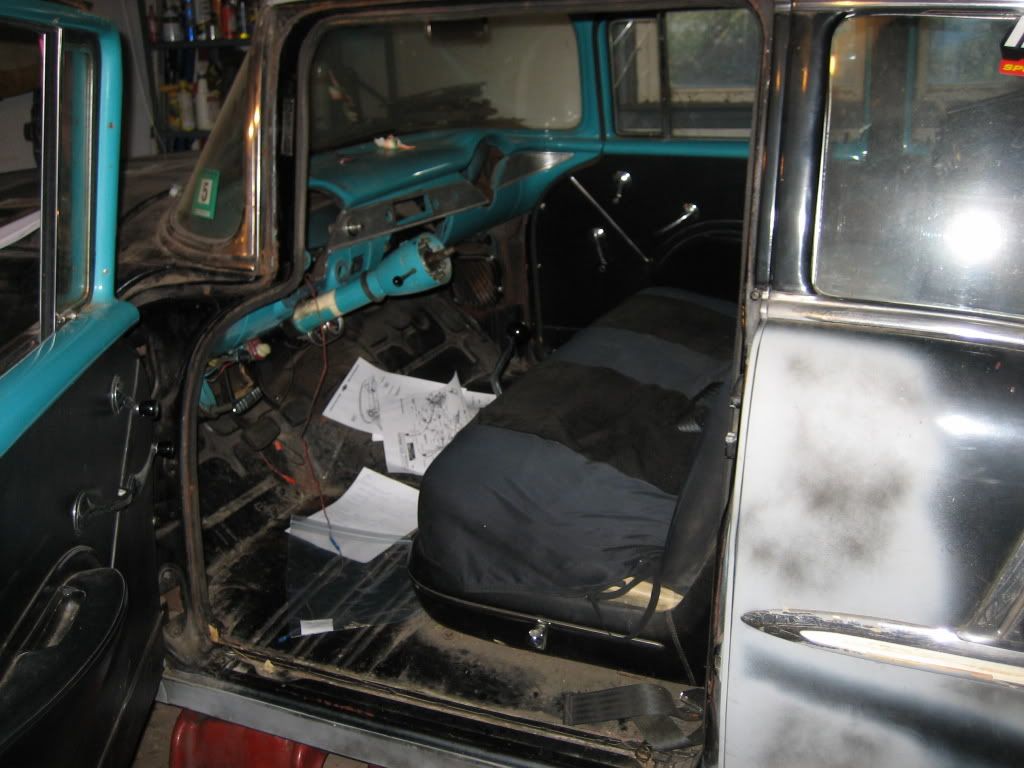
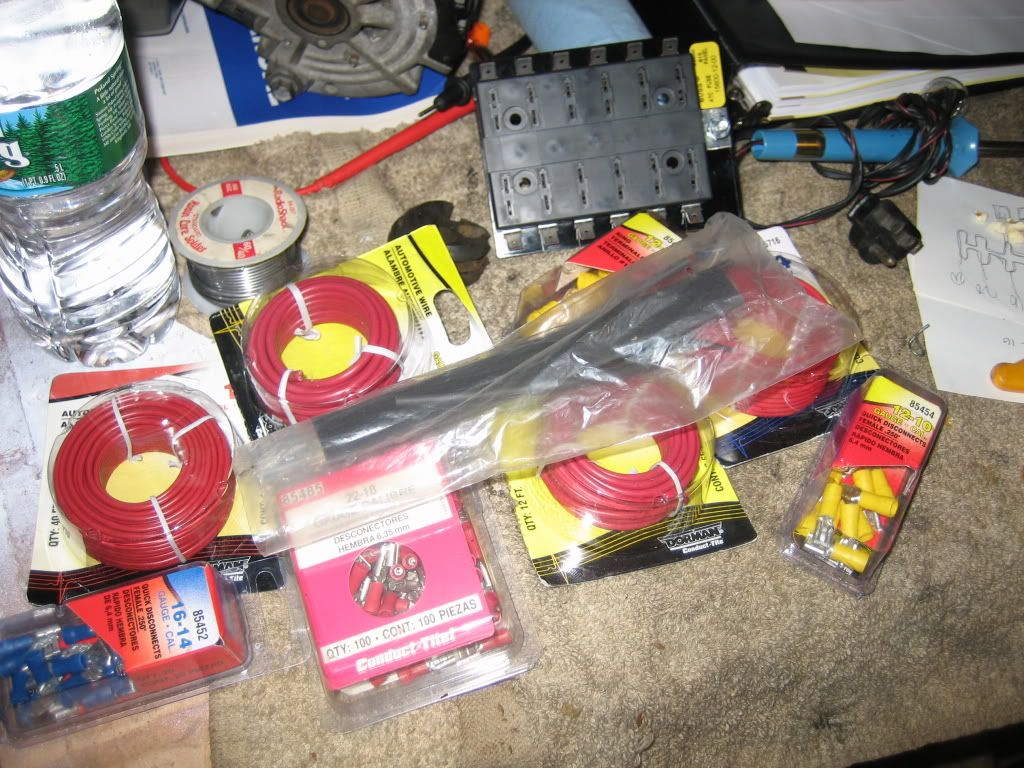
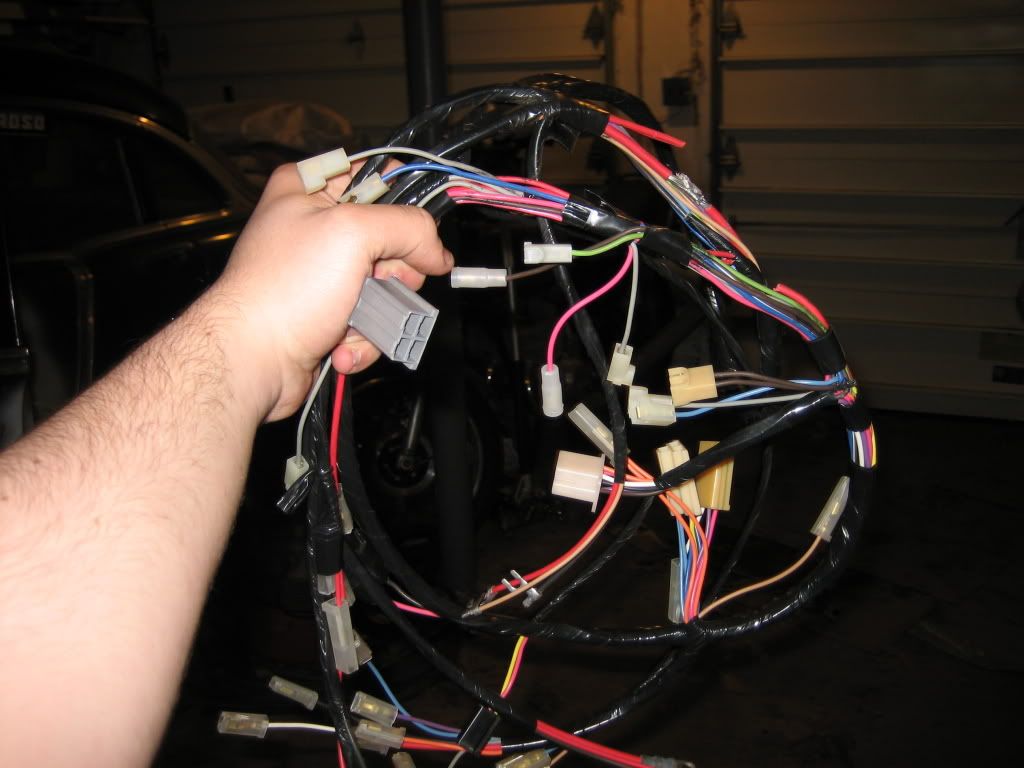
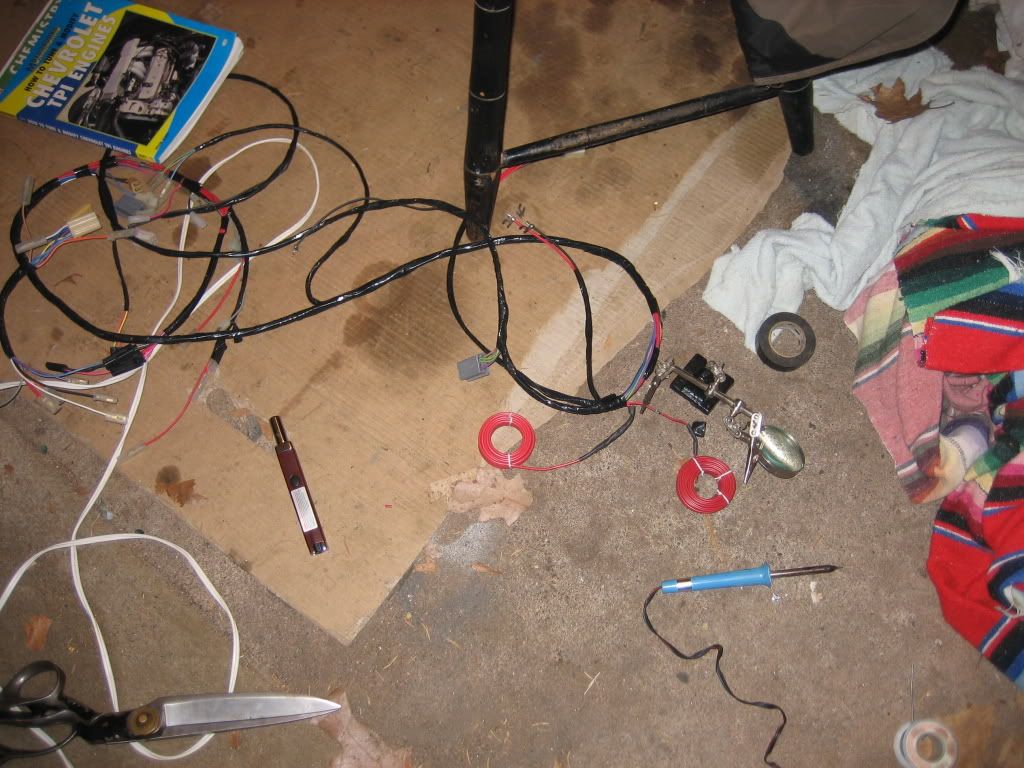
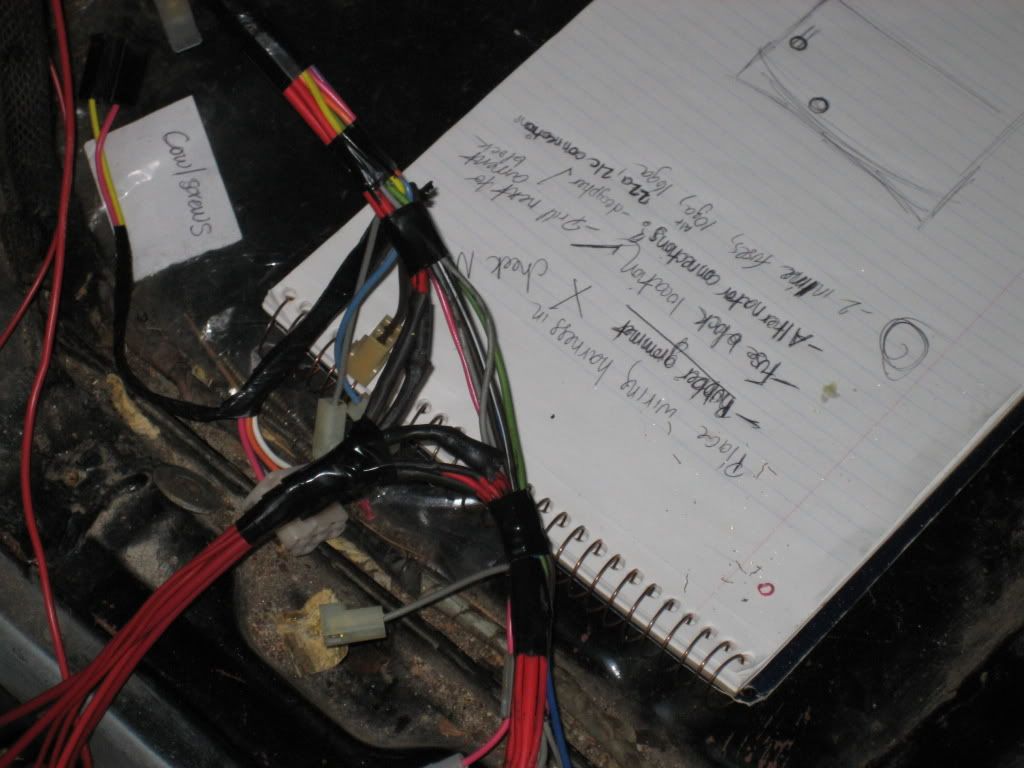
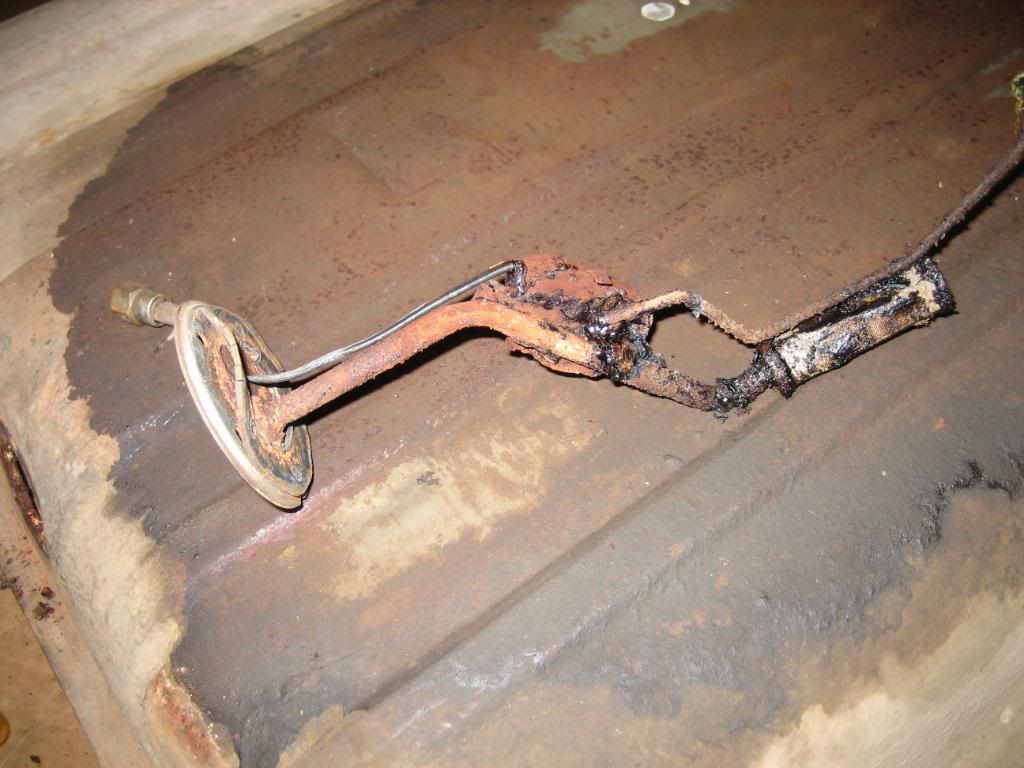
I started by grabbing some stuff of Danchuk. 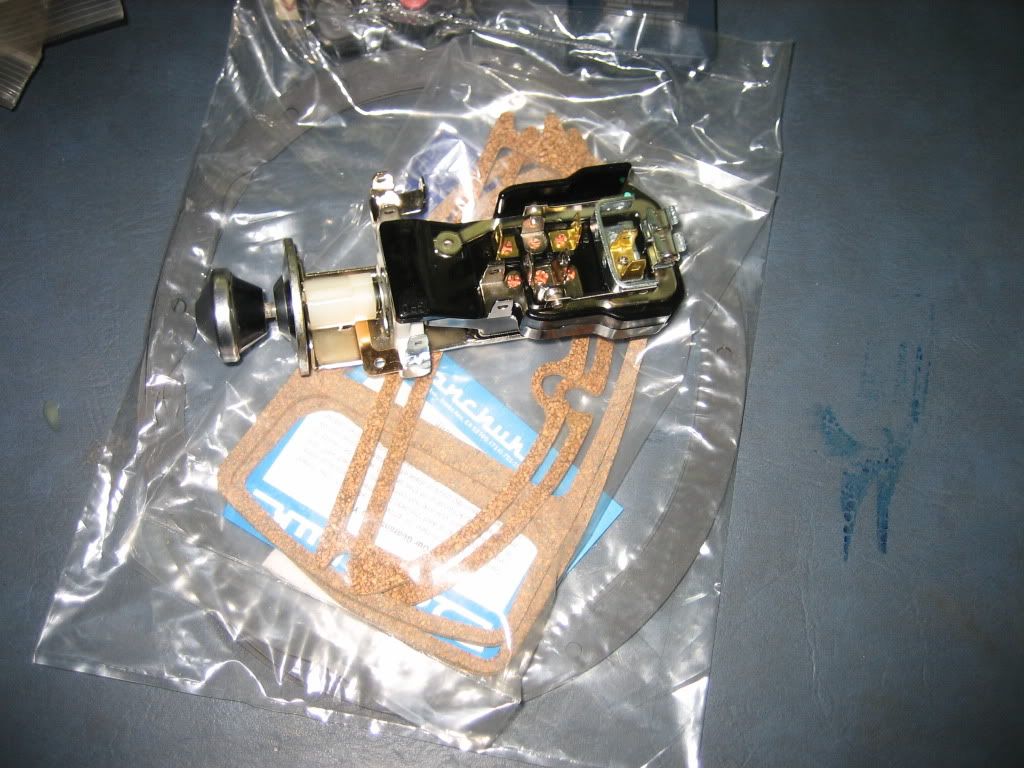 I already tried Eckler's Classic Chevy and their $15 shipping for an incredibly small part (fuel sender) wasn't working for me. Thankfully, Danchuk knows how to make a piece and not only that, the shipping was half as much for twice as much, it was packed better, and was at my doorstep in less than two days! In the new light switch went. 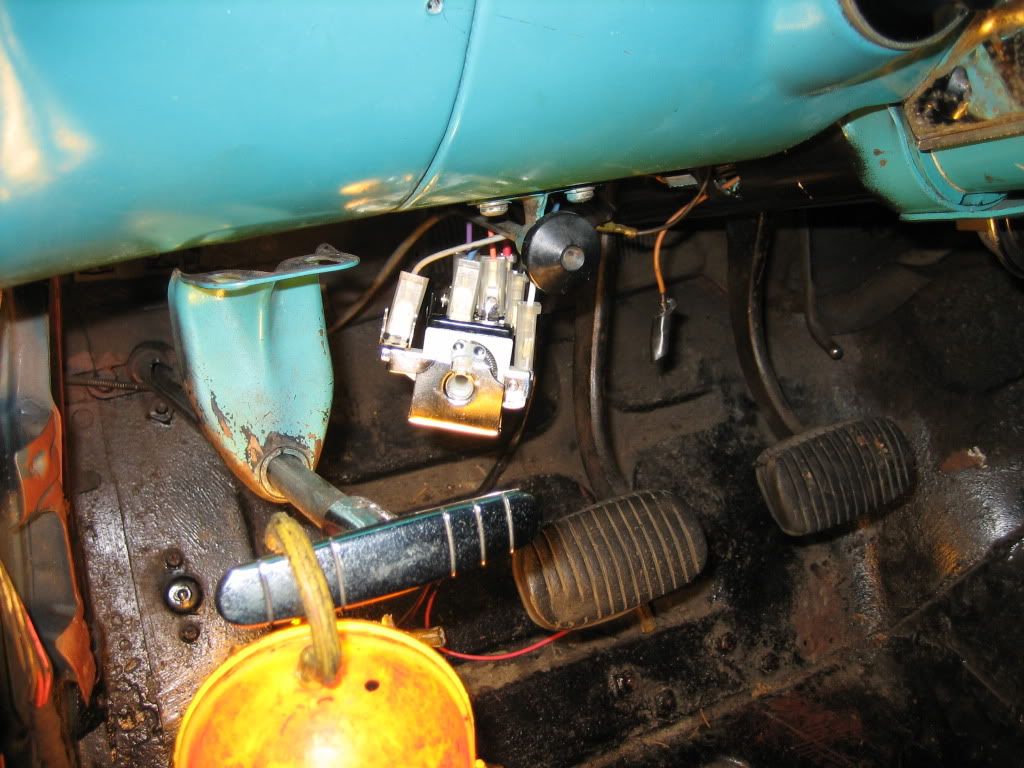 And there let be light! 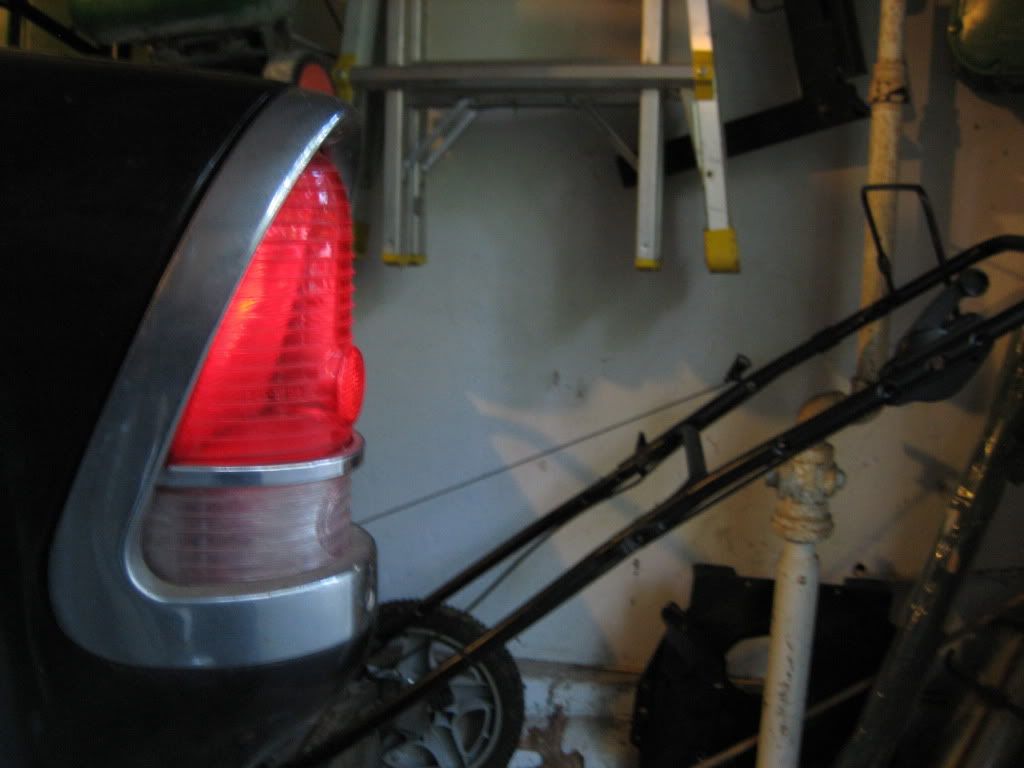 After that, I had to hook up the brake light and steering column connectors. That was pretty time consuming work. The connectors on my steering column weren't stock meaning it wasn't a plug-in affair. I took some wire left over from my fuse block adventure earlier and just routed it that way. Nice and easy. I didn't take a picture- I'll add it tomorrow. Next up was the front blinkers- easier said than done. One worked flawlessly and the other one had a siezed bulb in it. I smashed the bulb out using my handy-dandy heavy blunt object. 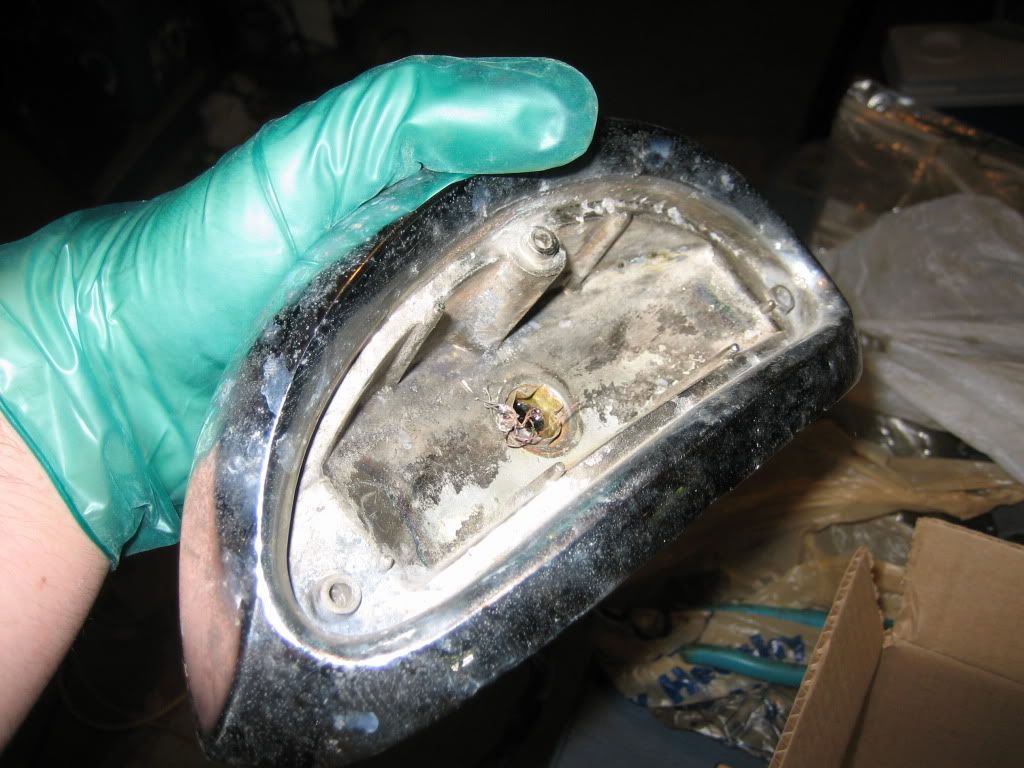 Then, I carefully (read: savagely) ripped out the old bulb and noticed the springs that seated the bulb up weren't really being springy at all. While I was at it, the low beam/high beam thingermajigger wasn't working as well; it was stuck all the way down for whatever reason. I just dropped it in a vat of WD40 overnight. 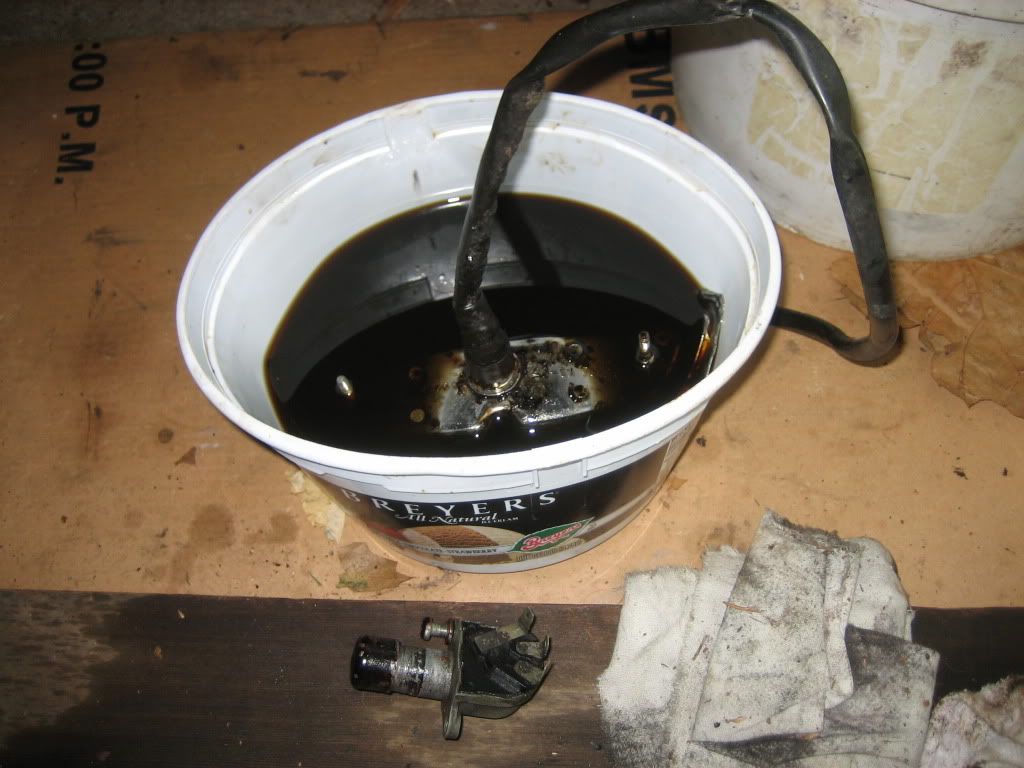 Did it work? Yes! The WD40 soaked right in and allowed me to gently use a flat-head screwdriver to pry off the switch. It now switches impeccably, sitting in my floor. One of the blinker's springs also is much springier now, too! Now for the headlights. I'd never put sealed beams in before and all I had were about a million pieces of rusty metal and pitted chrome. 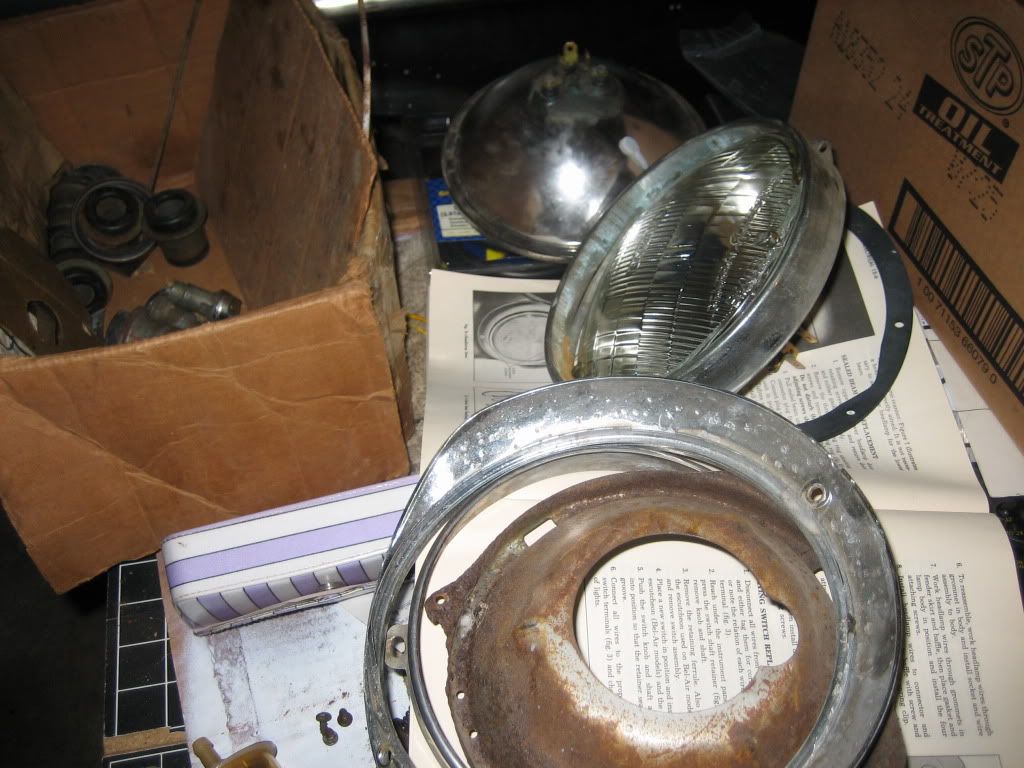 I am now a little sad that my little Mazda daily driver doesn't have them. So much easier than those H7s! 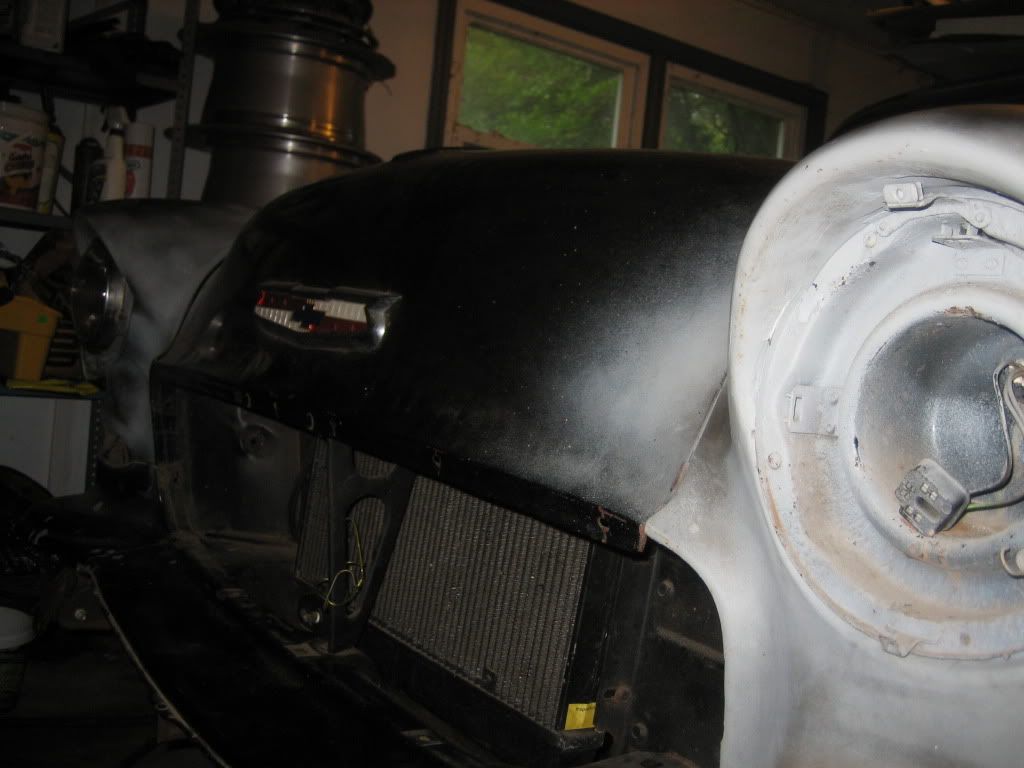 As you can see, it only has one in and there's a very very good reason for that- the adjustment screws on the driver side one are missing, nowhere to be found! To Danchuk, I suppose. And then, another problem. My driver side tail light wasn't actually working. I mean, it sort of worked. If the lights weren't in parking or the higher mode, I could brake and blink and such. If they were, it wouldn't. I decided it was the ground. Pressing very hard on the housing while in high beams and pressing on the blinker confirmed my theory. Out it goes. 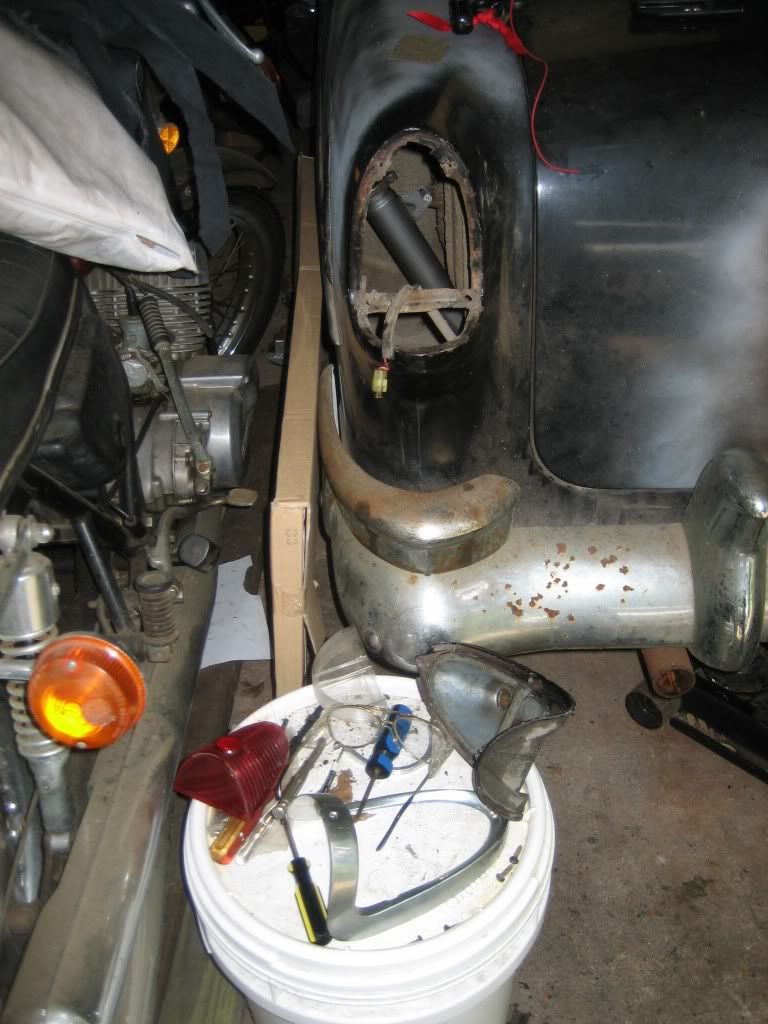 Those gaskets were beat harder than Sanford will be if he runs for governor next election. Rust in some very bad places and such. And that's the story so far. I have a working passenger side and a not-so working driver side. Last edited by mgrinshpon; 07-19-2009 at 08:13 PM. |
|
|
|
|
07-19-2009, 07:55 PM
|
#4 | ||
|
Tri-State Post Whore
Join Date: May 2007
Location: Levittown,Pa
Member #4895
My Ride: 2014 WRB BRZ, 1992 SVX iTrader: (5)
|
Looks like you got a ton of work ahead of you. But keep at it and it will come out nice as anything. GL
__________________
*formerly TekuDrifter18* Quote:
Quote:
|
||
|
|
|
|
07-19-2009, 07:57 PM
|
#5 | |
|
TST Ruined My Life!
|
Wow, this isn't your average build thread on TST. Nice man.
__________________
Quote:
|
|
|
|
|
|
08-21-2009, 10:51 PM
|
#9 |
|
Tri-State Post Whore
Join Date: Jun 2005
Location: Richboro
Member #543
My Ride: '68 Kaiser M715/ '37 Ford truck/'47 Dodge truck iTrader: (0)
|
More classic iron! And 4 doors! Nice ride.
__________________
2012 Honda Accord Touring 1968 Kaiser M715 FrankenJeep 1947 Dodge 1.5 Ton Resto-mod 1937 Ford pick-up 1950 Crosley Farm-o-Road |
|
|
|
|
09-11-2009, 12:15 AM
|
#10 | |
|
Tri-State Aficionado
Join Date: Jul 2009
Location: 07677 & 18424
Member #14100
My Ride: 2003 Mazda Protege5, 1955 Chevrolet Bel Air iTrader: (0)
|
Quote:
The answer is no. I have an M20. It works well right now because the higher starting gear makes the car get into gear more easily due to a mismatched cam meaning the poor 305 doesn't make power right now. As I build up the engine, the transmission may or may not go but it was custom built, only 1,500 miles on it right now despite being older than I am. Should be more than capable enough for now. Update time: Insurance. It is just impossible to get insurance for the Chevy, but I got it. Called more than 10 places (12 to be exact) for quotes but they all gave me something completely unreasonable or were historic car insurance companies; however, I got a "I can afford and drive it" deal: 600 a year for 100/300 liability. Not bad at all, for a 19 year old in NJ. So, now it's just time to bring it home to Papa Mgrinshpon instead of the house it's been in since forever. See you all on the road in a bit!
__________________
Certified fanatic of all things absurd. To view links or images in signatures your post count must be 10 or greater. You currently have 0 signatures. |
|
|
|
|
|
10-22-2009, 10:59 PM
|
#11 |
|
Tri-State Aficionado
Join Date: Jul 2009
Location: 07677 & 18424
Member #14100
My Ride: 2003 Mazda Protege5, 1955 Chevrolet Bel Air iTrader: (0)
|
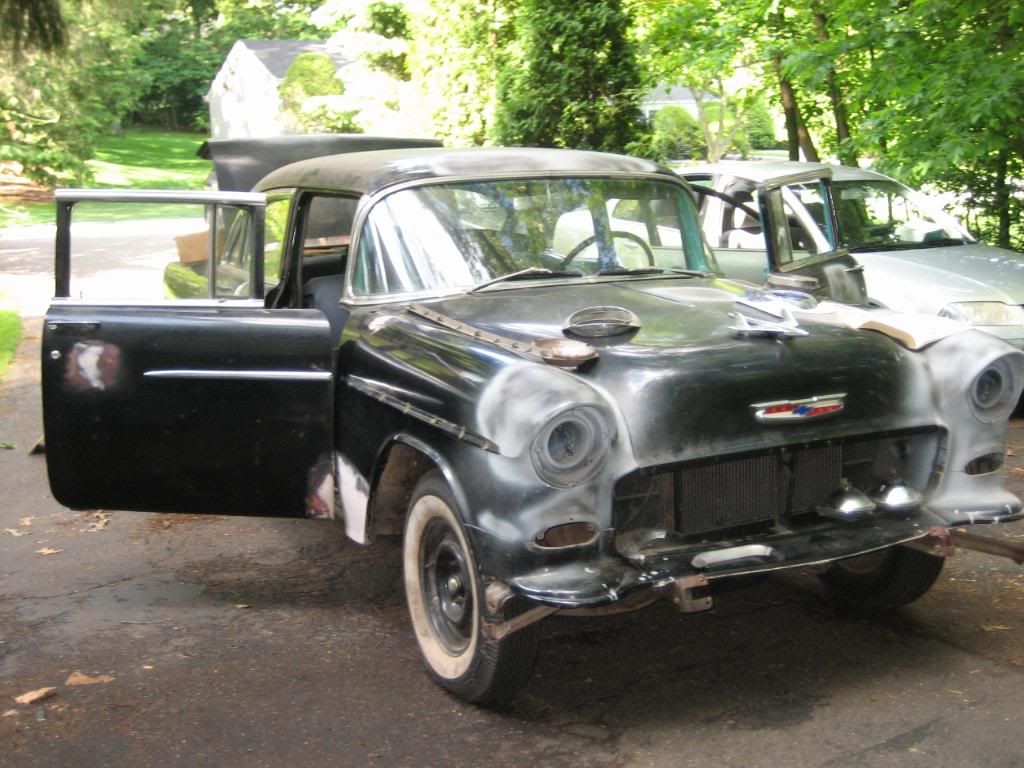
And she's home!
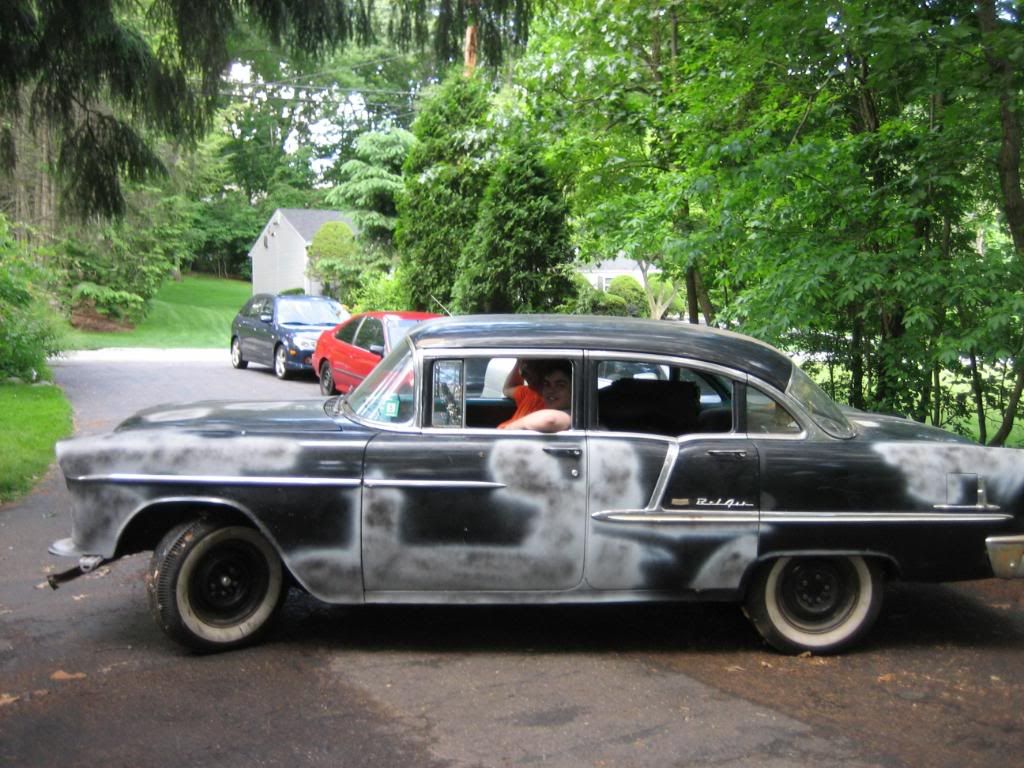
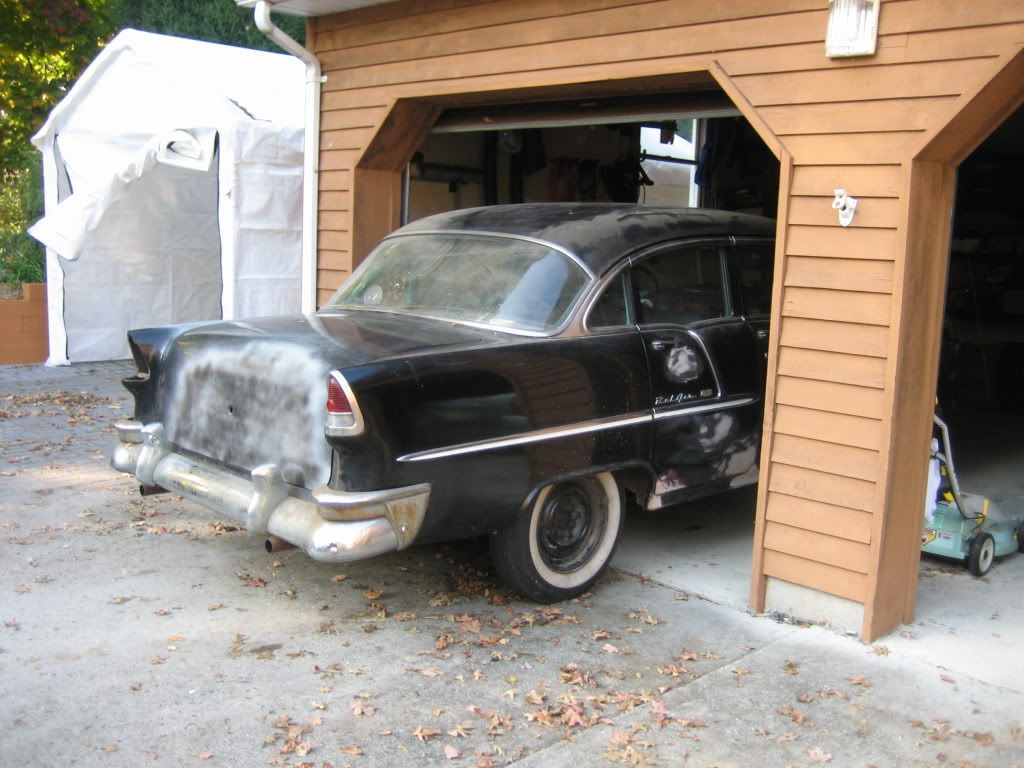 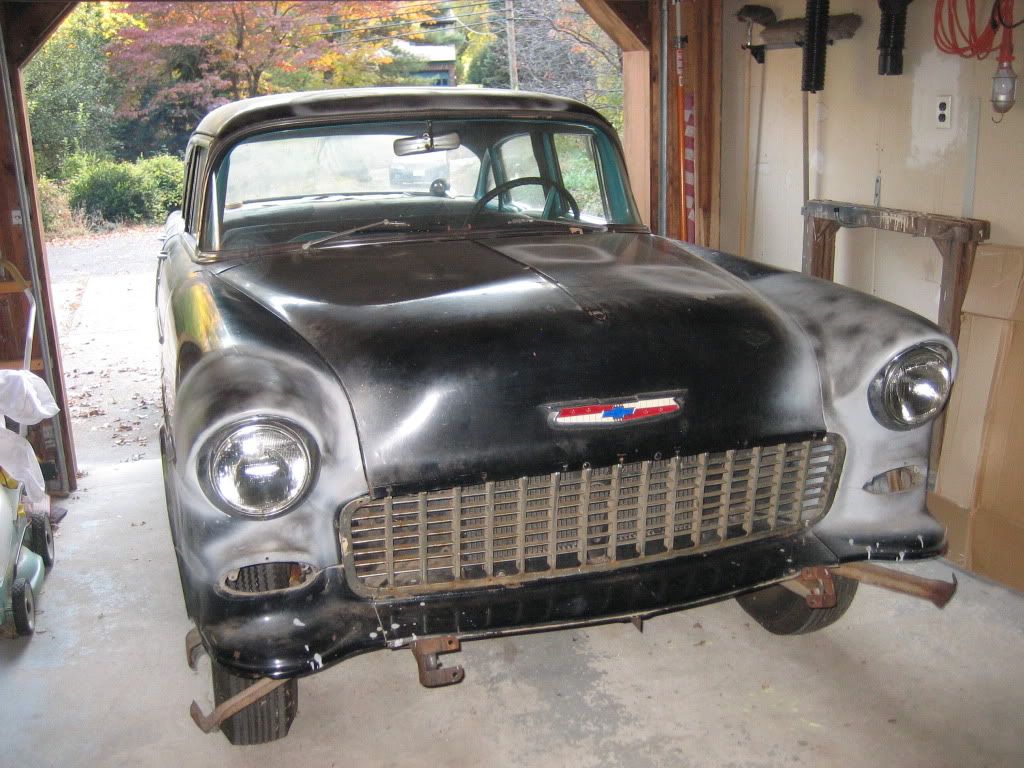 As you can see, between today and whenever the last update was, a grille got [lightly] hammered in. It still looks like it wants to eat people, though. At any rate, now my '55 can play and frolic in my garage instead of some other guy's garage. With the car being so much closer, I'll be able to work on it more. Even the garage was cleaned out with all new shelves put in courtesy of CostCo and the old man. Here are some sexy shelves. 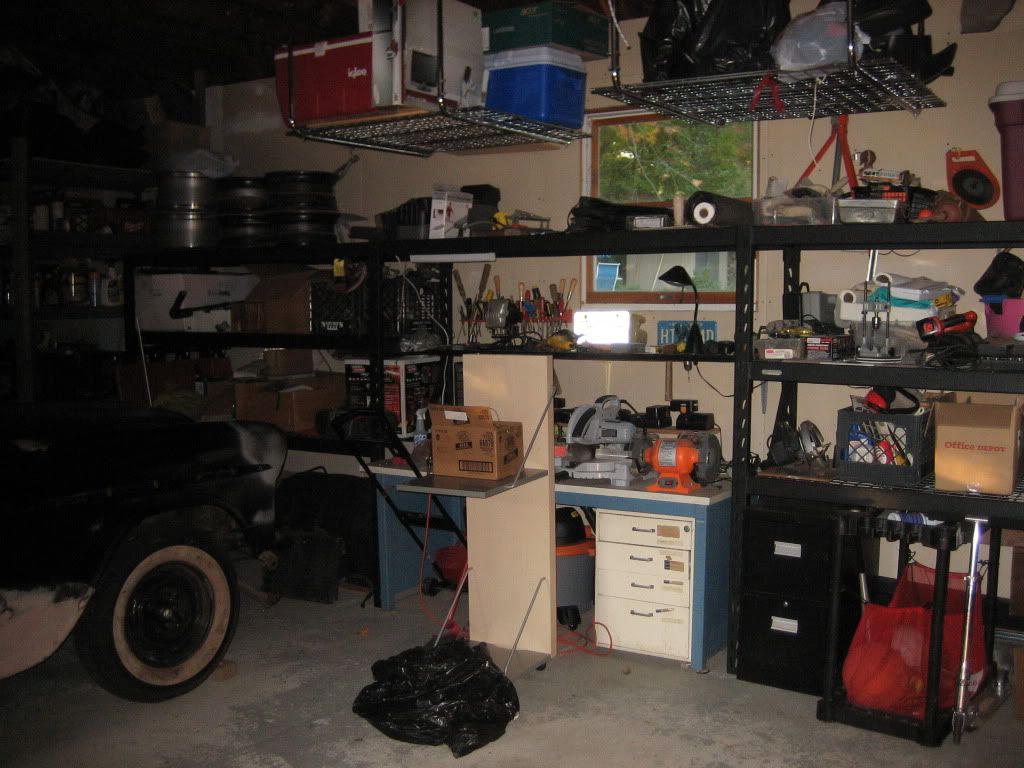 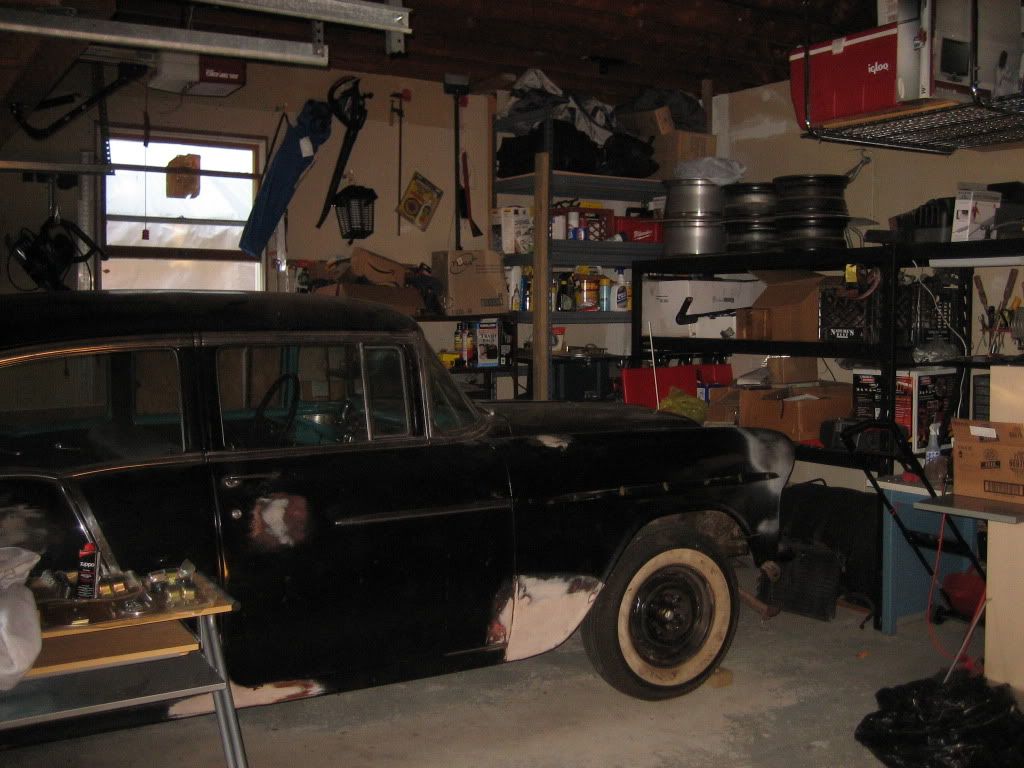 There's a box behind a stereo system containing my birthday present- a Lincoln WeldPak 175 that was gotten for half off at Home Depot. Last one in northern NJ, according to the Home Depot website. Talk about timely luck! I've also started accumulating junk that may or may not go into the Chevy. It probably will, though, since I have no concept of "staying with a brand." Up first are the sway bars since they're the most exciting. This '55 is going to be tearing up autocrosses and track days soon enough so this seems like a logical place to start. 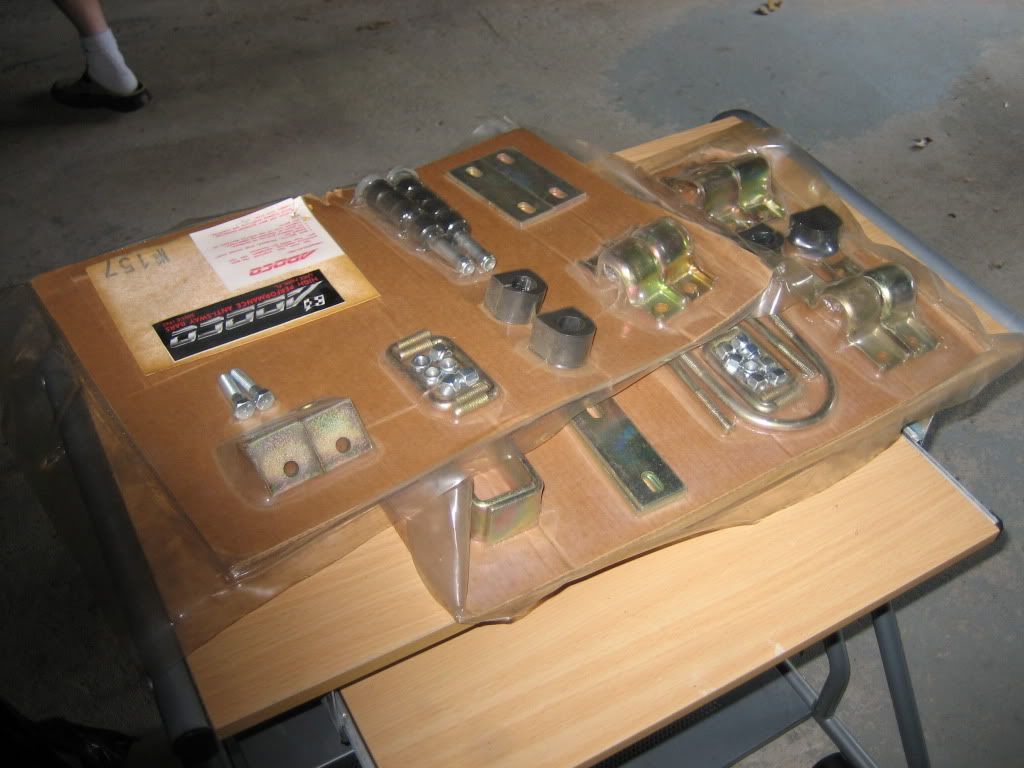 Now these are just the link kits for the front and rear sway bars. Price? $0. The previous owner found these in his basement attic and sent them over. Significantly less exciting but still pretty cool is the perfectly functional A/C condenser cherry picked off of a BMW E30 M3. 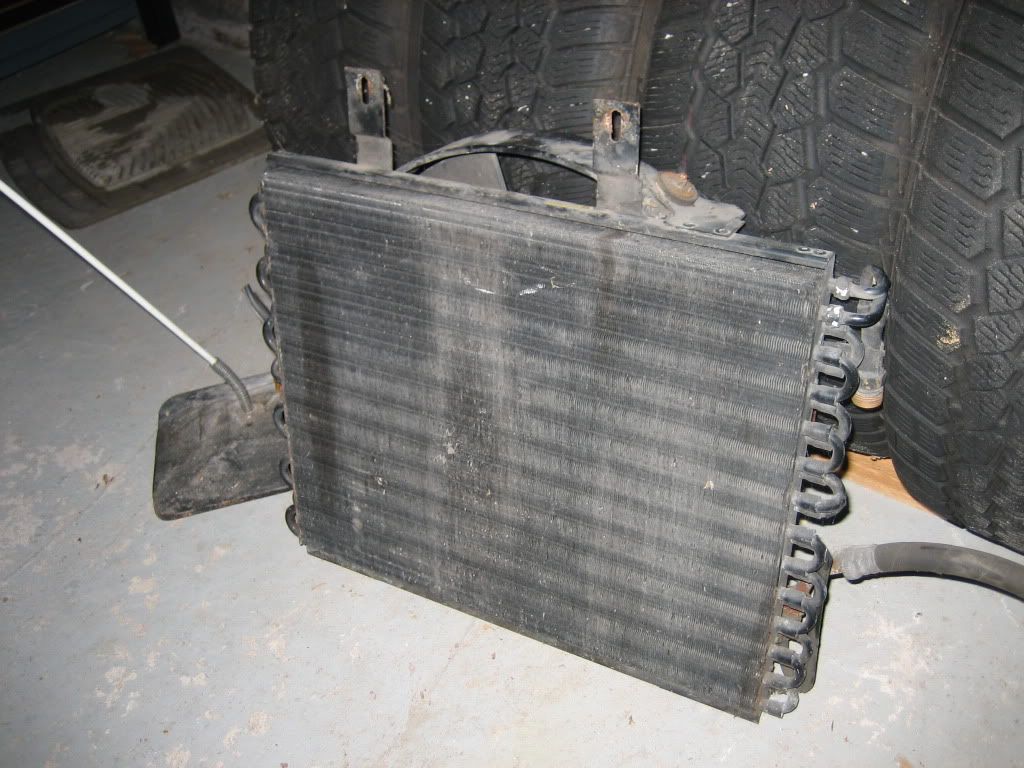 Tuned by M? Price? $0 at a junkyard. The guy was about to scrap the poor M3. It got rear ended very hard but was otherwise perfectly good. And the rims. Wider is better, so following that theory, here are some rims for your viewing pleasure.  Now the ones on the left are wagon wheels off of a C4 Corvette. I have no idea if they'll fit or not but they were free, courtesy of that same owner. He said I could have them since he didn't have room for them anymore. But finally, the biggest and best for last. Since the last update, I got an insurance quote! Hagerty (sp?) said that if I had a car insured under my name, they'd insure me. Turns out that spinning off of my dad's policy cost exactly 60 dollars a year and I could keep my 100/300/100 coverage. Hagerty said, "that sounds peachy. Now get your car into your garage, send us pics, and we'll insure you for $298 for the year." That seemed reasonable enough so I called a tow truck courtesy of my AmEx's free towing, moved the car from the previous owner's house over to mine, cleaned out the garage (see above), and moved it in. Now I'm going to call up Hagerty, pay them, get my policy number, and send out for historic plates. As terrifying as the pospect may be for all of you, this monstrosity may actually be prowling the tri-state roads soon enough.
__________________
Certified fanatic of all things absurd. To view links or images in signatures your post count must be 10 or greater. You currently have 0 signatures. |
|
|
|
|
10-23-2009, 08:36 AM
|
#12 |
|
Tri-State Post Whore
|
Thank god a different kind of build on TST. I definately love the 55-56 Belairs. What's your plans engine wise. You probably have it in here but I didn't read through all of it haha. Good deal on the insurance. My dad's '41 pickup is like $150/yr maybe.
__________________
-Rob Just a mustang that's lowered.....that's about it. Work harder....Millions on welfare depend on you! |
|
|
|
|
10-23-2009, 12:34 PM
|
#13 | |
|
Tri-State Aficionado
Join Date: Jul 2009
Location: 07677 & 18424
Member #14100
My Ride: 2003 Mazda Protege5, 1955 Chevrolet Bel Air iTrader: (0)
|
Quote:
In the long term, there's basically two options. The first is go with a basic LS gen III, gen IV LS, or the new Hemi V8s, probably courtesy of a t-boned car mated to a 5 or 6 speed transmission. Parts for those are ubiquitous and power is easy enough to come by. The other option is a fuel injected 485ci Cadillac mill bored out a touch and possibly twin turbocharged. Using megasquirt and an auxiliary fuel tank, I would switch between gasoline and 0lbs of boost to nitromethane and a leisurely 8 lbs of boost. This would be topped off with a fine set of aluminum heads to keep compression and heat transfer up. I could do the same thing to a small block Chevy, probably, but it wouldn't be as interesting.
__________________
Certified fanatic of all things absurd. To view links or images in signatures your post count must be 10 or greater. You currently have 0 signatures. |
|
|
|
|
 |
| Bookmarks |
| Thread Tools | |
| Display Modes | |
|
|
 Similar Threads
|
||||
| Thread | Thread Starter | Forum | Replies | Last Post |
| G23 build | Keeper1343 | Honda / Acura Talk | 12 | 11-12-2009 06:56 PM |
| G23 build | Keeper1343 | (Past Vendors) | 2 | 09-21-2009 06:01 PM |
| s13 build up | gospdracer90 | Member Journals | 11 | 09-17-2009 10:50 PM |
| sr vs build n/a ka | SLDWYSJDM | Nissan / Infiniti Talk | 6 | 09-01-2009 04:05 AM |
| TurboTagTeam's LHD Silvia Build... Build Complete....for now | TurboTagTeam | Member Journals | 173 | 11-27-2008 09:00 PM |


 Linear Mode

