This thread will be used as a guide on how to PROPERLY wash and maintain your vehicles, to minimized spiderwebbing, marring, swirling and other defects between details. To maxmize the benefits of this wash, you should detail or have your car detailed 2-3 times a year. The cosmetic condition of your vehicle accounts for about 30-40% of your vehicle's value in the long run!
This is the same exact process that I use on every vehicle that comes to me, and to think it's only about 1/6th to 1/8th of the entire process!
I will try and be as descriptive as possible and give the different alternatives for different vehicle colors, pre-detail washing and post-detail washing. I'm going to try and keep an even balance of pictures to text and provide links to find certain products that will be of benefit to different people. Without further adieu, let's cover some guidelines first.
Links will be attached to the bottom of each section!
Prep:
When initiating the process, you want to make sure the car is cool and shaded, so this means you want the car to have not been running/driving for at least an hour or two to allow the hood to be semi cool to the touch from the engine heat, as well as the wheels to be cool to the touch from brake heat. Also, have the car parked in a shaded area, or garage if accessible (I benefit from this) and out of direct sunlight, cloudy days of no rain are great for washing cars outside!
Side Note: If you plan on cleaning the engine bay, it is recommended that everything be cool to the touch, I typically allow a car to sit, unmoved or started overnight before engine bay degreasing. High risk of cracking hot metals with cool water!
With the above guidelines met, you will want two-three buckets depending on which method you chose to pick below:
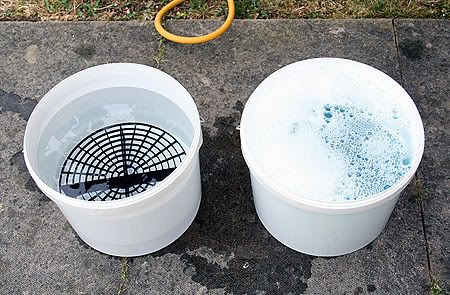
Two-Bucket method:
This method utilized two buckets, one filled with a soap/water mixture and one filled with water. The purpose of the water bucket is to rinse off the sponge/mitt after you wash a panel to remove surface contaminents that were picked up by the sponge. Ideally you want to rinse the sponge after each panel (half hood, fender, door, roof, etc) and then resoak it with the soap mixture and get the next panel.
You can enhance this method using grit guards* in the buckets, which are used to rub your wash medium (sponge or mitt) to get contaminants out!
With this method, you save the wheels for after washing the body to keep the dirt from the wheels off the body but use the same technique per wheel with both buckets
Three-Bucket method:
This method utilizes there buckets in the same exact fashion as the two-bucket method, the third bucket however is also filled with a soap mixture and is meant for wheels only. Otherwise, the method is exactly the same as the two bucket method up top!
Picture example of Two Bucket method with grit guard:
Link:
Grit Guard
Once you determine which bucket method to be used, you will now move on to what is filling the buckets. For those of you who want to utilize what your local auto store supplies, I recommend Meguiar's Gold Class car wash, has a high lather and I find it to be the "better" of most wash concentrates that won't strip wax. There are a ton of other concentrates that can be found, depends on budget and preference.
Once the concentrate is chosen, you will want to fill the bucket with warm-hot water, cold hose water is a no-no. The heat will help to break down dirt and contaminents thus making for less scrubbing which means less marring/damage!
Concentrates:
Menzerna Auto Shampoo
BlackFire Shampoo
At this point, this is where you get your equipment out for the wash itself, I for one use a mix of Microfiber sponges, sheepskin mitts, and sea sponges on the body. For the wheels, I had a horse hair brush, an E-Z detail brush, and microfiber wand and a tire scrubber. All found below:
Sponges:
Grout Sponge
Brushes:
Wheel Brush
Mitts:
Sheepskin
Microfiber
Starting the Wash:
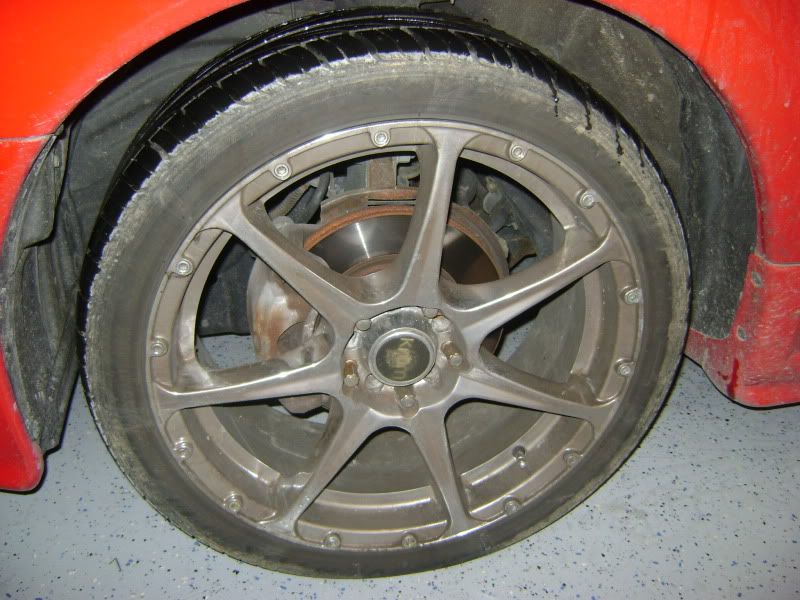
Before you rinse the car down, you want to examine and see how dirty it really is, for example: Caked on brake dust in the wheels like below:
Heavy bug splatter on the bumpers/hood:
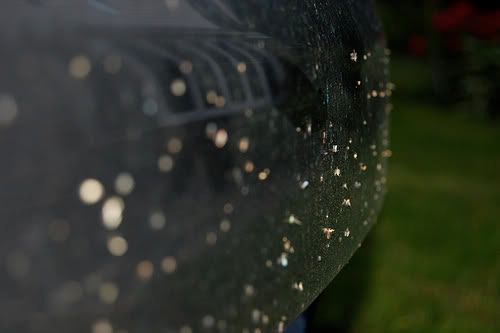
If the above applies, you will want to use a combo of P21S products that I find to be extremely useful. One being P21S Total Auto Wash and P21S Wheel Gel Cleaner.
Before rinsing your vehicle off, I apply these before prepping the buckets and such, is spray the heavy bug splatter with the Total auto wash and give it time to dwell and coat the wheels in the Gel Wheel cleaner and let soak, like seen here:
P21S Wheel Gel cleaner
P21S Total Auto Wash
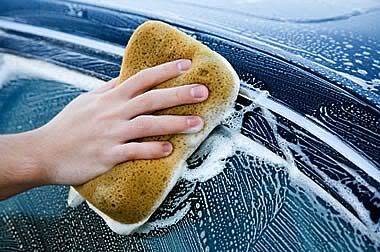
Washing:
With the above out of the way, now you can get a move on with the process, rinse the vehicle down THROUGHLY, you want to get as much surface dirt off as possible! If you have a multi setting hose nozzle, use the fan/jet/and angle settings, once you have gone over the entire vehicle, give it a nice rinse with the Shower setting. Rinse out the wheels and wheel wells too!
Once rinsed, you want to start the washing itself, ALWAYS go from top to bottom! So start with the roof. I will bullet the process below: I will shorten the "Rinse Sponge and Resoap" to "RR"
At this point, you move on to the wheels using the assortment of brushes and wands if using the three-bucket method before washing the body. If using the Two bucket method, save this for after the body.
Wash Center section of roof - Rinse sponge - Resoap
Wash Windshield, windows, pillars and rear window - Rinse sponge - Resoap
-You can then rinse here if it's warmer out and the soap is tending to dry, if cool enough, keep going-
Wash hood - RR
Wash Trunk - RR
Wash fender - RR
Wash Door - RR
Wash rear door (if applicable) - RR
Wash rear Quarter panel - RR
Wash rear bumper - RR
Repeat process for opposite side of vehicle
Wash front bumper (usually last cause it's usually dirtiest) - RR
When washing, always move the sponge, mitt, mf towel from front to back in straight lines
At this point if you haven't rinsed the vehicle down, do so now, you can typically rinse it after the flats are done (Roof, Hood, Trunk) and after a side of the vehicle is washed.
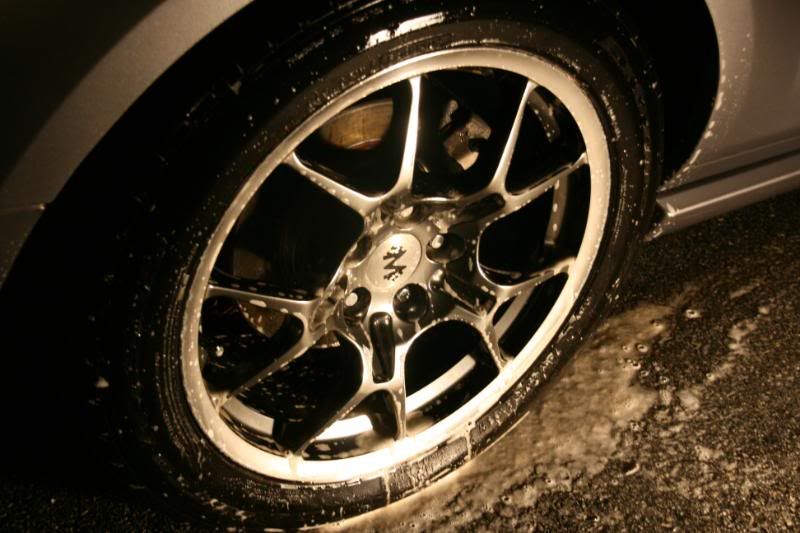
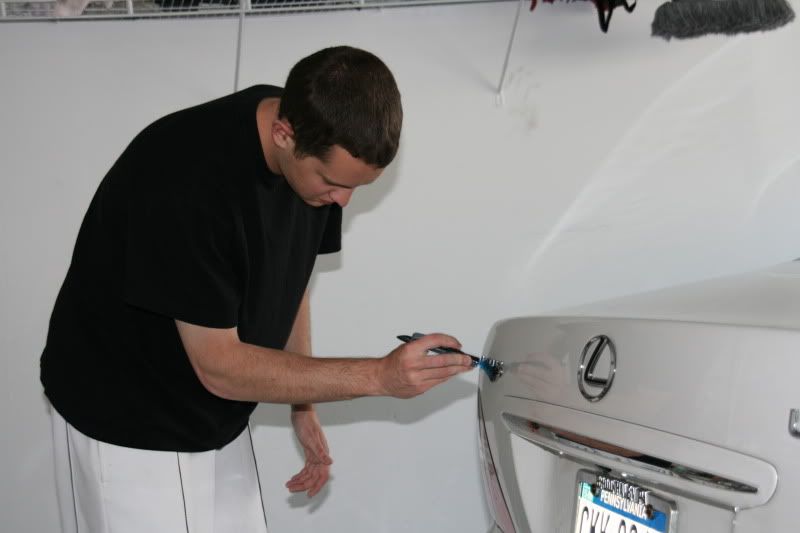
You can get really into it and use a fine brush to get in all the badging and such, like I am doing here
Make sure to keep the vehicle rinsed inbetween wheels, don't want water spots!
Drying:
Once all is said and done, it is time to dry. This step is just as vital, if not more, than the previous steps. Do NOT use terry cloth towels! You will want an assortment of Microfiber (MF) drying towels found below
Typically, you use the main waffle weave drying towels and dry from top to bottom, just like you did with the washing. Or if you want to go all out, get an ELECTRIC leaf blower and go across the car and all the grooves/mirrors/etc. Then follow up the remains with a dry MF towel.
When drying (if not using the leaf blower, obviously), motion of the drying mf towel should be front to back with lifting of the towel when moving from left to right (or vice versa) along a panel. Also when drying, be sure NOT to apply lots of pressure to the towel. You can lay the towel down and pat dry then lift the towel up without rubbing against the paint. You can then move to another section and then patted again.
MF Waffle Weave
MF applicator towels
Final Touch:
This is the point where most people say, Hey, its done I can leave now. Not just yet. You can REALLY add a finishing touch by going over the vehicle with a nice spray wax to get out and water smears/spots from the drying process. You can choose to use detail spray when drying the car. I don't do this but it can be something to try out especially if you have hard water in your area. This is another item you can grab from the auto store, and if you do I recommend Meguiar's Quik Detailer, but there are much better alternatives to be found online, listed below.
Spray Waxes/Quick Detailers:
Menzerna
Blackfire
Pinnacle
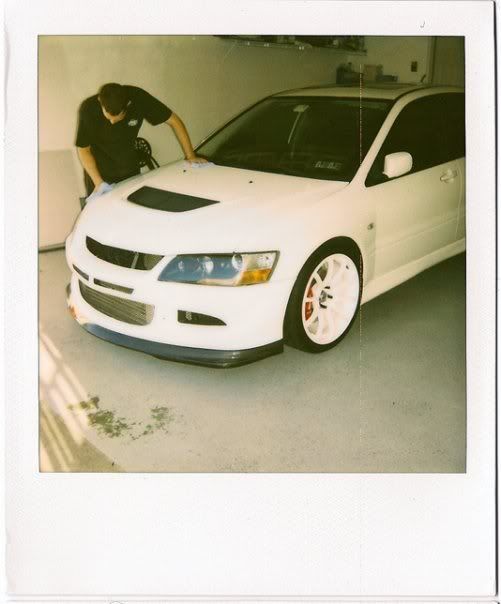
How this works is, take two microfiber towels, folded into square sections, one for applying and one for buffing out/drying. Spray the spray wax directly onto the MF towel designated for applying and then buff it into the paint directly in 18"x18" sections. Once applied, switch to the other MF towel and wipe dry. Continue this process for all the vehicles body panels, this allows for a temporary protective layer and some added gloss to your wash. Keep in mind, this only lasts until the next rain or the next wash!
*ALWAYS inspect a mf towel for contaminants (even if it is brand new or fresh out of the wash)*
When washing mf towels, be sure to keep the really soiled ones separate, soak for a bit before washing.
You can see the utilization of the two microfibers towels being used by me here.
Now that you've learned how to properly wash a car, mind you this is a maintenance wash, not a detail prep wash - MUCH more indepth - and will help keep your vehicle clean and virtually scratch free between details. Feel free to ask any questions!
-Oakes, some of the points in this writeup were made by G.T. on here and I appreciate his contribution!