 |
|
|
|||||||
 |
|
|
Thread Tools | Display Modes |
 10-10-2010, 04:18 PM
|
#1 |
|
Tri-State Aficionado
Join Date: Jun 2009
Location: mt laurel
Member #13970
My Ride: '06 M3 coupe, '07 X3 3.0si, '88 325ix iTrader: (0)
|
GRUPPE TITAN project | oem csl, brembo, acs, recaro, bbs lm, and custom work content
2006 m3 coupe, silver gray on black nappa leather, SMG, premium, cold weather, HK, xenons, 19" double spoked forged wheels here is the mod list of the car prior to going into the shop this year: engine: VF-engineering stage 2 SC, active autowerke sport fan clutch, elite engineering black anodized oil catch can, SP Engineering air scoop, vorsteiner black CF engine cover, EAS black CF radiator snout, EAS black CF air filter cover, EAS black CF DME cover, icaris innovations black CF empty tub cover, fusion autowerkz black CF emissions control air pump cover, brushed aluminum oil cap drivetrain: 3.91 gears, UUC tranny mounts exhaust: BHS headers, magnaflow 400 cell cats in BHS section 1, milltek section 2, kreis-sieg exhaust suspension: bilstein PSS9s (H1), BHS RSMs, quatro performance black CF strut bar, h-sport anti-sway bar kit, vorshlag rtab limiters, UUC arca's interior: stealthauto pedals, brush aluminum royal F1 SMG paddles, short eurotray, leatherz OEM alcantara SMG shift knob, shift and e-brake boot with dark gray stitching, JPMcoachworks OEM alcantara armrests, center console, eurotray, armrest, storage partition, all-weather mats, audi B5 S4 emergency triangle, OEM rubber trunk mat, silver CF steering wheel "y" trim, steering wheel top trim, SMG dome cover, and e-brake handle, EAS blackout steering wheel roundel, trunk lid liner re-upholstered in black with EAS silver CF toolkit electronics: defi b-series oil pressure (routed to RE oil filter housing top), boost, and EGT gauges in custom leatherz alcantara gauge panel, defi control unit II, innovate lc-1 afr gauge, V1 hardwired, custom mounted switch for kreis-sieg exhaust valve audio: icelink plus, BSW d110 exterior: trunk debadged, OEM euro folding mirrors, avery stoneshield paint protection film, custom windshield protection film, 38% suntek carbon tint with 75% on front windshield, turner motorsport/bimmian pre-painted bumper reflectors, euro lock delete, jet black and light gray vinyl roundels, black CF headlight trim, EAS matte black kidney grills and side gills with monochrome ///M3 emblems, EAS blackout hood and trunk roundels, vorsteiner DVWP rear diffuser with black CF, vorsteiner black CF front bumper splitters, smoked OEM corners, smoked foglights, and taillights covered with lamin-x smoked film lighting: lightwerkz TFX retrofit with 4300k D2S and 55w ballasts, 6000k umnitza orion V2 "hybrid" with predator chromiums' wireless option, stealthauto front turn signal bulbs, EAS LED license plate bulbs brakes: UUC/alcon matte gray front 6-piston calipers with 345mm motorsport floating rotors and rear 4-piston calipers with 328mm motorsport floating rotors wheels and tires: 19x8.5 and 19x10 BBS LMs with silver BBS lettering and wrapped with 235/35/19 and 265/30/19 goodyear F1 GS-D3s most of the mods above, including the s/c kit, were installed by me often with the help of friends. the thing about this current project is that i have done very little. but most of the work is way beyond my skill and experience level. furthermore, 100+ hours of work a week do not help. that's my excuse  these pics below are old ones but show how she looked before: 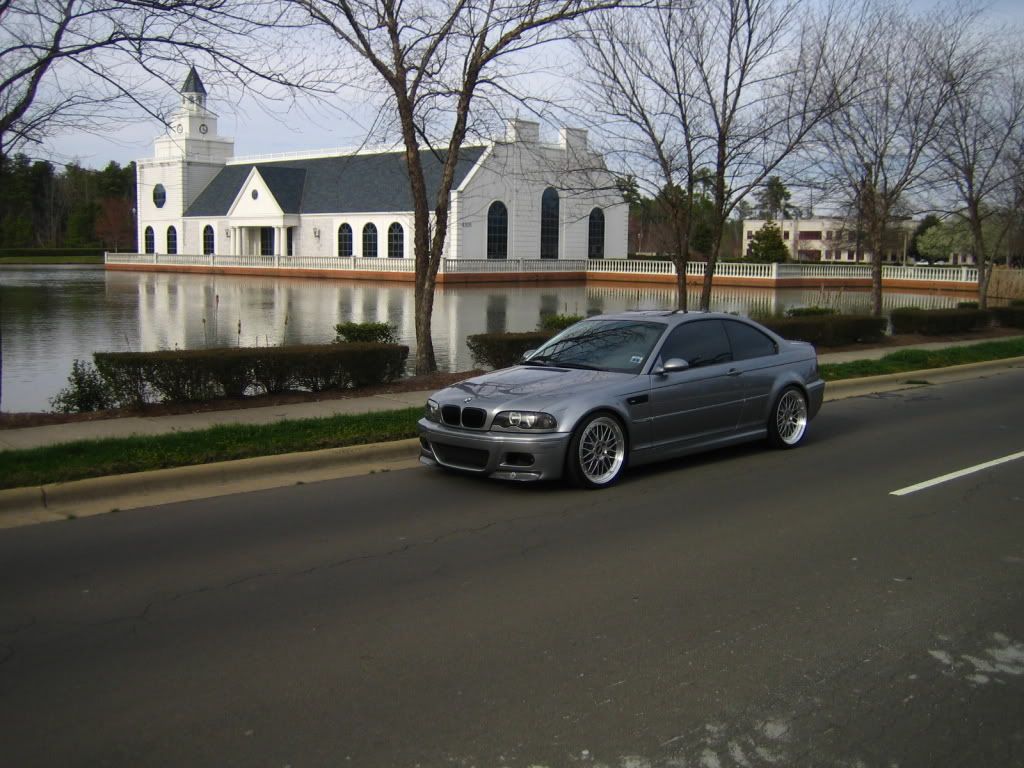 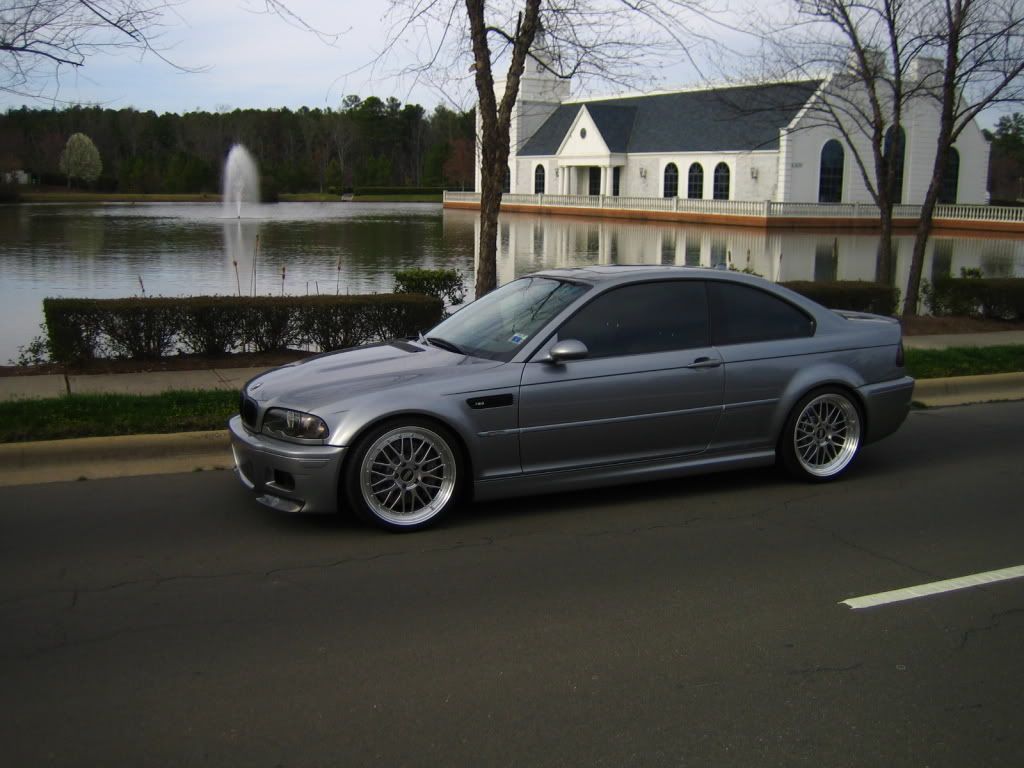 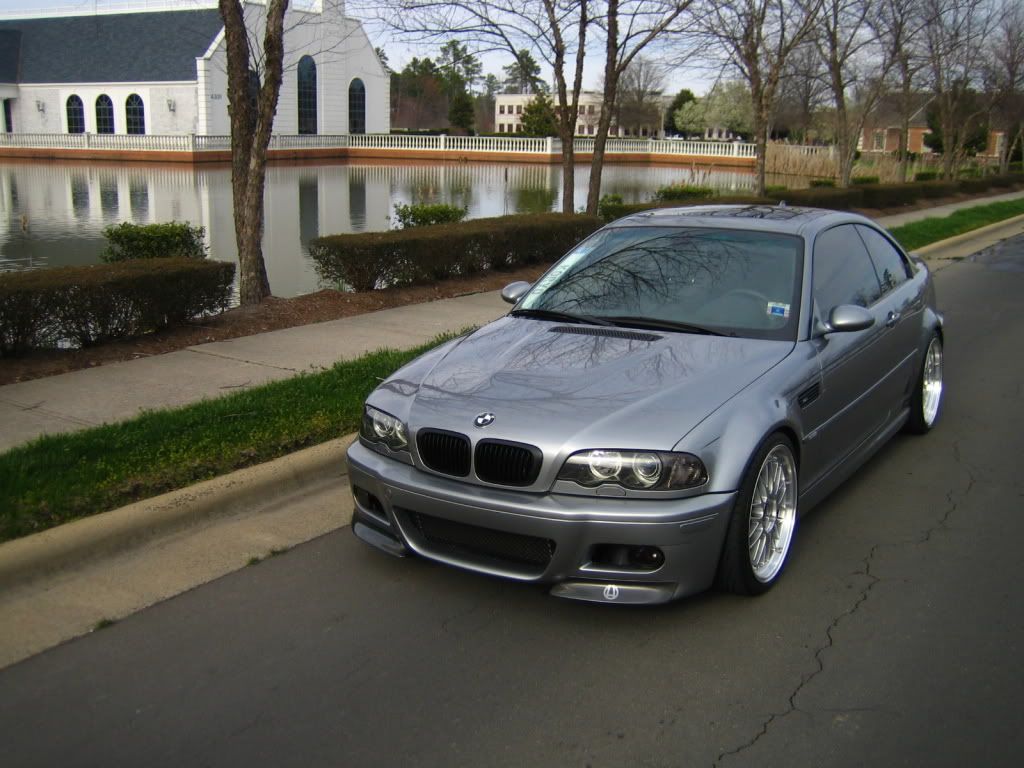 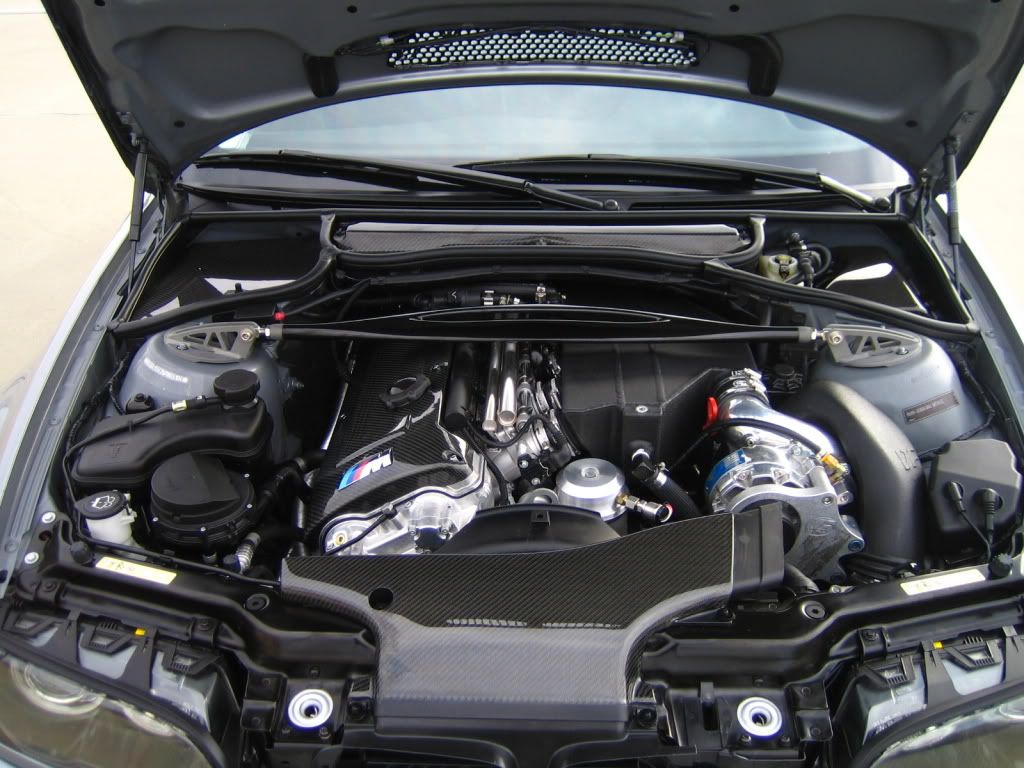 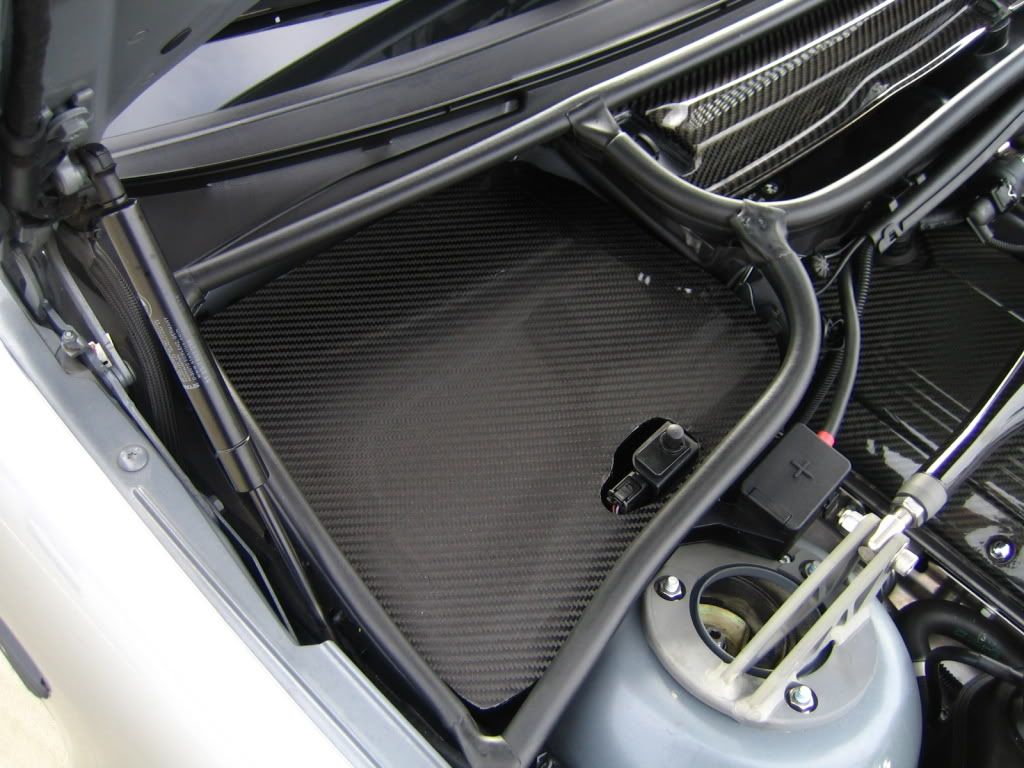 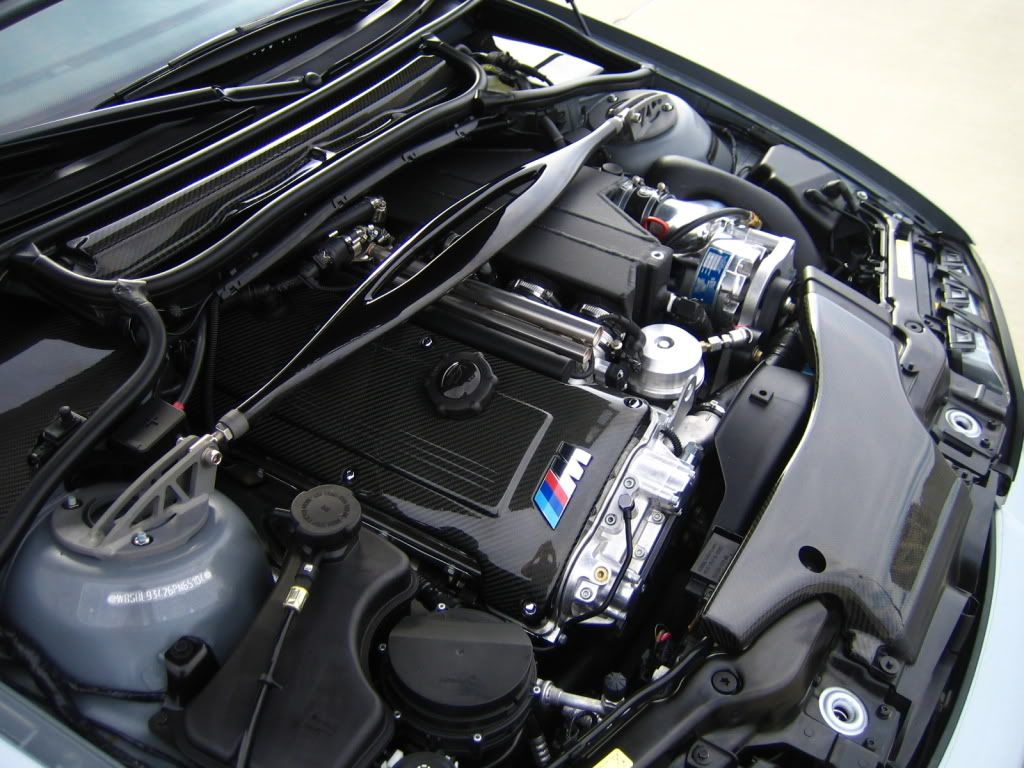 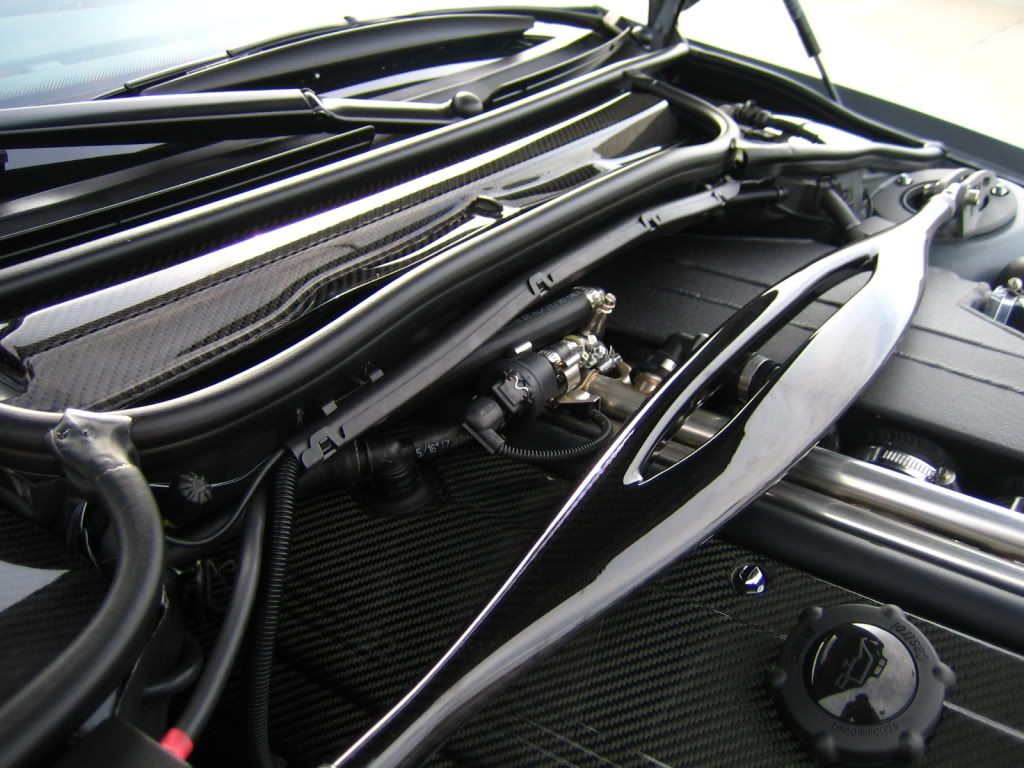  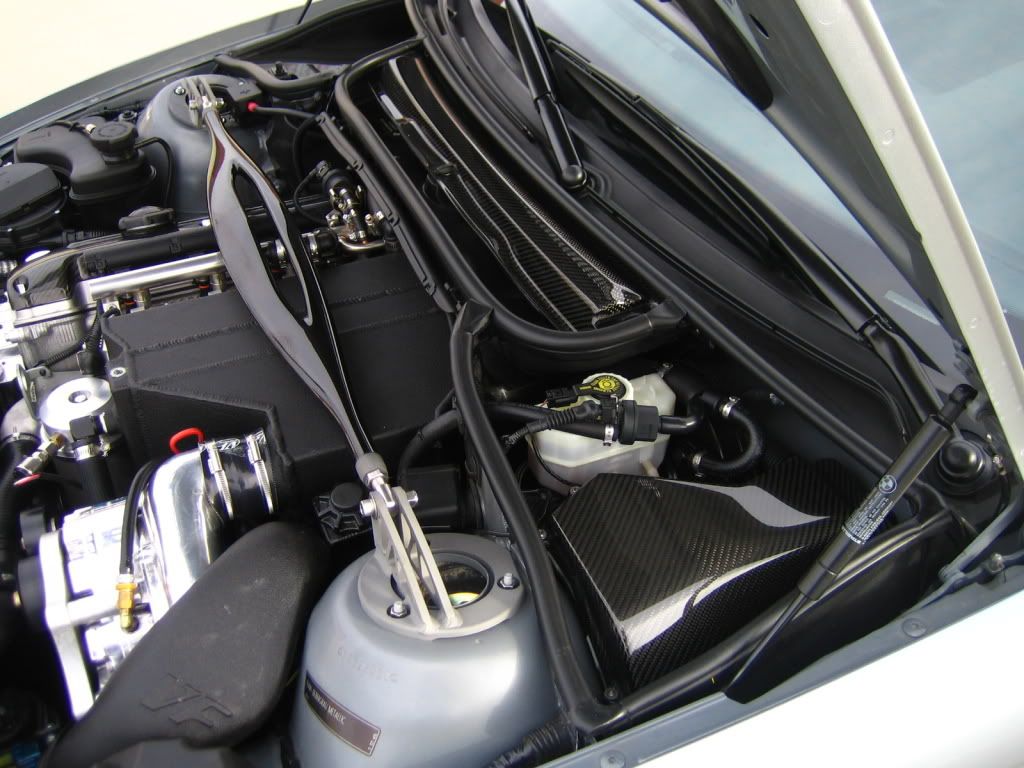 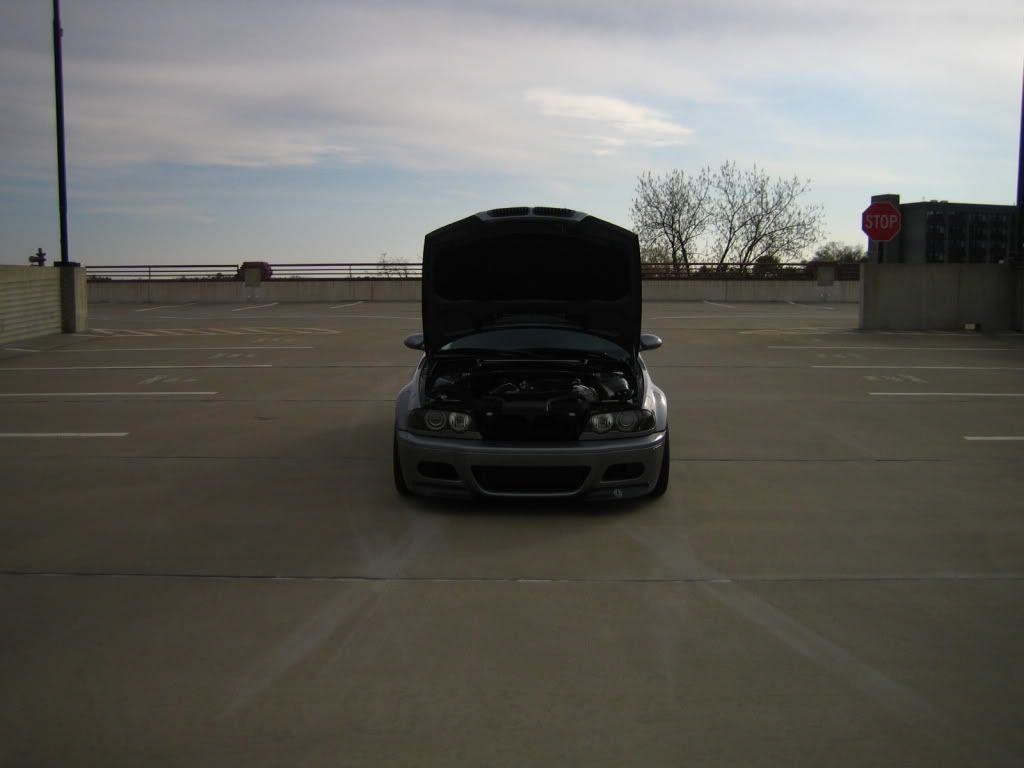 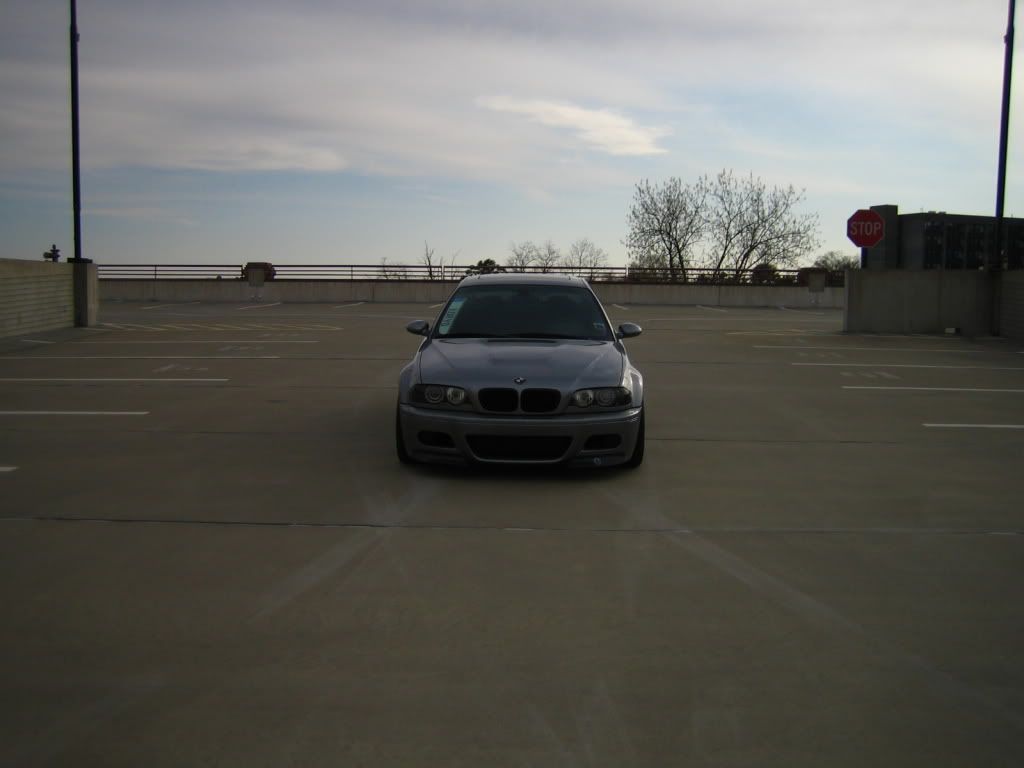 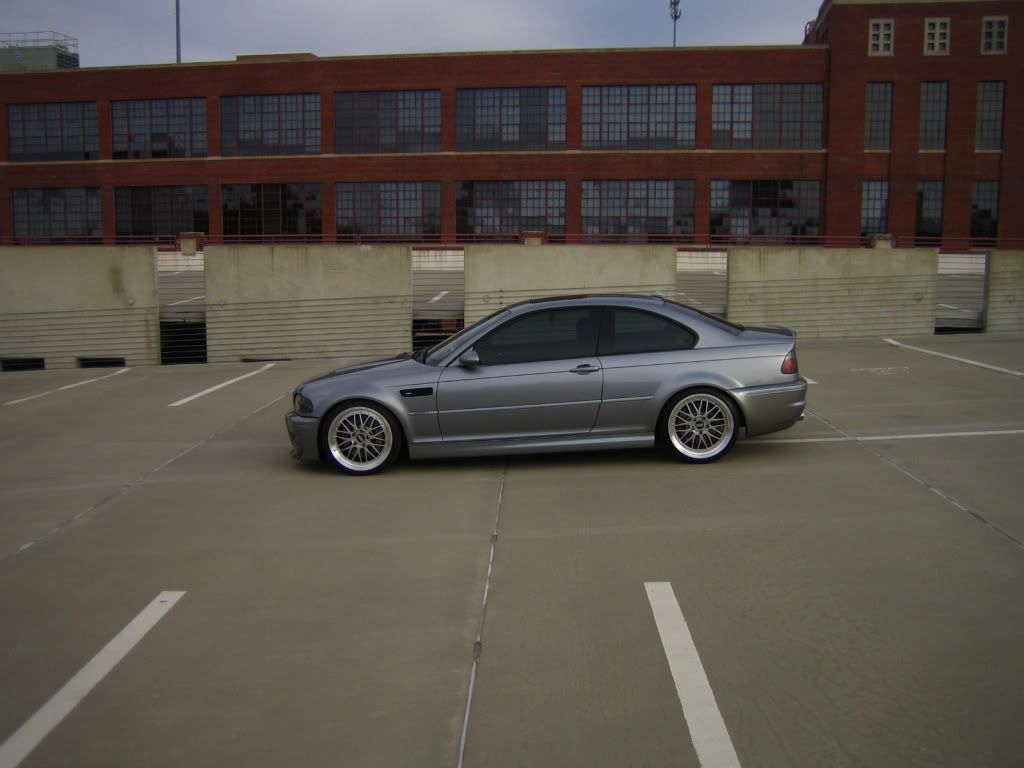 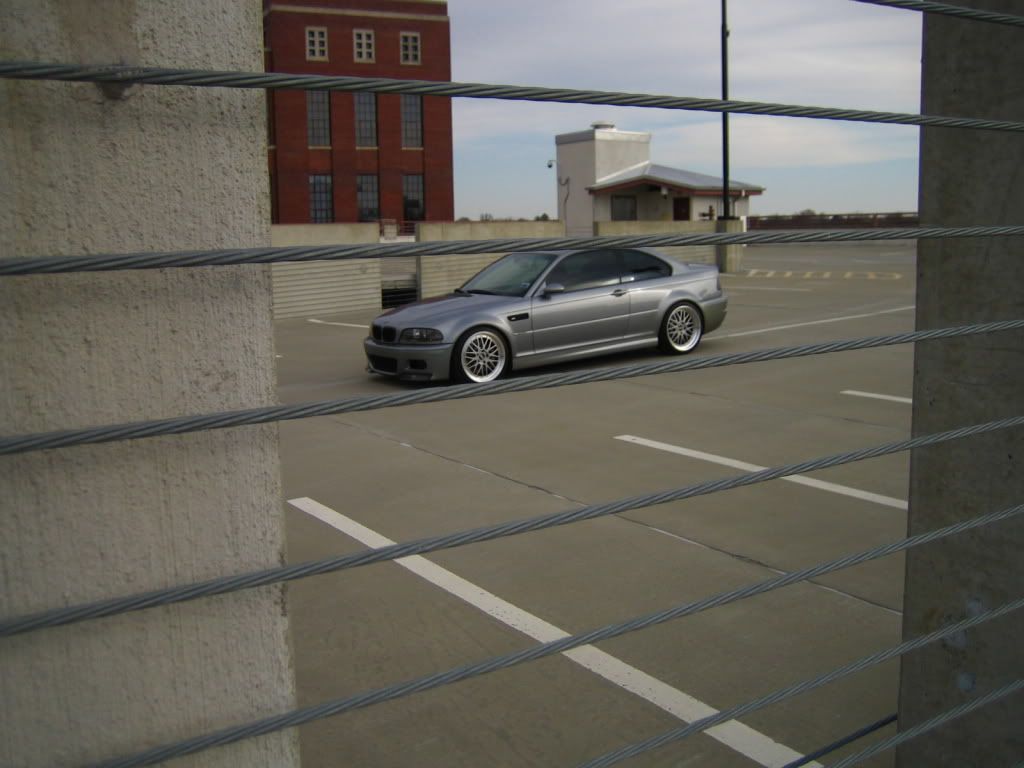 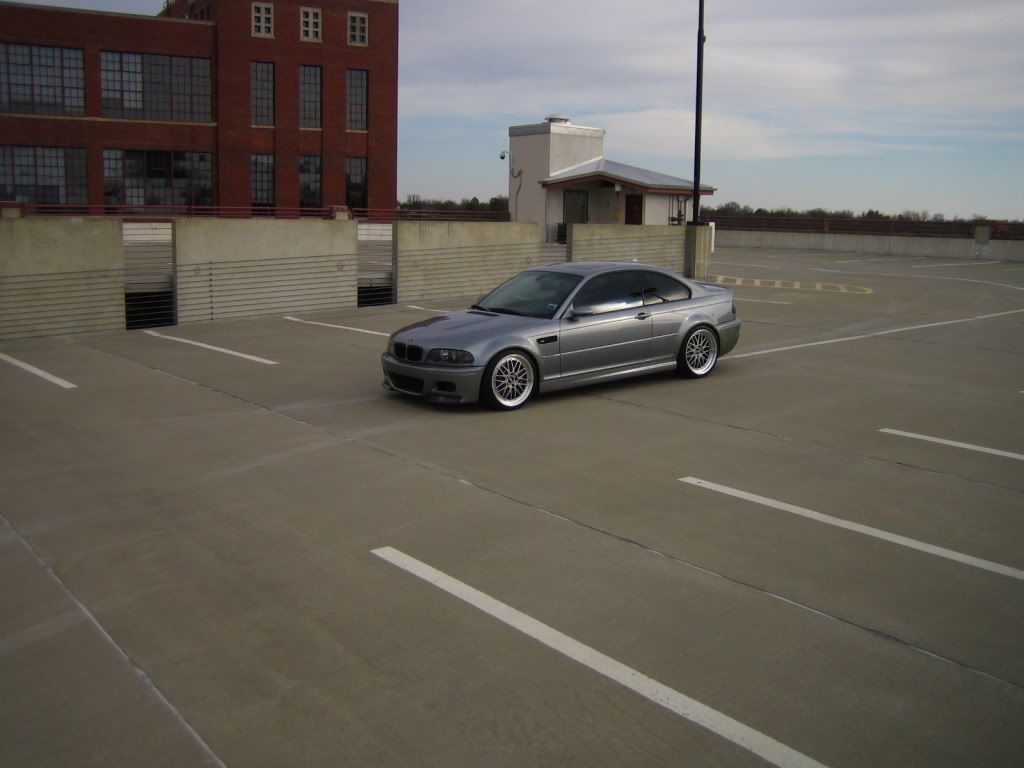 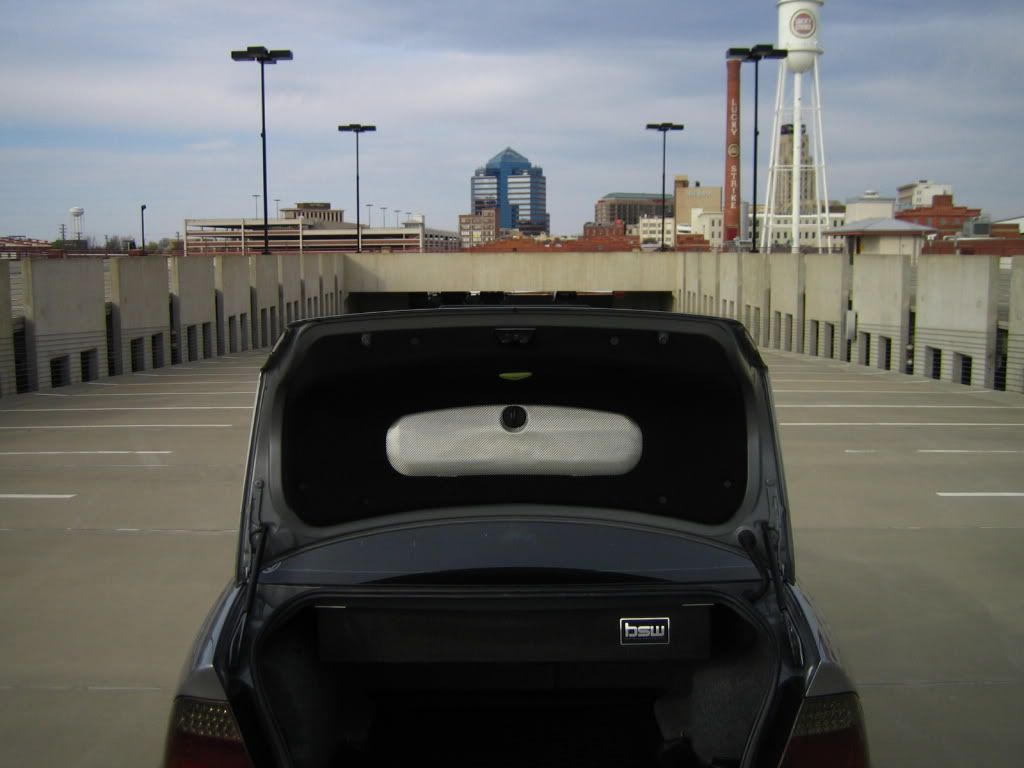 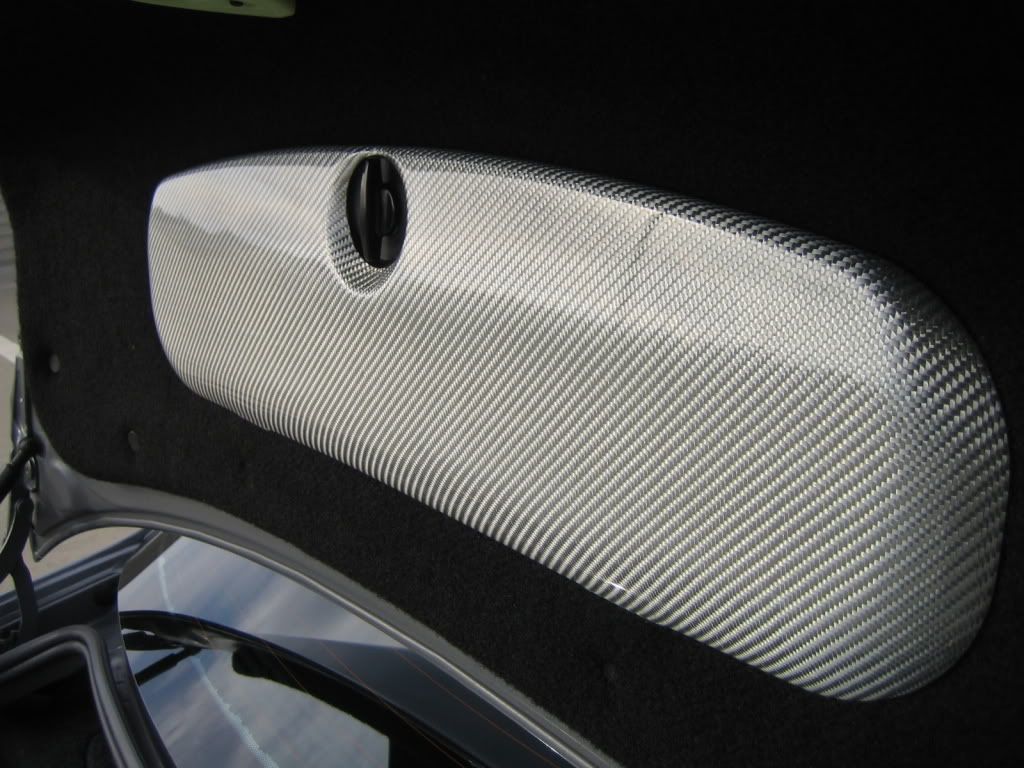 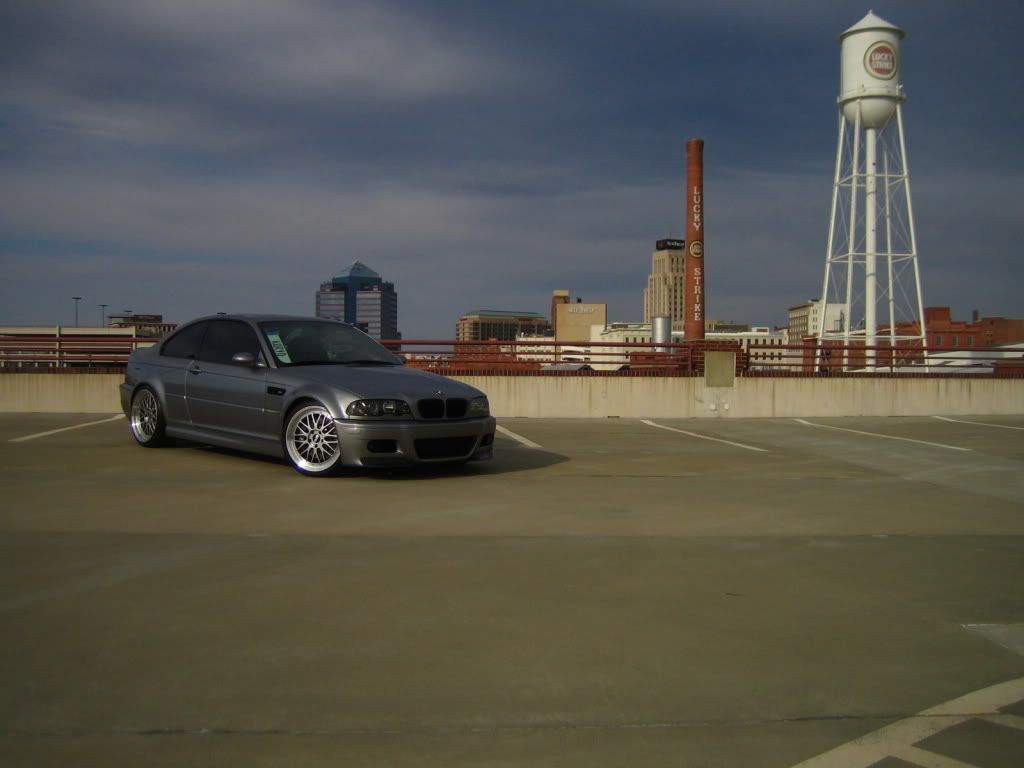 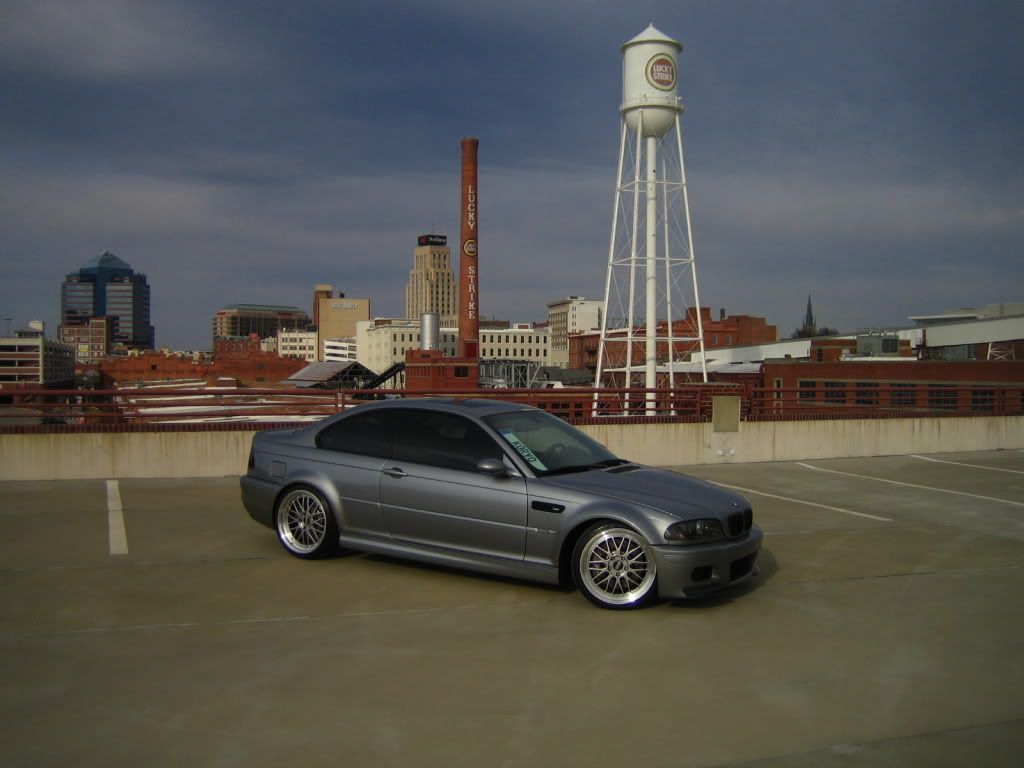 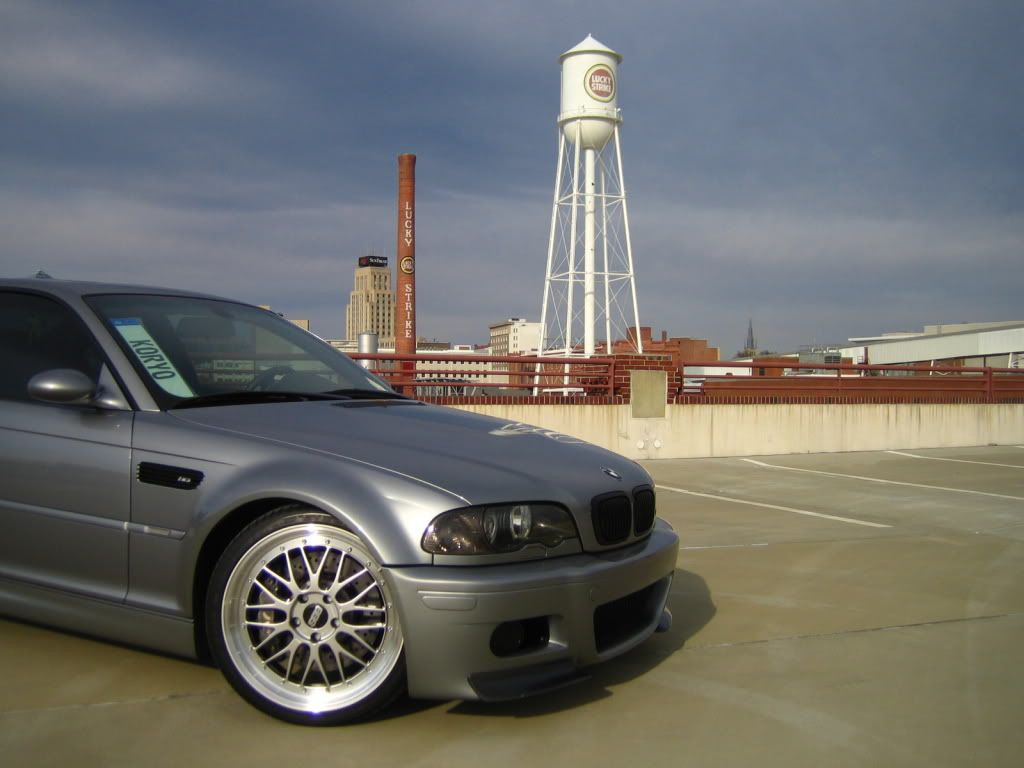 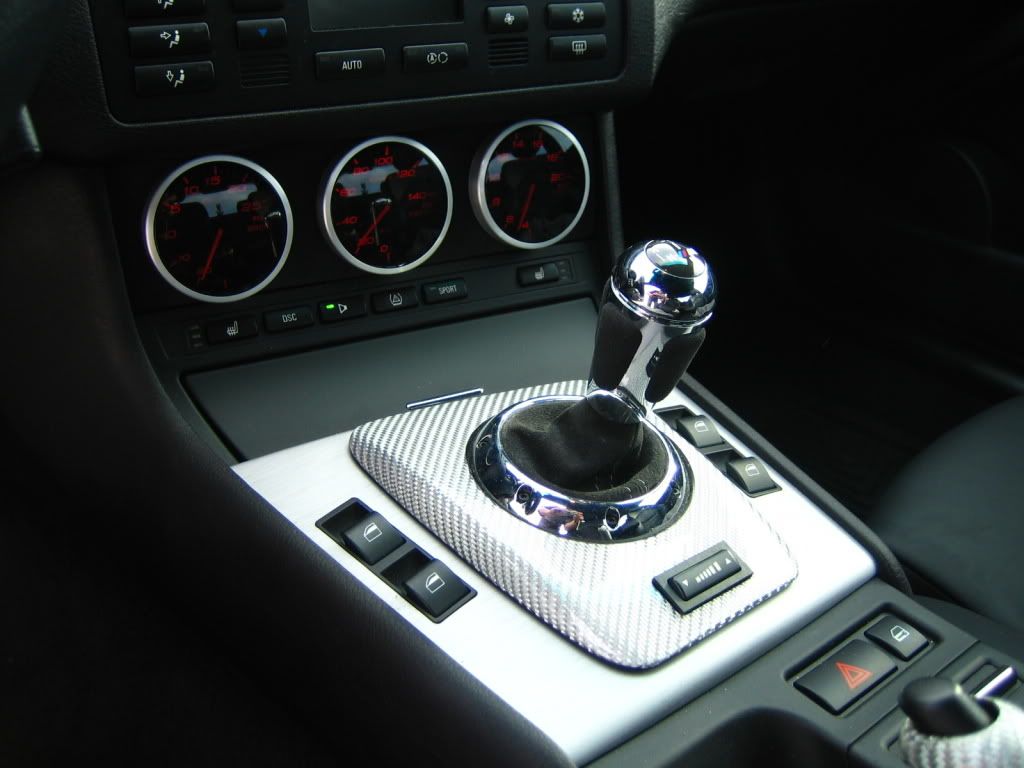 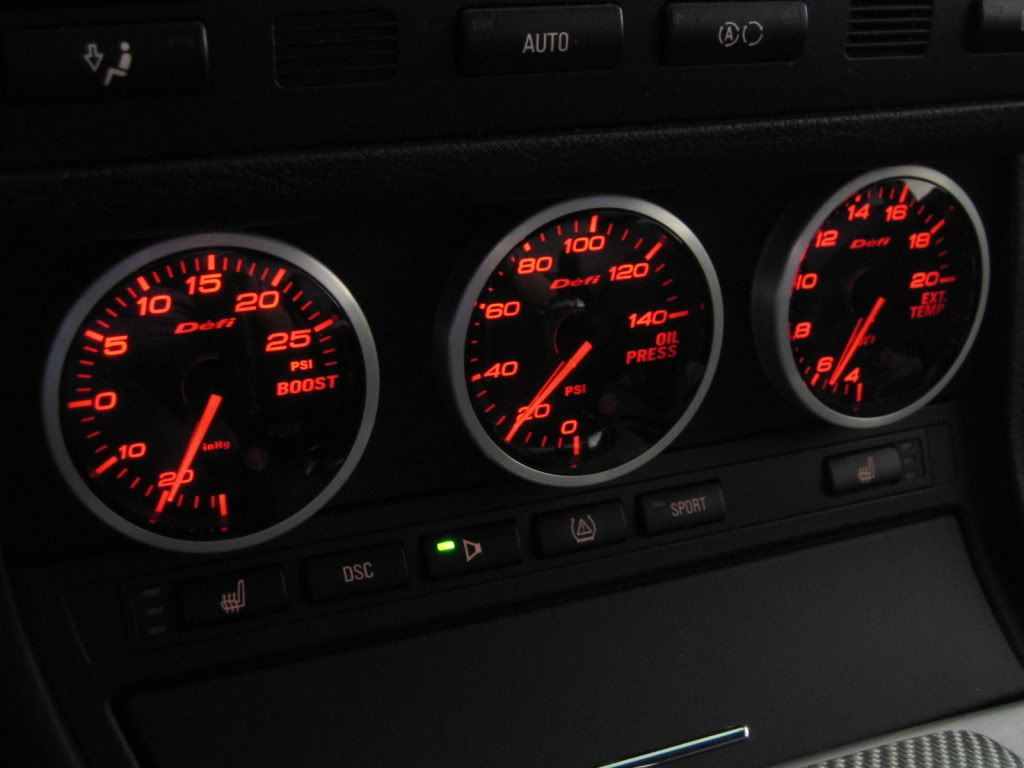 current pics of engine bay: 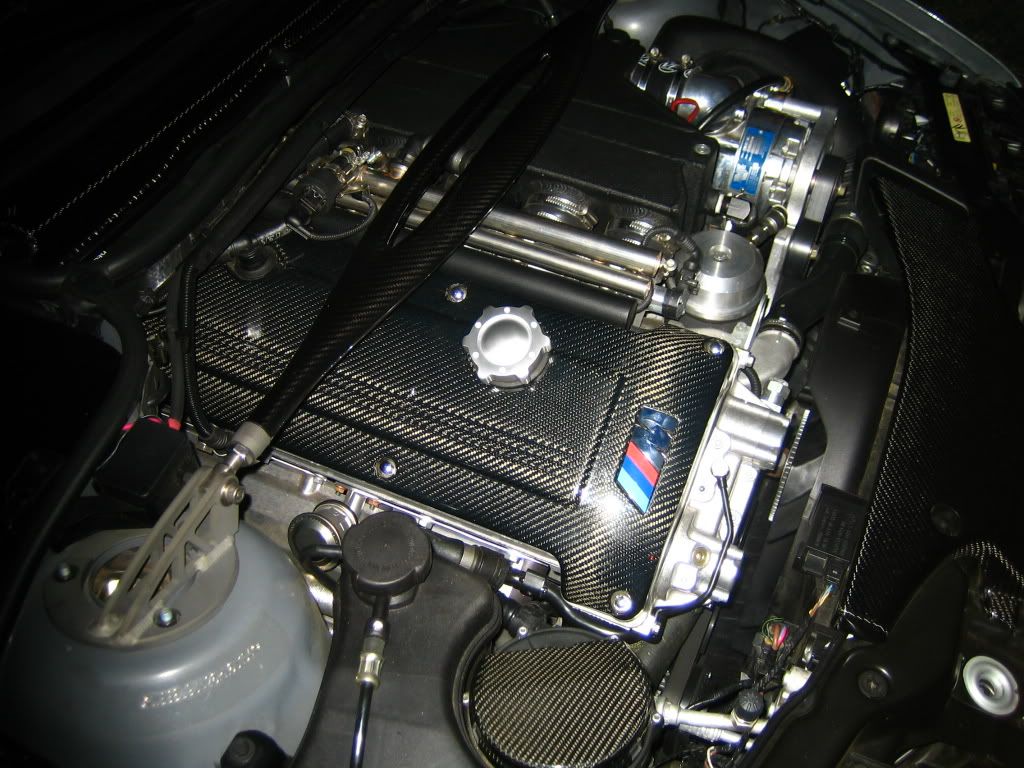 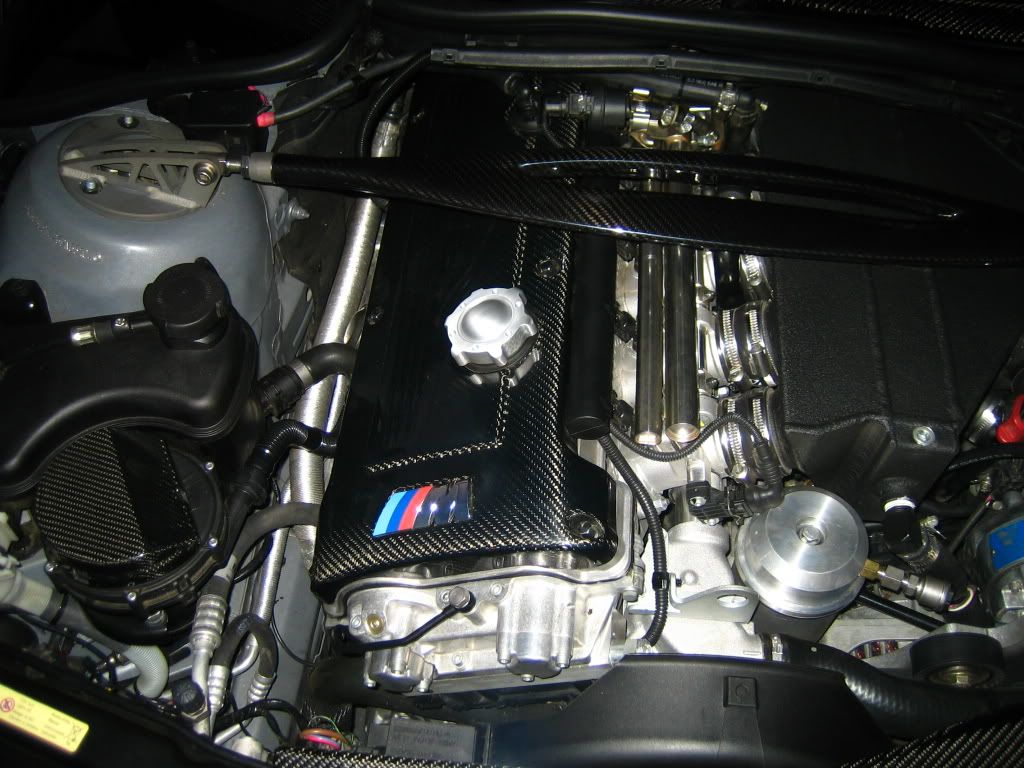 most recent pics i have of the interior: 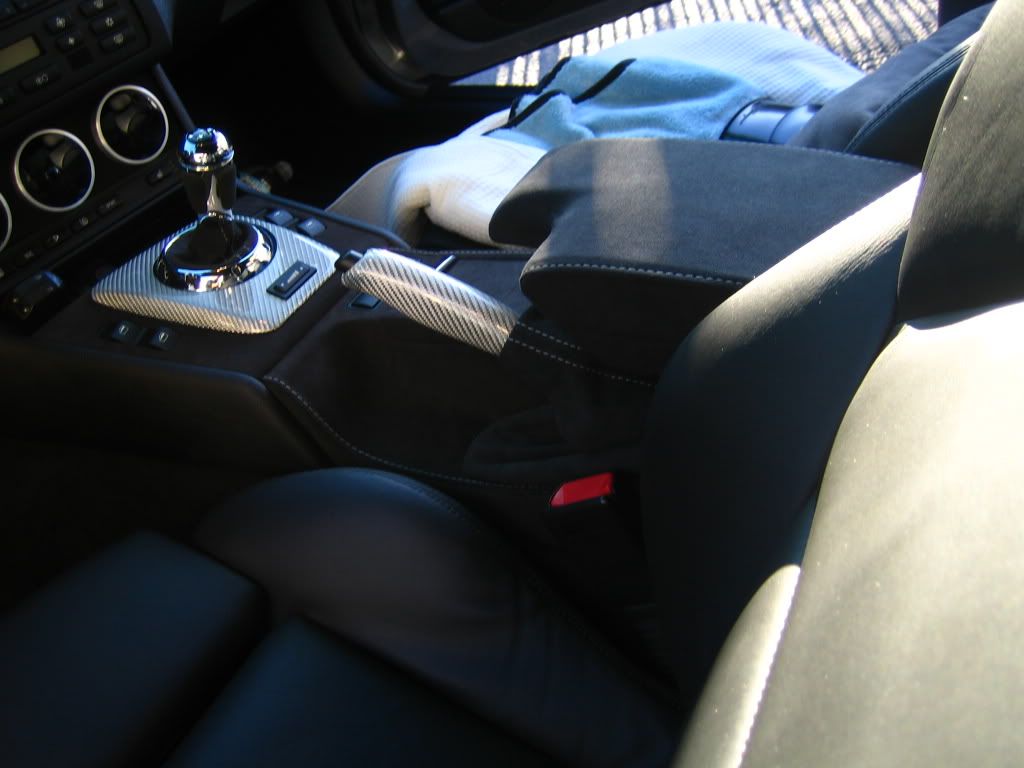 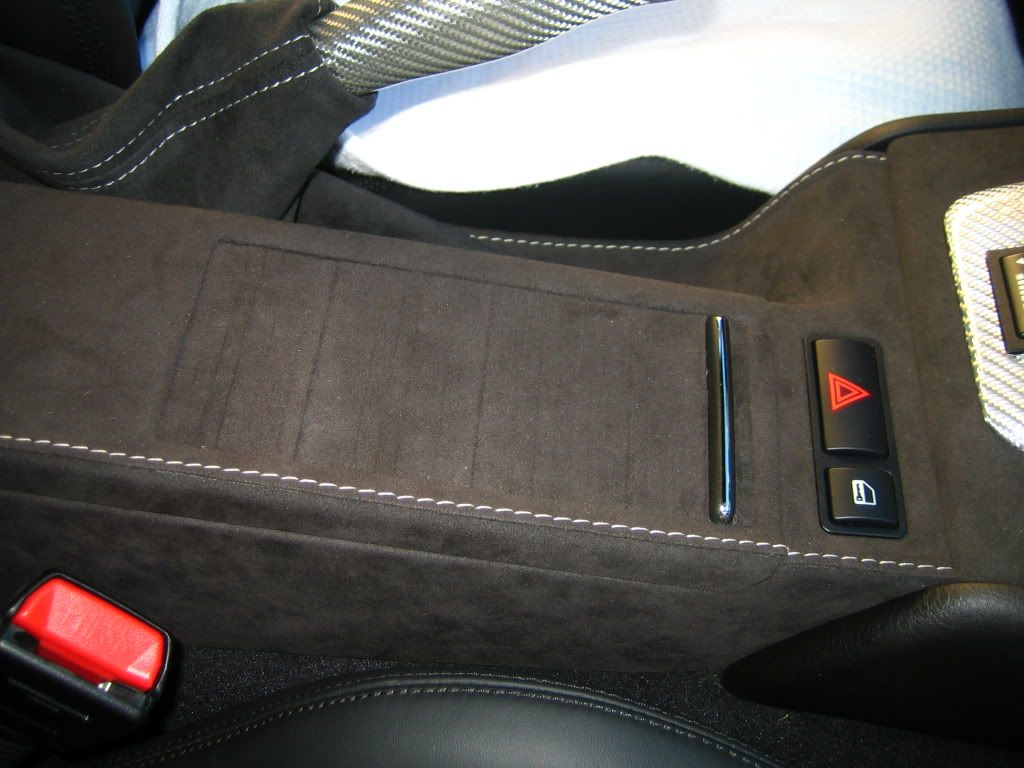 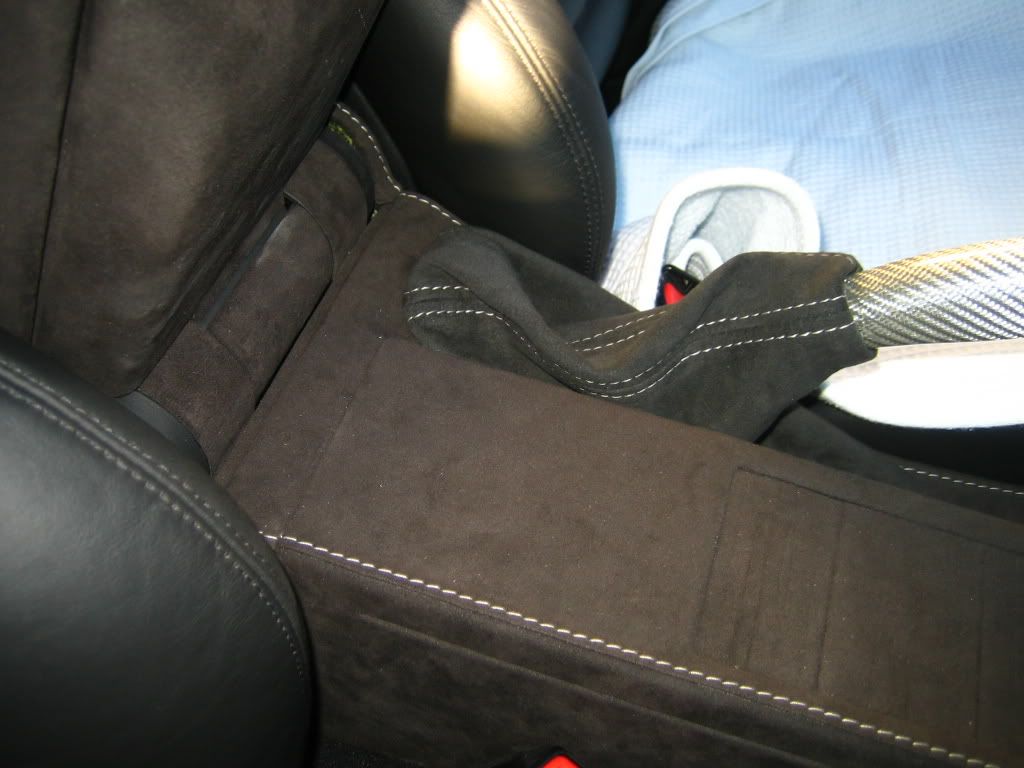 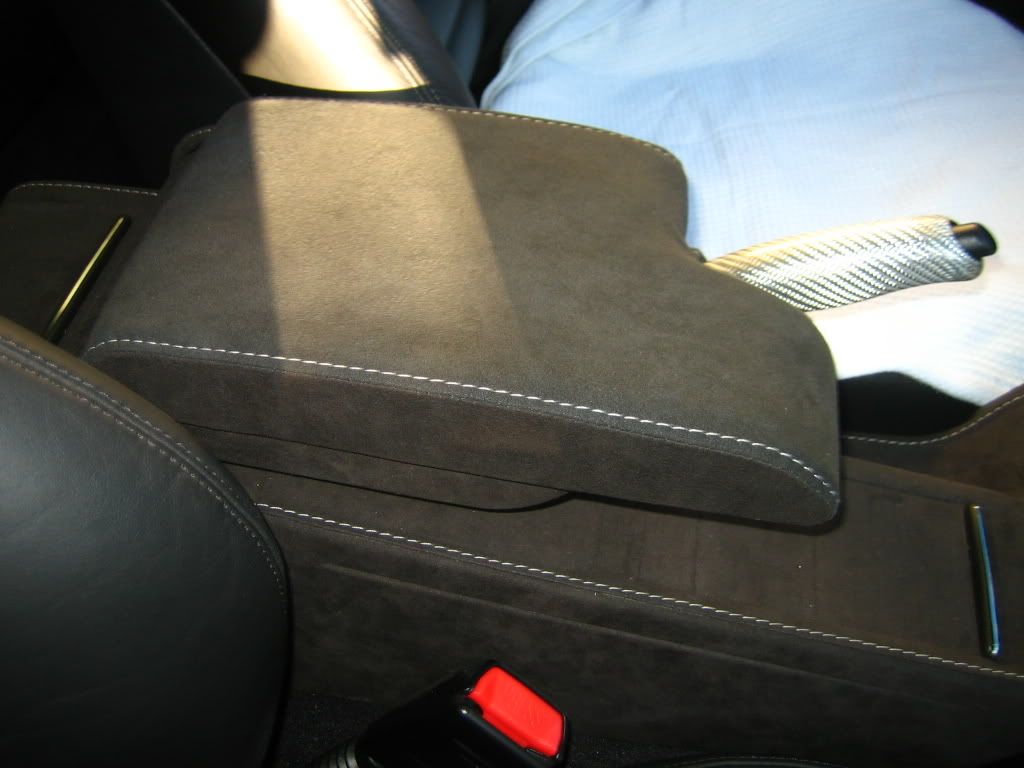 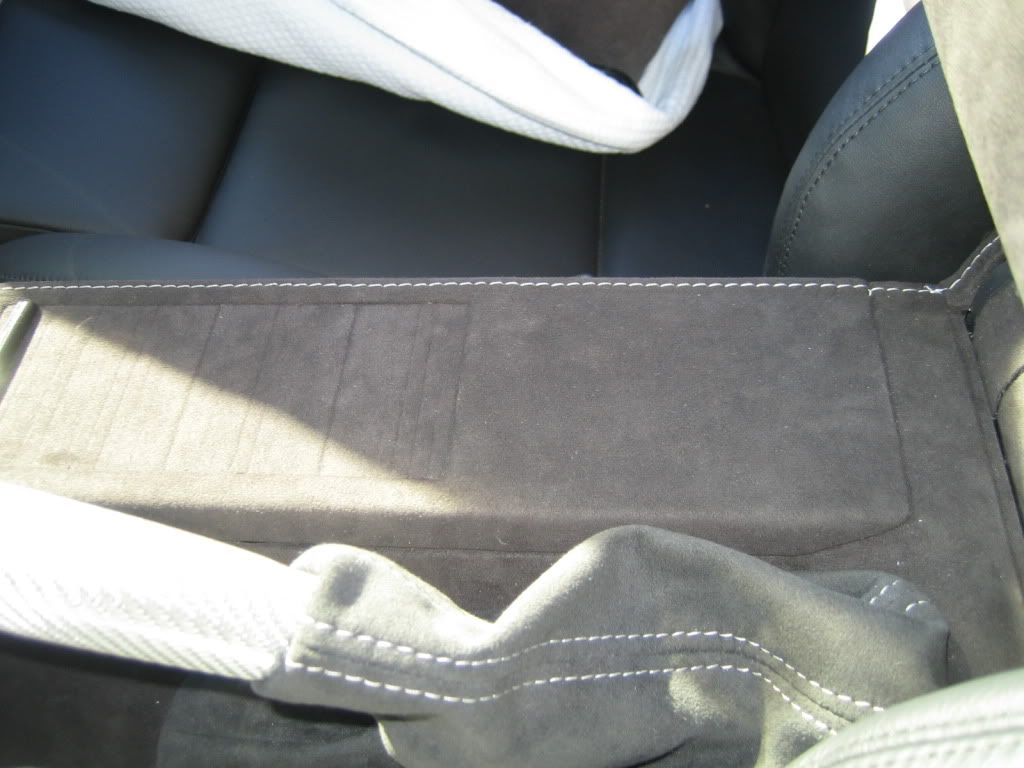 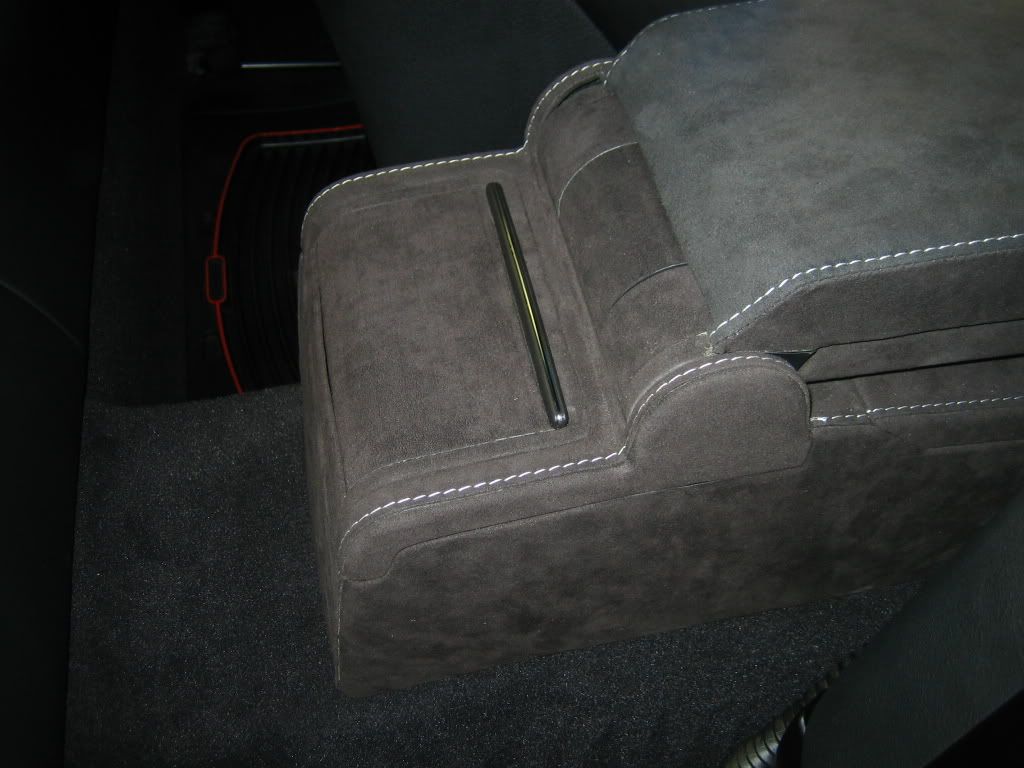 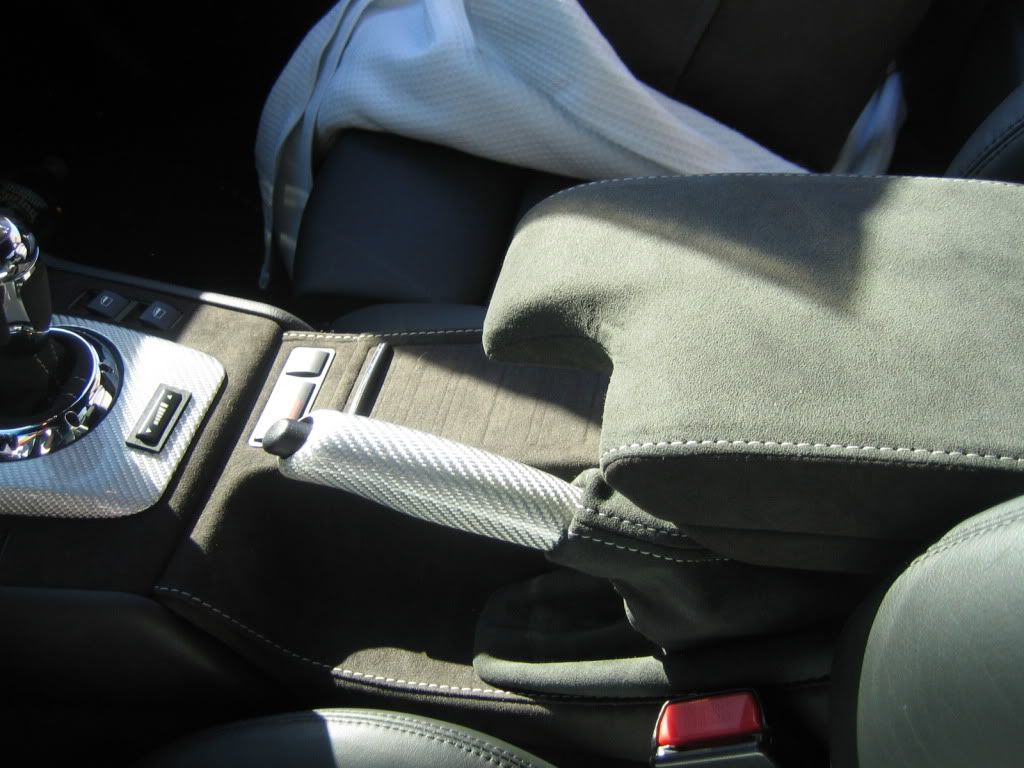  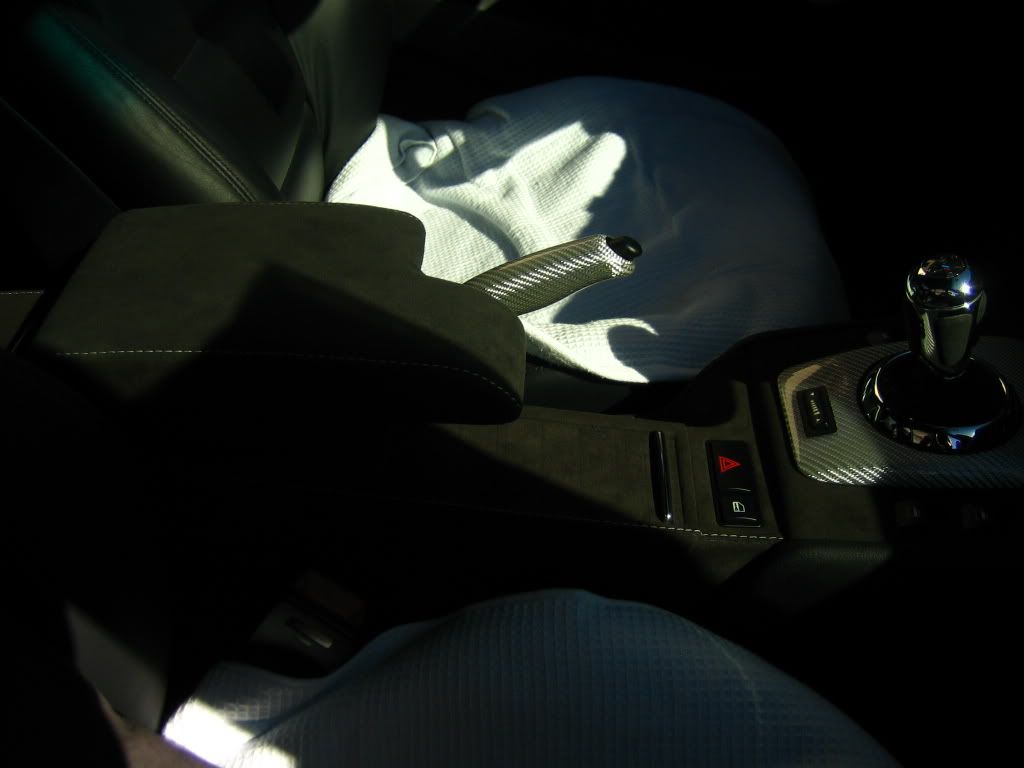 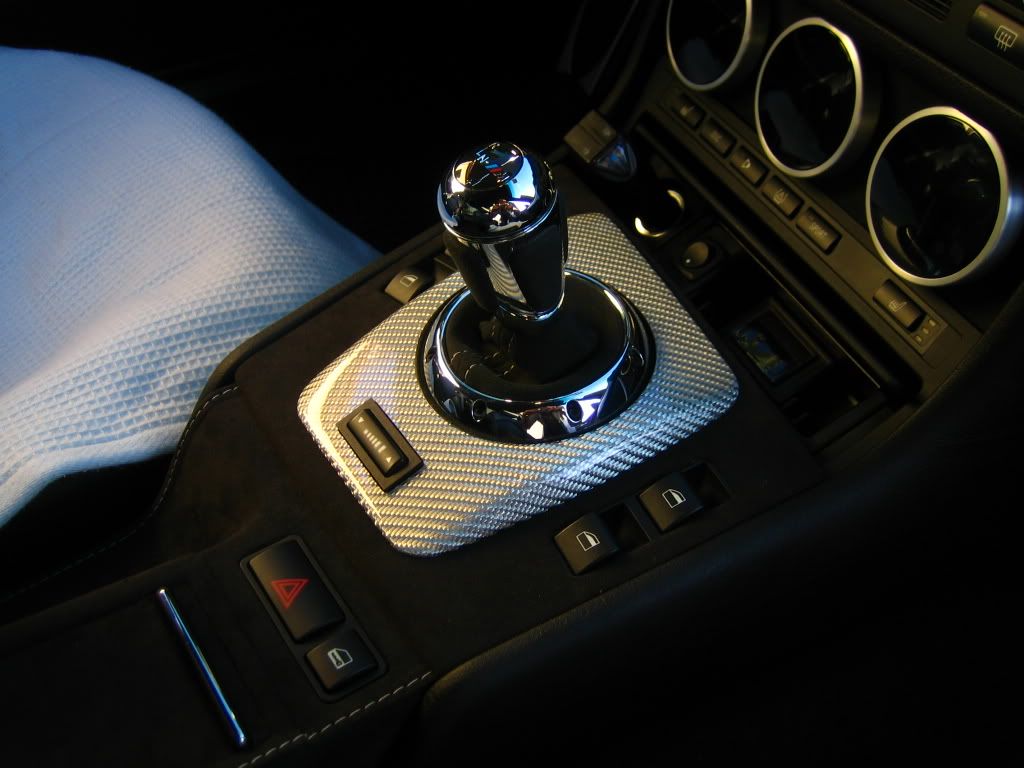  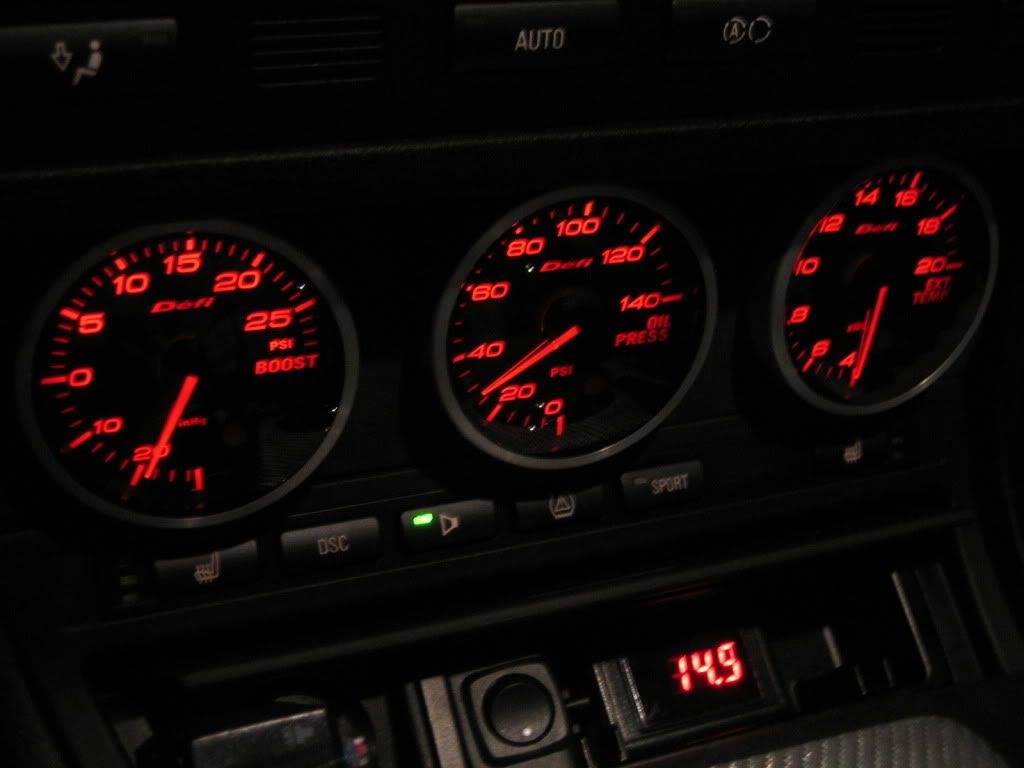 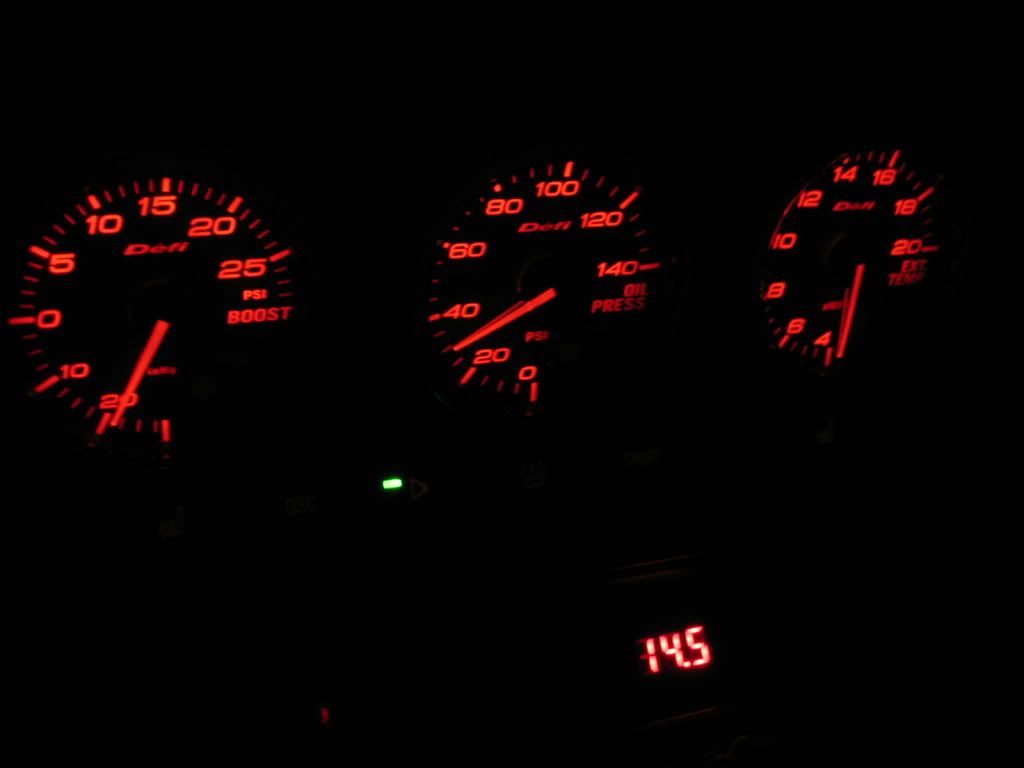
__________________
To view links or images in signatures your post count must be 10 or greater. You currently have 0 signatures. To view links or images in signatures your post count must be 10 or greater. You currently have 0 signatures. To view links or images in signatures your post count must be 10 or greater. You currently have 0 signatures. |

|

|
|
10-10-2010, 04:19 PM
|
#2 |
|
Tri-State Aficionado
Join Date: Jun 2009
Location: mt laurel
Member #13970
My Ride: '06 M3 coupe, '07 X3 3.0si, '88 325ix iTrader: (0)
|
and onto the details of the project....
the pics below were taken over the past few months. we are hoping to wrap things up in the next couple of weeks. some of y'all may have seen a thread on another forum. planning went on for about a year. the posting of teaser pics began in january (these were snapped by a friend who took delivery of parts while i was out of town for a while): 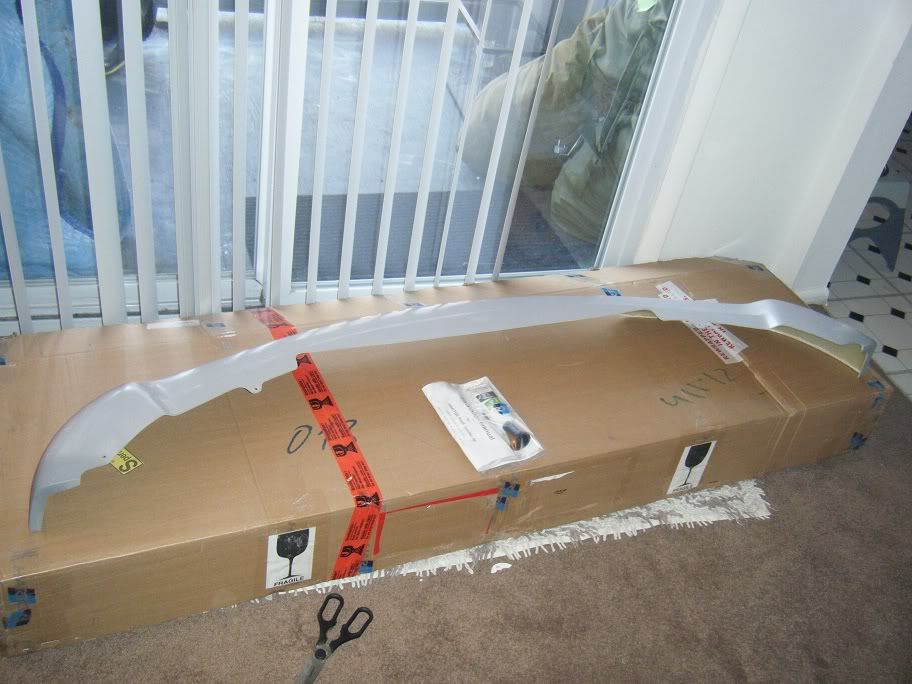 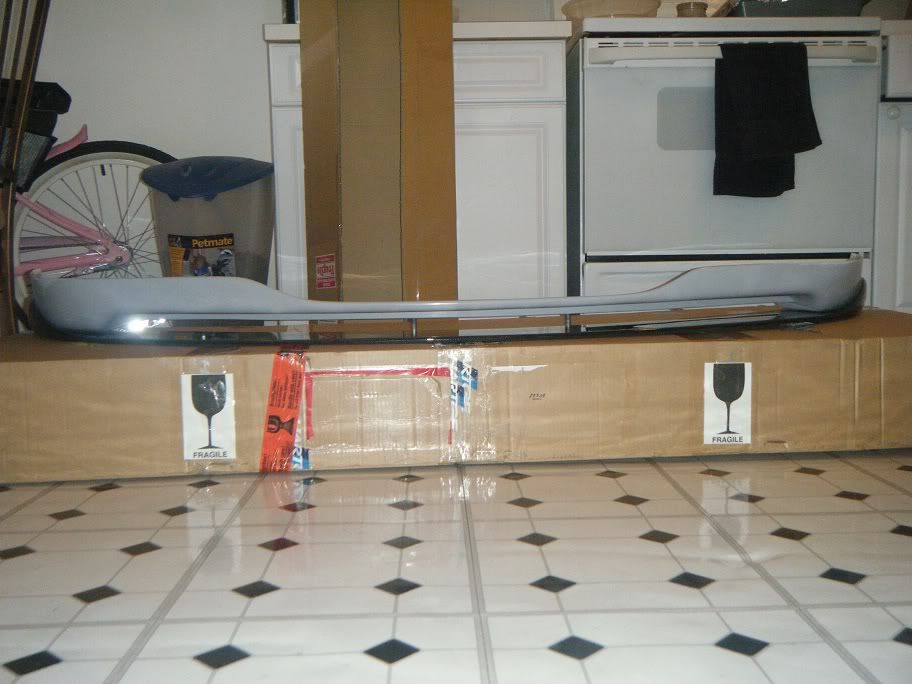 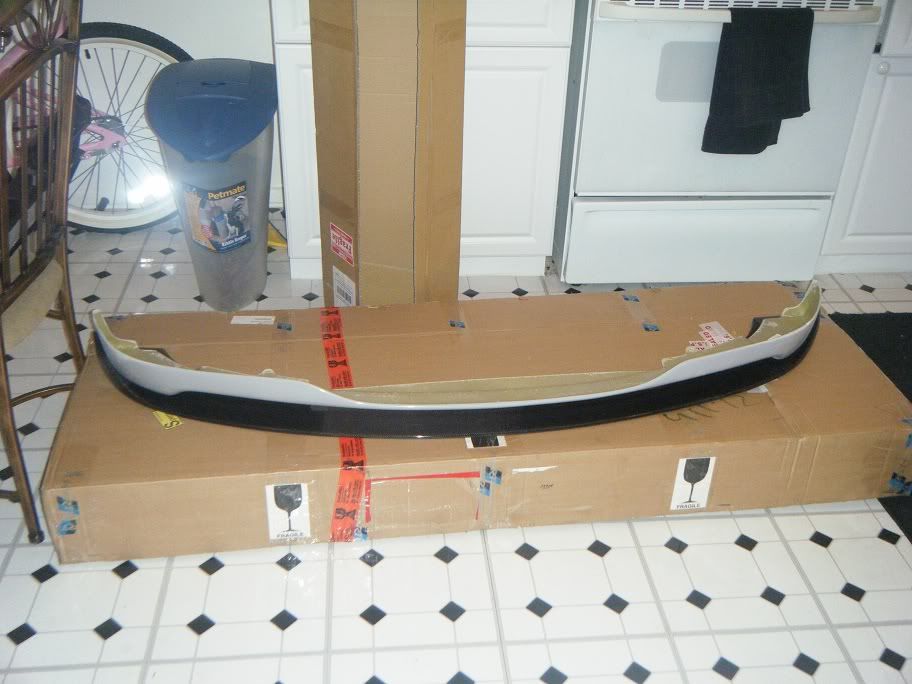 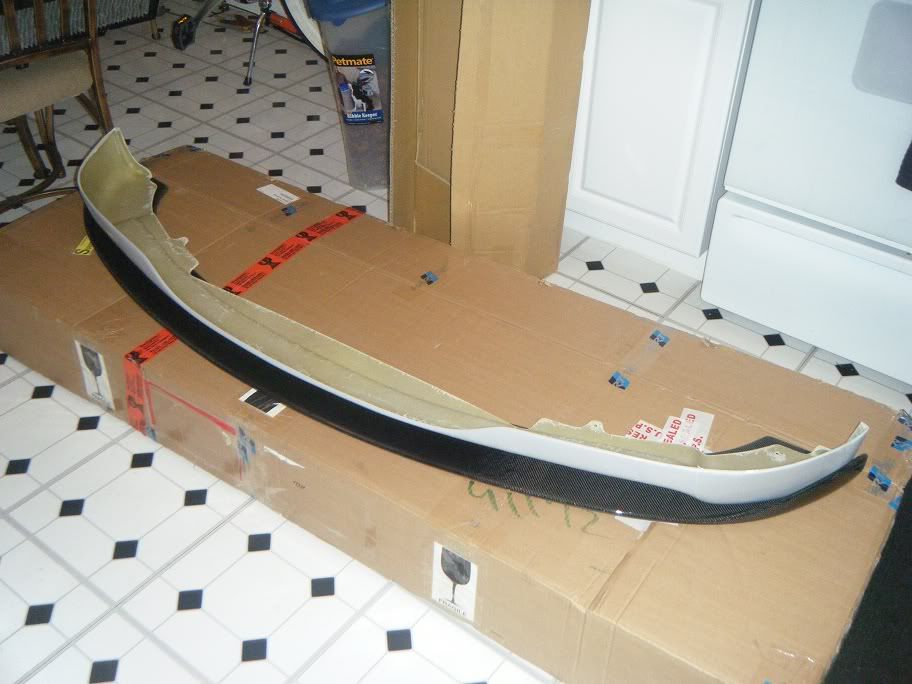 then the first steps at the shop were back in april. it took a vehicle this size to haul stuff safely from the airport to the shop. thanks to my source in germany, i was able to acquire the first major parts as well as "euro only" parts for some other folks (e46m and e9x owners). 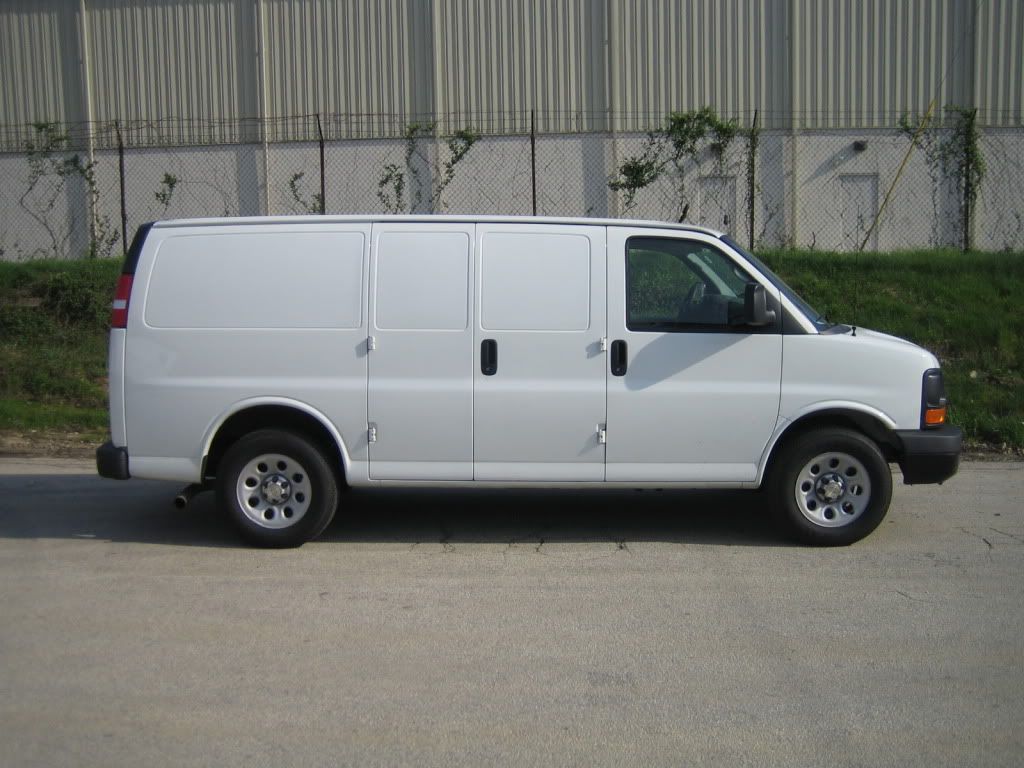 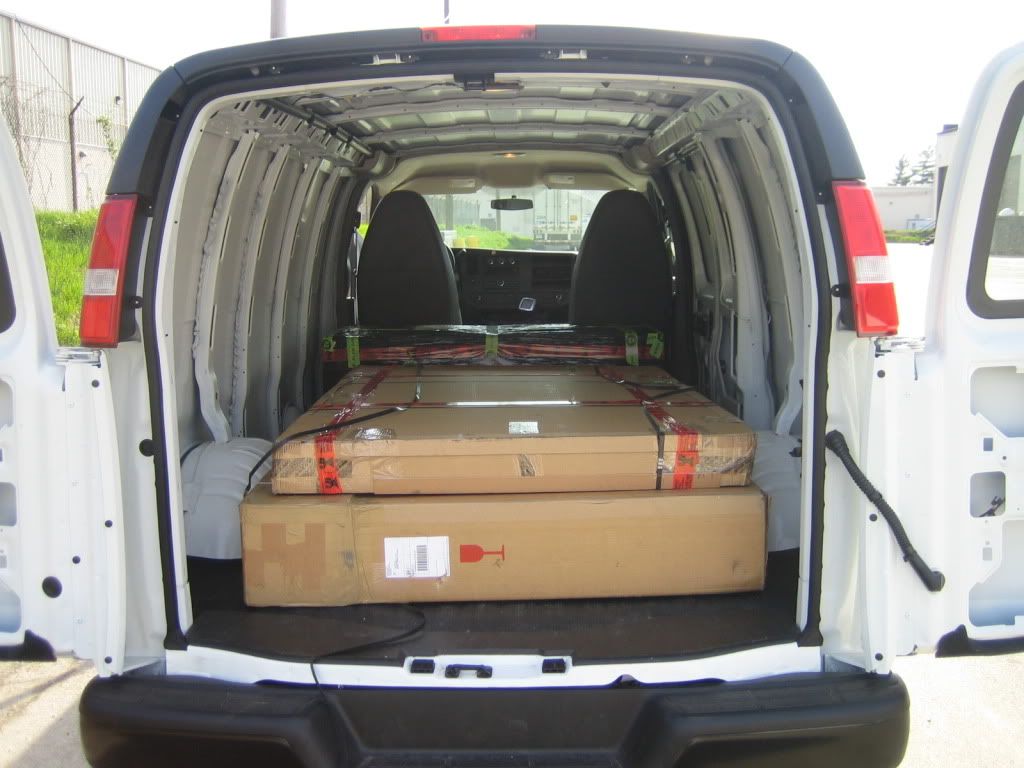  thank goodness i acquired it. 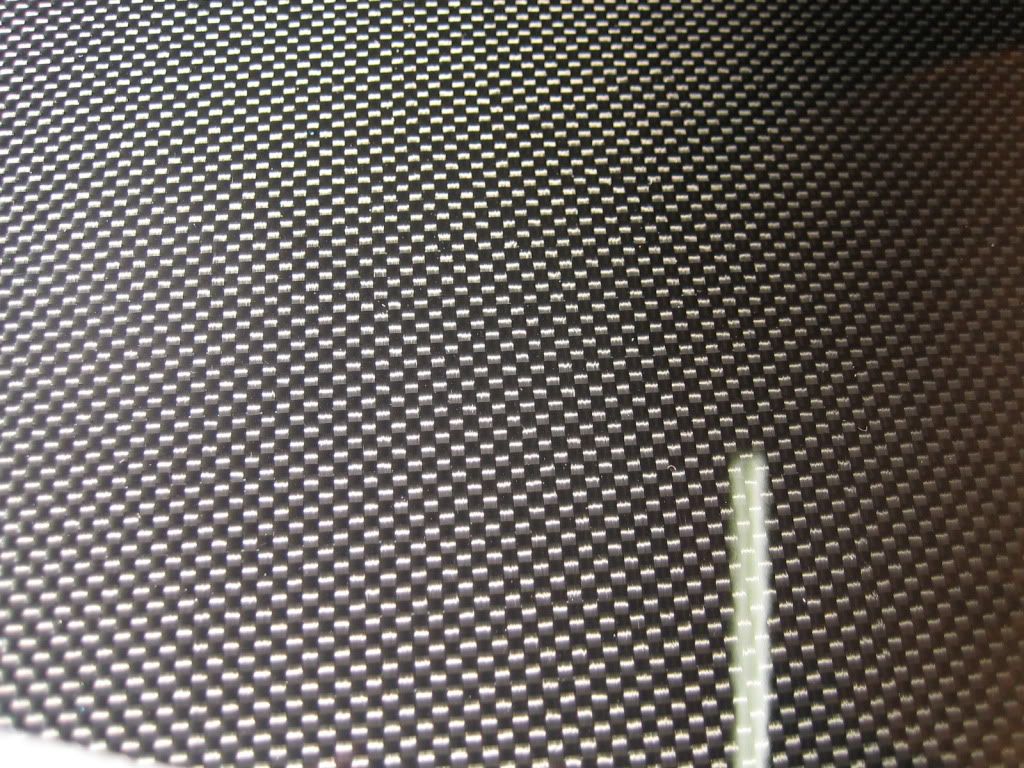 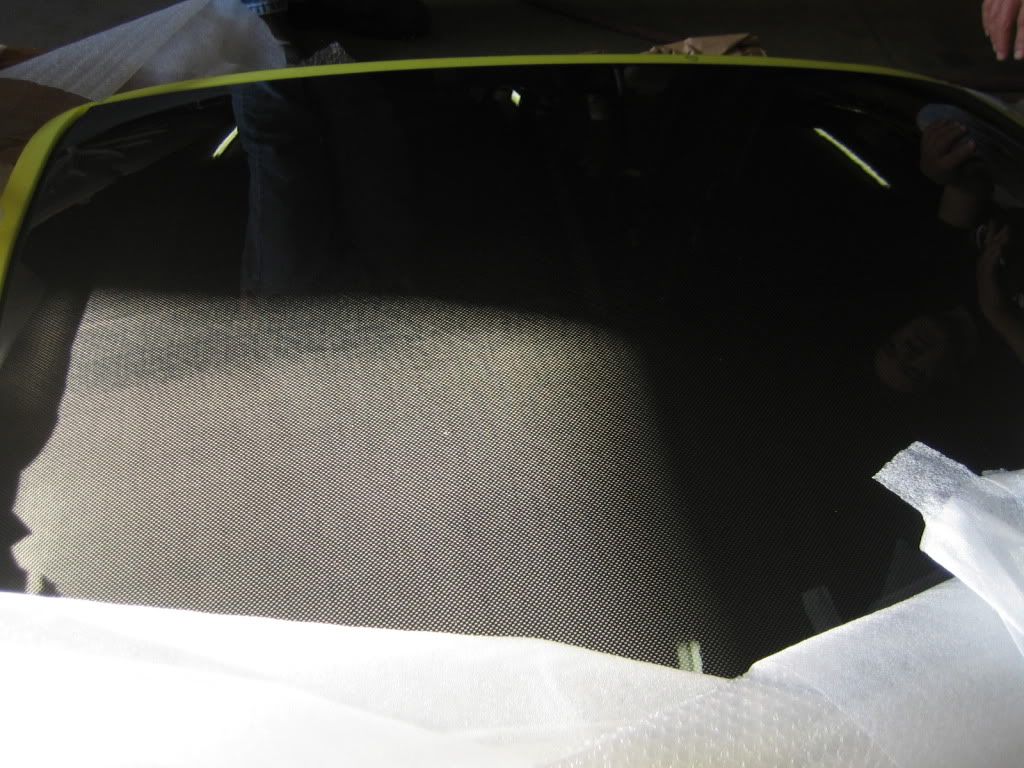 btw, that is not a reflection of me you see in the pic above. 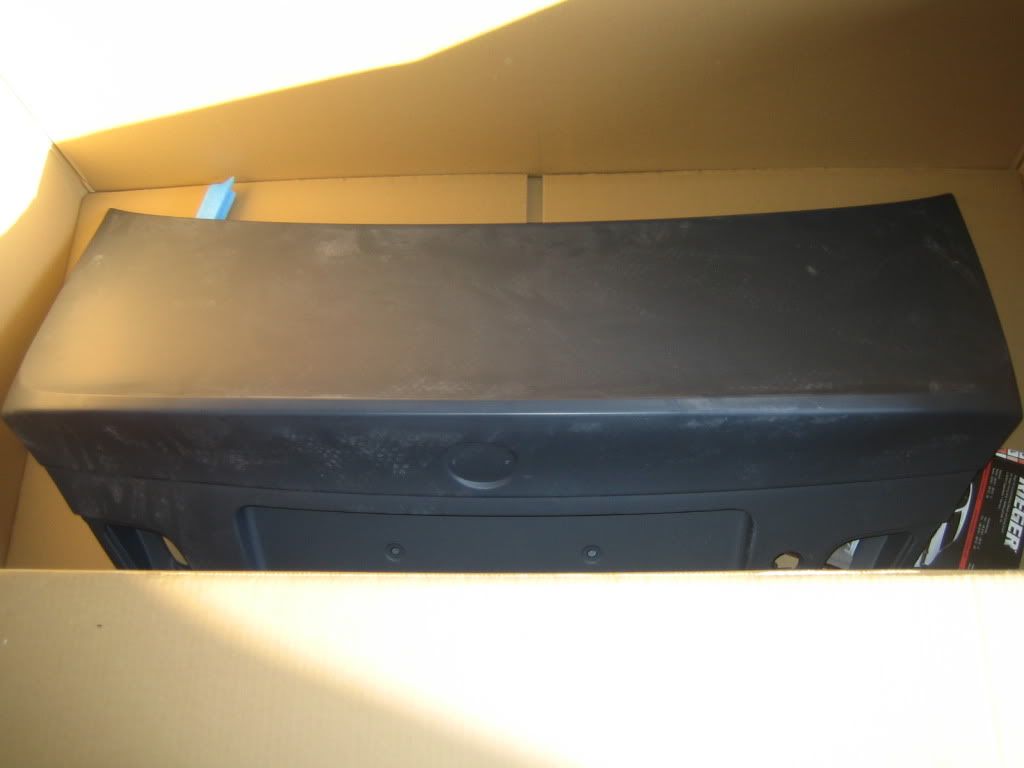 a couple of weeks later, i went by the shop. recaro seats had come in. 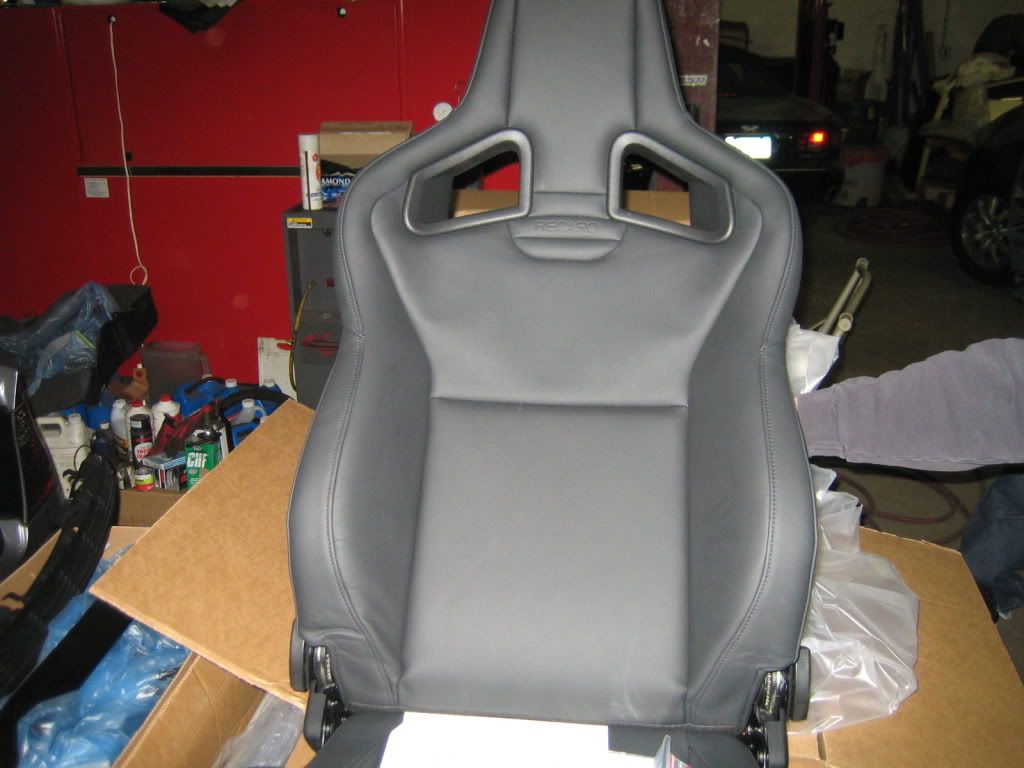 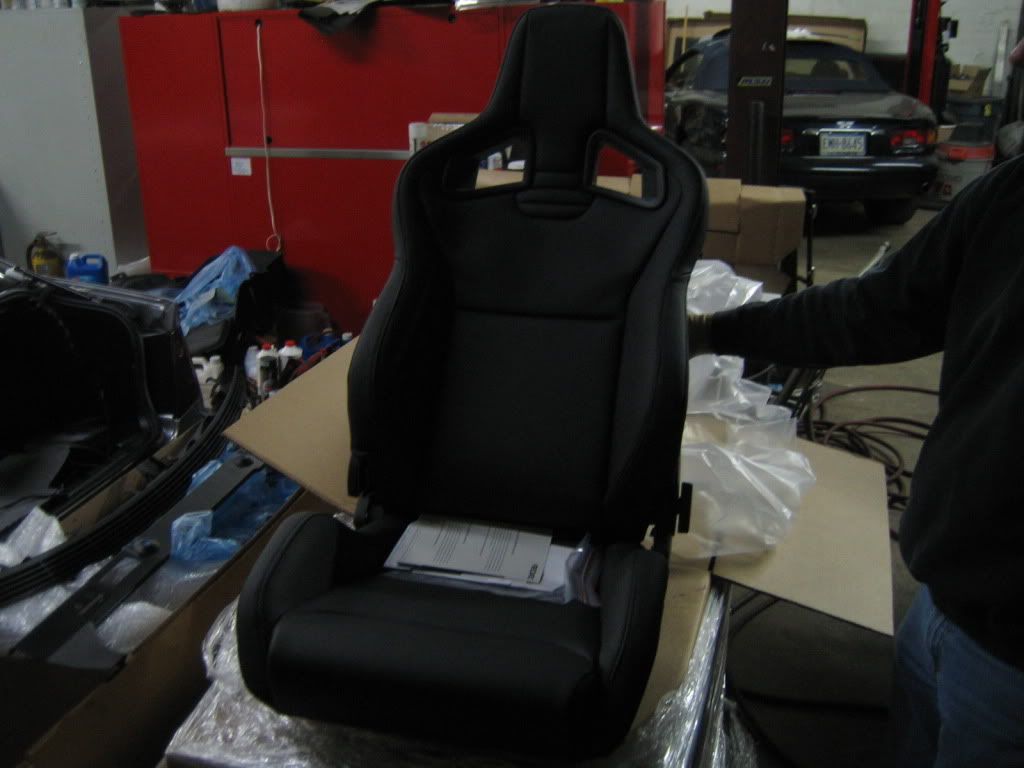 and here are some pics of the progress on the car at that time:  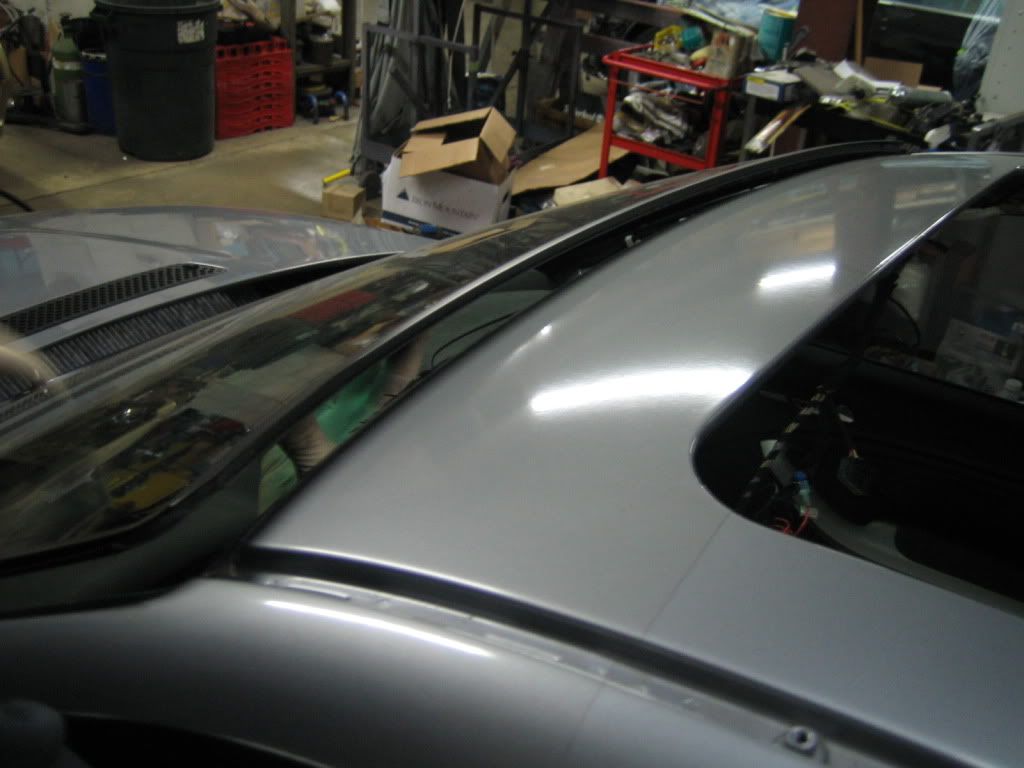 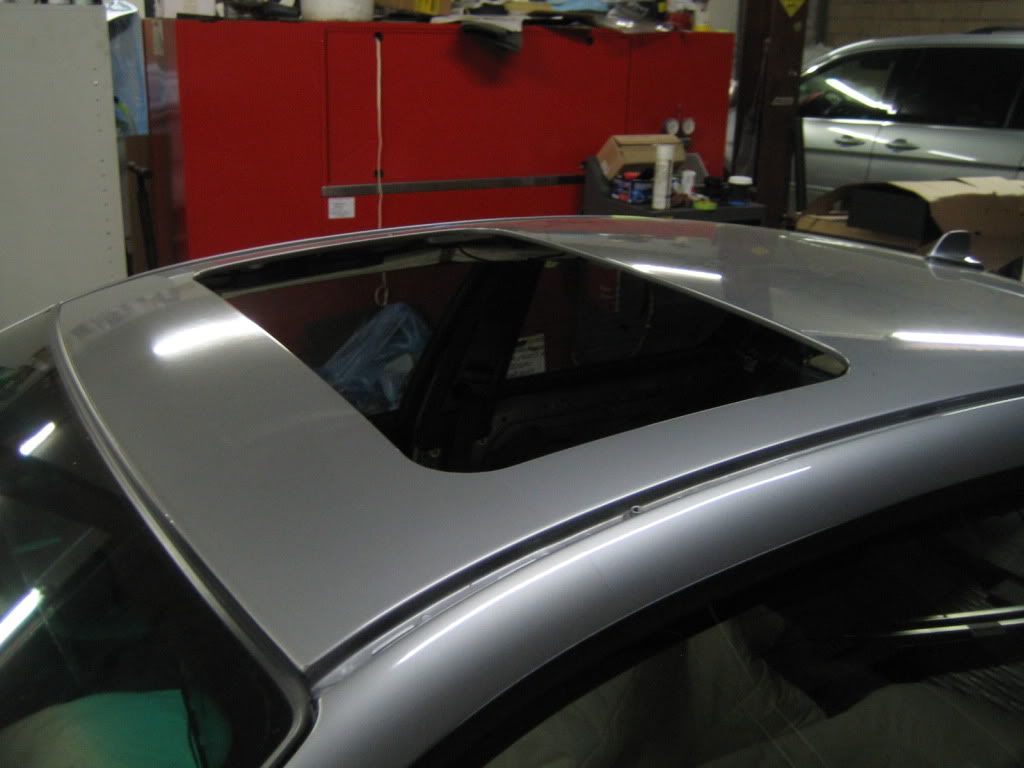  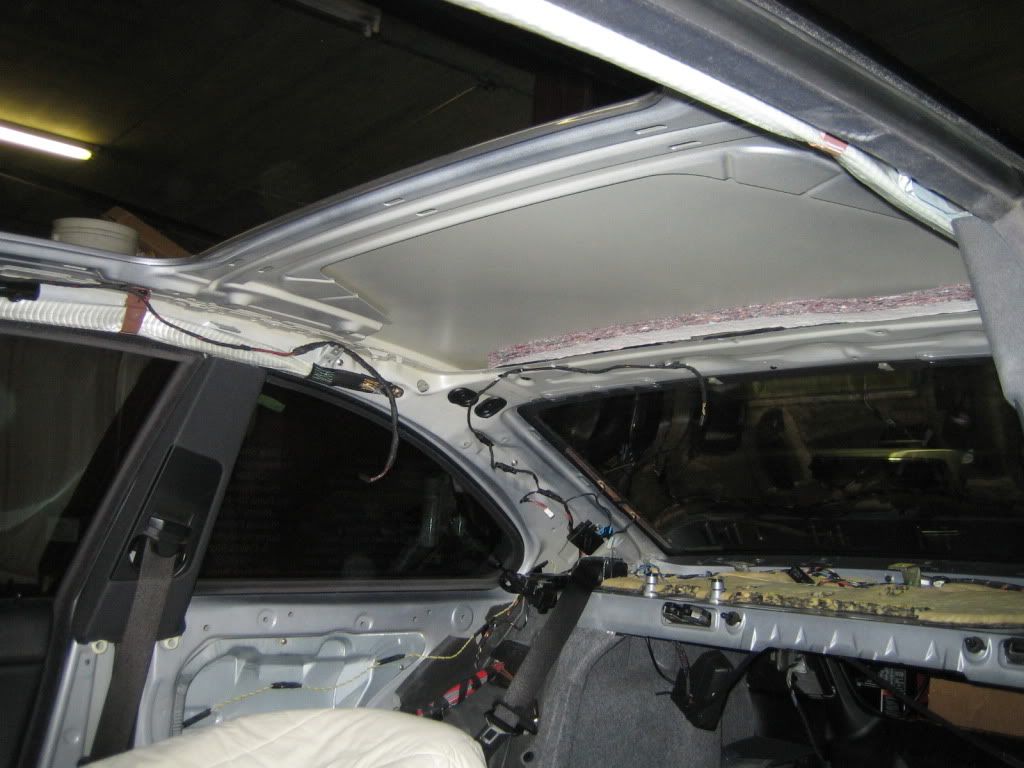 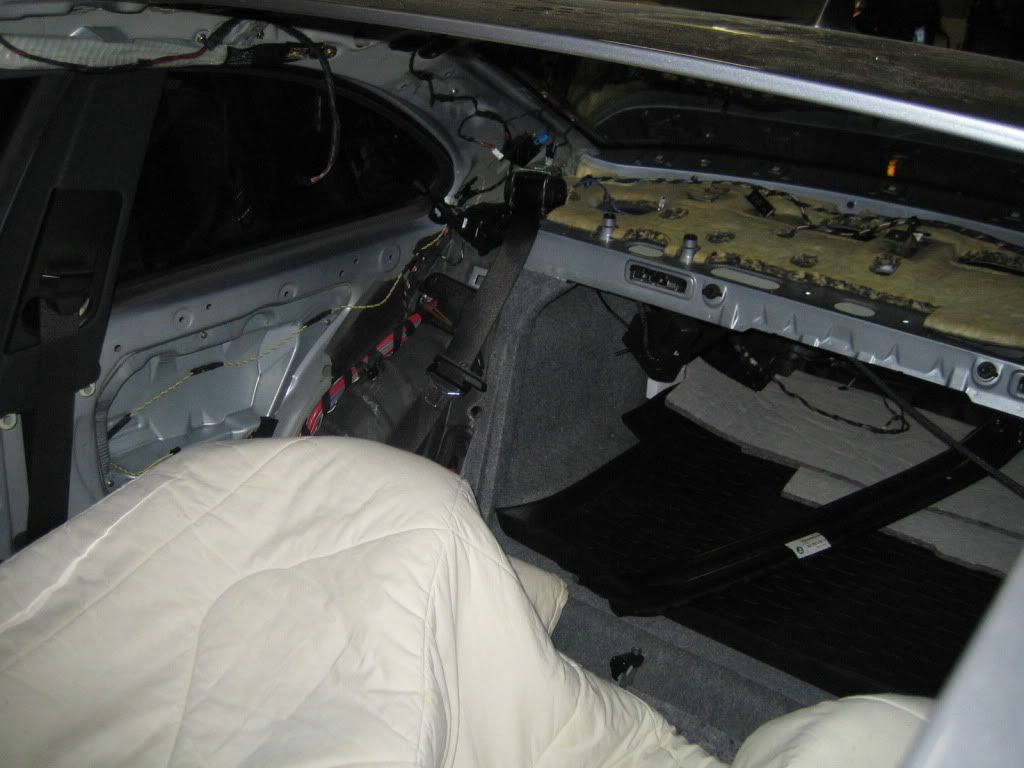 there were some delays. we had to wait on the right glue and confirm that we will be using a proper one. also, the metal roof had caulk (which is then painted over by bmw) around it to metal "iinner rails" on each side underneath the roof rails that you see. the oem csl roof obviously does not come with the inner rails. these are important because they each have 7 or so clips that are welded onto them. these are what hold the outer roof rails (ones you see on each side of the roof). it appears most folks glue them in. also, most folks do not use the same caulk. instead, from what i have seen in threads, glue is used in place of the caulk. we decided to do it just as bmw did to ensure some flex is allowed as well as absolutely ensuring moisture will not become a serious problem. regarding the clips, it has been difficult to locate them. so, it looks like each one will be finely cut off the inner rails and then welded in place so that the outer roof rails can be clipped in properly after the roof is glued in place, caulk is set, and paint is sprayed over. note that the markings on the painter's tape made for exactly where the clips were on the now removed inner rails. also, note how cleanly and carefully the roof panel was removed. i was very impressed by what i saw yesterday evening. the rest of the project is moving along well. the roof should be complete in a few days.  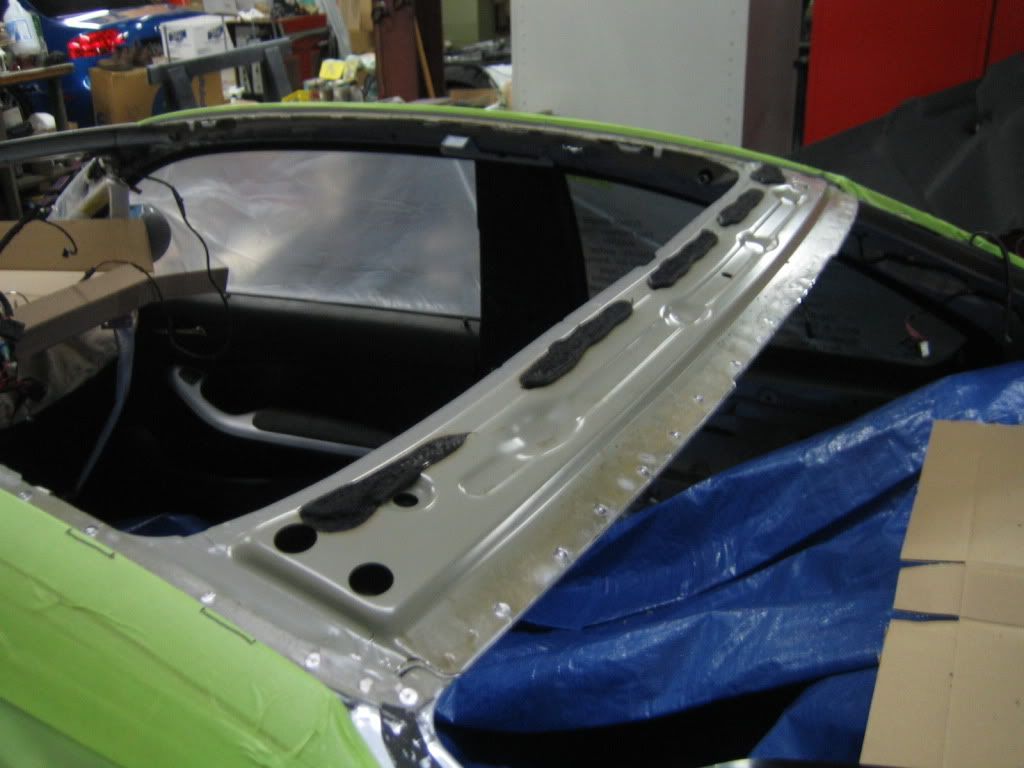 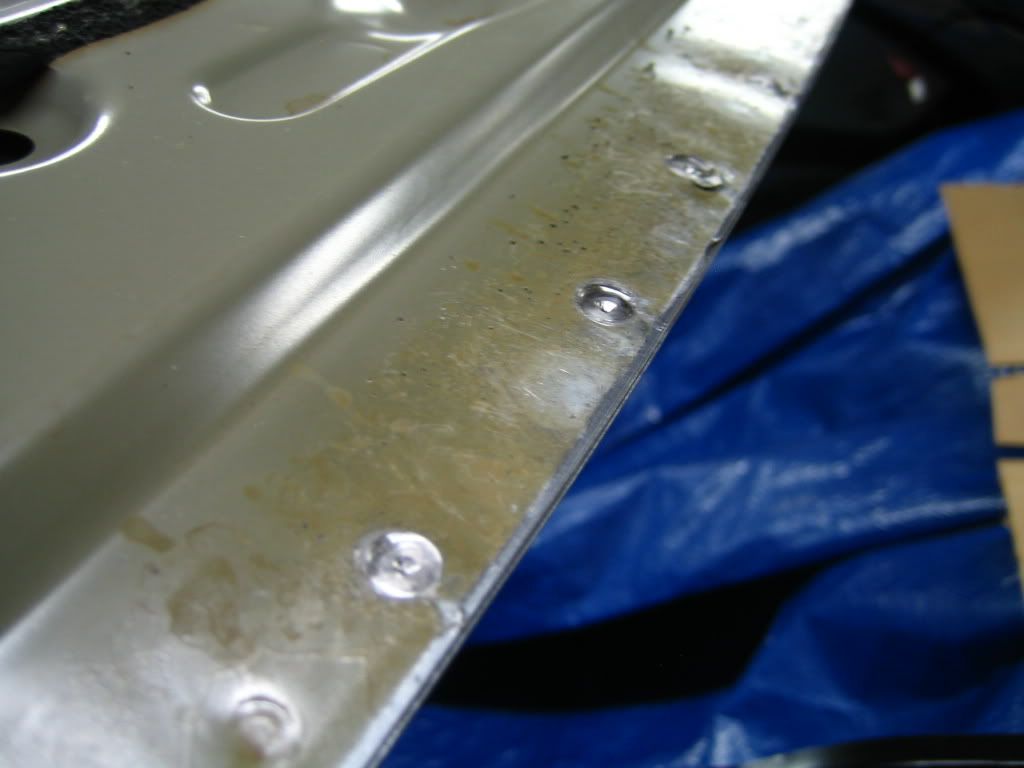 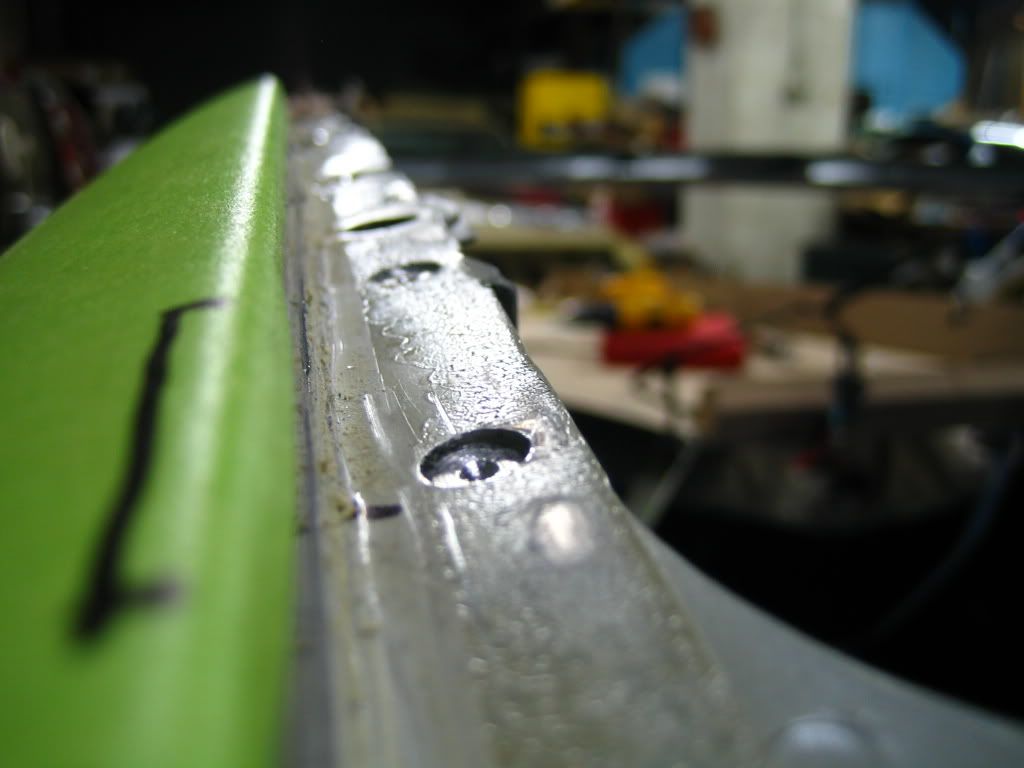  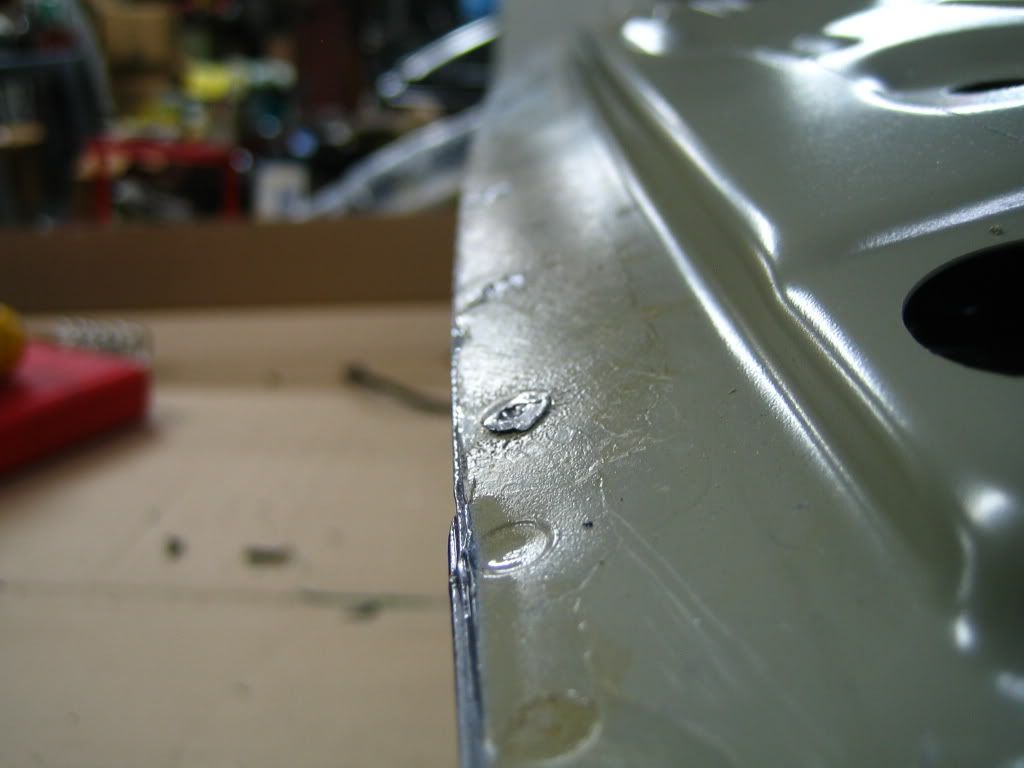 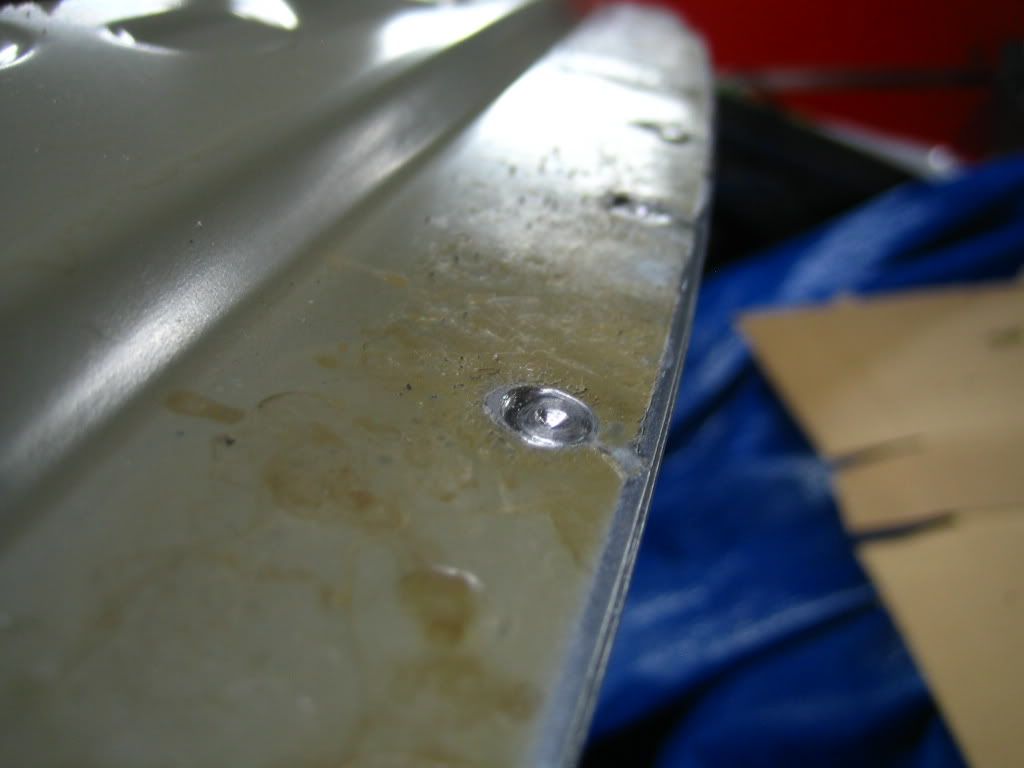  for those who are not familiar with doing a "roof transplant" on the e46, under the oem roof rails are metal rails (gonna call them "inner rails") that run along side the roof panel. these rails each have 7 clips into which the roof rails snap into. the inner rails have to be removed in order to install the cf roof. with these inner rails off, the cf roof sits at a different height (factoring in also the different thickness of the cf roof). the clips are necessary to properly clip in the stock roof rails or the oem csl rails. i have the latter. most folks have chosen to glue in the roof rails. there are potential problems with this including not being able to remove the rails without a high risk of damaging the cf roof panel. most folks will argue that this is a non-issue since the roof rails should never have to be removed. well, in most cases, yes. but if damage occurs to the rails or if you want to swap from oem csl to stock so that you can run a roof rack, this becomes an issue. also, most folks choose to use glue as the caulk around the roof. the problem with that is not allowing flexing. also, moisture will inevitably get in between the rails and the sides along the roof panel. caulk is much better than using glue. the problem with the clips is that bmw could not find them separately. those inner rails come part of the stock roof (sunroof or no sunroof). john tried taking off the clips from the inner rails but they did not sit properly. so he milled out 14 (7 for each side) out of the stock roof panel. he machined them perfectly and lined them up where he marked the location of the clips when the inner rails were still in. he then machined out 3 semi-circles on the end facing the roof panel so that the glue would spread better and distribute correctly. those clips were glue down along the sides (where the inner rails used to sit). then the cf roof panel was glue on top. this way, the clips sit where they are supposed to and ensure the roof rails will sit flush along the sides of the roof panel. .... several weeks later, i went to the shop again and snapped a few pics. the quality is not that great. at this point, the roof had not been cleared several times yet. my new bbk setup that arrived the week before. it is ready to get some "custom paint": 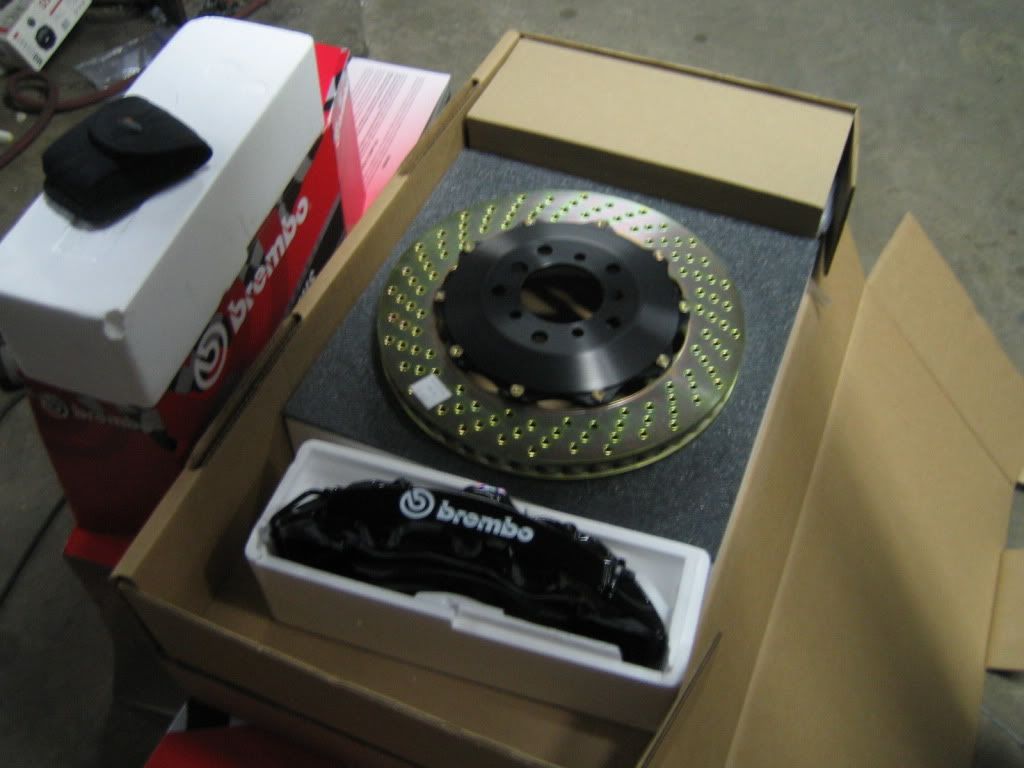 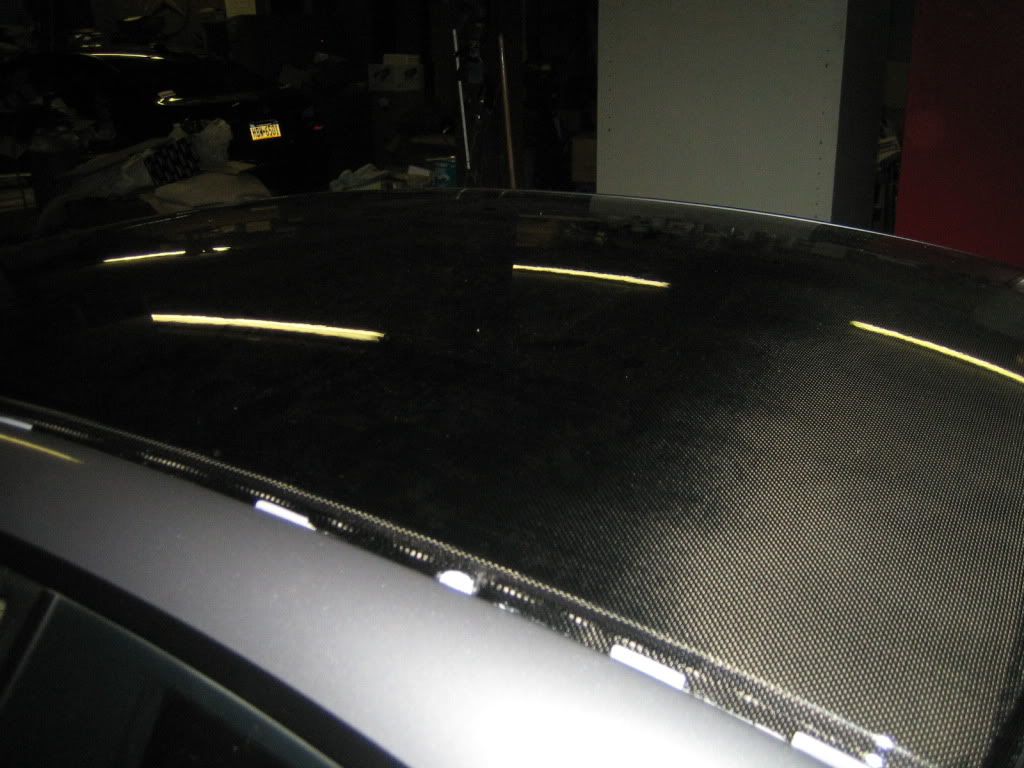 you can see some of the clips (7 on each side) that were individually machined and then welded in place. also, primer was brushed in over the welds and the slight glue "overflow". 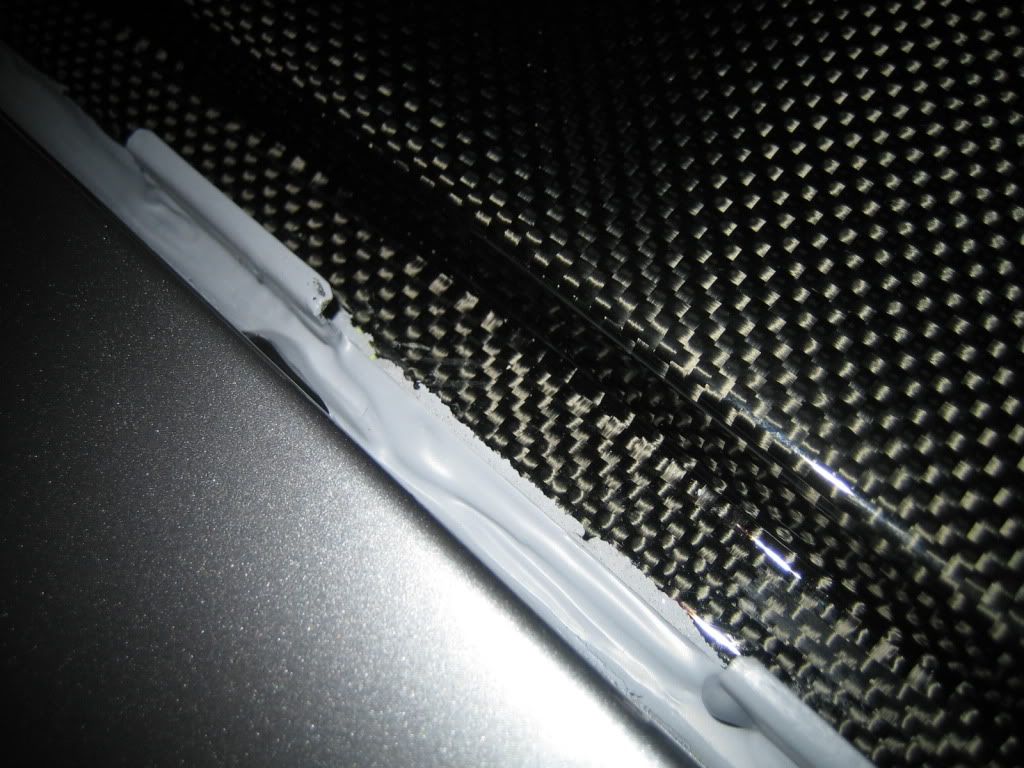 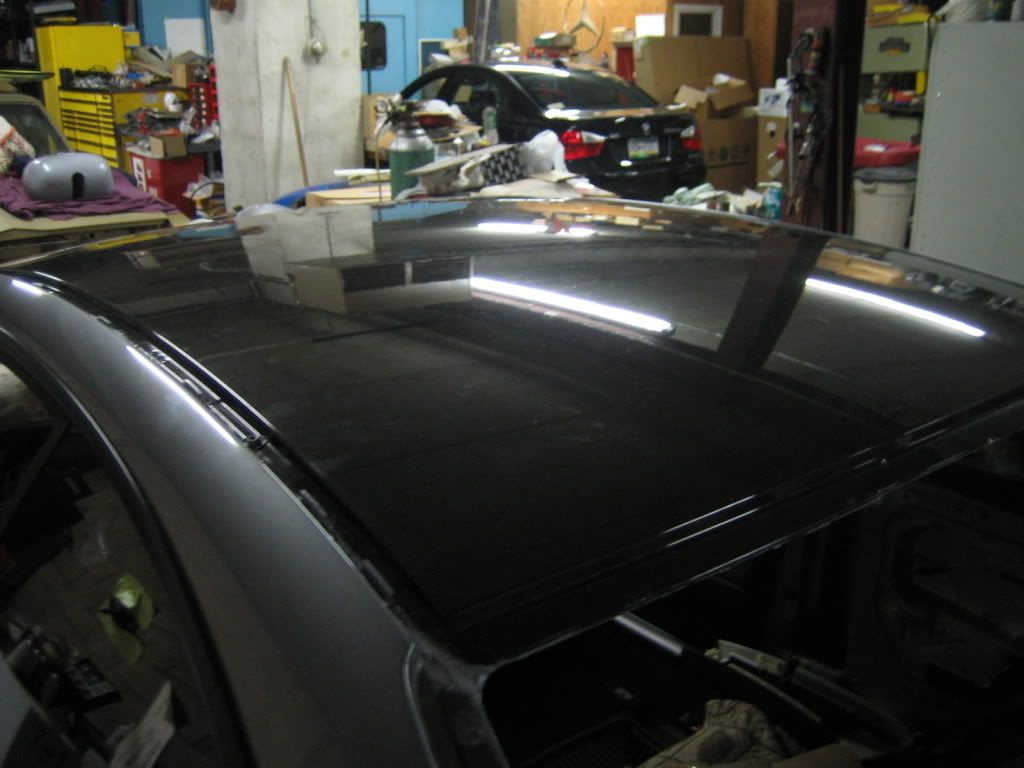 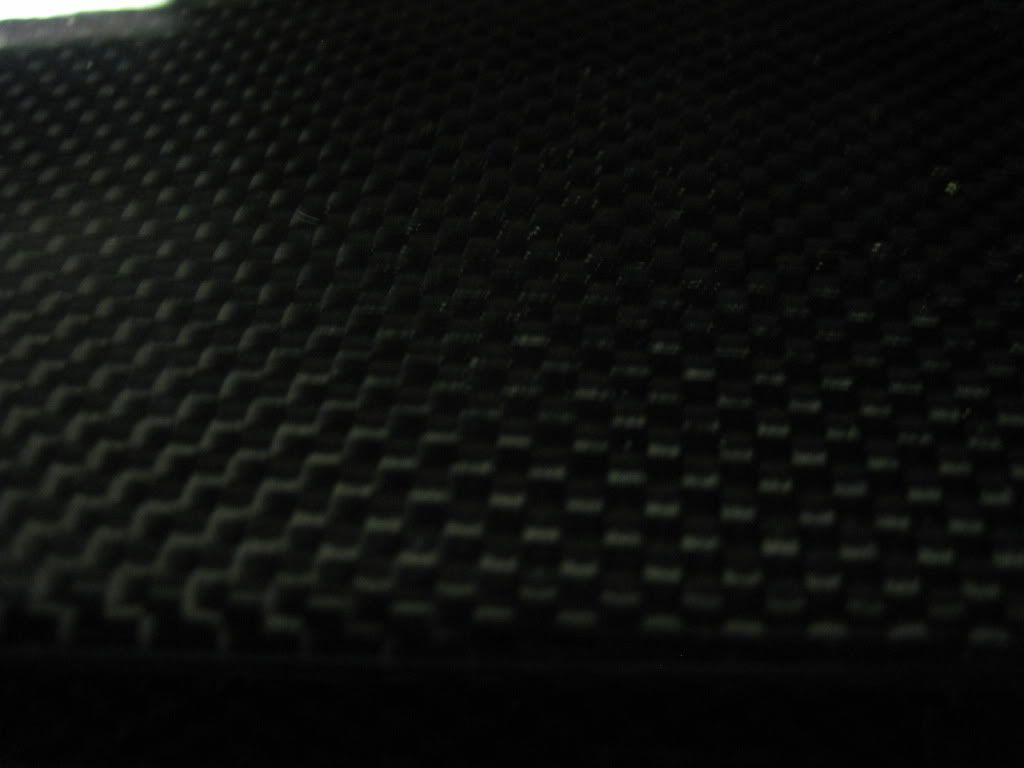 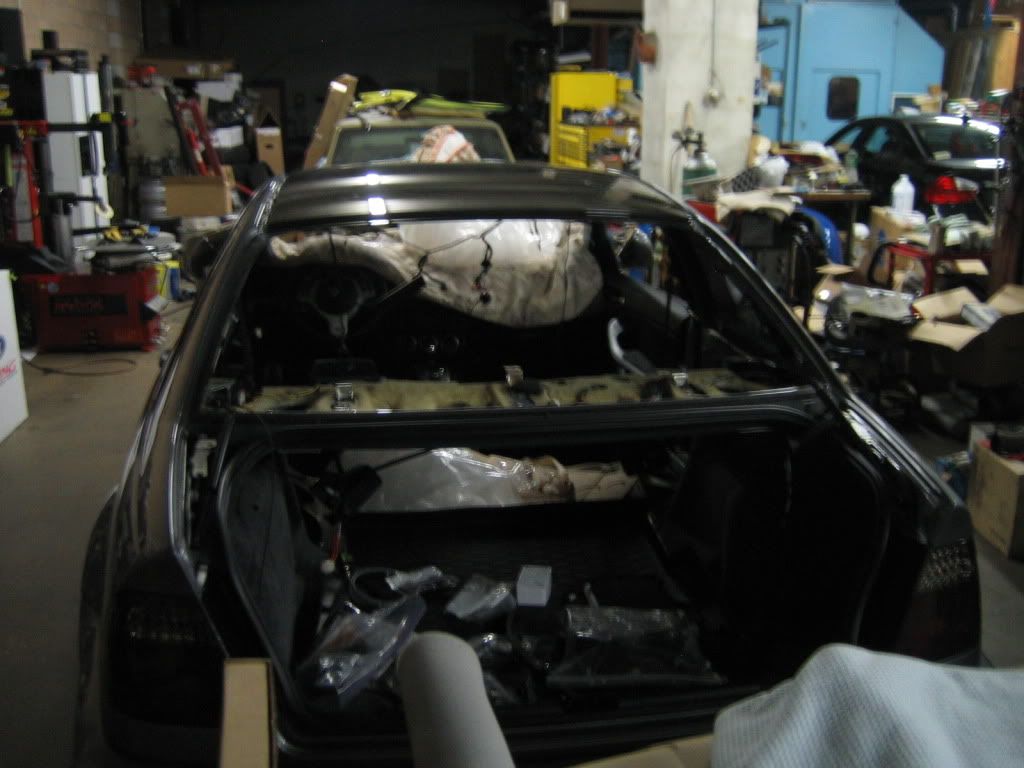 here is link to my actual headlights that got the quad tfx retrofit. big thanks to caesar @ lightwerkz :thumbsup2: pics of my actual headlights are posted on lightwerkz: http://www.lightwerkz.net/gallery/ma...2_itemId=14857 start from there and there are quite a few pics. i cannot directly post the pics here. i love the attention to detail including the 3 silver lines seen here: http://www.lightwerkz.net/gallery/ma...2_itemId=14885 .... this custom piece is being made by someone else: 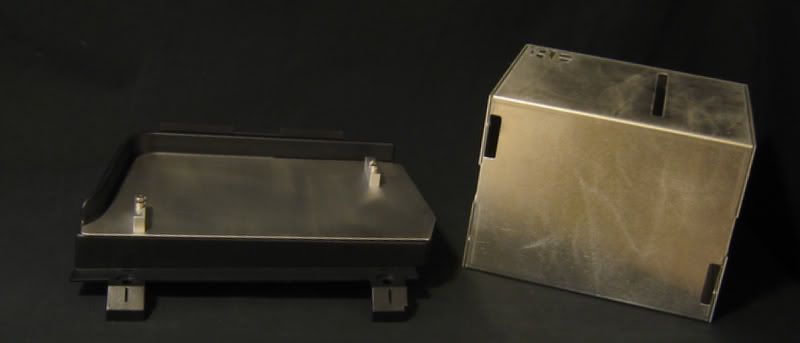 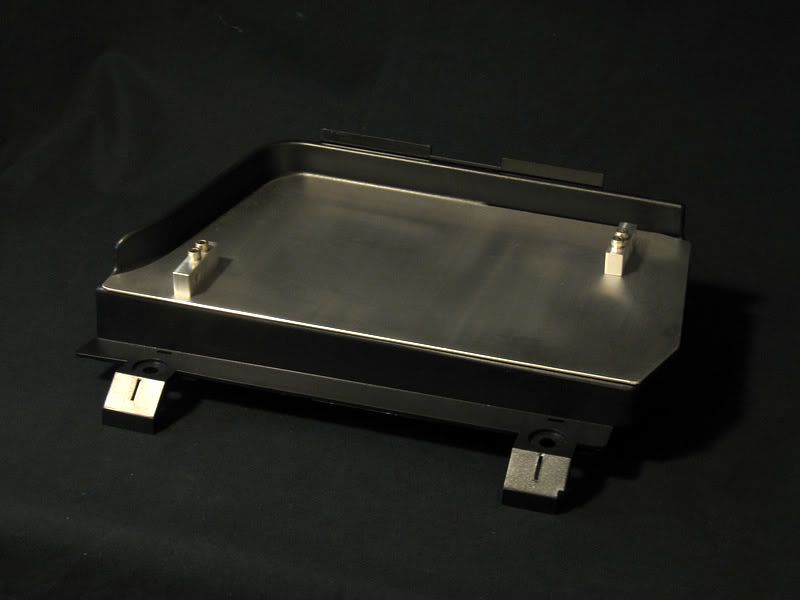 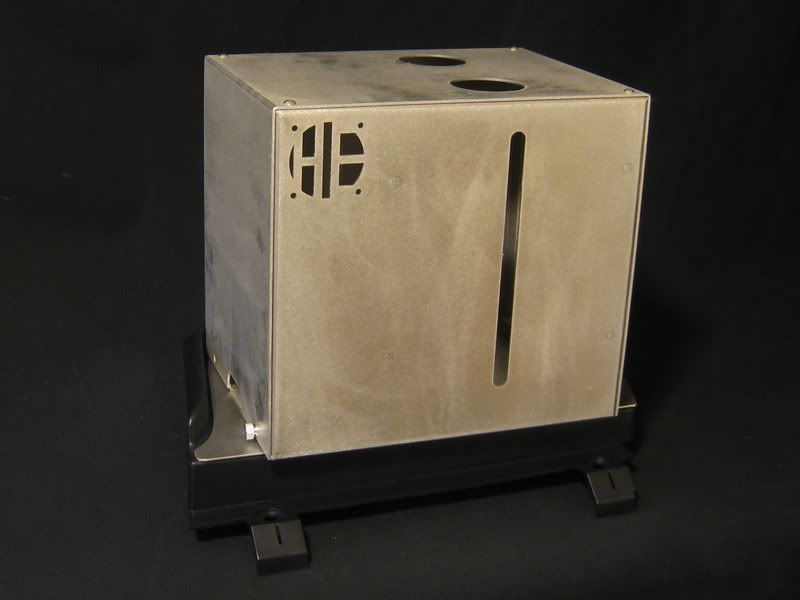 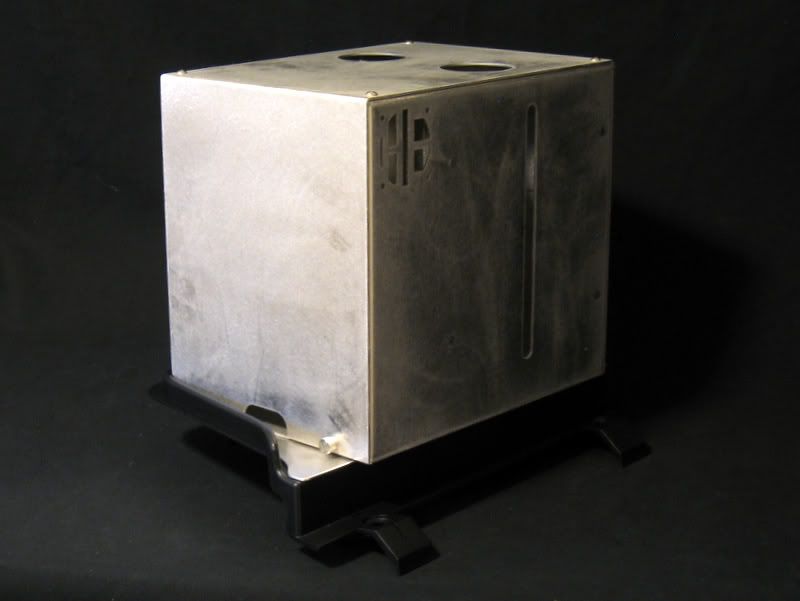 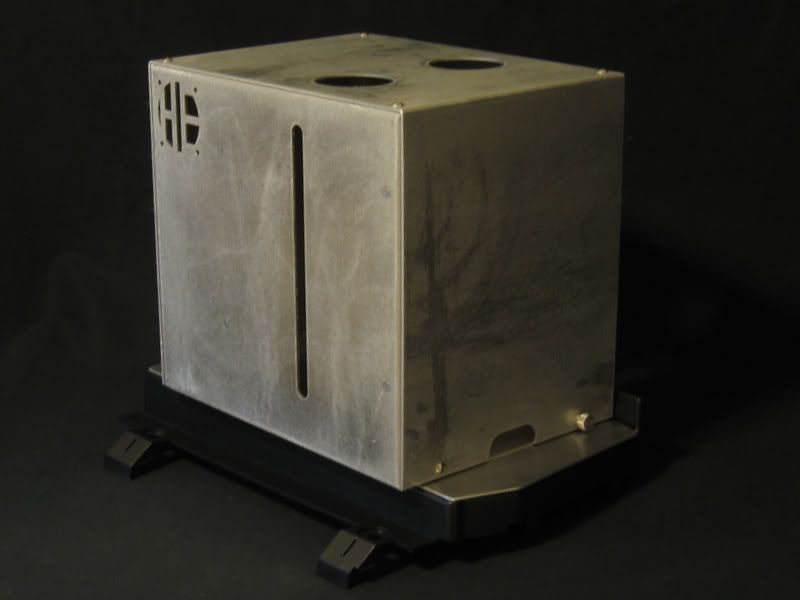 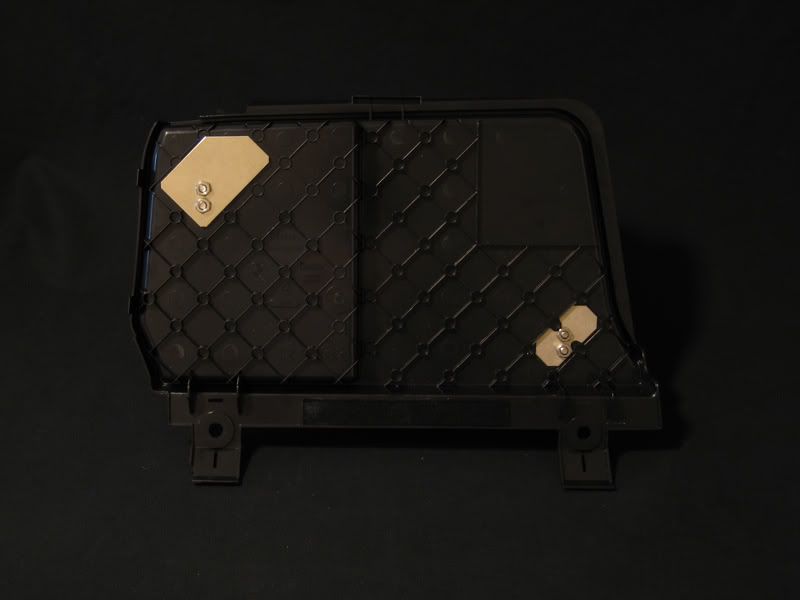 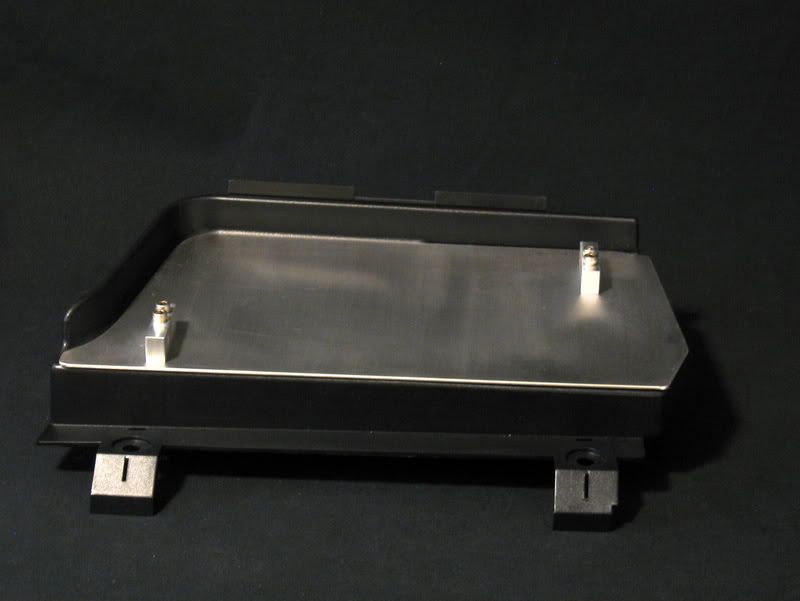  pics were sent to me before the whole unit/kit was sent to me. .... so the project's to do list started to grow. i had this custom made: 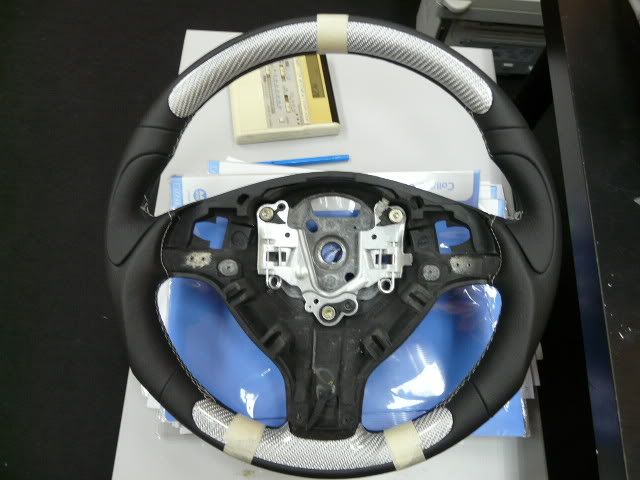 .... a few weeks later, i had some quick pics i took of progress and more parts that came in. the roof now has several layers of glausrit clear. it just needs to be cleaned and buffed: 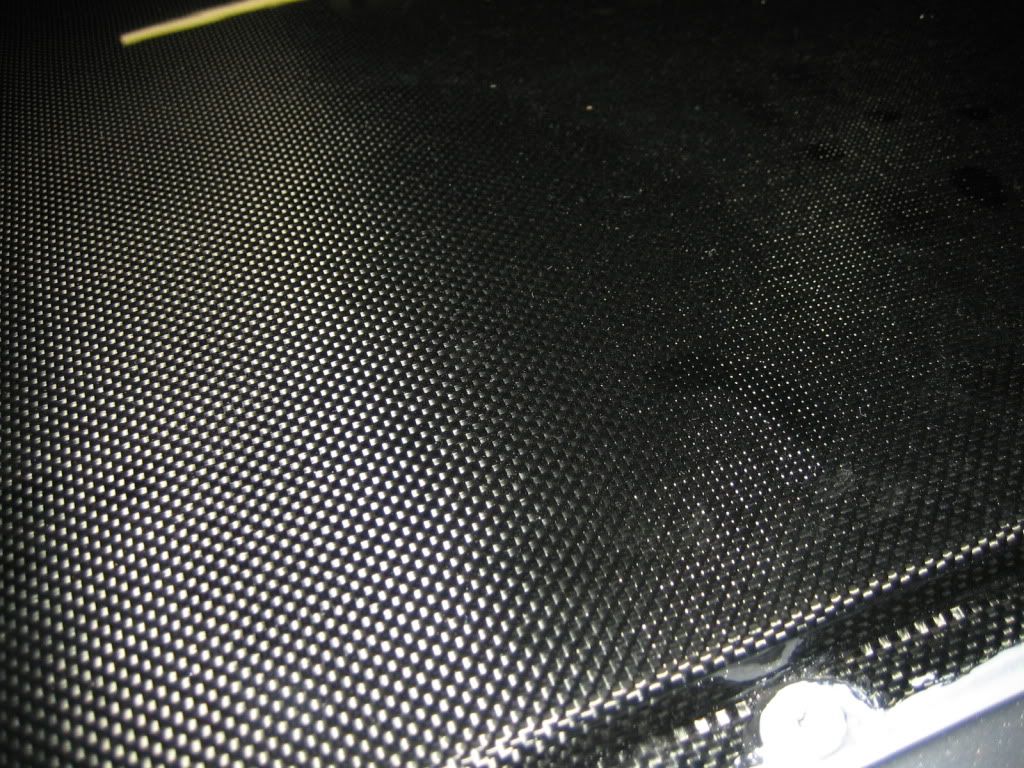   to complement the addition of the oem csl roof, i am adding a few 1x1 black cf accents.... 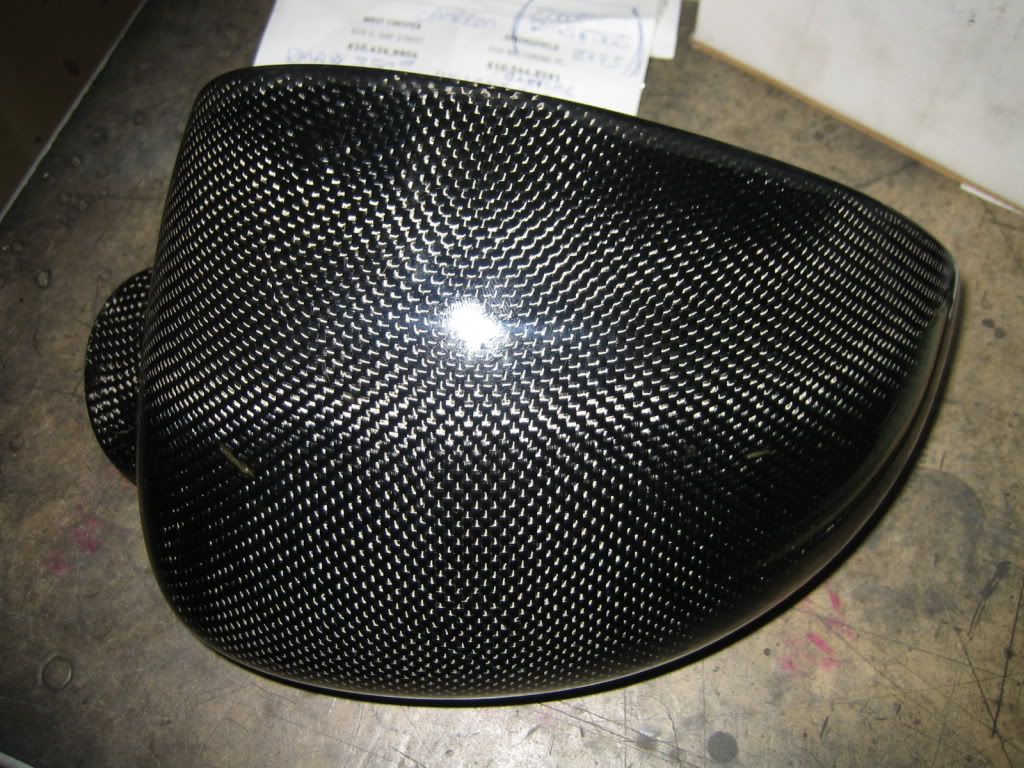 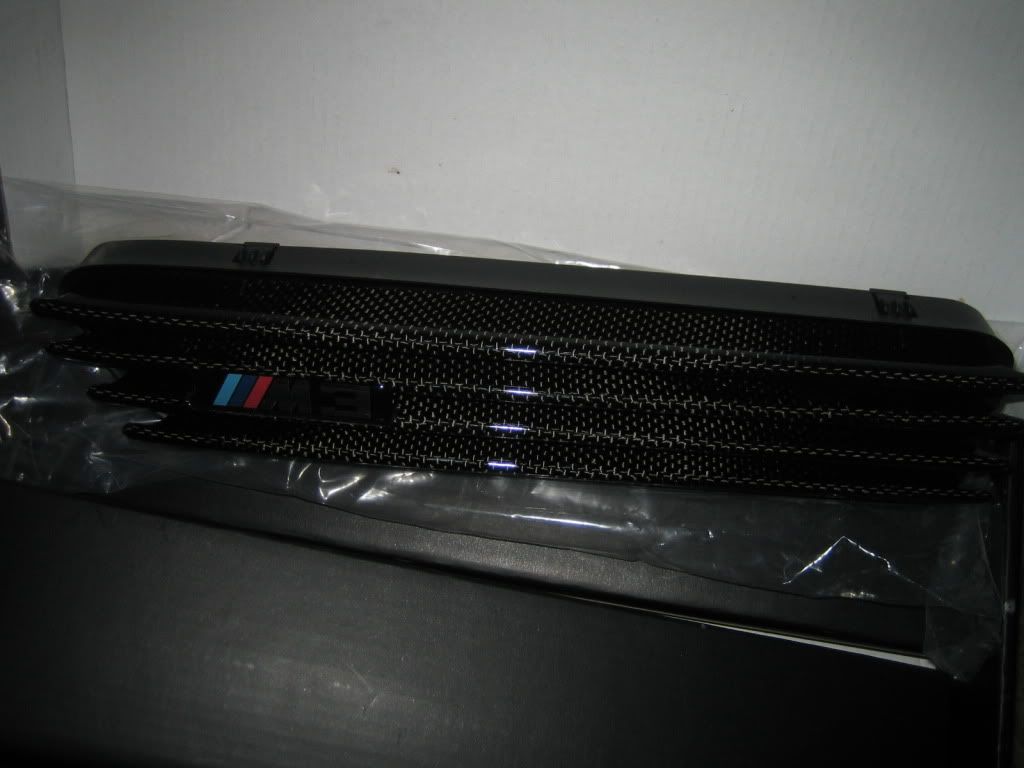 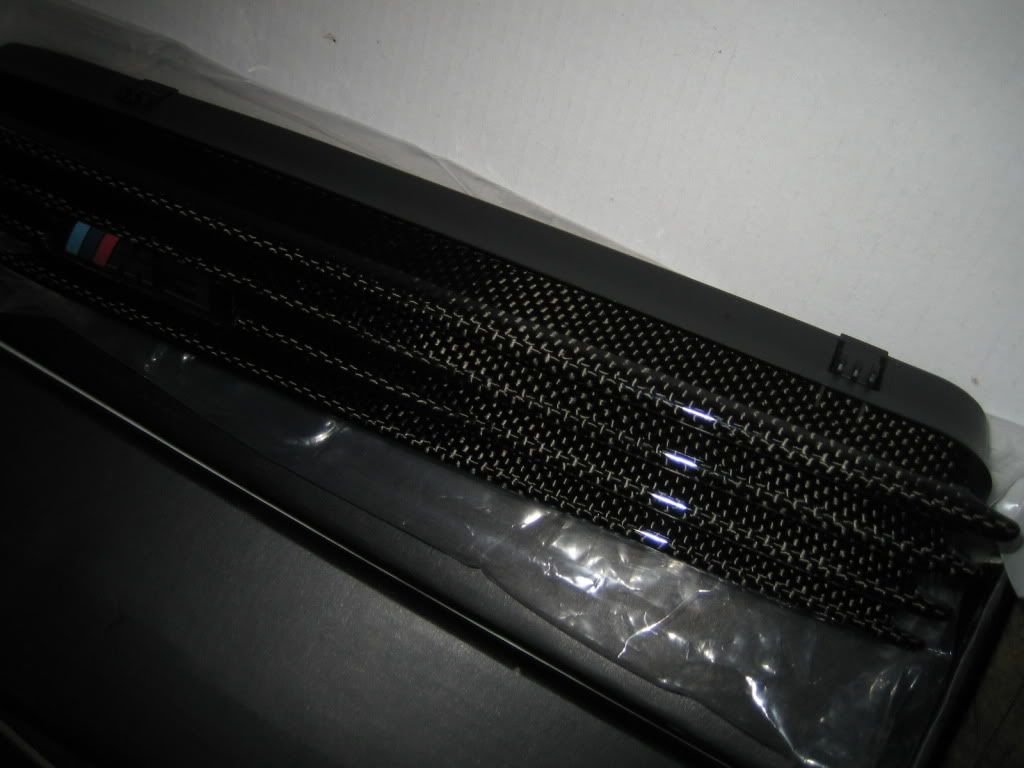 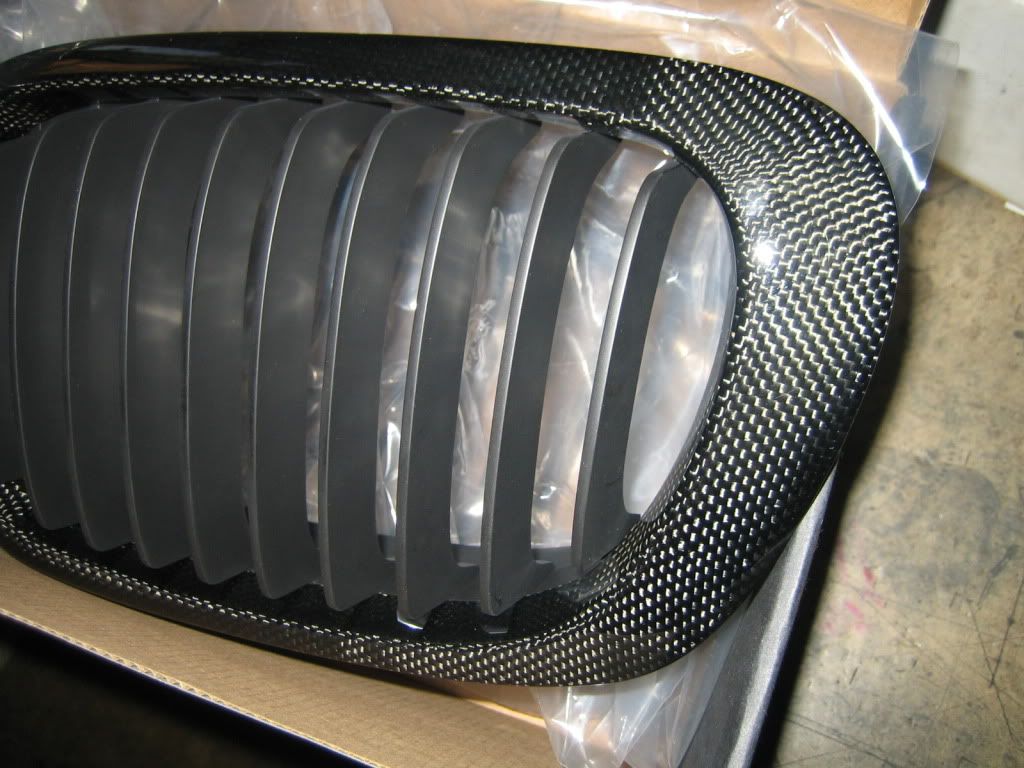 these are a set of used mirror bases/arms that will be painted to match the oem csl roof rails to go with the mirror covers above: 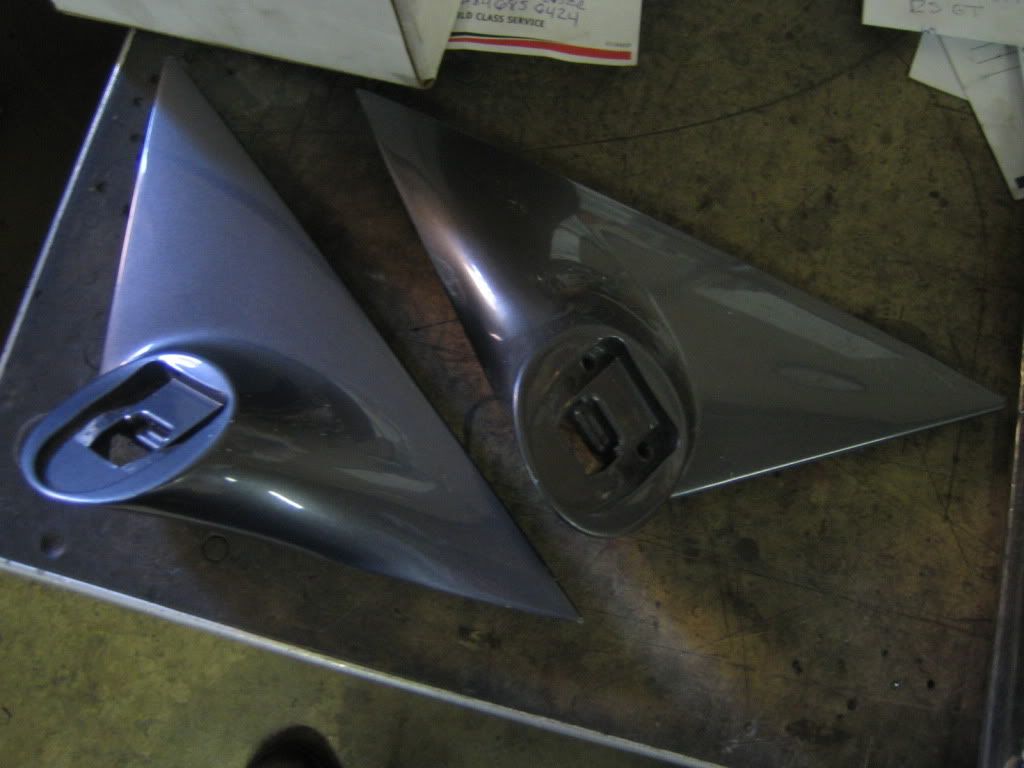 ac schnitzer (acs) roll bar has been painted body color (silver gray) and cleared (oem csl bootlid can be seen in background. it is primed and ready to be painted): 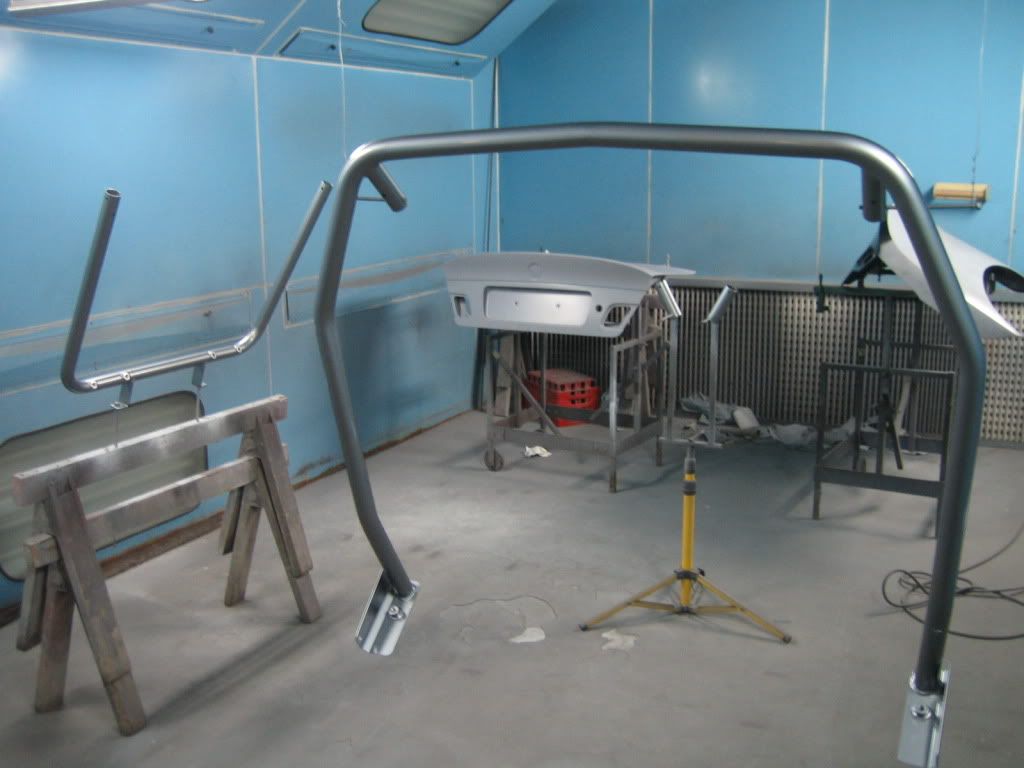 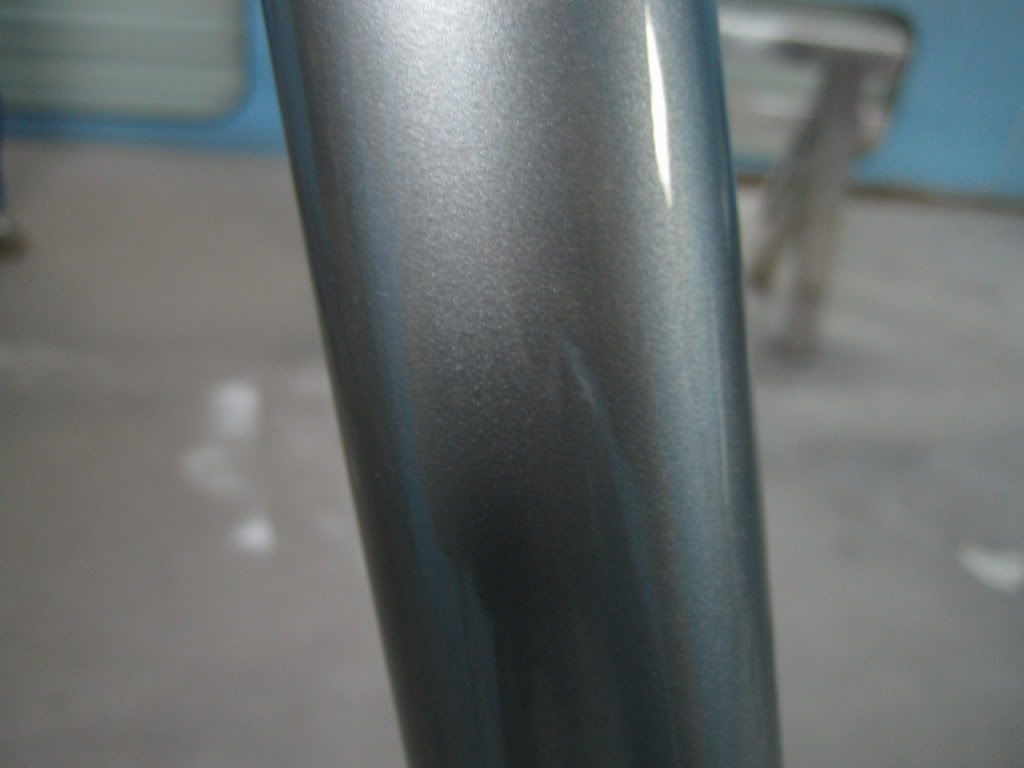 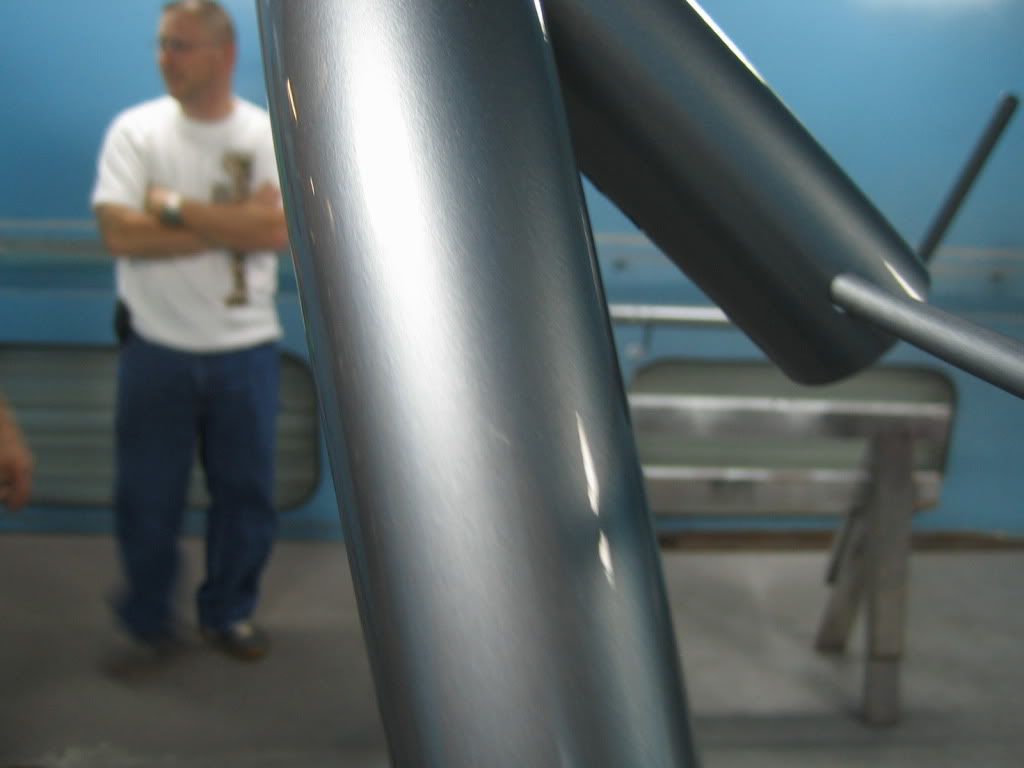 work is still being done on the "custom conversion" of my oem bumper: 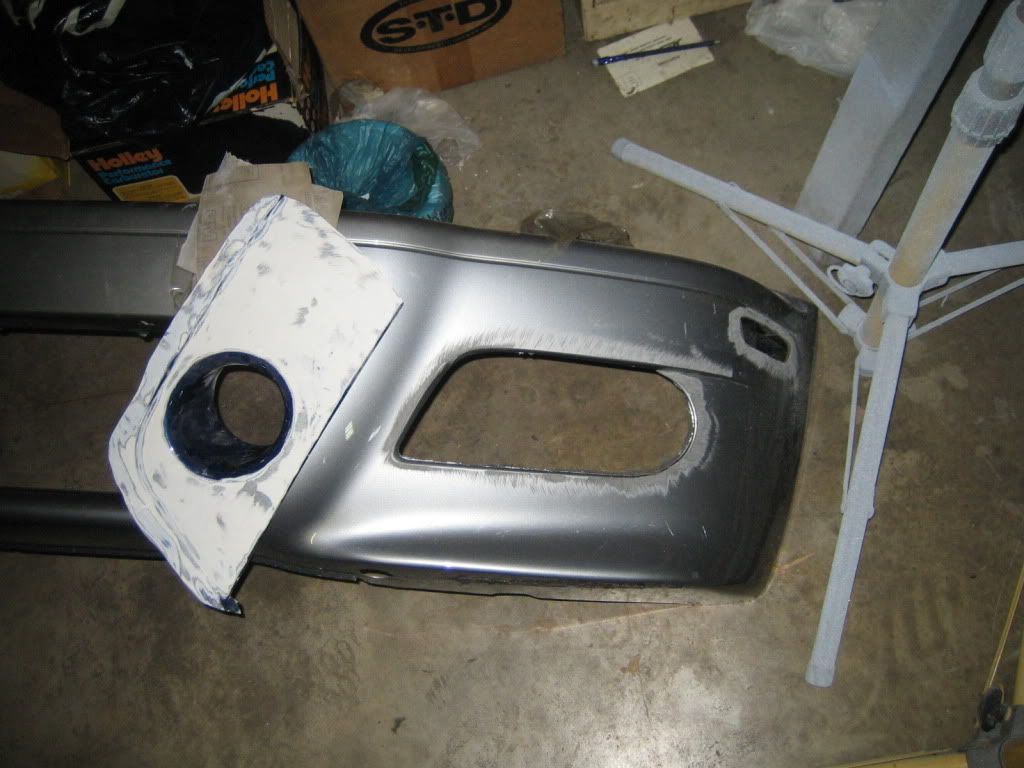 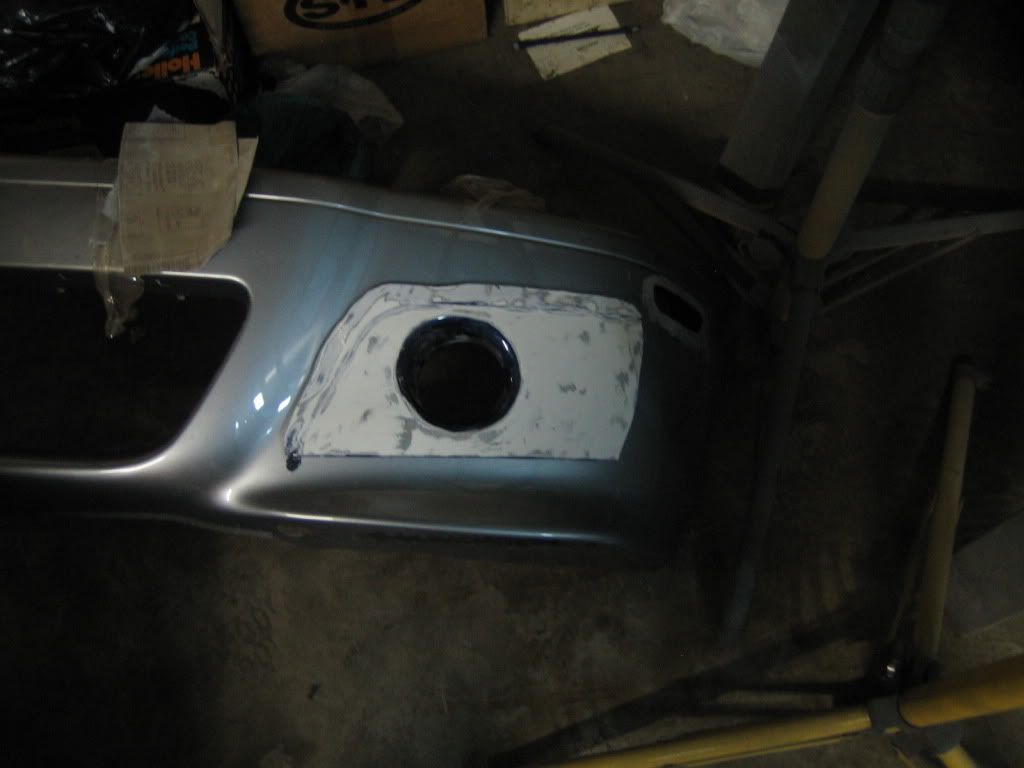 i really like these seats. this is the passenger seat that was partially disassembled to put in the airbag sensor plate:  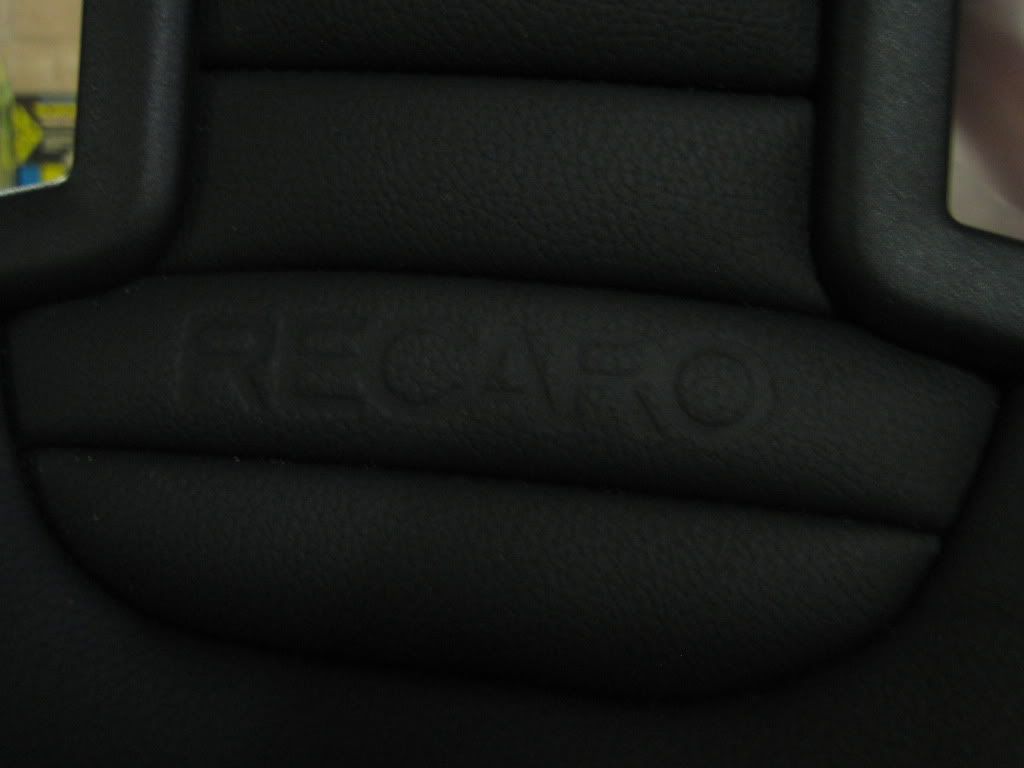 monochrome "conversion" of front oem mats (trying to get all the little details done...). the stitching pattern on the mats is significantly different especially for the "M3". we decided to leave them as they are: 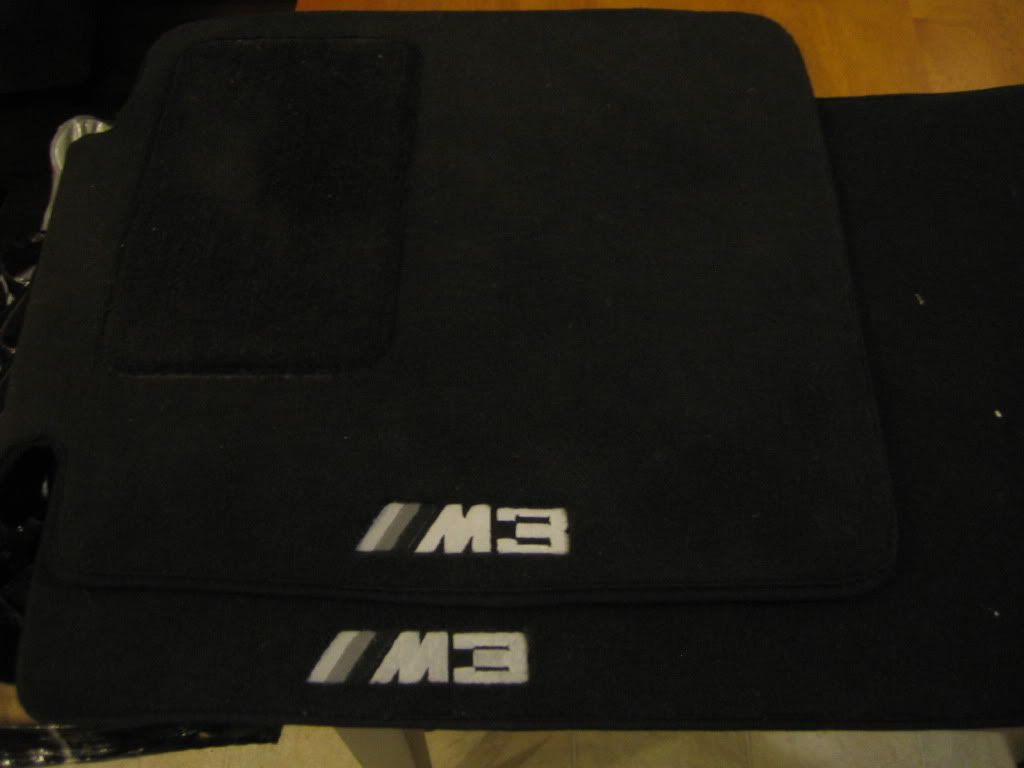 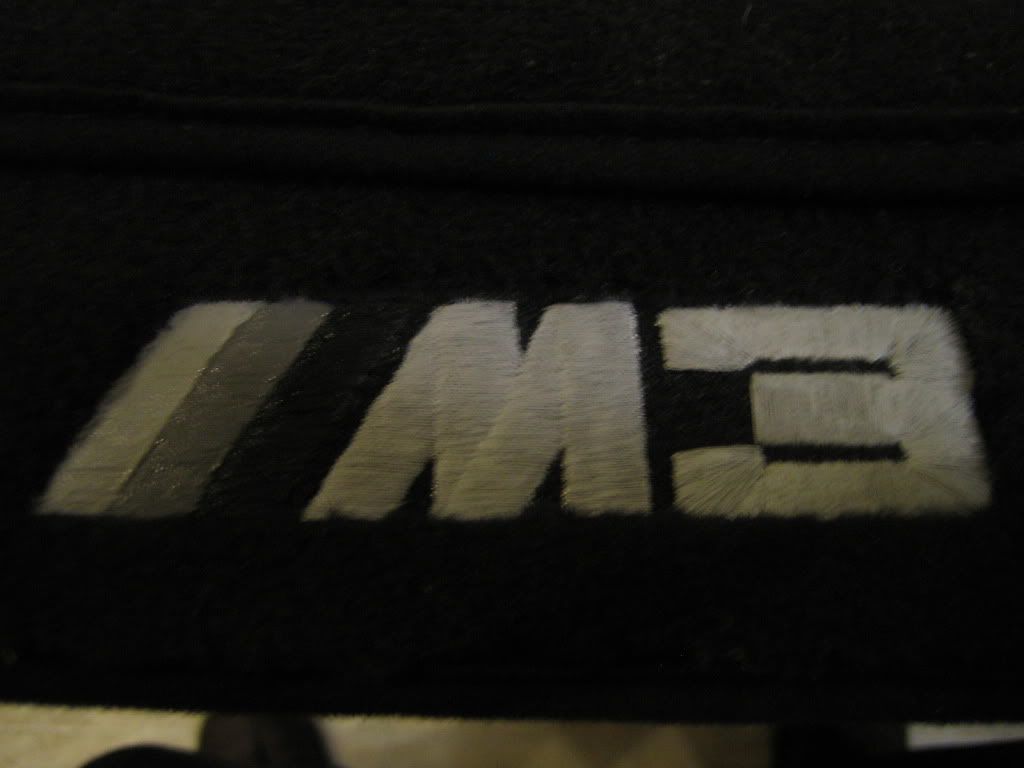 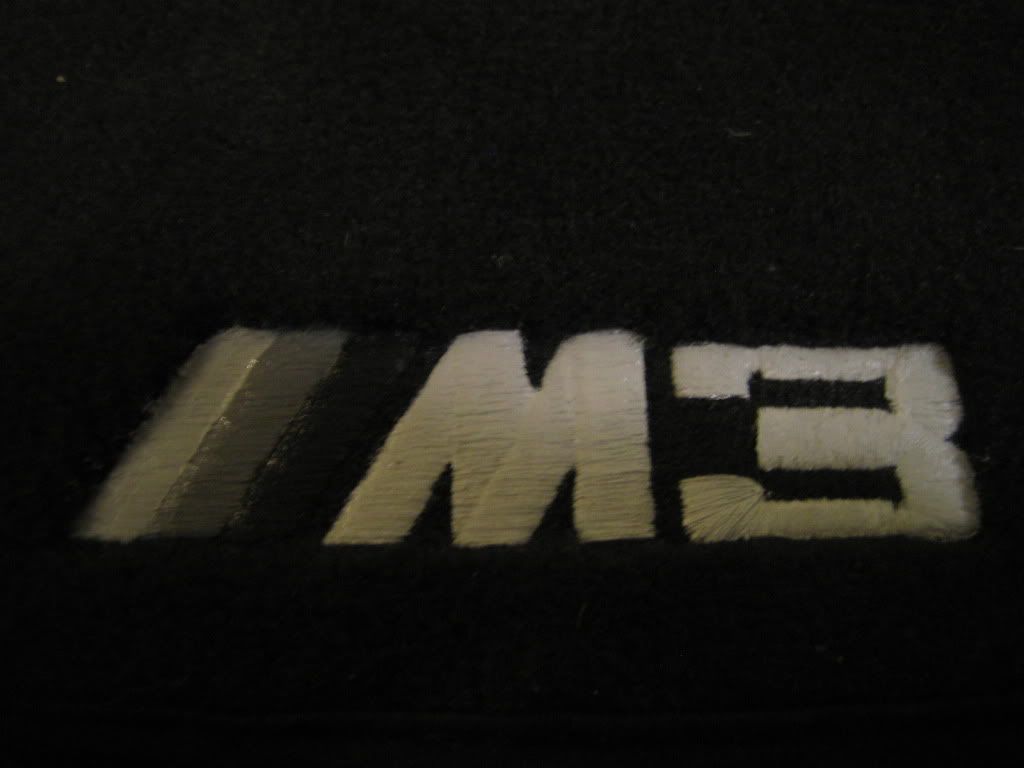 all the cf pieces were sanded then got a good clearcoat. .... i was unhappy with some of the cf weave on the mirror covers especially on and near the edge for the opening: 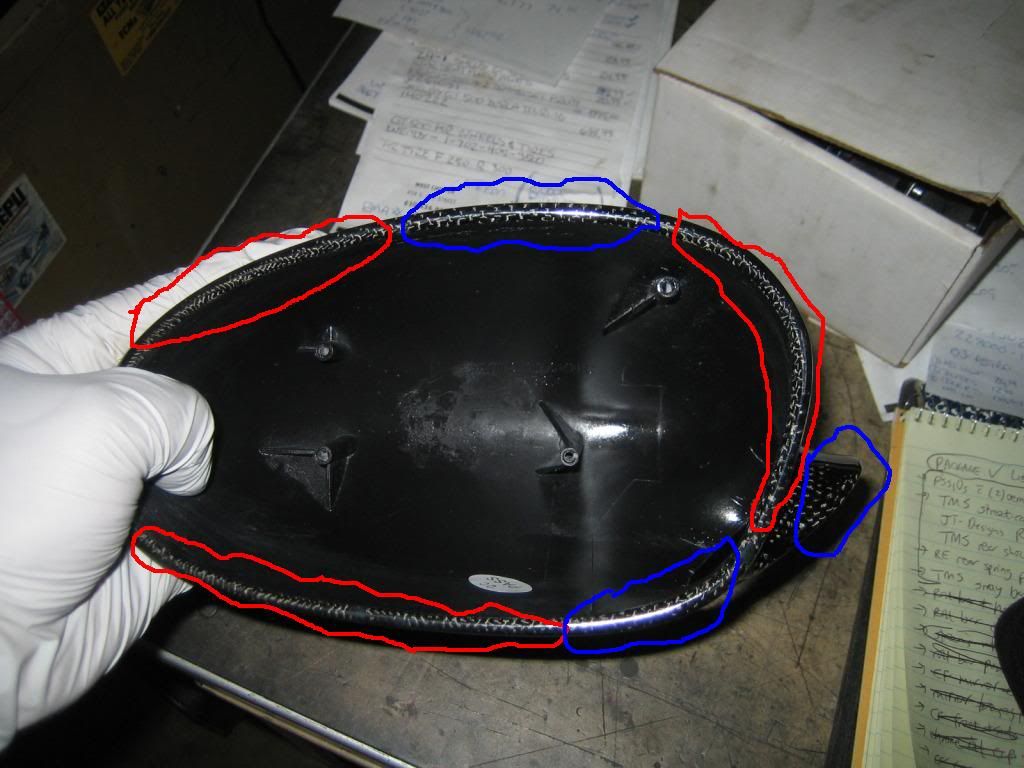 note that the weave looks pretty good in the blue circled areas while it appears badly bunched up in the red circled areas. i came up with this idea based on what i saw with other models' mirror covers including those for the e9x m3. 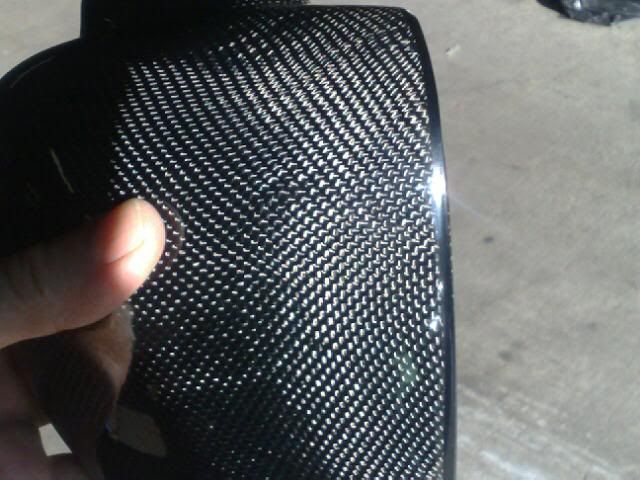 this pic was sent to my phone a few days ago. i think the thickness of the "line" works the best.
__________________
To view links or images in signatures your post count must be 10 or greater. You currently have 0 signatures. To view links or images in signatures your post count must be 10 or greater. You currently have 0 signatures. To view links or images in signatures your post count must be 10 or greater. You currently have 0 signatures. Last edited by G.T.; 10-10-2010 at 05:06 PM. |
|
|
|
|
10-10-2010, 04:20 PM
|
#3 |
|
Tri-State Aficionado
Join Date: Jun 2009
Location: mt laurel
Member #13970
My Ride: '06 M3 coupe, '07 X3 3.0si, '88 325ix iTrader: (0)
|
....
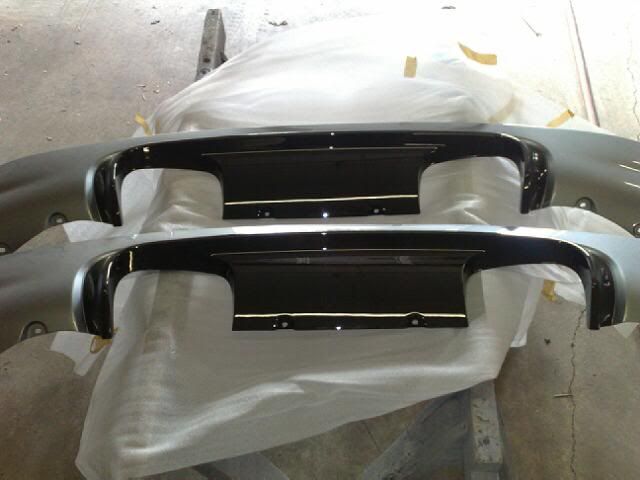
at the end of august, some update phone pics were sent to me by text: 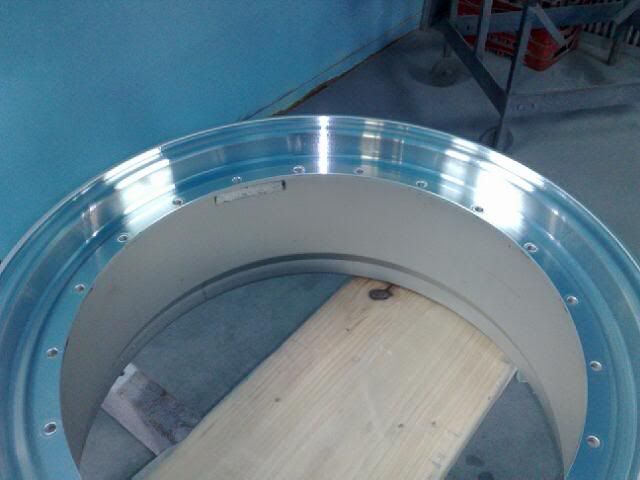 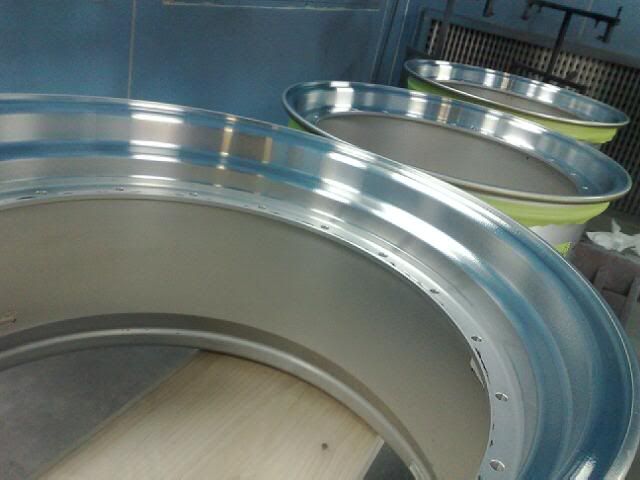 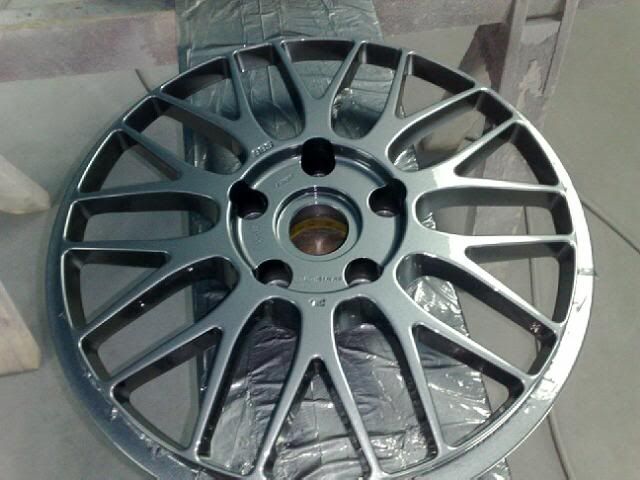  .... around beginning of last month, i had a quick in-person update. the bootlid nor the calipers had been sanded yet. the wheel center shown is from a front 19x8.5. we decided to do something a little different with the rear centers since reverse mounting of the rear centers has been thrown out. calipers came painted black but i wanted more of a satin black. also, i wanted silver/gray logo and lettering painted on. 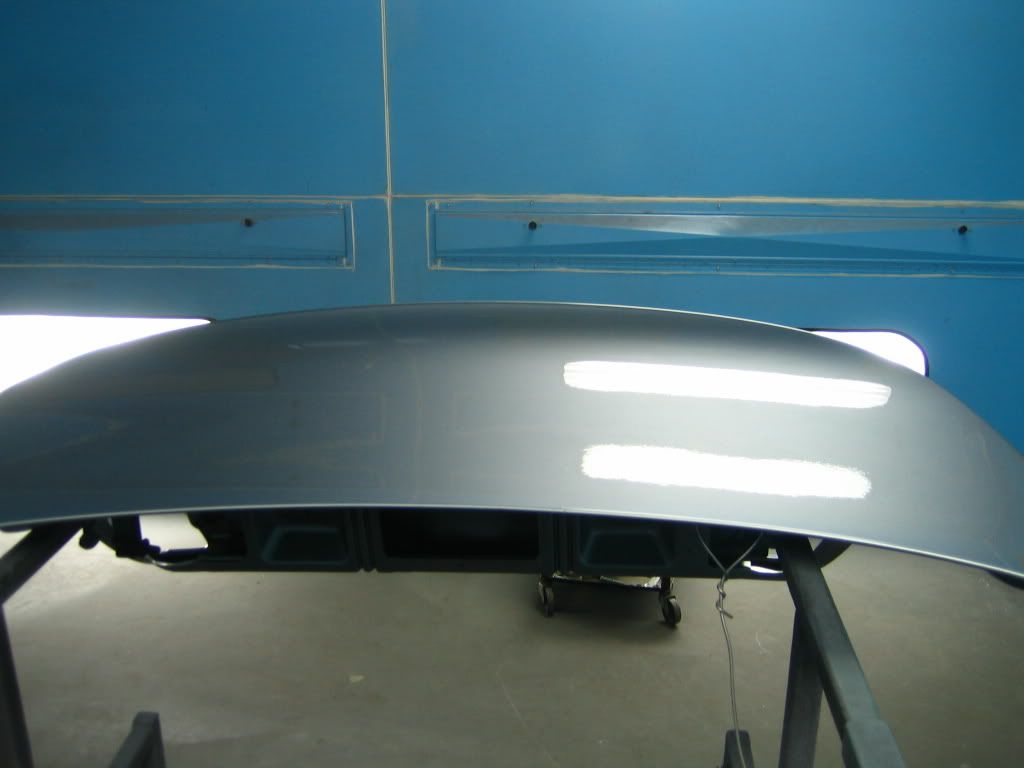 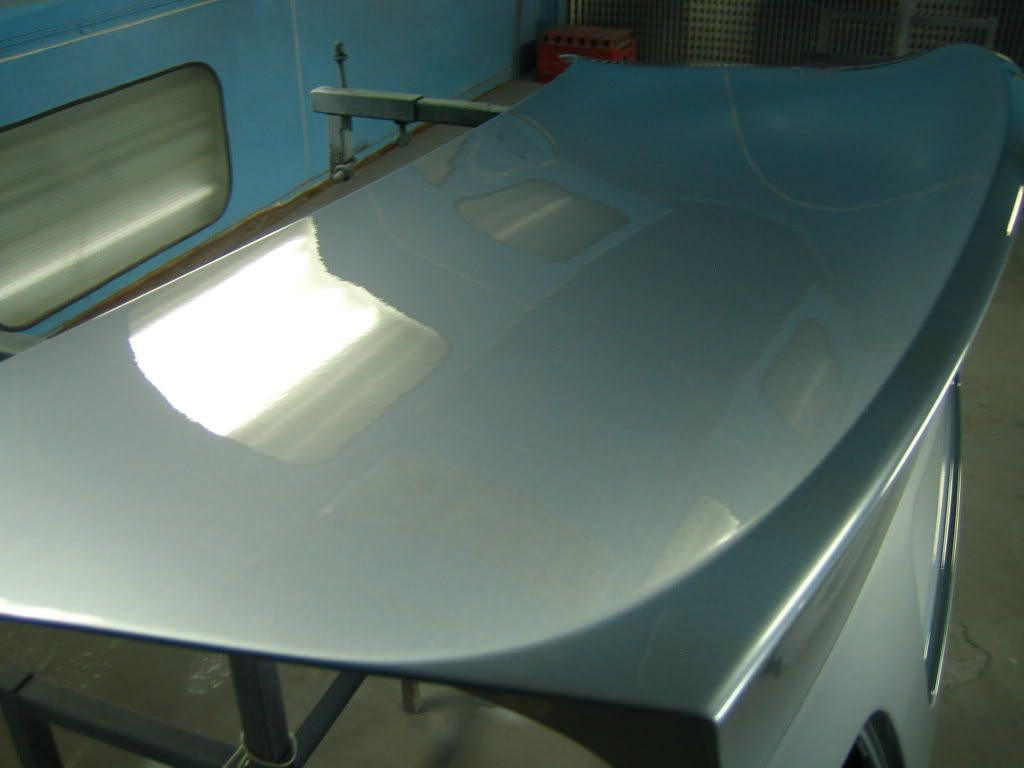 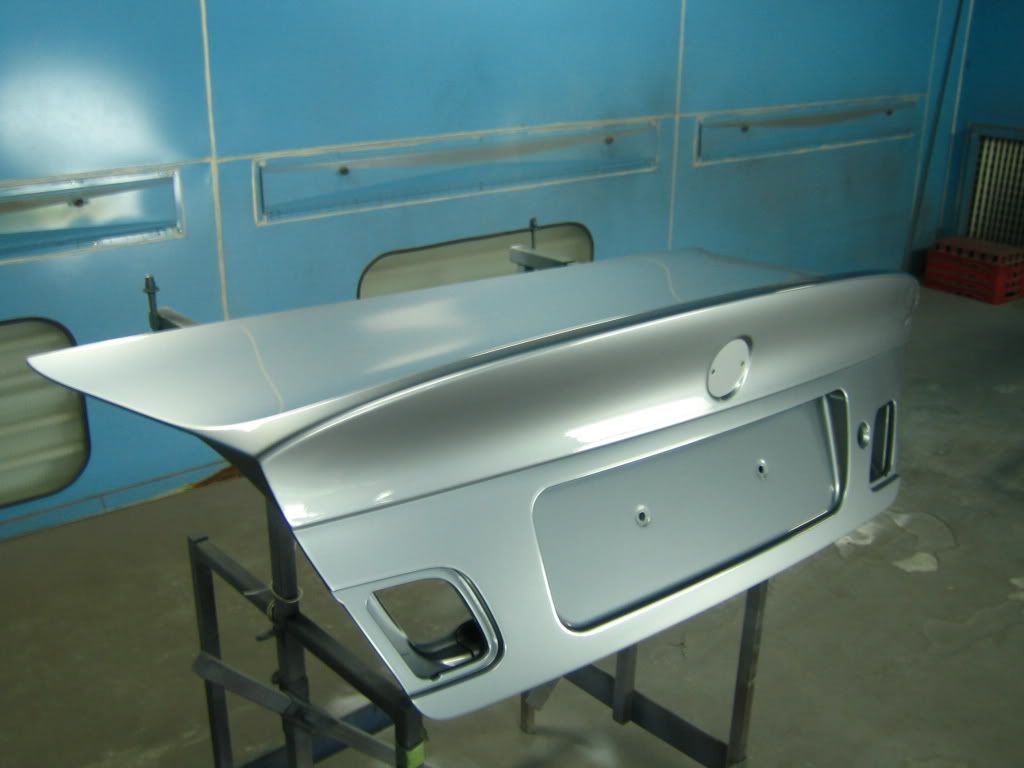 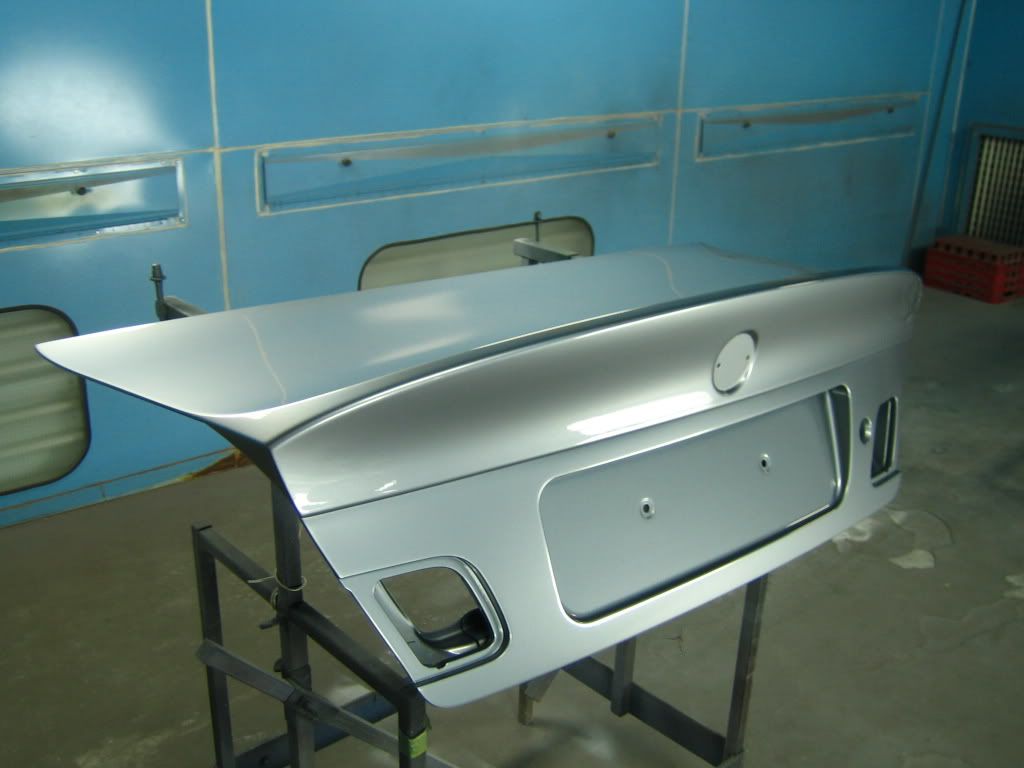 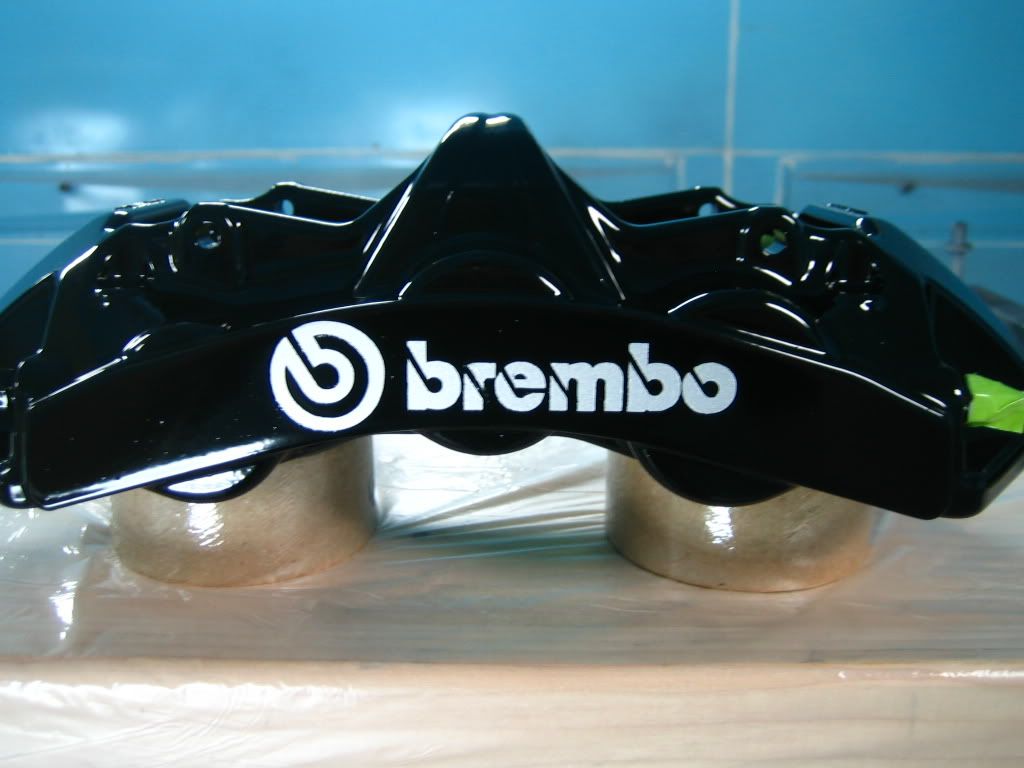 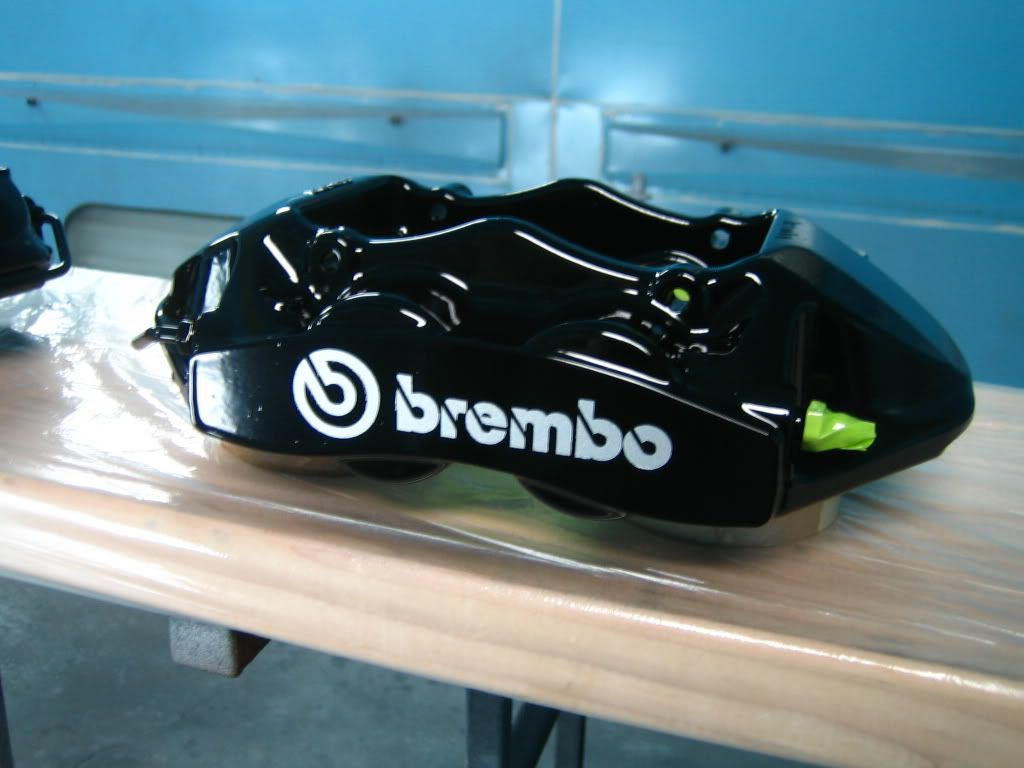 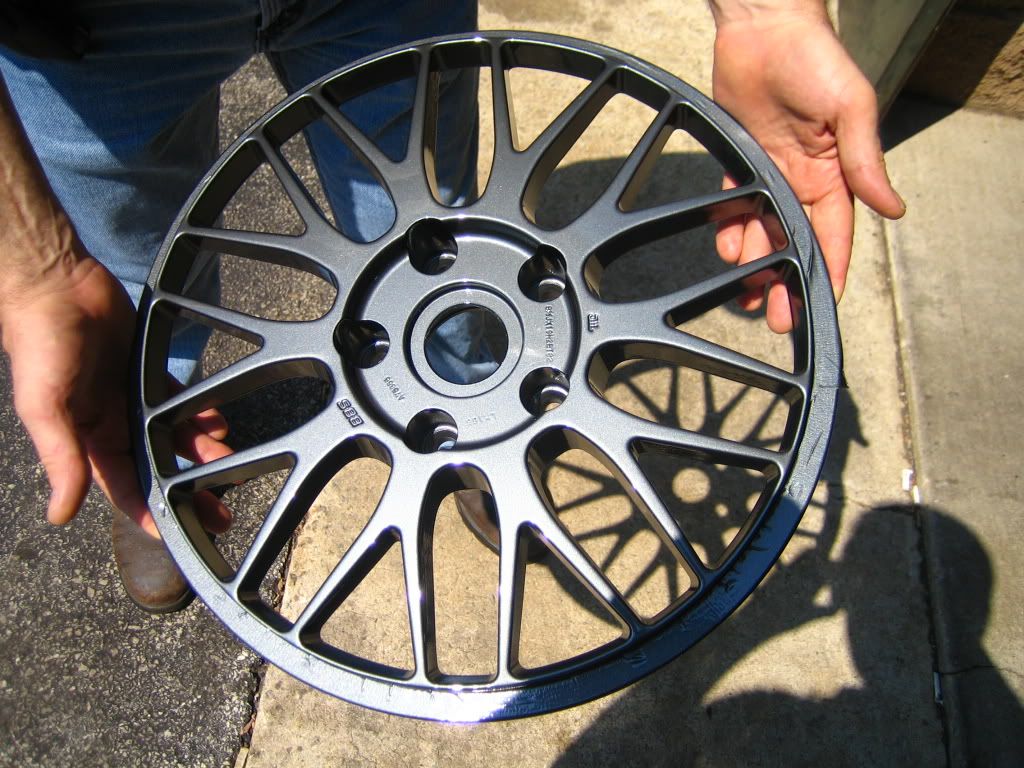 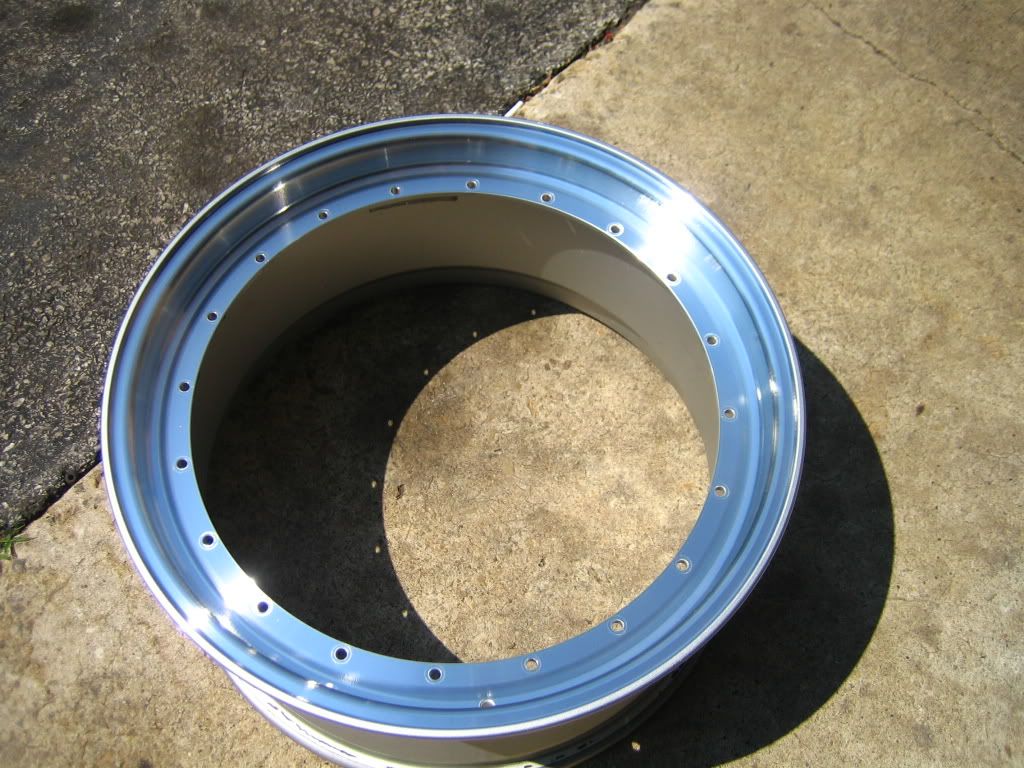 .... and most recently, i took some quick pics, none of which are edited. my bad for some blurriness in a few photos. i was and am exhausted after many, many hours of working and traveling. my hands were jittering a bit. i know that the paint protection film is very dirty. it is actually not significant irreversible discoloration; rather, a lot of grime and dirt "gets drawn into the film". you can get a lot of the dirt out by using the right cleaning products. the car was really dirty when i dropped it off at the shop. here is how my car sat when i got there: 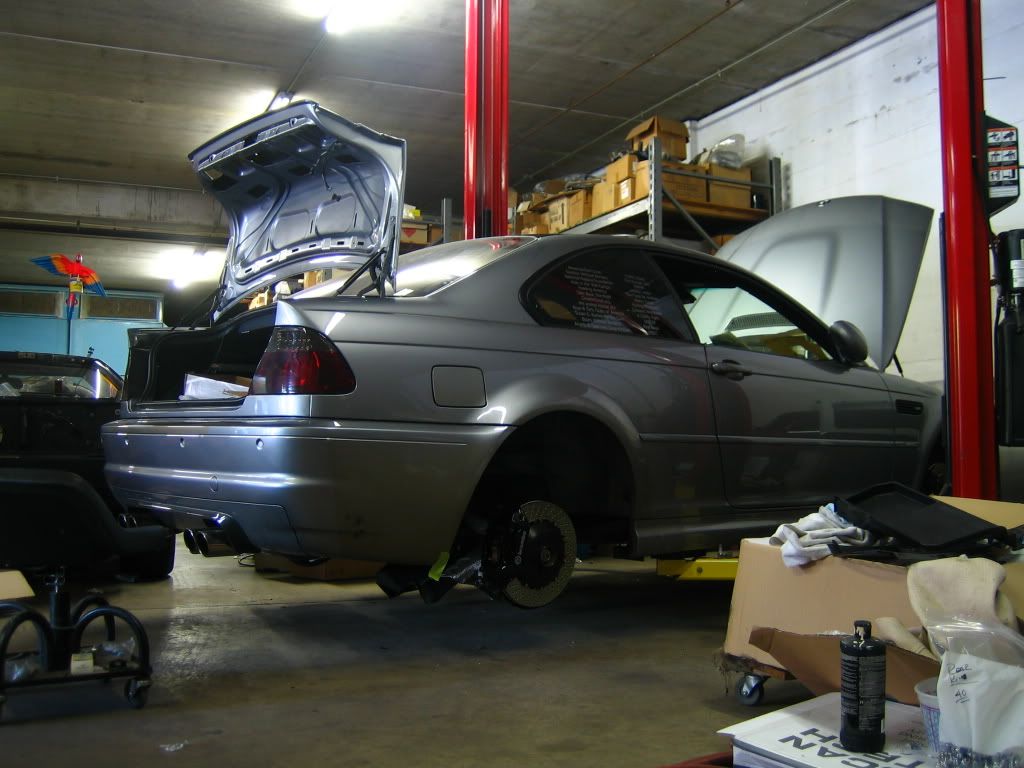 the pic below shows one of my favorite mods: getting the word out there about gruppe titan's worthwhile causes. the vinyl decals have been on the car since the day before bmw fest 2009. 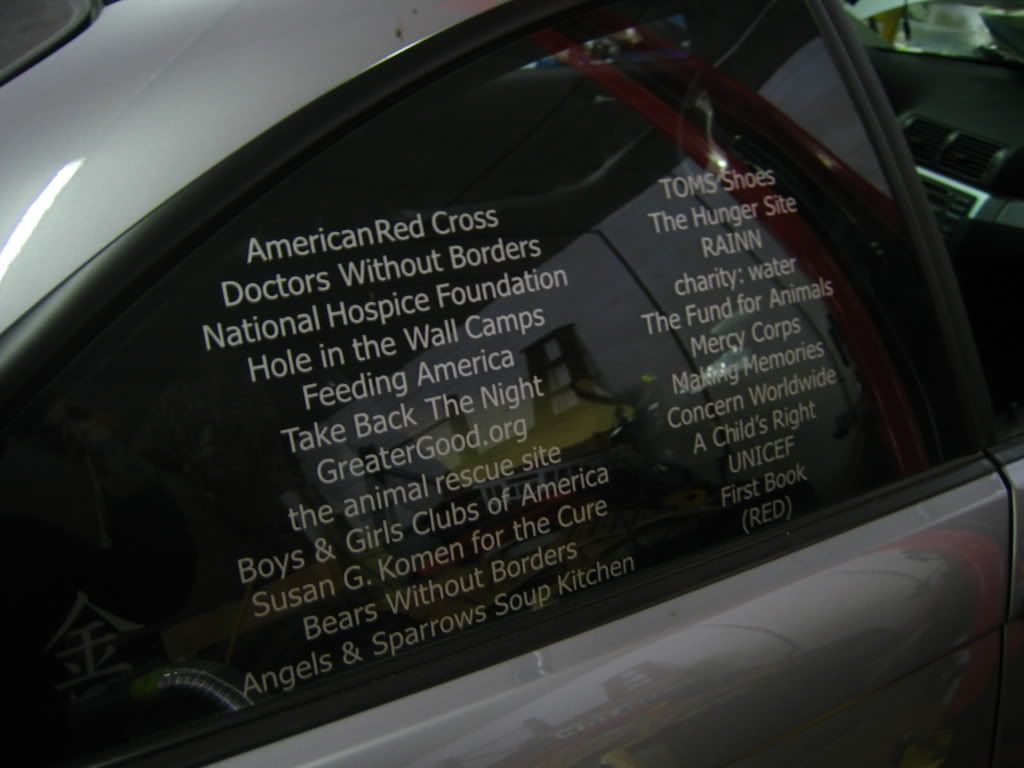 here are a few parts that are still waiting to be installed: re x-pipe with evc 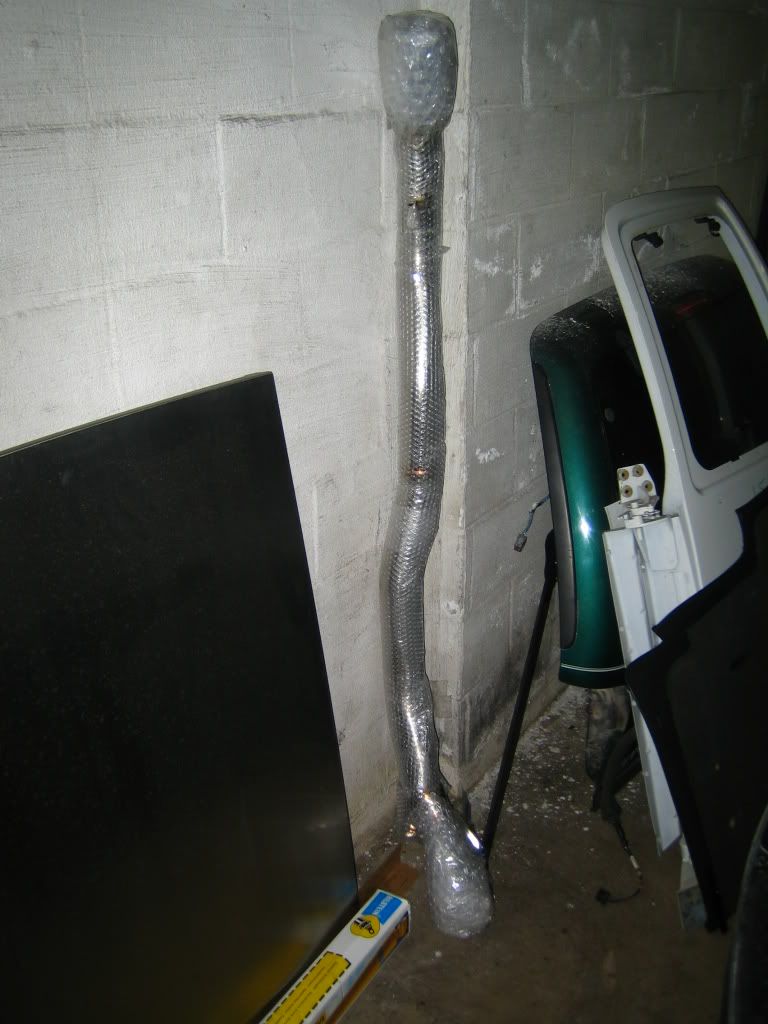 radenergie cf engine cover- the resin is hazy already on this brand new piece. the engine cover will be prepped and then completely clearcoated. with this and the oem csl diffuser, my car will be vorsteiner-free.  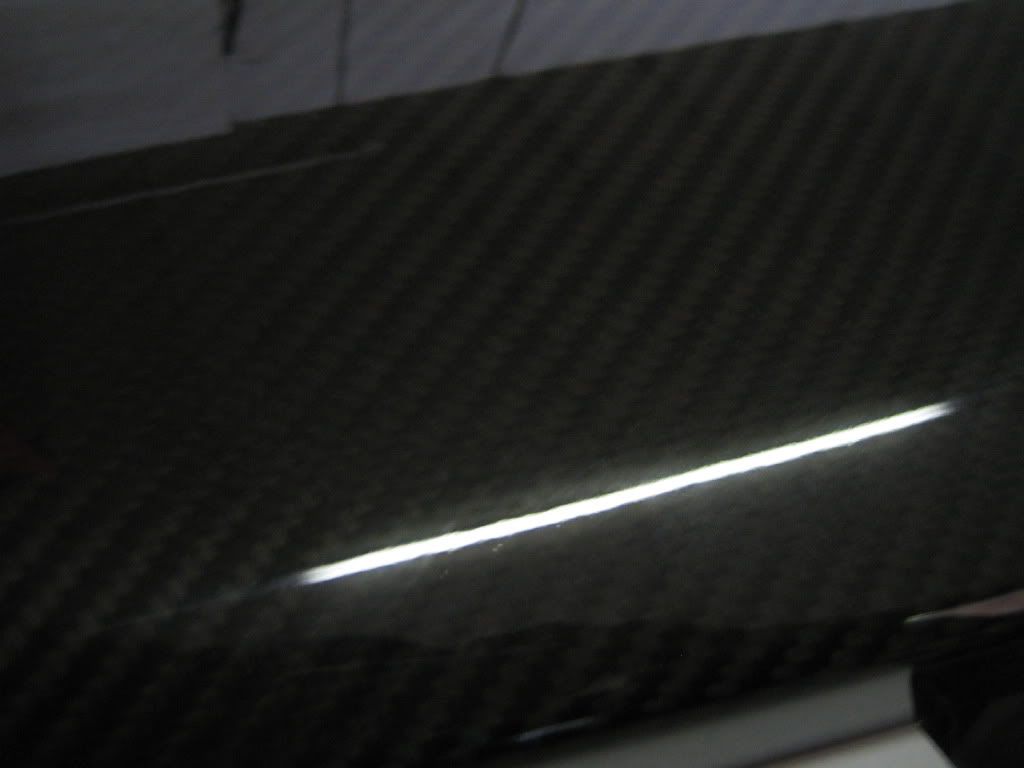 beginning the install of the oem csl bootlid- note that the trunk's paint has not been sanded and actually was quite dusty. the bootlid has nothing installed on/in it yet. 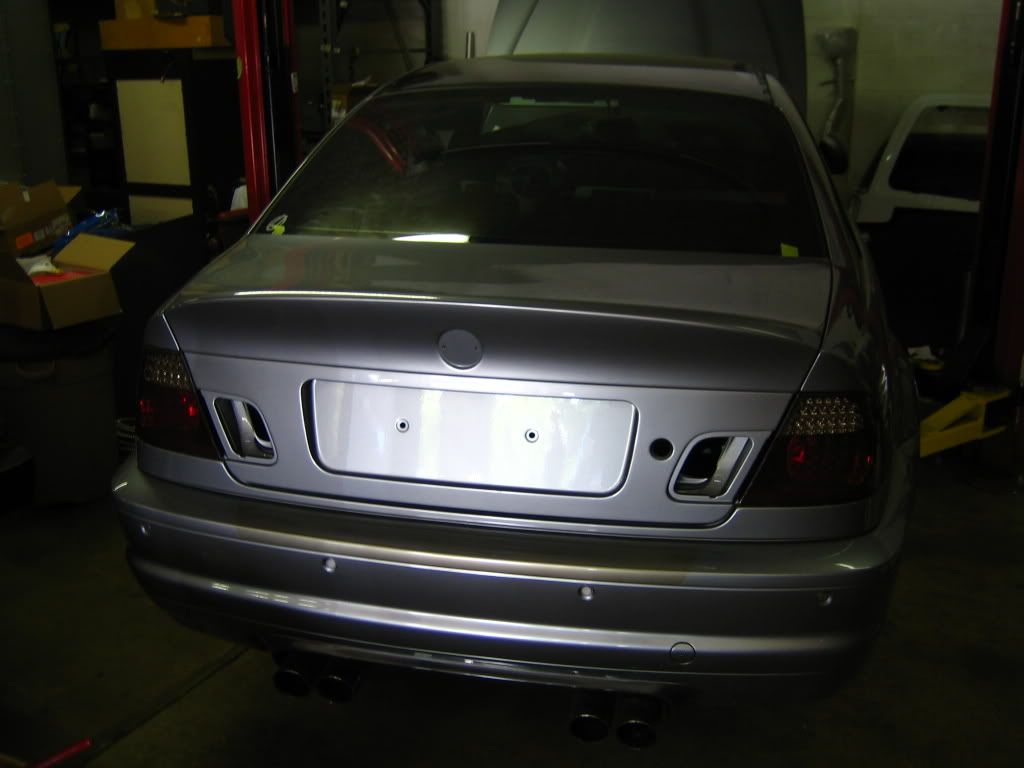 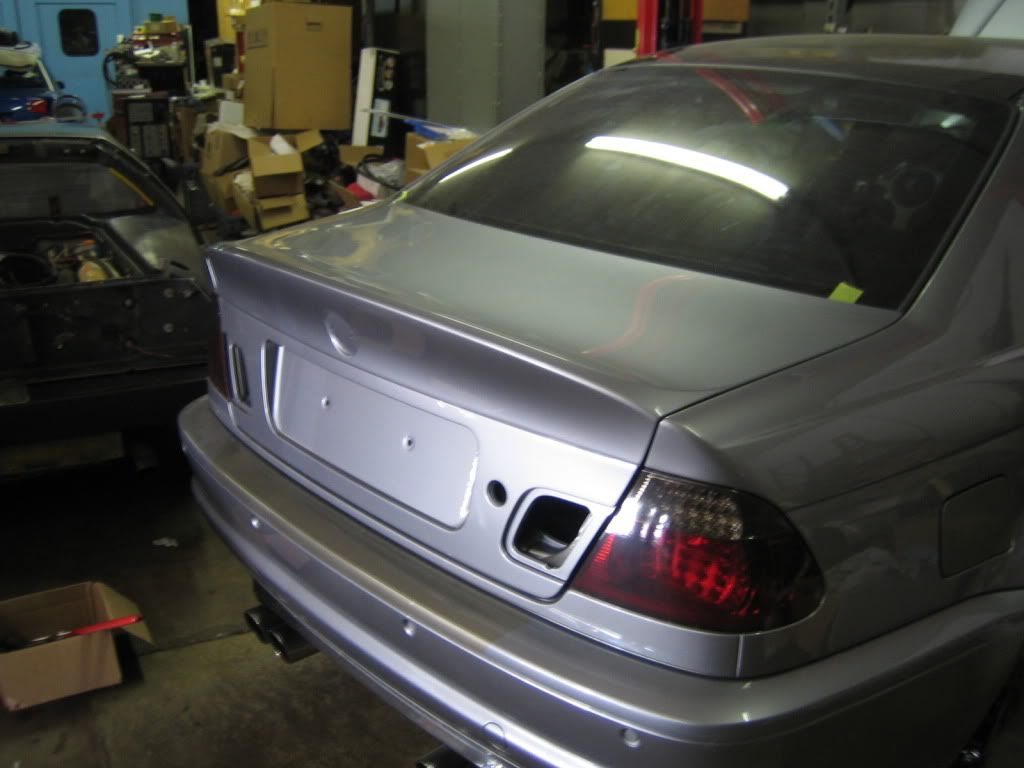 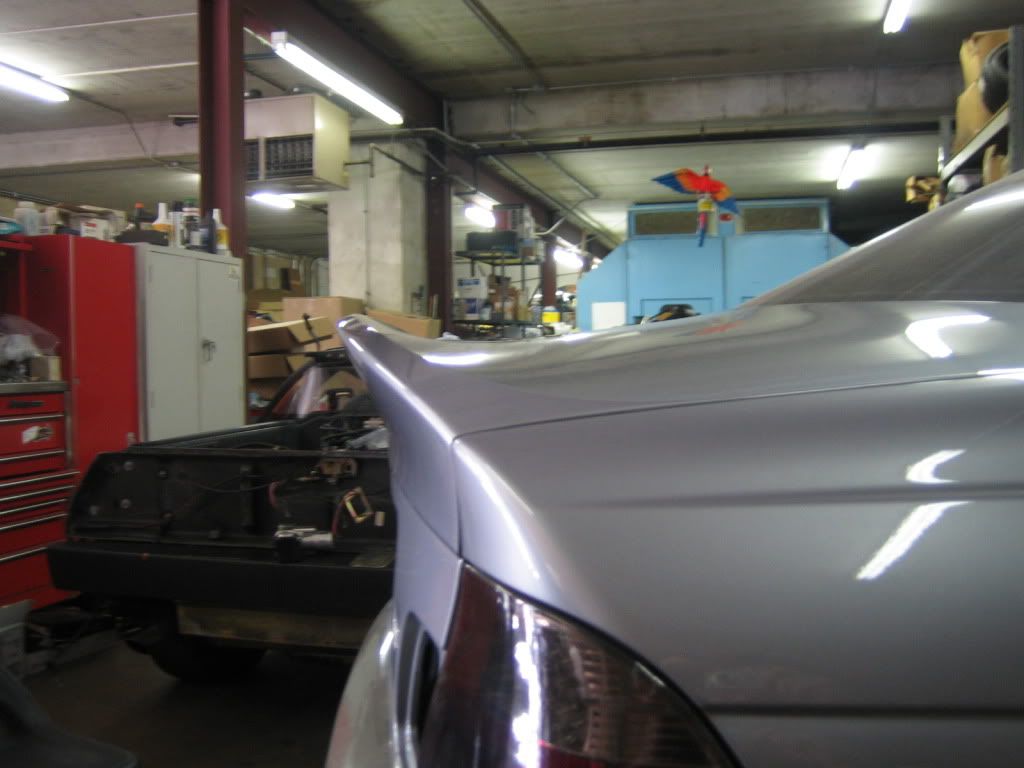 some pics of the brembos- i got the kit with black calipers but they were too glossy for my taste. in addition, i did not like the white logo and lettering. calipers were repainted in a less glossy black. the logo and lettering were painted on in silver/gray. 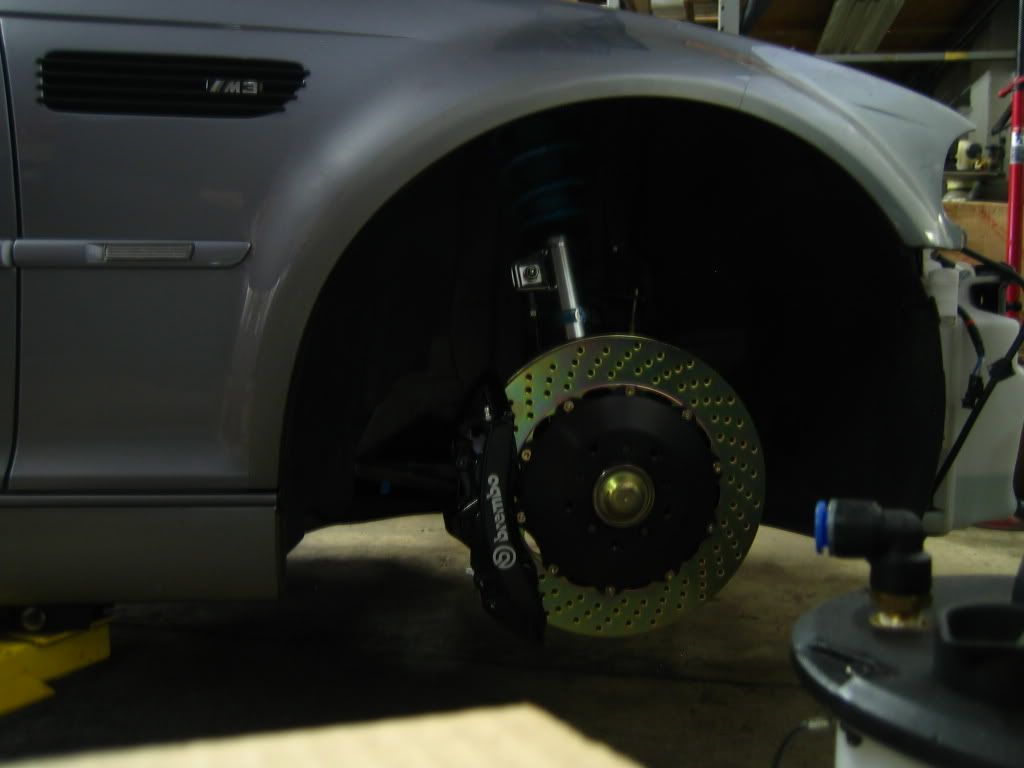 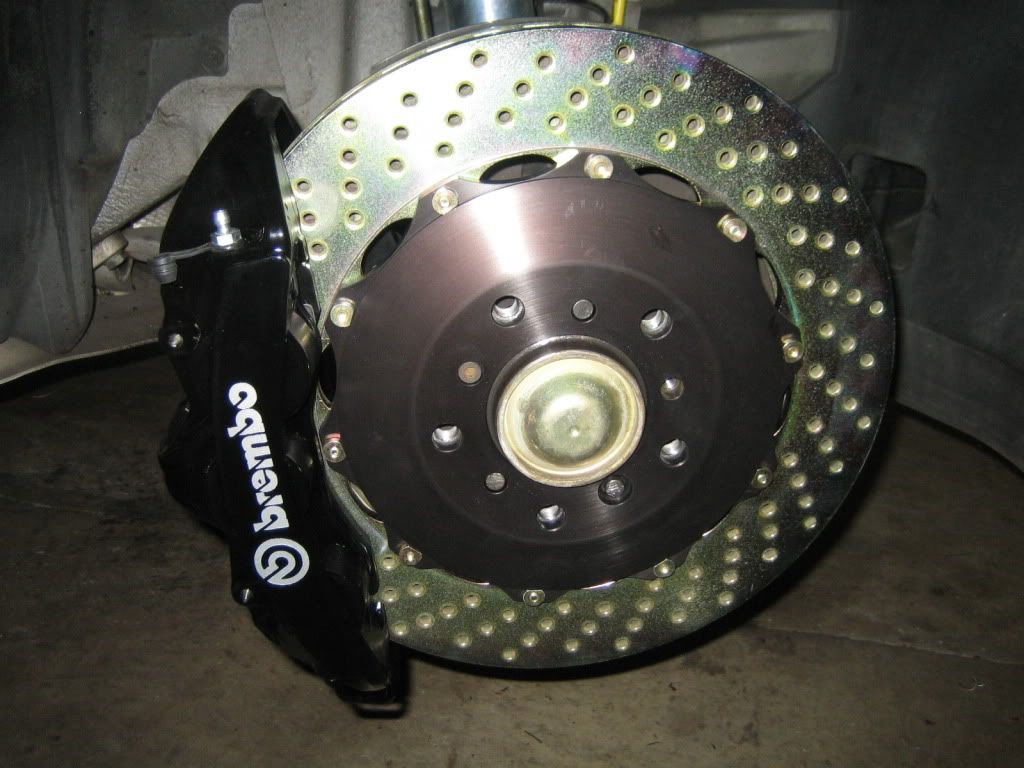 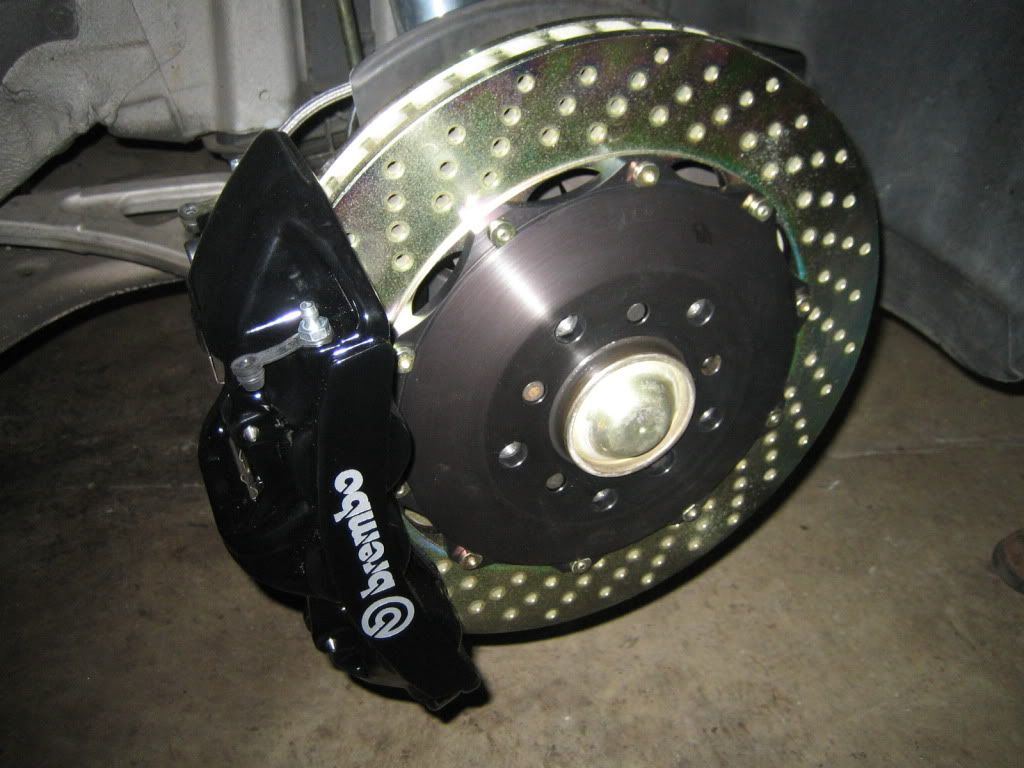 note especially with the pic below you can see where the paint that was on the tape's edge (around the logo and lettering) remained. they look like hairs raised up. those will be completely gone once the calipers are all sanded. 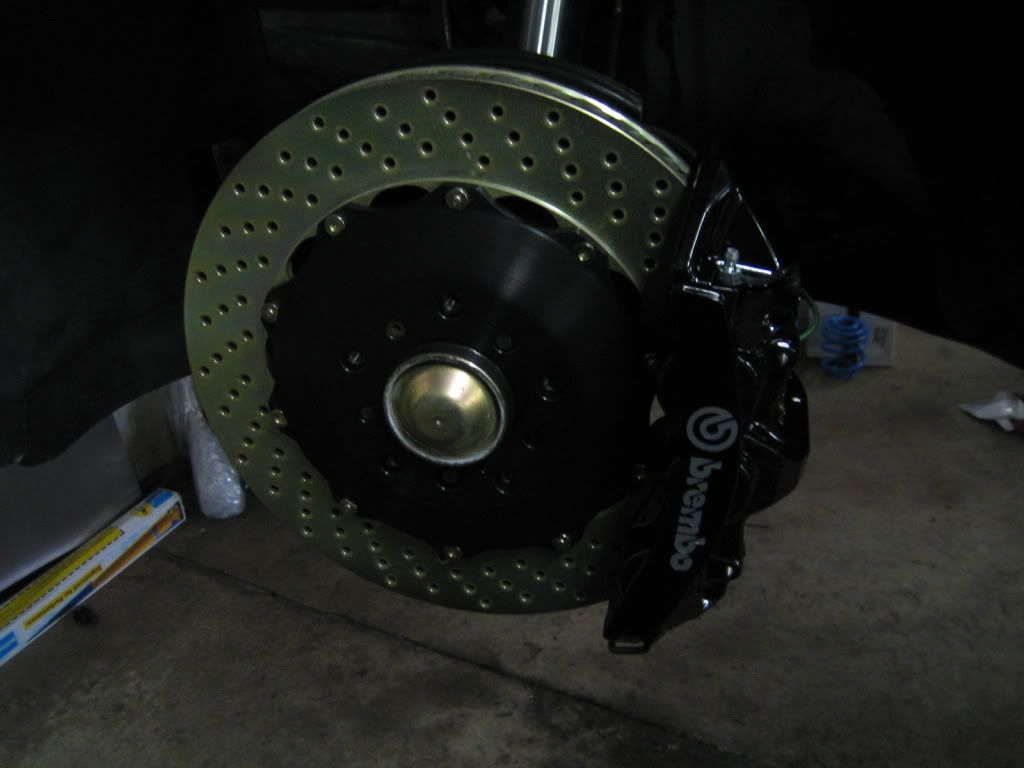 pic of rear caliper to show how it is before sanding. yeah, just have used flash, i know and gotten a closeup shot. 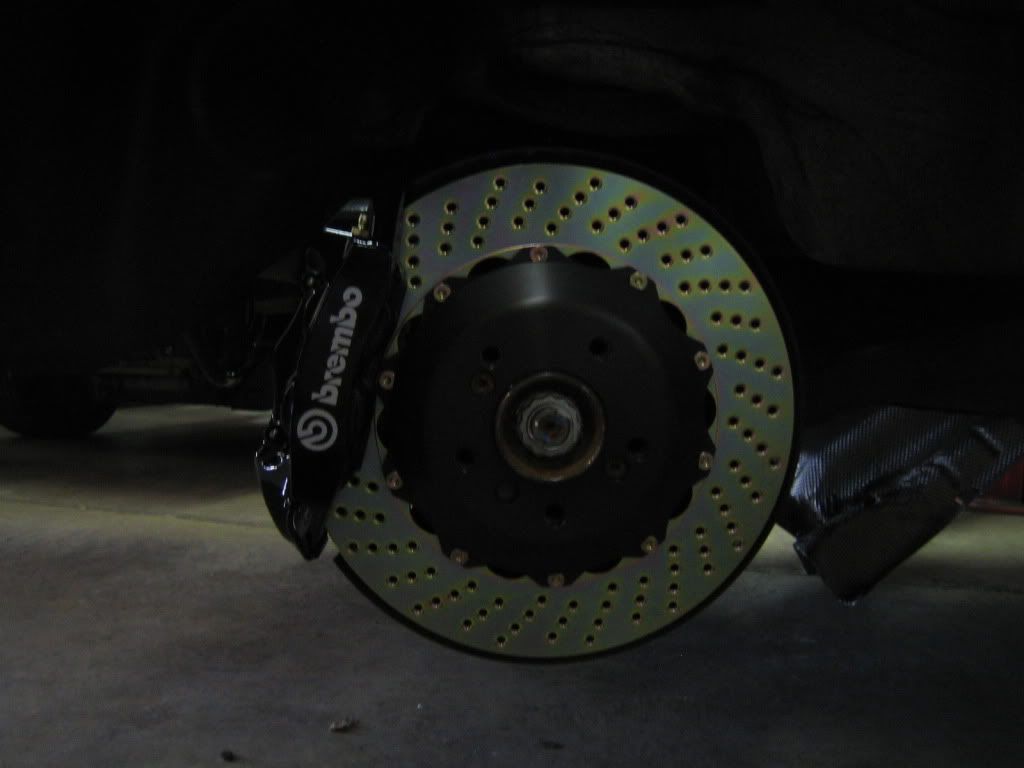 now, this is the pic showing the caliper directly above right after first sanding. note the haziness on the face of the caliper with logo and lettering. 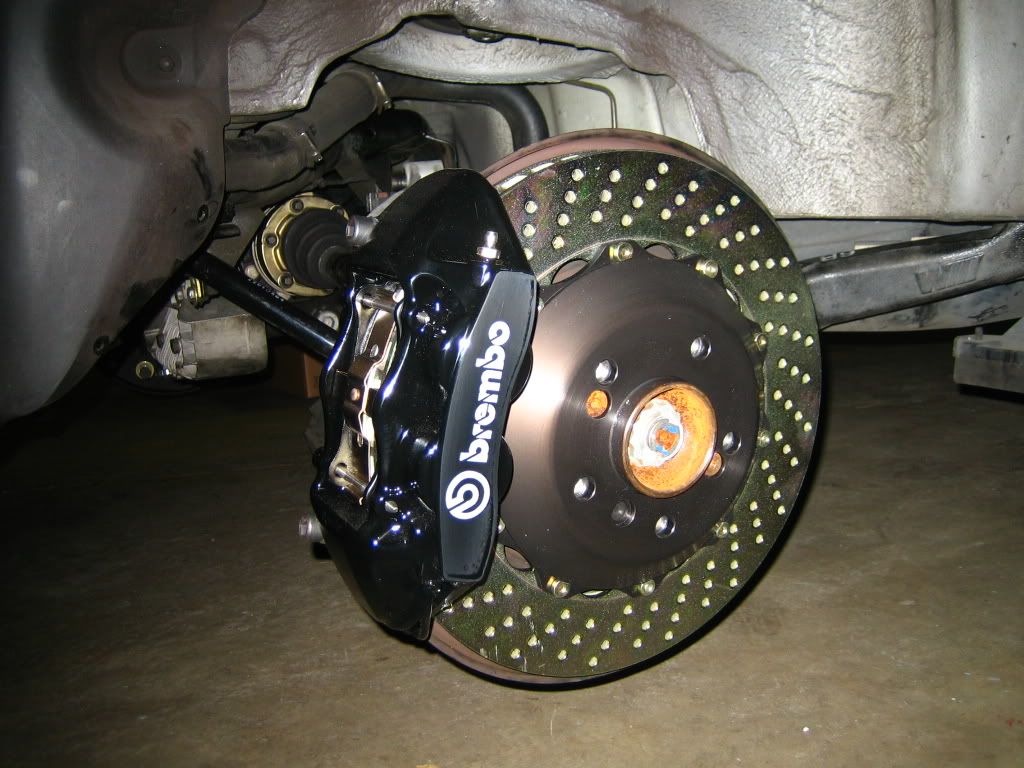 front wheels are both assembled: 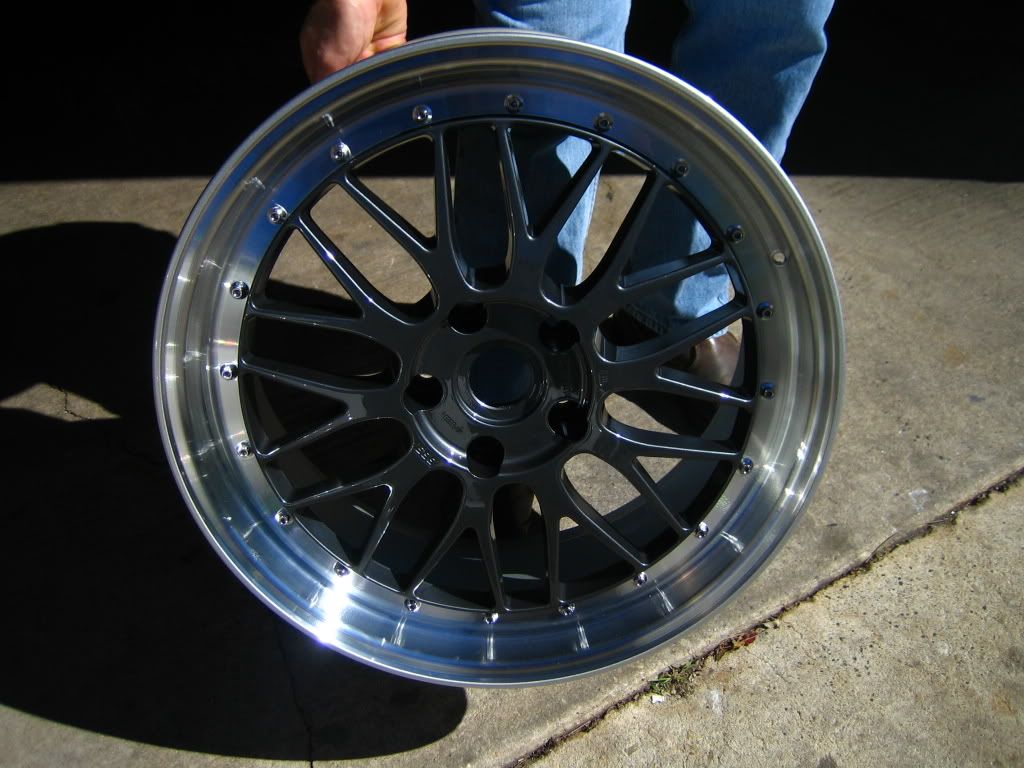 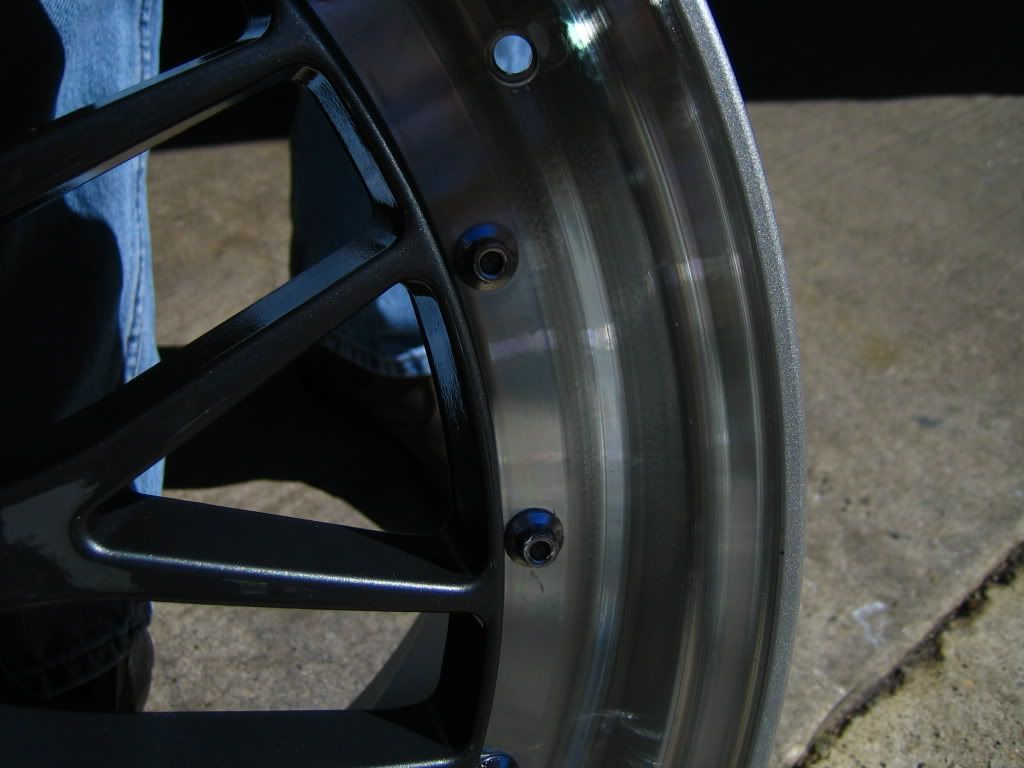 in the pic below, the centercap has yet to be customized as planned. the "background" is going to be painted. i never liked the faux cf. i will be glad to see it go. 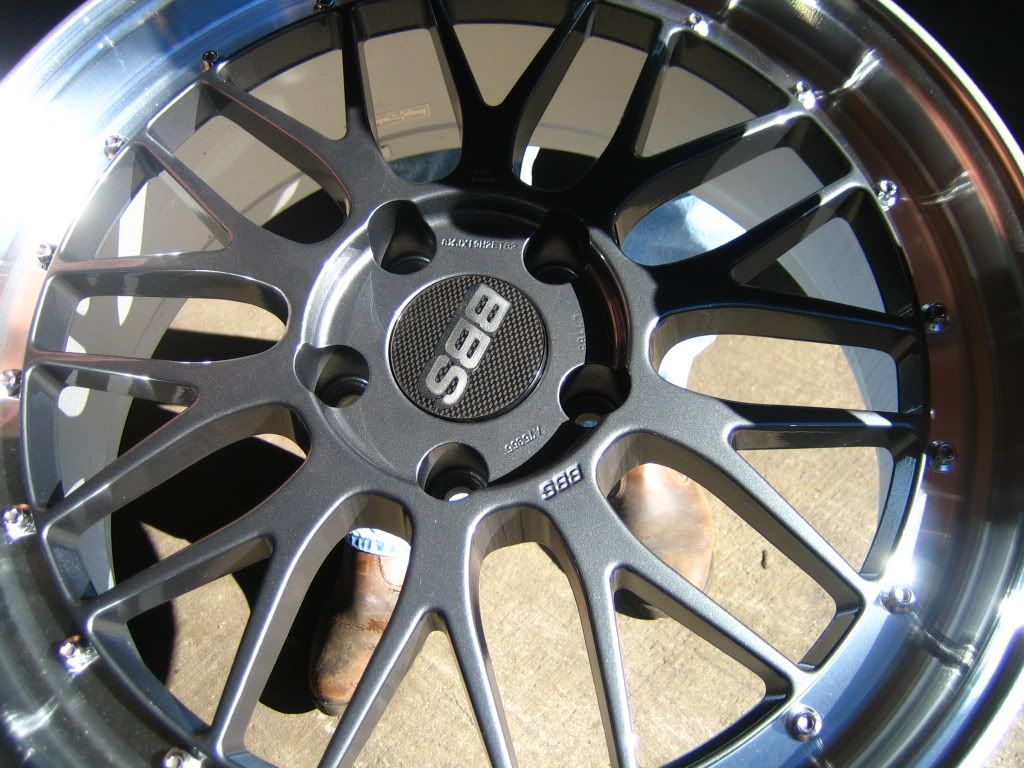 i took a decent pic of a front wheel indoors. 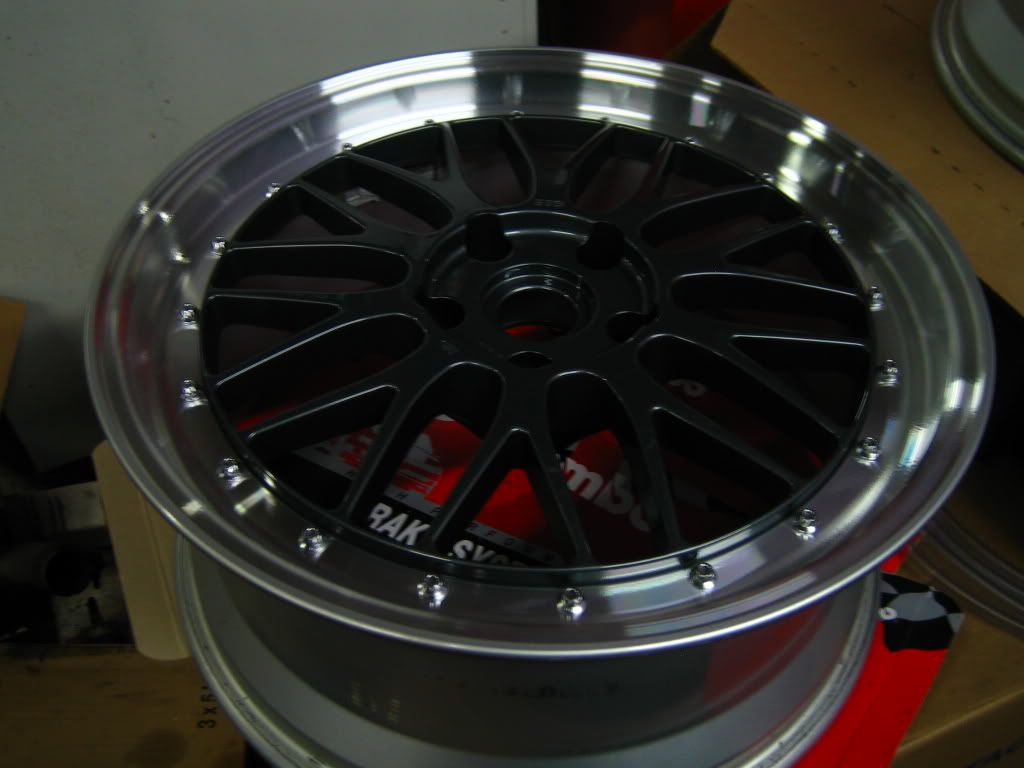 and this is the progress so far that surprised me. it surpassed all my expectations. we had planned on reverse mounting the rear wheels, but it was realized that compromises safety. the center and the barrel would not be bolted together properly. so, we went ahead and painted the entire rear center. but it really bothered me because the rear center's paint extends around the bolts while the front center's paint stops short of the bolts- i.e. the radius to which the paint reaches is larger on the rear wheels. most folks don't notice it with the standard lm finish which is a silver center. it is very noticeable on dbk or any other color (custom). so, now, the rear center will almost look like the fronts. afaik, no one has ever done this before. the paint on the outer edge was all removed by hand as each center spun on a lathe. the work is not done yet. you can see that not all the paint has been removed. the paint in the holes will all be removed by hand one by one. also, these centers are dusty and have yet to be sanded to get the little imperfections out. still, in the closeup with the embossed lettering, you can see the paint turned out well. no metal was taken off the outer edge. if you refer to the pics of the front wheels, the outer edge of the rears do not yet match the lip. once the outer edge is polished on both rear wheels, then that portion will be cleared. we are banking on a darn close match to the way the lips look. we will have to wait and see. 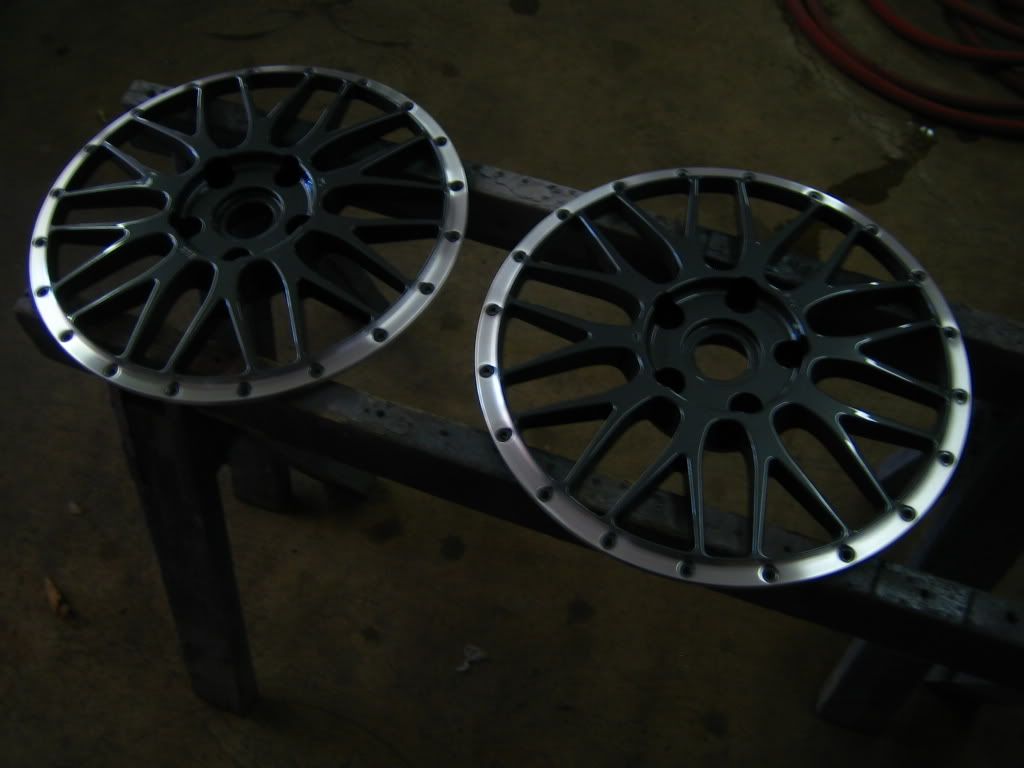 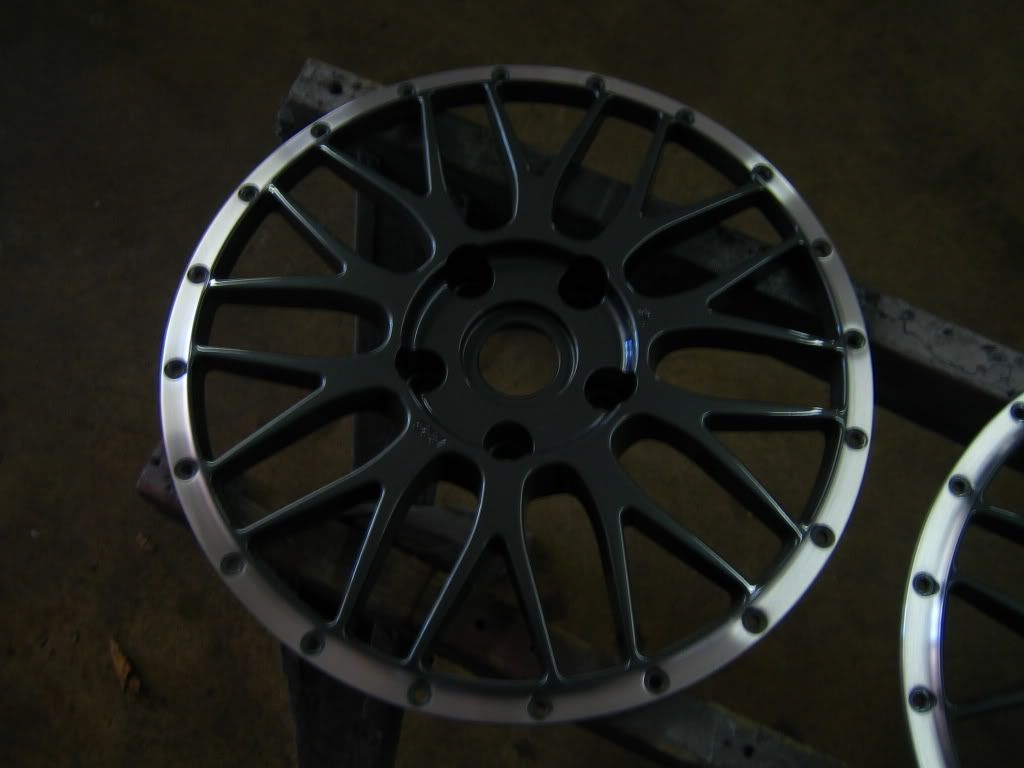 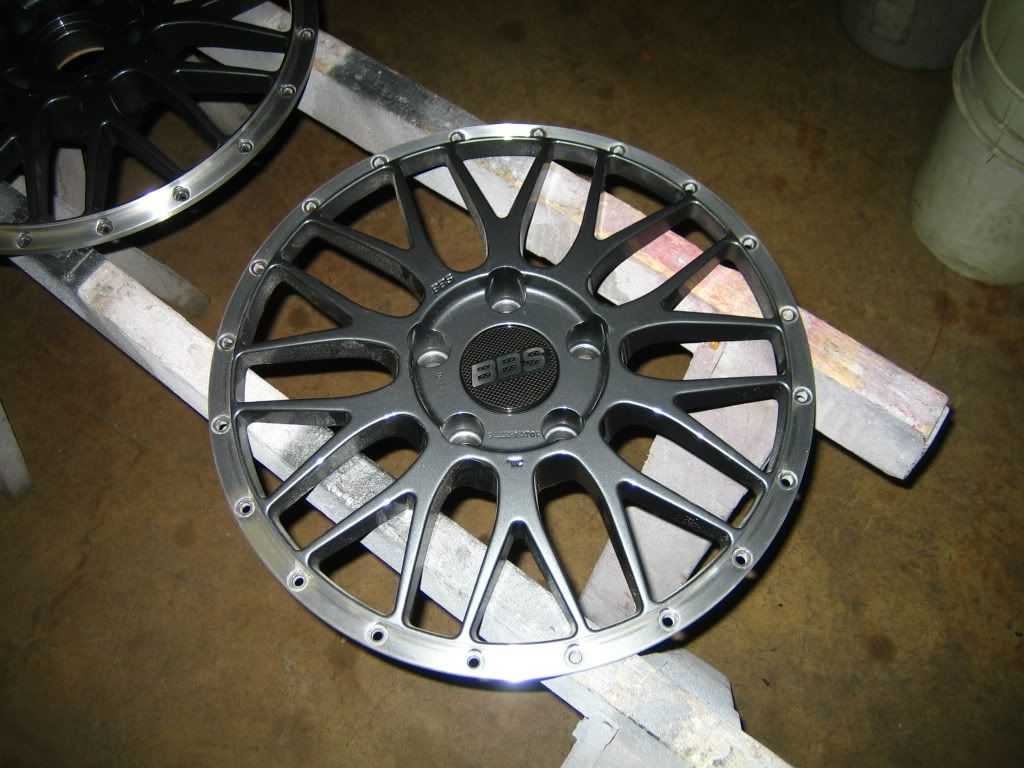 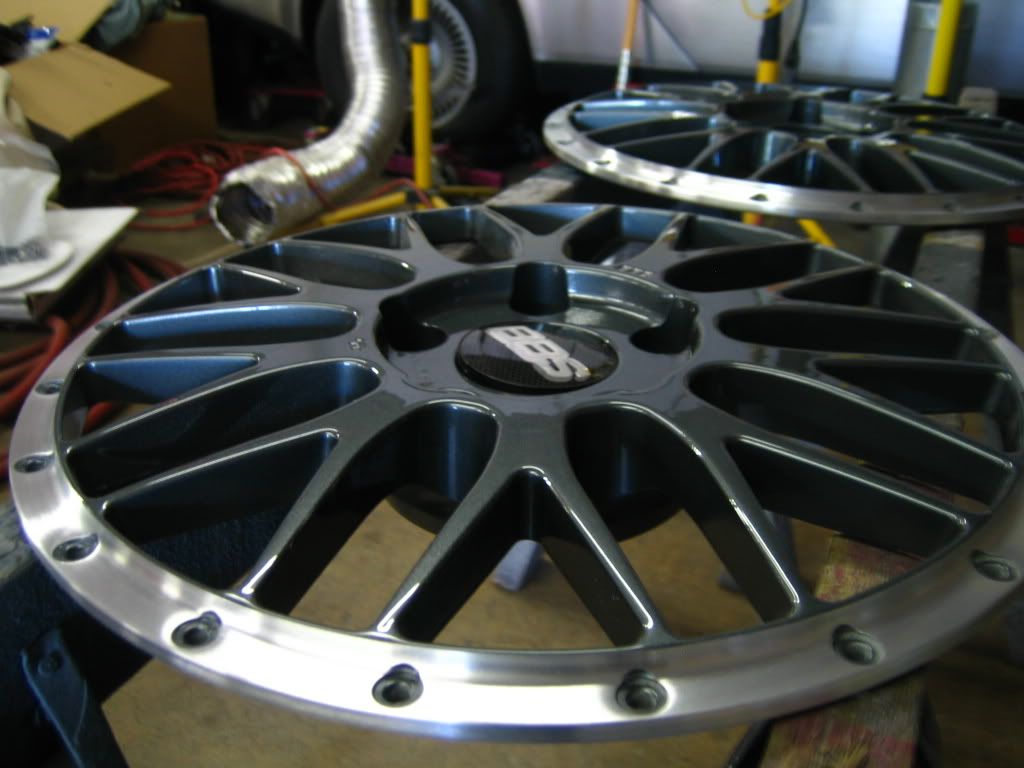 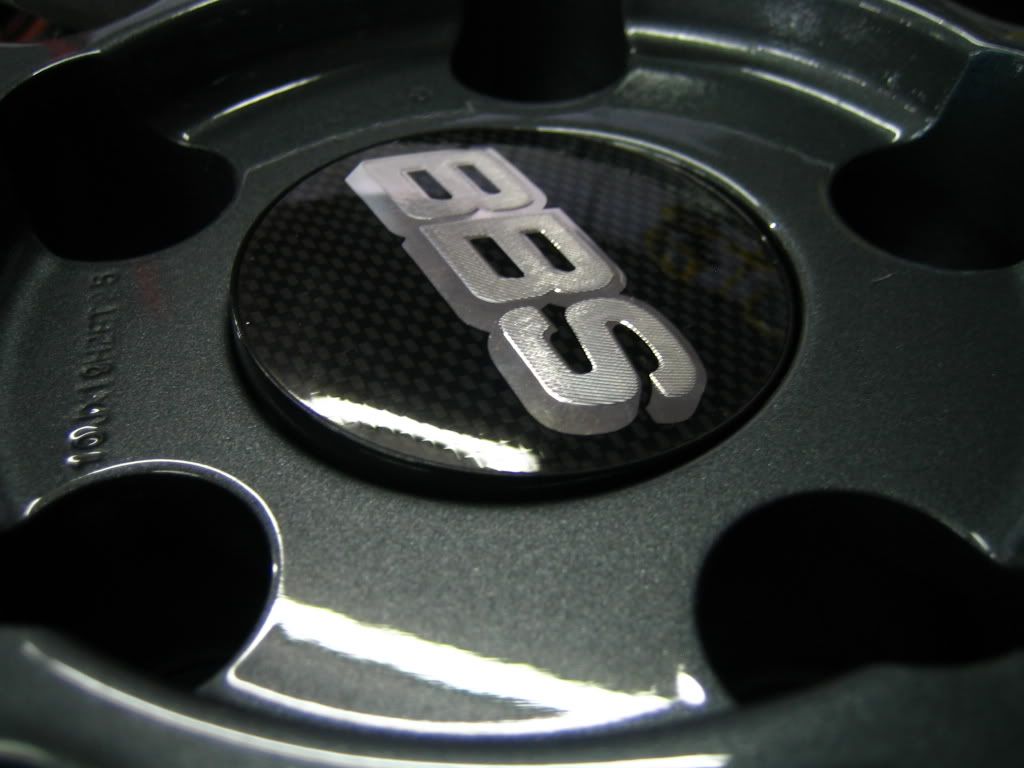  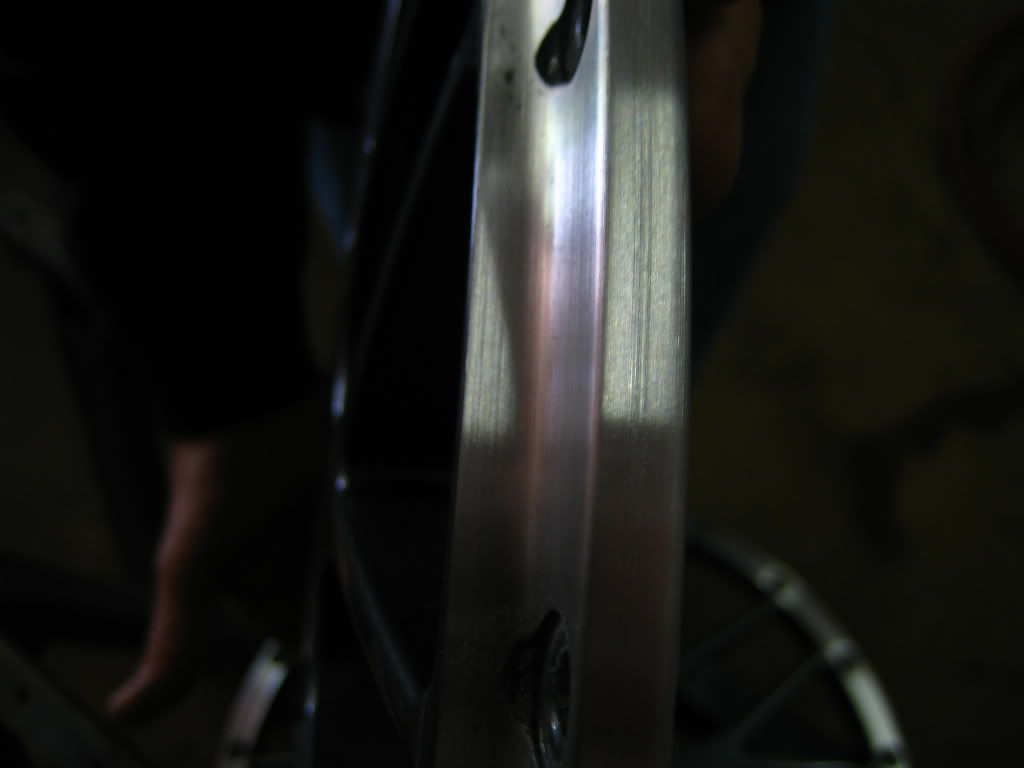 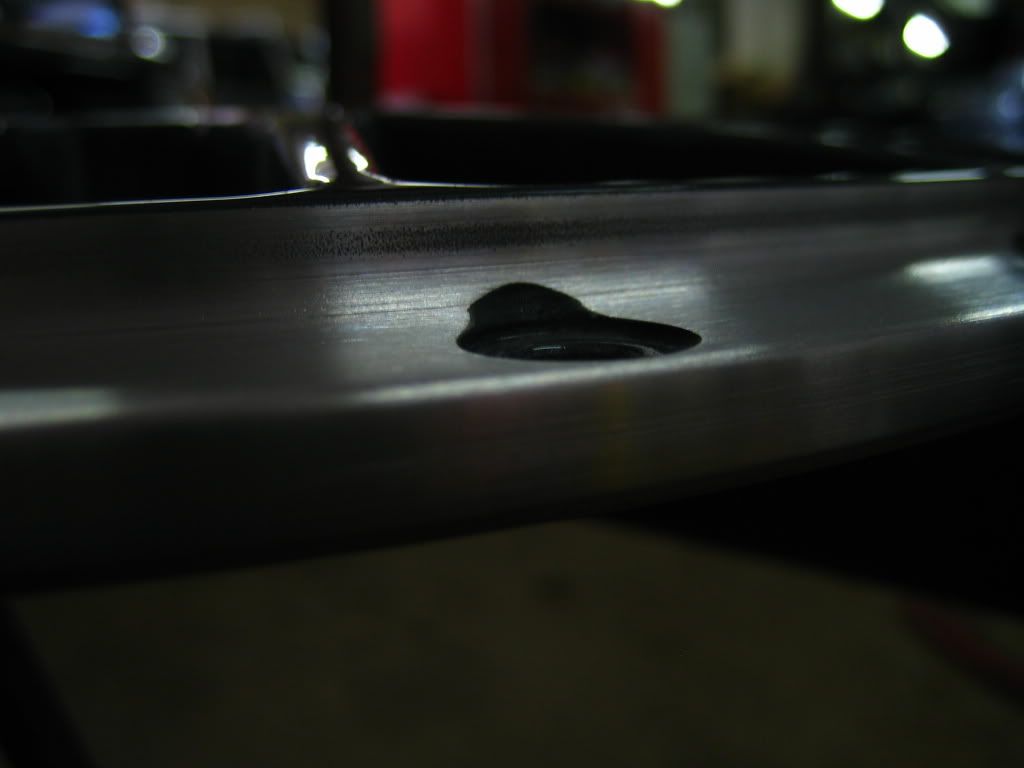 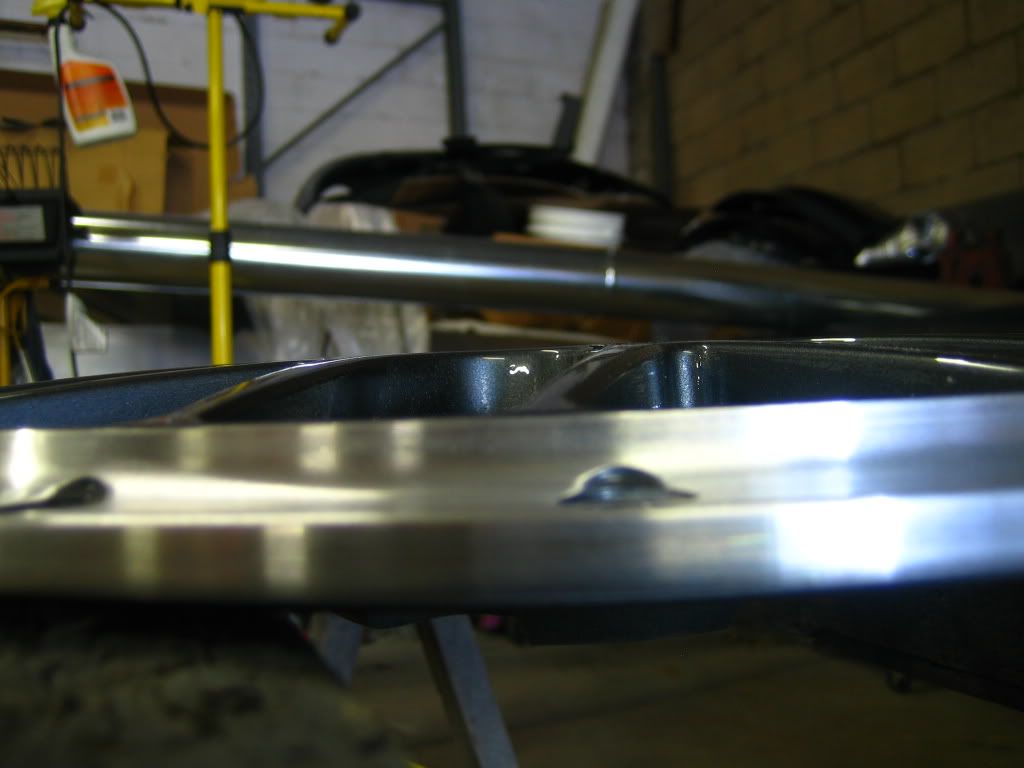 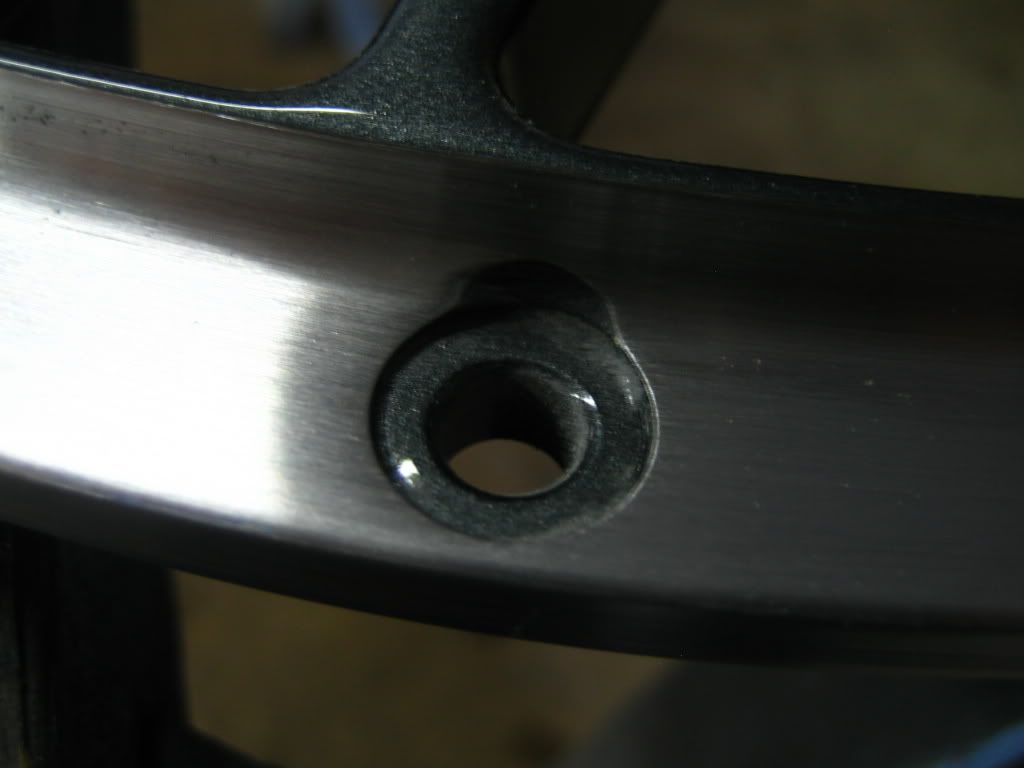 lots more left to do. most parts are in except for custom cf trim pieces i am having custom made as well as oem csl diffuser. the interior should all be done by next week.... there are a lot of folks to thank but i will do that properly in another thread once a proper photoshoot has been done.
__________________
To view links or images in signatures your post count must be 10 or greater. You currently have 0 signatures. To view links or images in signatures your post count must be 10 or greater. You currently have 0 signatures. To view links or images in signatures your post count must be 10 or greater. You currently have 0 signatures. |
|
|
|
|
10-10-2010, 04:21 PM
|
#4 |
|
Tri-State Aficionado
Join Date: Jun 2009
Location: mt laurel
Member #13970
My Ride: '06 M3 coupe, '07 X3 3.0si, '88 325ix iTrader: (0)
|
reserved for more updates
__________________
To view links or images in signatures your post count must be 10 or greater. You currently have 0 signatures. To view links or images in signatures your post count must be 10 or greater. You currently have 0 signatures. To view links or images in signatures your post count must be 10 or greater. You currently have 0 signatures. |
|
|
|
|
10-10-2010, 04:21 PM
|
#5 |
|
Tri-State Post Whore
 |
Wow that is sexy love everything wouldn't change anything
__________________
MY BUGEYE To view links or images in signatures your post count must be 10 or greater. You currently have 0 signatures. |
|
|
|
|
10-10-2010, 04:38 PM
|
#6 | |||
|
Tri-State Post Whore
Join Date: Aug 2010
Location: Trevose PA
Member #17203
My Ride: 2002 Chevy Silverado, 2003 BMW 330i ZHP 6 speed iTrader: (1)
|
 **** looks sweet man! -Jesse
__________________
Quote:
Quote:
Quote:
|
|||
|
|
|
|
10-10-2010, 07:32 PM
|
#8 | |||
|
Tri-State Aficionado
Join Date: Jun 2009
Location: mt laurel
Member #13970
My Ride: '06 M3 coupe, '07 X3 3.0si, '88 325ix iTrader: (0)
|
Quote:
Quote:
Quote:
__________________
To view links or images in signatures your post count must be 10 or greater. You currently have 0 signatures. To view links or images in signatures your post count must be 10 or greater. You currently have 0 signatures. To view links or images in signatures your post count must be 10 or greater. You currently have 0 signatures. |
|||
|
|
|
|
10-10-2010, 09:59 PM
|
#11 | ||
|
Tri-State Aficionado
Join Date: Jun 2009
Location: mt laurel
Member #13970
My Ride: '06 M3 coupe, '07 X3 3.0si, '88 325ix iTrader: (0)
|
Quote:
i must have a bad memory, but what have i posted in the past that was worth your excitement? Quote:
i wouldn't go that far but i appreciate the potential epithet.
__________________
To view links or images in signatures your post count must be 10 or greater. You currently have 0 signatures. To view links or images in signatures your post count must be 10 or greater. You currently have 0 signatures. To view links or images in signatures your post count must be 10 or greater. You currently have 0 signatures. |
||
|
|
|
|
10-13-2010, 06:13 PM
|
#12 |
|
Tri-State Aficionado
Join Date: Jun 2009
Location: mt laurel
Member #13970
My Ride: '06 M3 coupe, '07 X3 3.0si, '88 325ix iTrader: (0)
|
oem csl diffuser is en route. more parts were ordered today.
we are planning on making an underpan out of aluminum.
__________________
To view links or images in signatures your post count must be 10 or greater. You currently have 0 signatures. To view links or images in signatures your post count must be 10 or greater. You currently have 0 signatures. To view links or images in signatures your post count must be 10 or greater. You currently have 0 signatures. |
|
|
|
|
10-15-2010, 04:16 PM
|
#13 |
|
Tri-State Aficionado
Join Date: Jun 2009
Location: mt laurel
Member #13970
My Ride: '06 M3 coupe, '07 X3 3.0si, '88 325ix iTrader: (0)
|
the custom cf pieces are almost done. i had some additional engine trim pieces done in 2x2. i had an extra battery cover and decided to have overlay done on it as well. the hood grill was done in 1x1 to match all the exterior cf.
edit: removed pics. will have better ones of them soon.
__________________
To view links or images in signatures your post count must be 10 or greater. You currently have 0 signatures. To view links or images in signatures your post count must be 10 or greater. You currently have 0 signatures. To view links or images in signatures your post count must be 10 or greater. You currently have 0 signatures. Last edited by G.T.; 10-18-2010 at 05:42 PM. |
|
|
|
|
10-20-2010, 01:20 PM
|
#14 |
|
Tri-State Aficionado
Join Date: Jun 2009
Location: mt laurel
Member #13970
My Ride: '06 M3 coupe, '07 X3 3.0si, '88 325ix iTrader: (0)
|
these came in from germany on monday. i know it is a bad pic (sent to my phone).
__________________
To view links or images in signatures your post count must be 10 or greater. You currently have 0 signatures. To view links or images in signatures your post count must be 10 or greater. You currently have 0 signatures. To view links or images in signatures your post count must be 10 or greater. You currently have 0 signatures. |
|
|
|
|
10-20-2010, 04:51 PM
|
#17 | |
|
Tri-State Post Whore
Join Date: Feb 2008
Location: South FL
Member #6855
My Ride: 2021 Ram TRX, 2014 Camaro Z/28, 2017 Shelby GT350, 1991 Mercedes 350SDL iTrader: (-1)
|
Wow, one of the best/classiest/most well done BMW builds I have seen in a while. In for more progress
__________________
Jake Guzewicz ll RaceInPeace Never Worried, Never Scared Never Forgotten Quote:
To view links or images in signatures your post count must be 10 or greater. You currently have 0 signatures. |
|
|
|
|
|
10-20-2010, 05:40 PM
|
#18 |
|
Tri-State Addict
|
wow! nice ride you got there!!
__________________
To view links or images in signatures your post count must be 10 or greater. You currently have 0 signatures. To view links or images in signatures your post count must be 10 or greater. You currently have 0 signatures. |
|
|
|
|
10-21-2010, 01:27 AM
|
#19 |
|
Tri-State Post Whore
Join Date: Jan 2005
Location: Philadelphia PA
Member #70
My Ride: 2003 Mitsubishi Evolution VIII iTrader: (0)
|
*subscribed*
What's up Eugene. It's Jeff... Choi's buddy from Philly. Your car is coming along nicely I see. Looks fantastic! And thanks again for the ride that night. 
__________________
150,000 miles and counting. Last edited by 9 Ball; 10-21-2010 at 01:41 AM. |
|
|
|
|
10-21-2010, 01:31 AM
|
#20 | |||||
|
Tri-State Aficionado
Join Date: Jun 2009
Location: mt laurel
Member #13970
My Ride: '06 M3 coupe, '07 X3 3.0si, '88 325ix iTrader: (0)
|
Quote:
Quote:
Quote:
Quote:
Quote:
it is coming along....slowly but surely. lol. i sure am hoping she turns out like how i have been envisioning for over a year now. np. wish she were faster
__________________
To view links or images in signatures your post count must be 10 or greater. You currently have 0 signatures. To view links or images in signatures your post count must be 10 or greater. You currently have 0 signatures. To view links or images in signatures your post count must be 10 or greater. You currently have 0 signatures. |
|||||
|
|
|
|
| Bookmarks |
|
|
 Similar Threads
|
||||
| Thread | Thread Starter | Forum | Replies | Last Post |
| renn's EJ2 coupe ... recaro content | renn | Member Journals | 66 | 12-08-2010 10:20 PM |
| NEW LEXUS IS300 Project **almost finished pics pg 3** - flares/paint job/custom trunk | moiz87 | Member Journals | 90 | 05-21-2008 09:45 AM |
| custom vc work? | ketchup! | Bonehead Performance | 2 | 11-26-2007 04:24 PM |


 Linear Mode

