All credit for this writeup goes to Chance91 from
www.mazda-speed.com but I looked through the DIY and thought it would be good info to have here.
Original Thread:
http://www.mazda-speed.com/forum2/in...c,15633.0.html
The info:
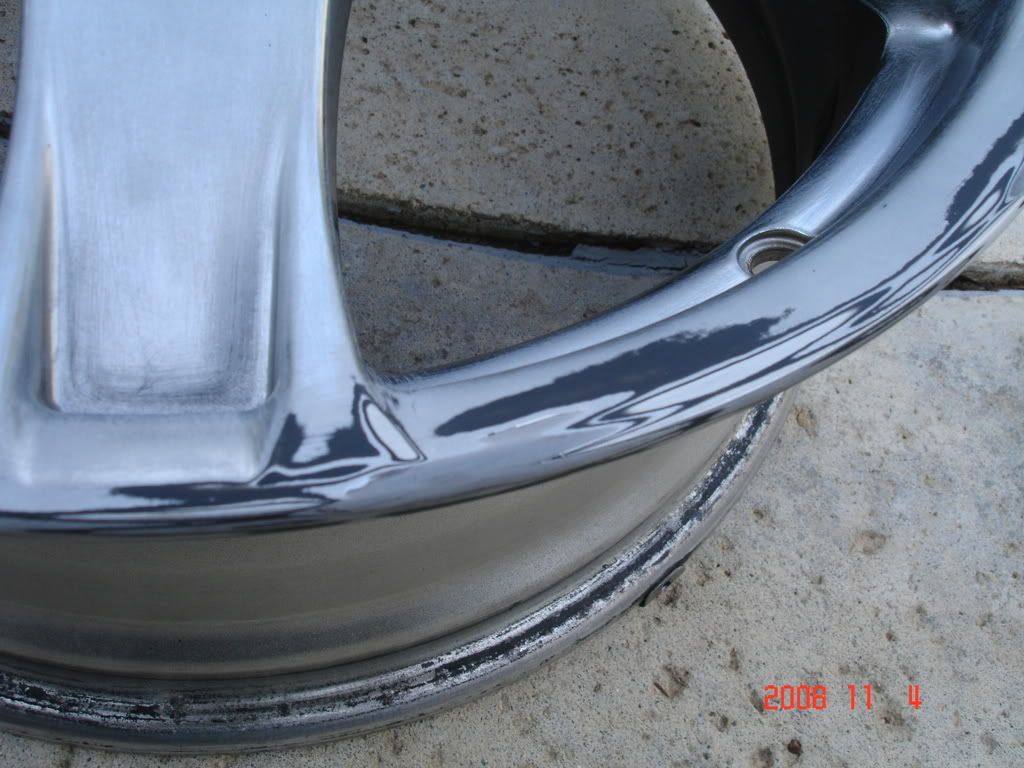
Ok, so, do you have curb dammage, chips, scrapes, and other dammage to your wheels coating or even the alloy underneath? Do you want to change the color of the wheels? Ok, then this is for you. Are you somewhat confident in your ability to file, sand, and prep for paint a metal surface, and are you Ok with using spray paint on your wheels? If not, hopefully this helps with confidence!
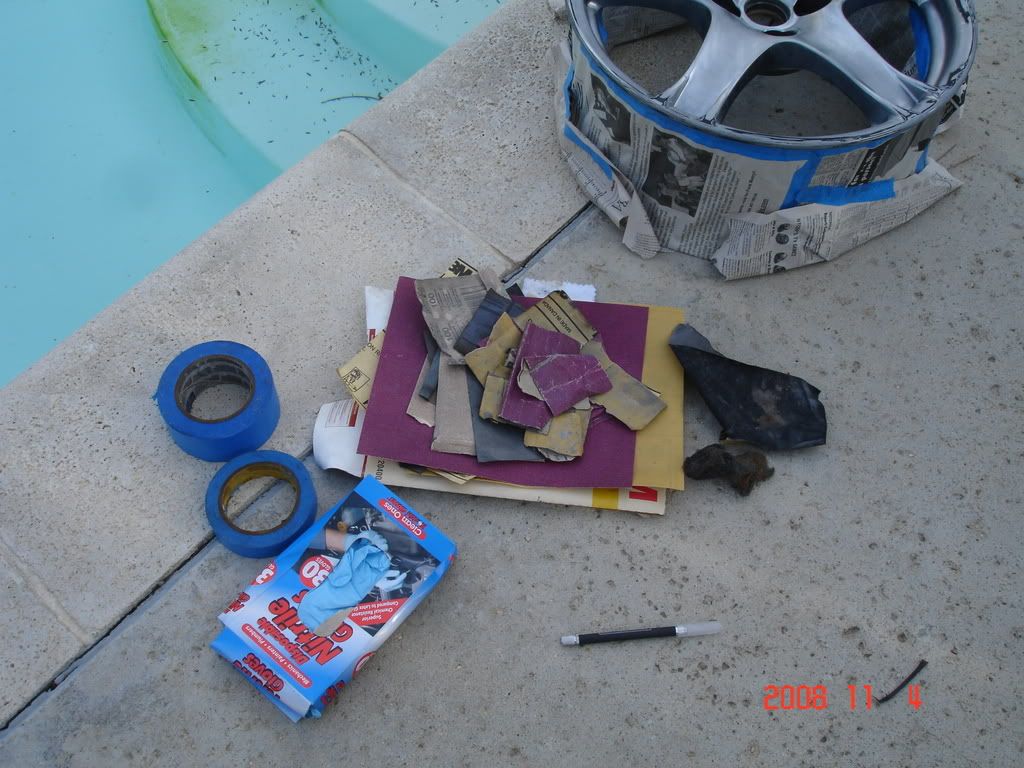
Parts list before we start, here's what I used.
-Various rasps and files
-Sand paper in grits from 160-400. I primairly used 180, 320, 400.
-JB weld
-stir stick/applicators (I used popsicle sticks)
-marker
-Box of Latex/nitrile gloves
-knife/razor
-painters tape
-one or two sunday newspapers
-large bucket for paint cans
-Acetone
-self-etching primer
-Wheel paint of choice (Used here Duplicolor Performance wheel Coating)
To start, make sure if you plan on doing this you have a few days to go without your wheels. At least one day should be given to preperation and allowing the JB weld to dry, and another good portion of the next day to perperation, and possibly paint. Let the paint cure for 2 or more days before mounting and balancing, and don't use any solvent to clean the wheels for a month. Water and a cloth only.
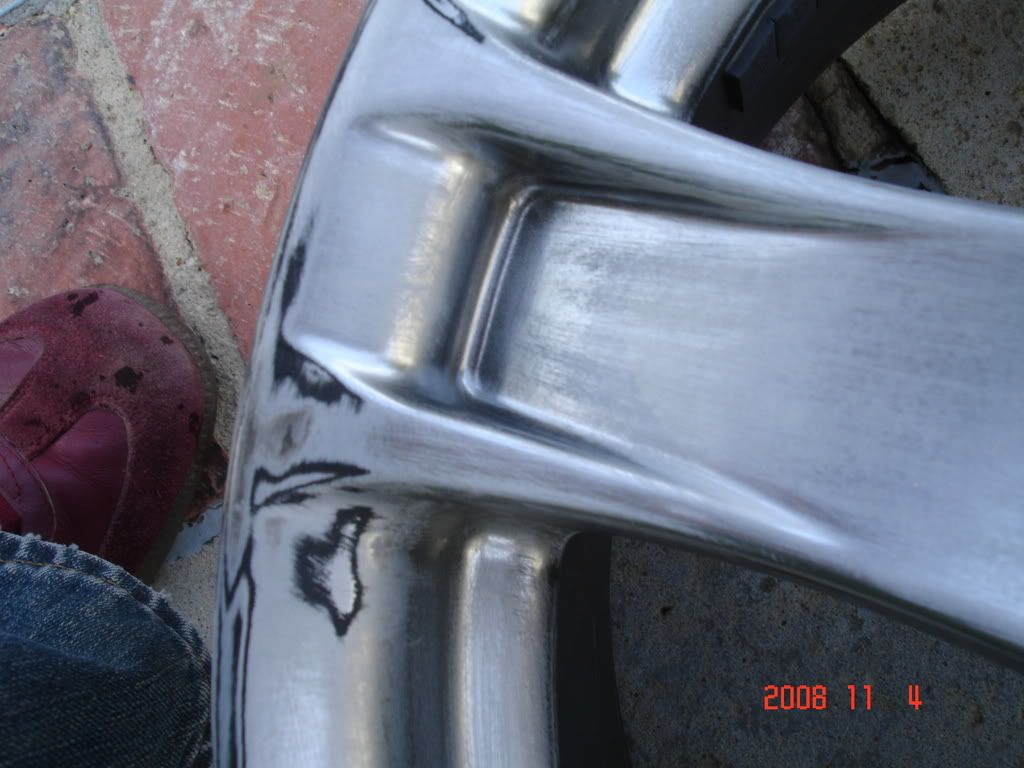
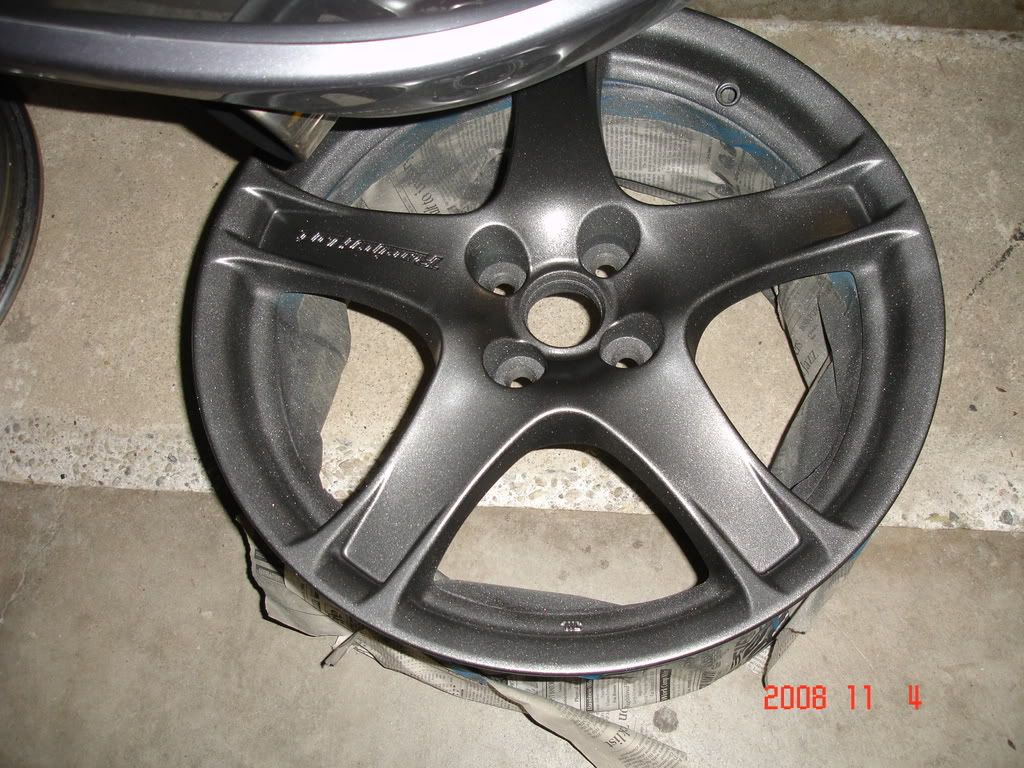
Ok, so to start, just wash the wheel with soap and water so that it can be handled without getting you dirty! I went through in good light with a sharpie and marked everywhere I needed to sand/file. Start by taking a file and knockin down the deep protruding cuts smooth. Take some heavier sand paper to the nicks or coating-only chips and smooth them out, and also sand over where you used the file. After the whole wheel is done, throw on some gloves and mix up your jb weld. Use some acetone to prep where it is going, and use your aplicator to fill in the scrape. Using your gloved hand, smooth in the JB, leaving some protrusion to be sanded later. Takes 8+ hours to dry... I waited about 15 hours, next day.
Ok, Now that the jb weld is dry, throw on some gloves again and break out the sand paper. Start with about 180 and knock down most of the excess till it is near flush with the wheel. Finish with 320, then 400. You should be able to run your finger along the finished edge and not feel any transition. Remember, this is going to be the wheels new edge. Also, take 180/220 and scuff up the whole wheel's surface to promote paint adhesion. Great, not much left after this.
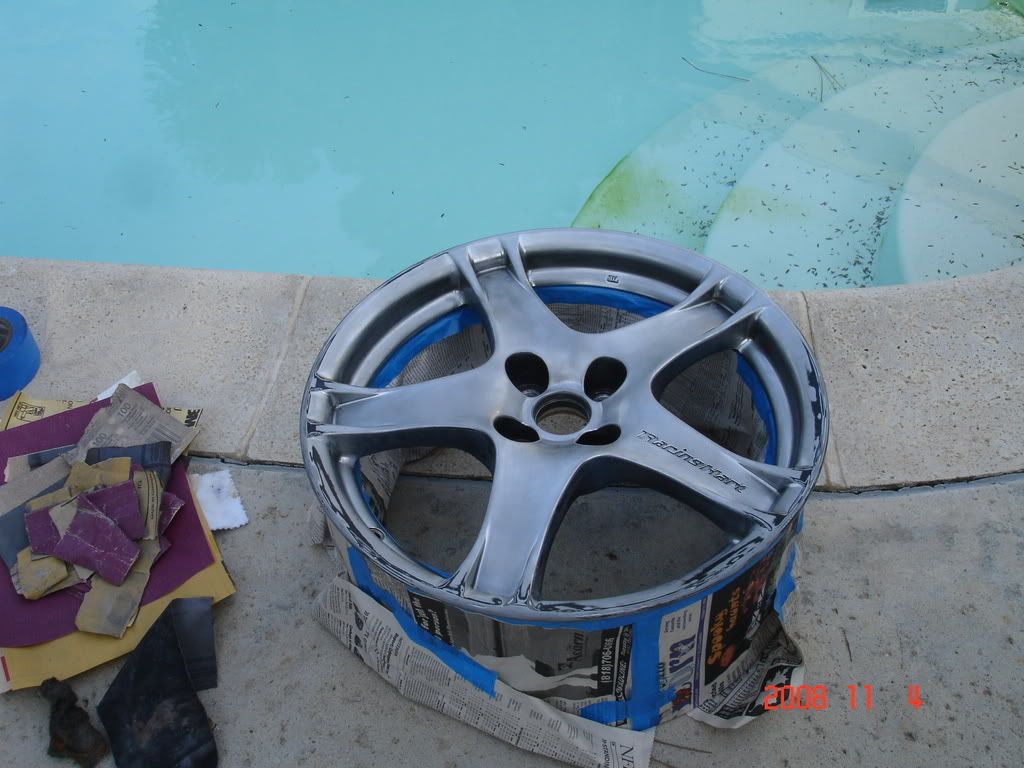
Go on ahead and spray the wheel down with a hose at this point, to get the dust off. We are now going to tape up the wheels for paint. I'll just use pictures with this one, pretty self explanitory. Just be precise, use a razor if needed, and remember this is going to be the line your wheels are going to follow.
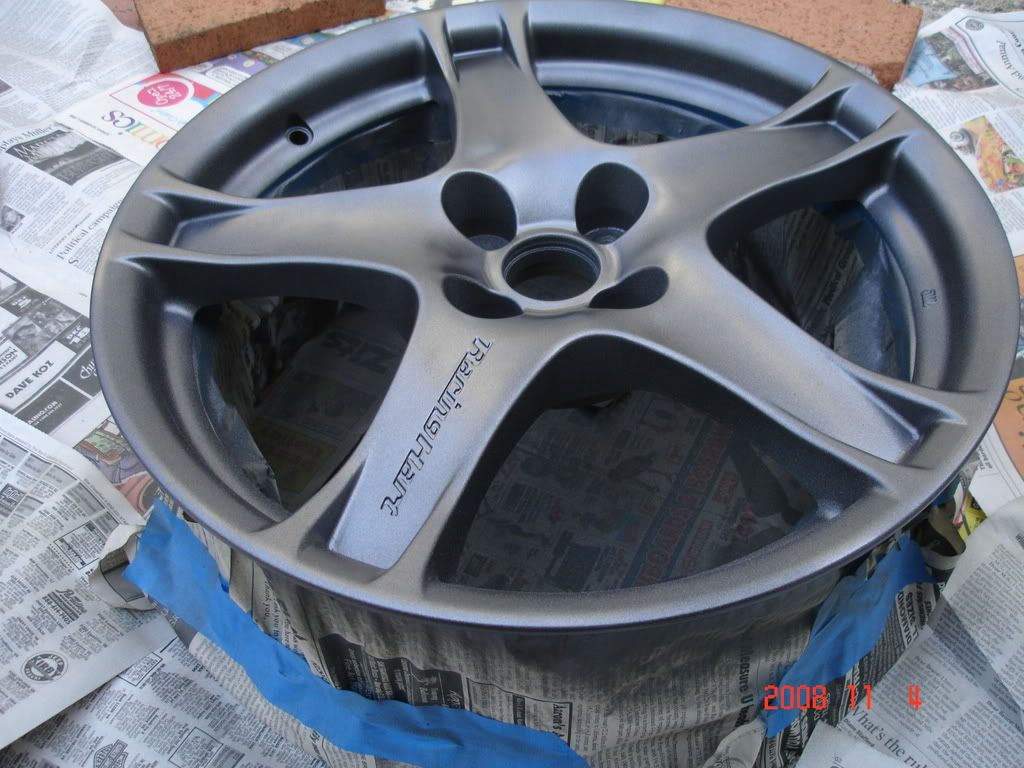
Get a bucket of hot water for your cans of paint. Leave them in there for at least ten minutes, till they are warm. Don't forget to follow directions, and shake the crap out of them before you use em. Pretty important.
So, wipe the can off well with a rag so water doesn't get on the wheel, and lay down two coats of primer on the wheel. Wait about 5 minutes between coats. I start from the bead and work to the middle. After about 8-10mins you can lay down your first coat of wheel paint. Wait same 8-10mins between coats, with 3-4 coats to finish. Let them dry in a clean area free from dust, and if you want to bake/use heat gun, I'd recommend waiting an hour at least of air drying first. So, pictures now....
Words of Warning from the OP:
1. Paint is thick, but don't get fooled into putting it on too light, as I did. It leaves that abrasive thin finish.
2. Watch out for water droplets from the can when removed from hot water.
3. be carefull with the can, and possibly hitting the wheel when shooting at the tight spots. I made that mistake once.
Finished Product on the car:
