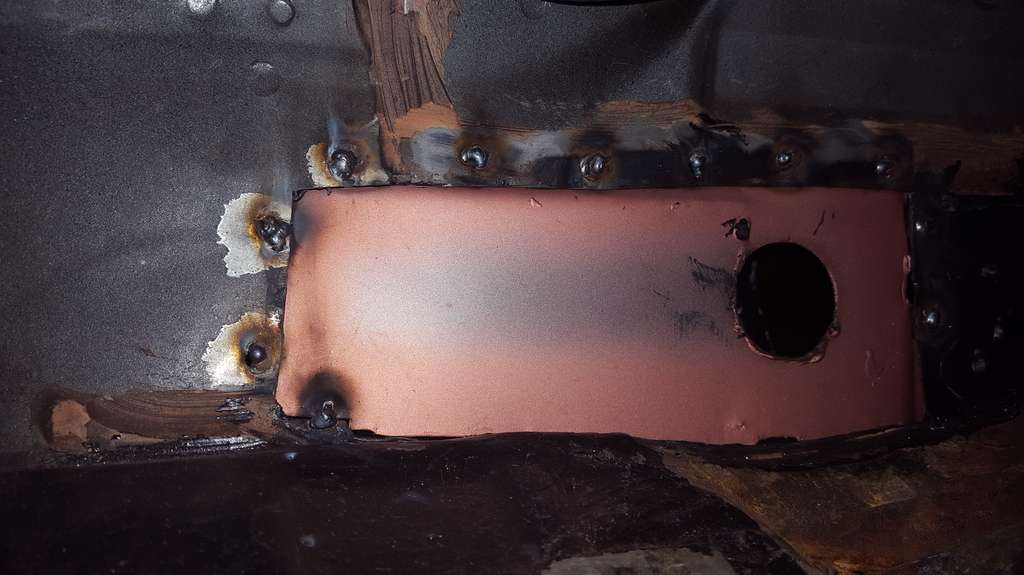
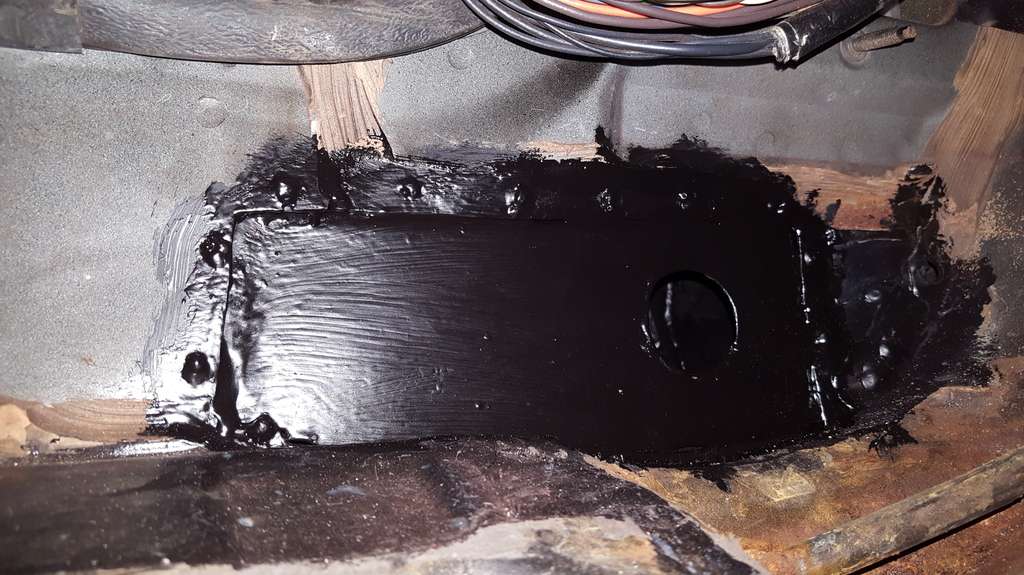
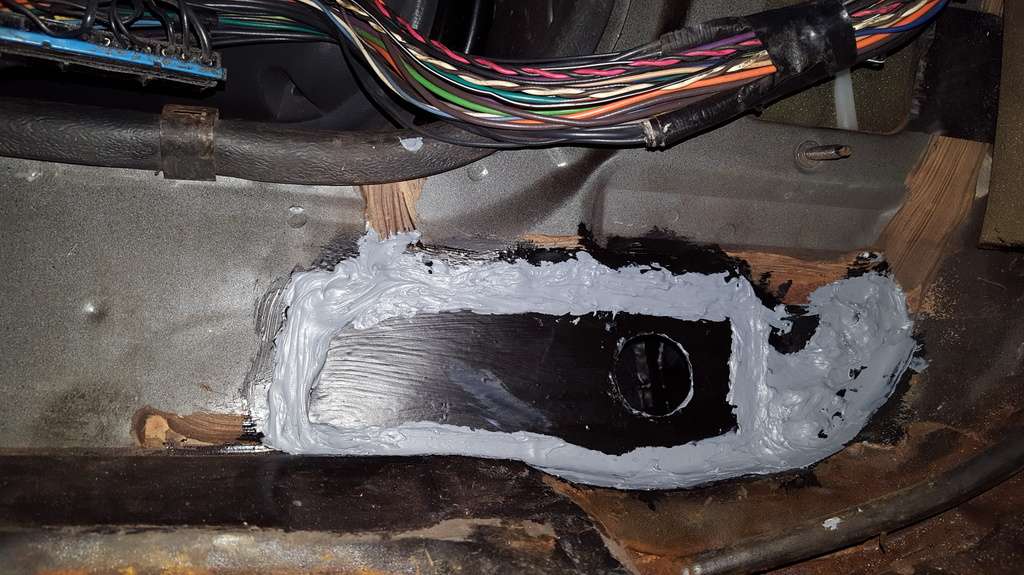
I did a second coat of paint inside the rocker, coated the patch panel and tacked it in. The only thing left is to seam seal it in.
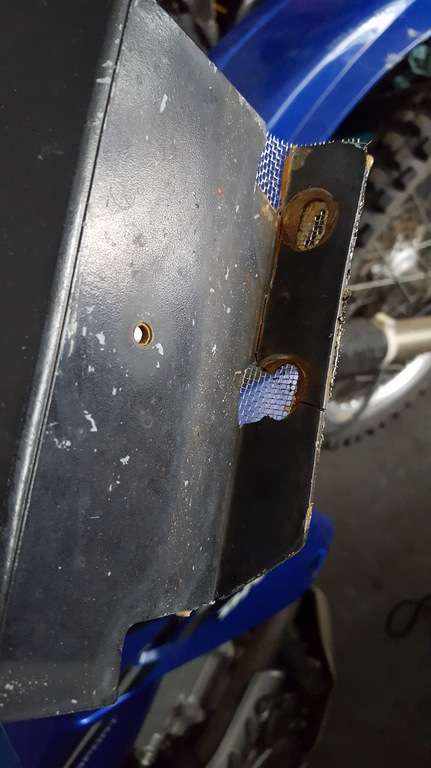
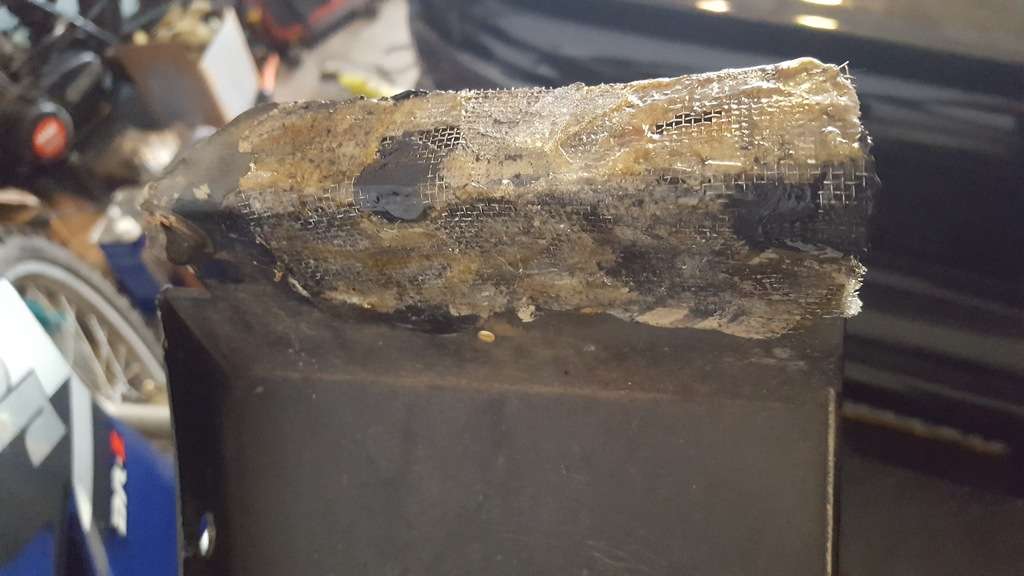
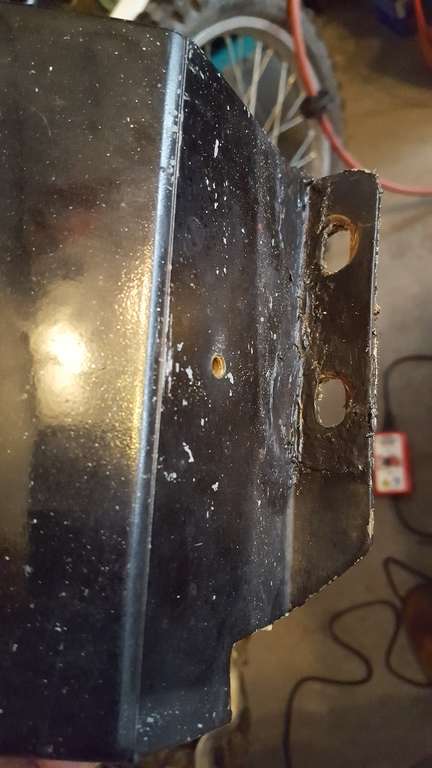
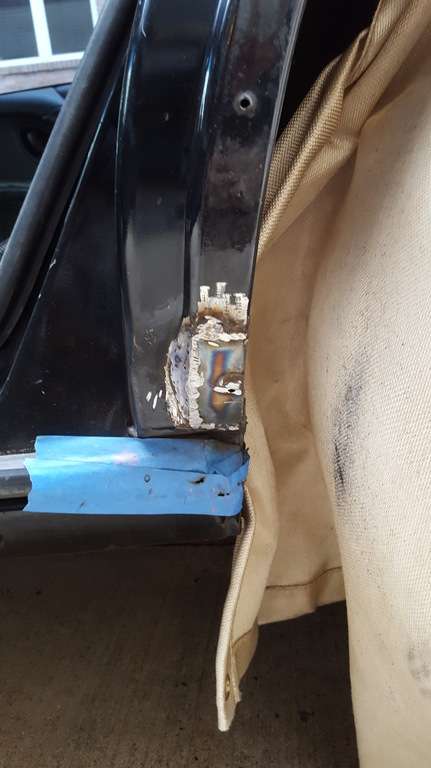
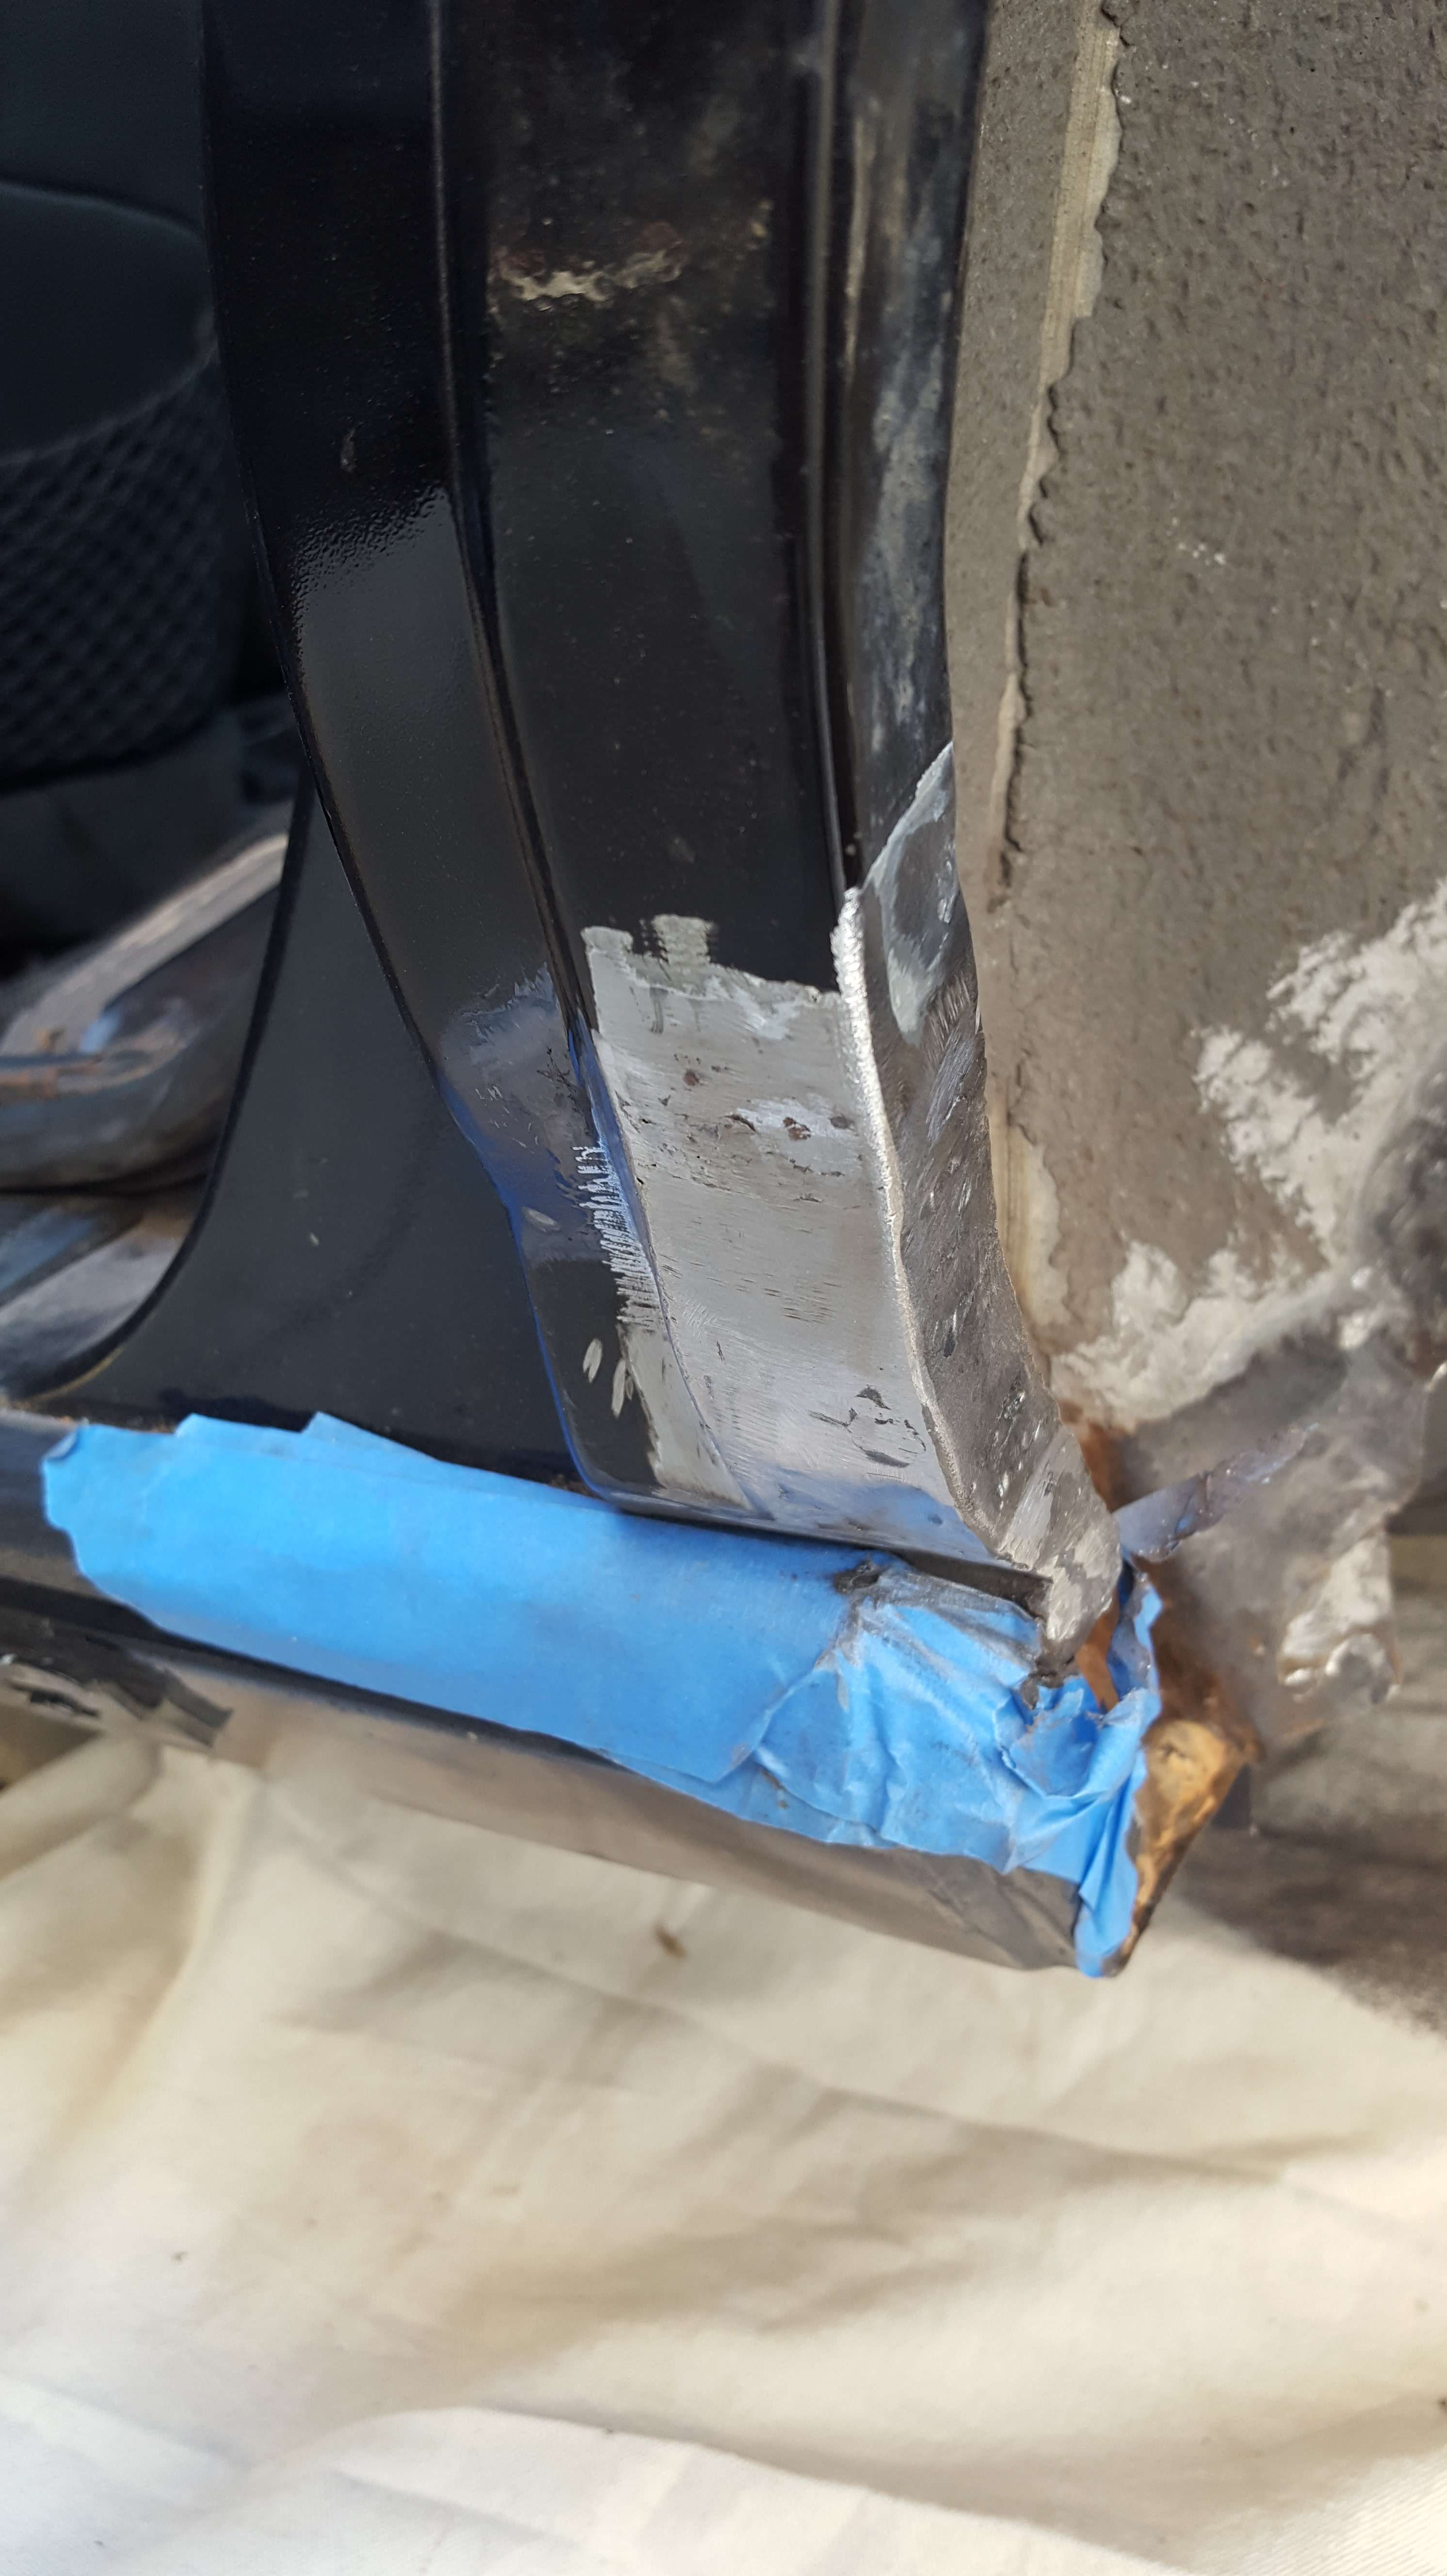
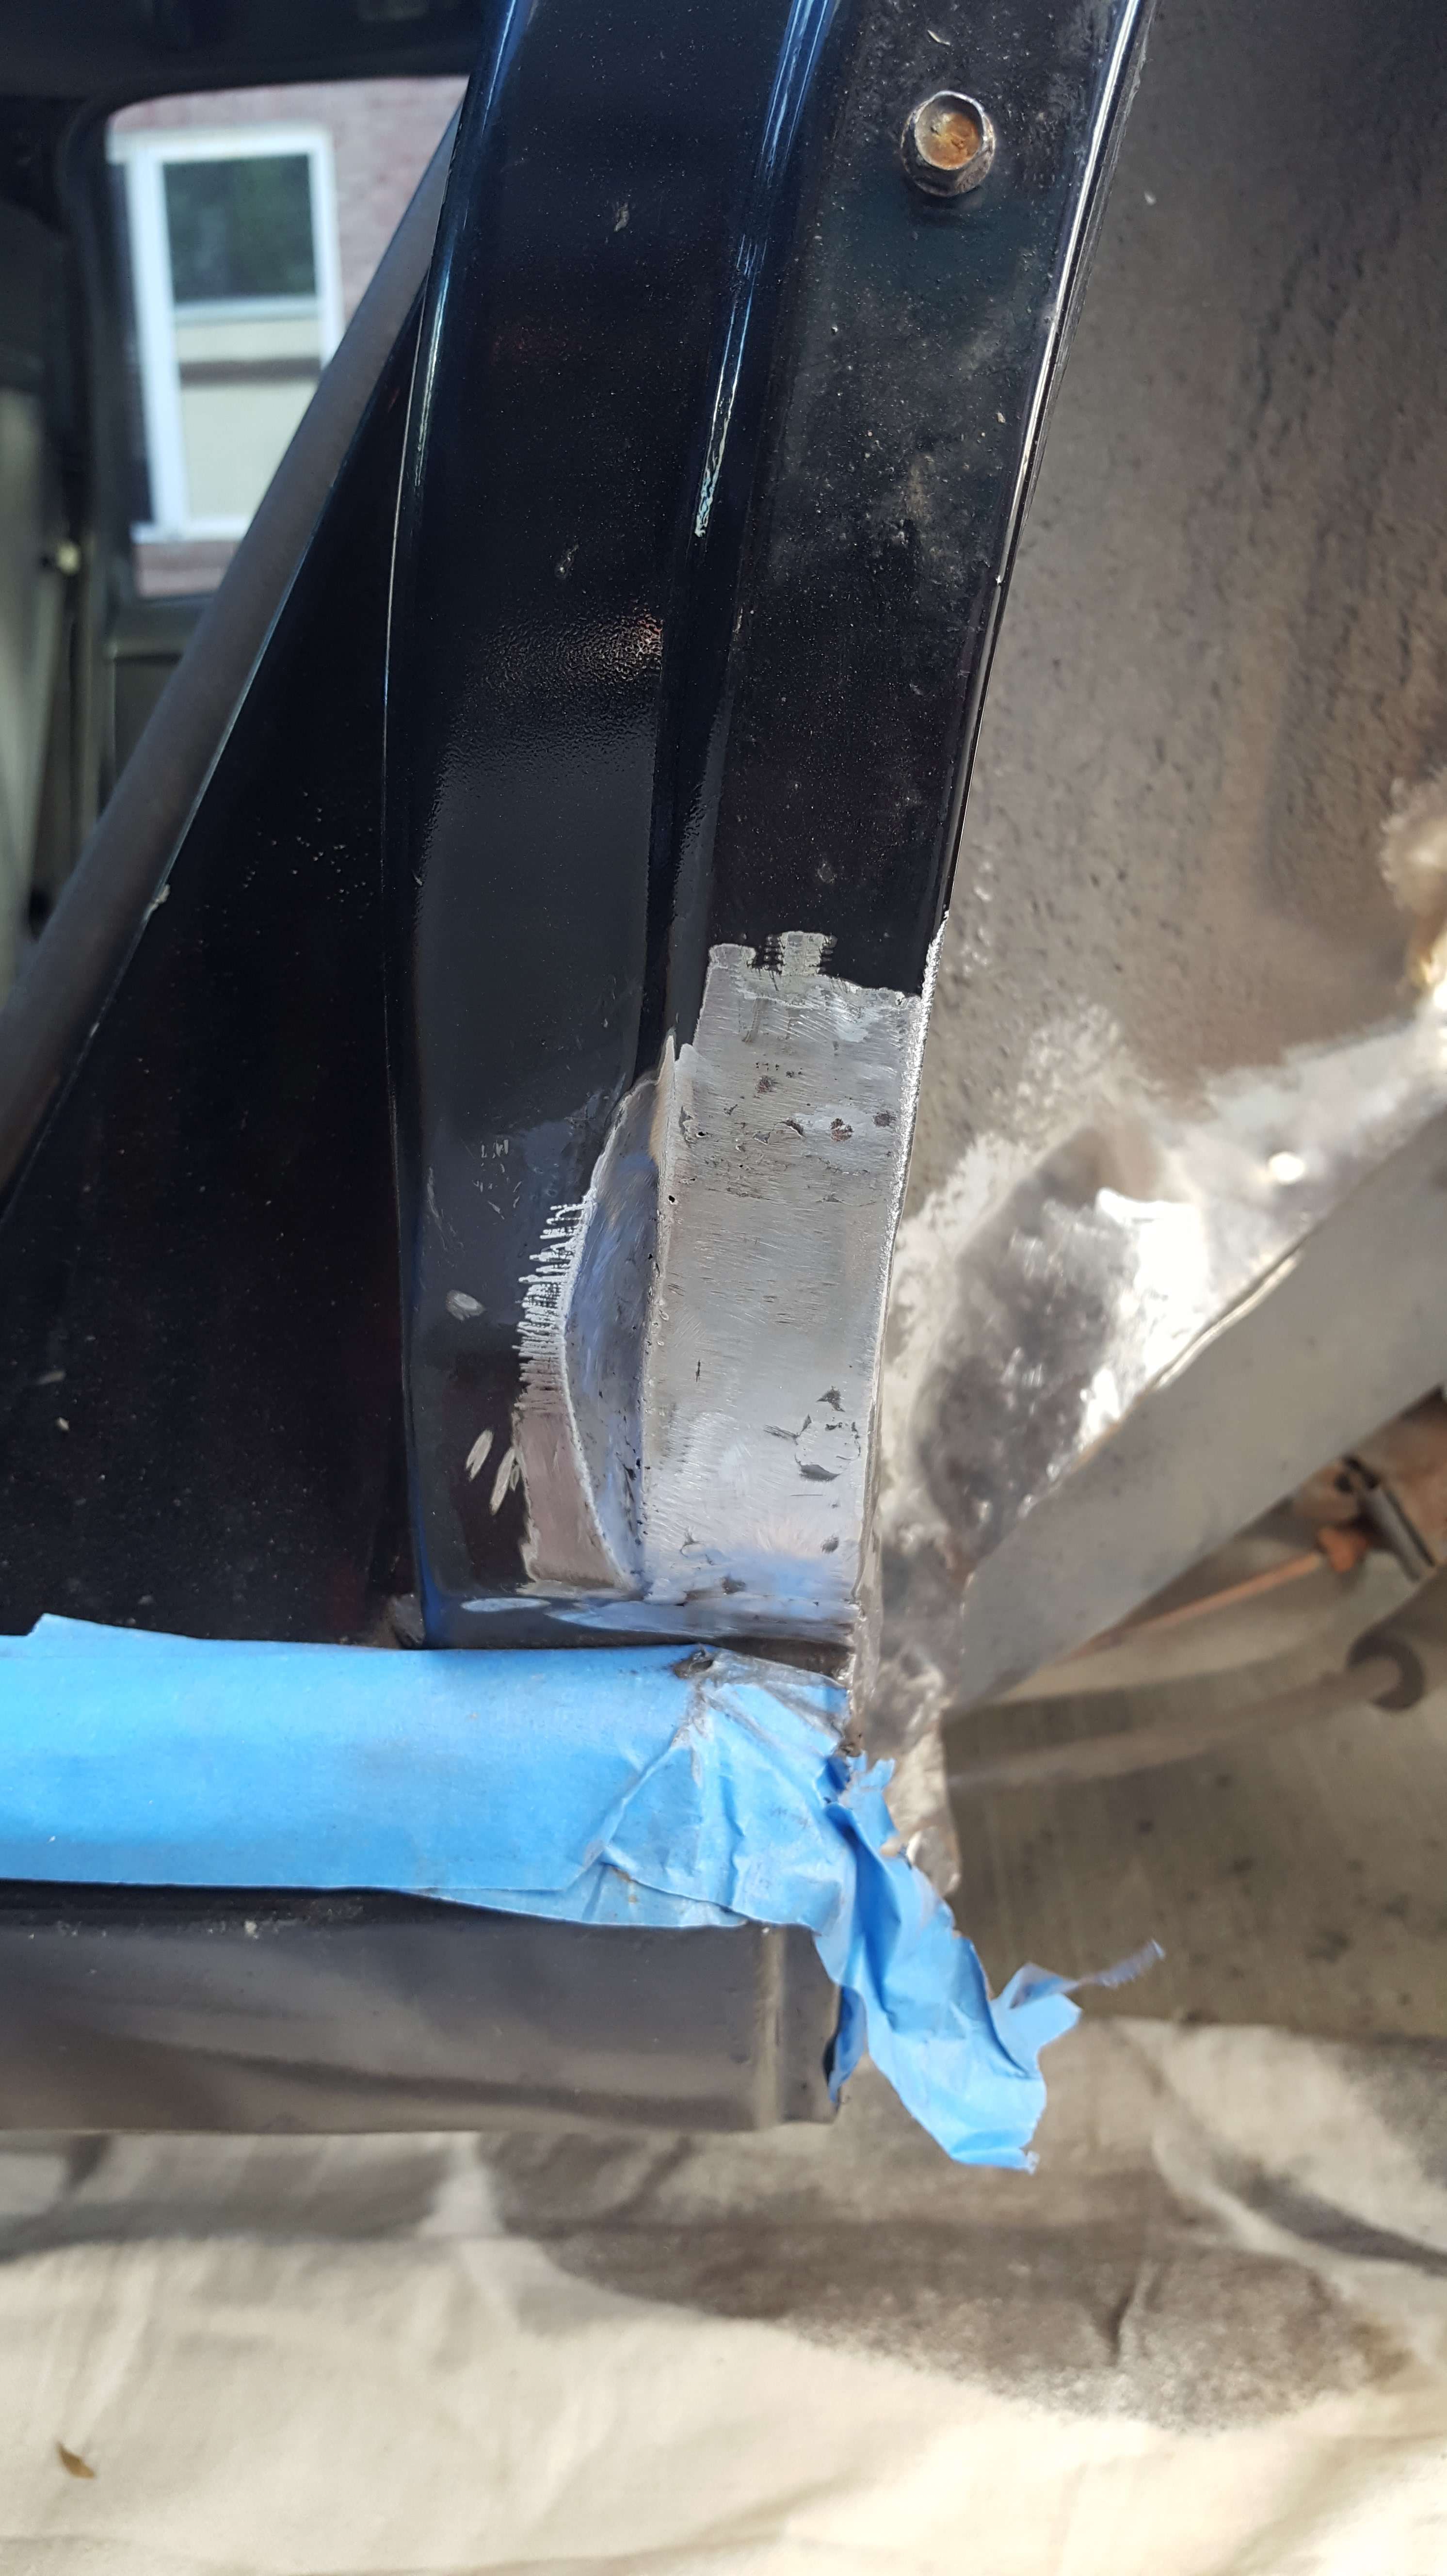
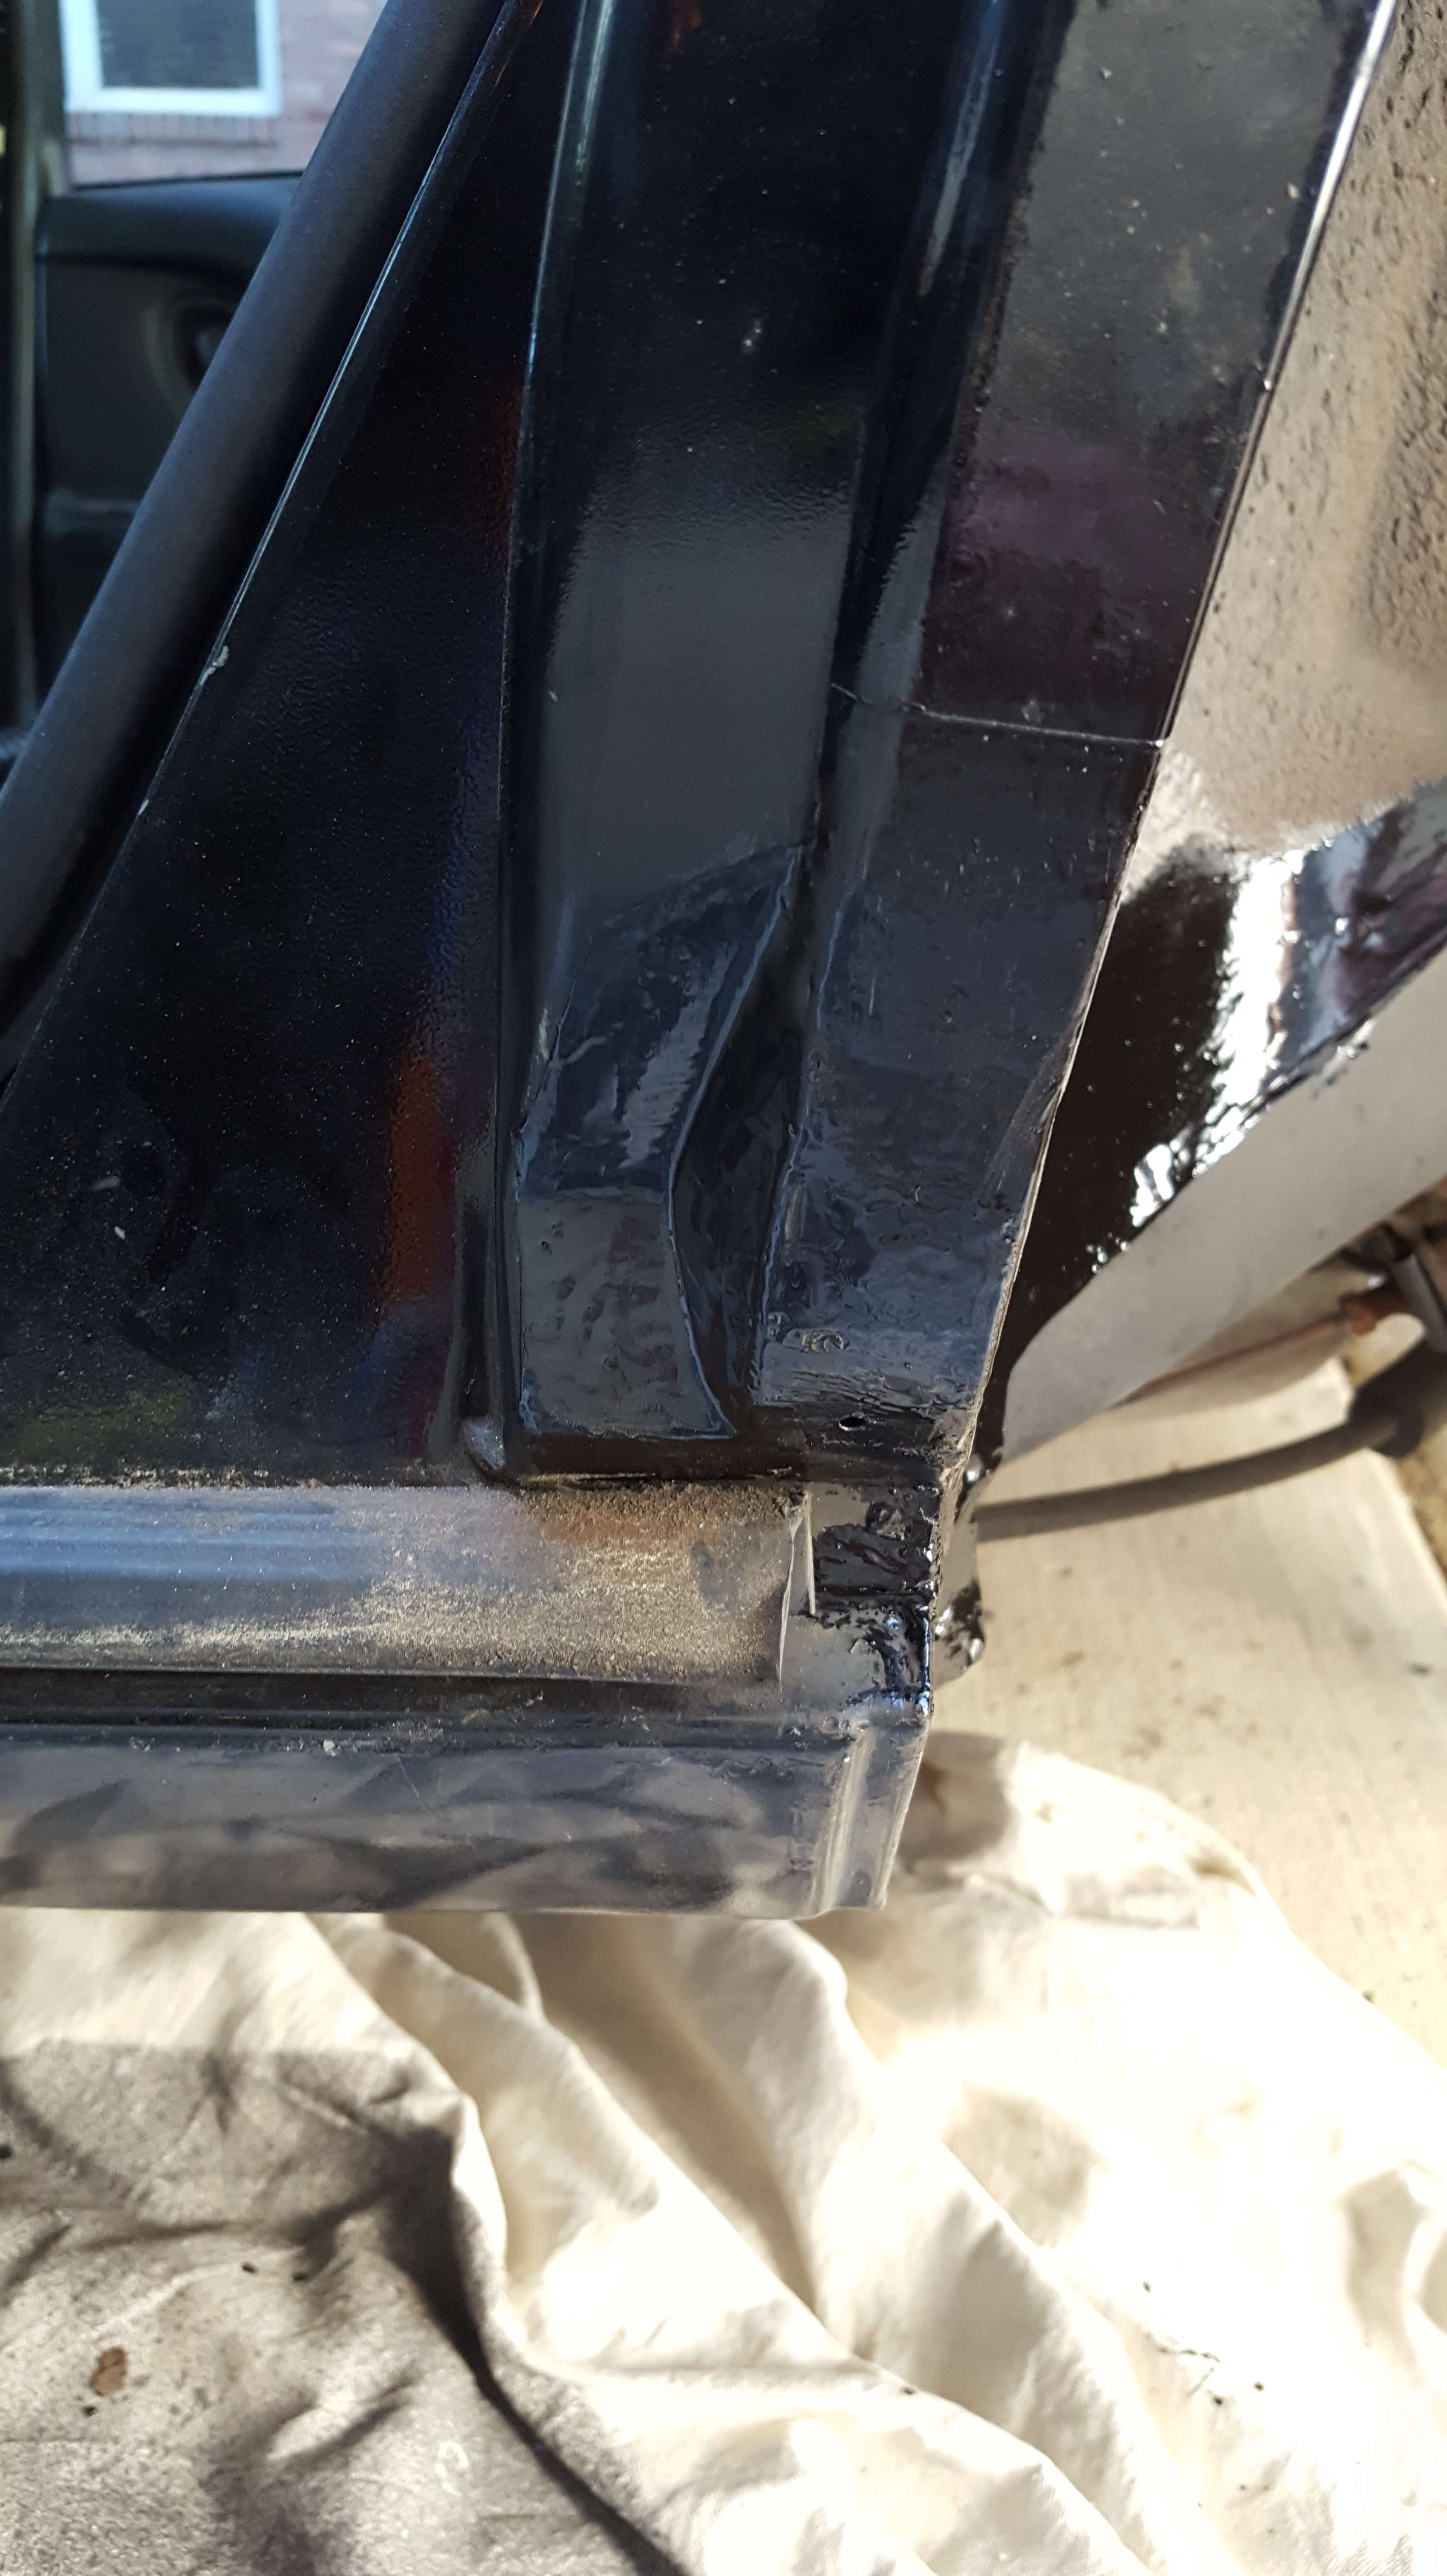
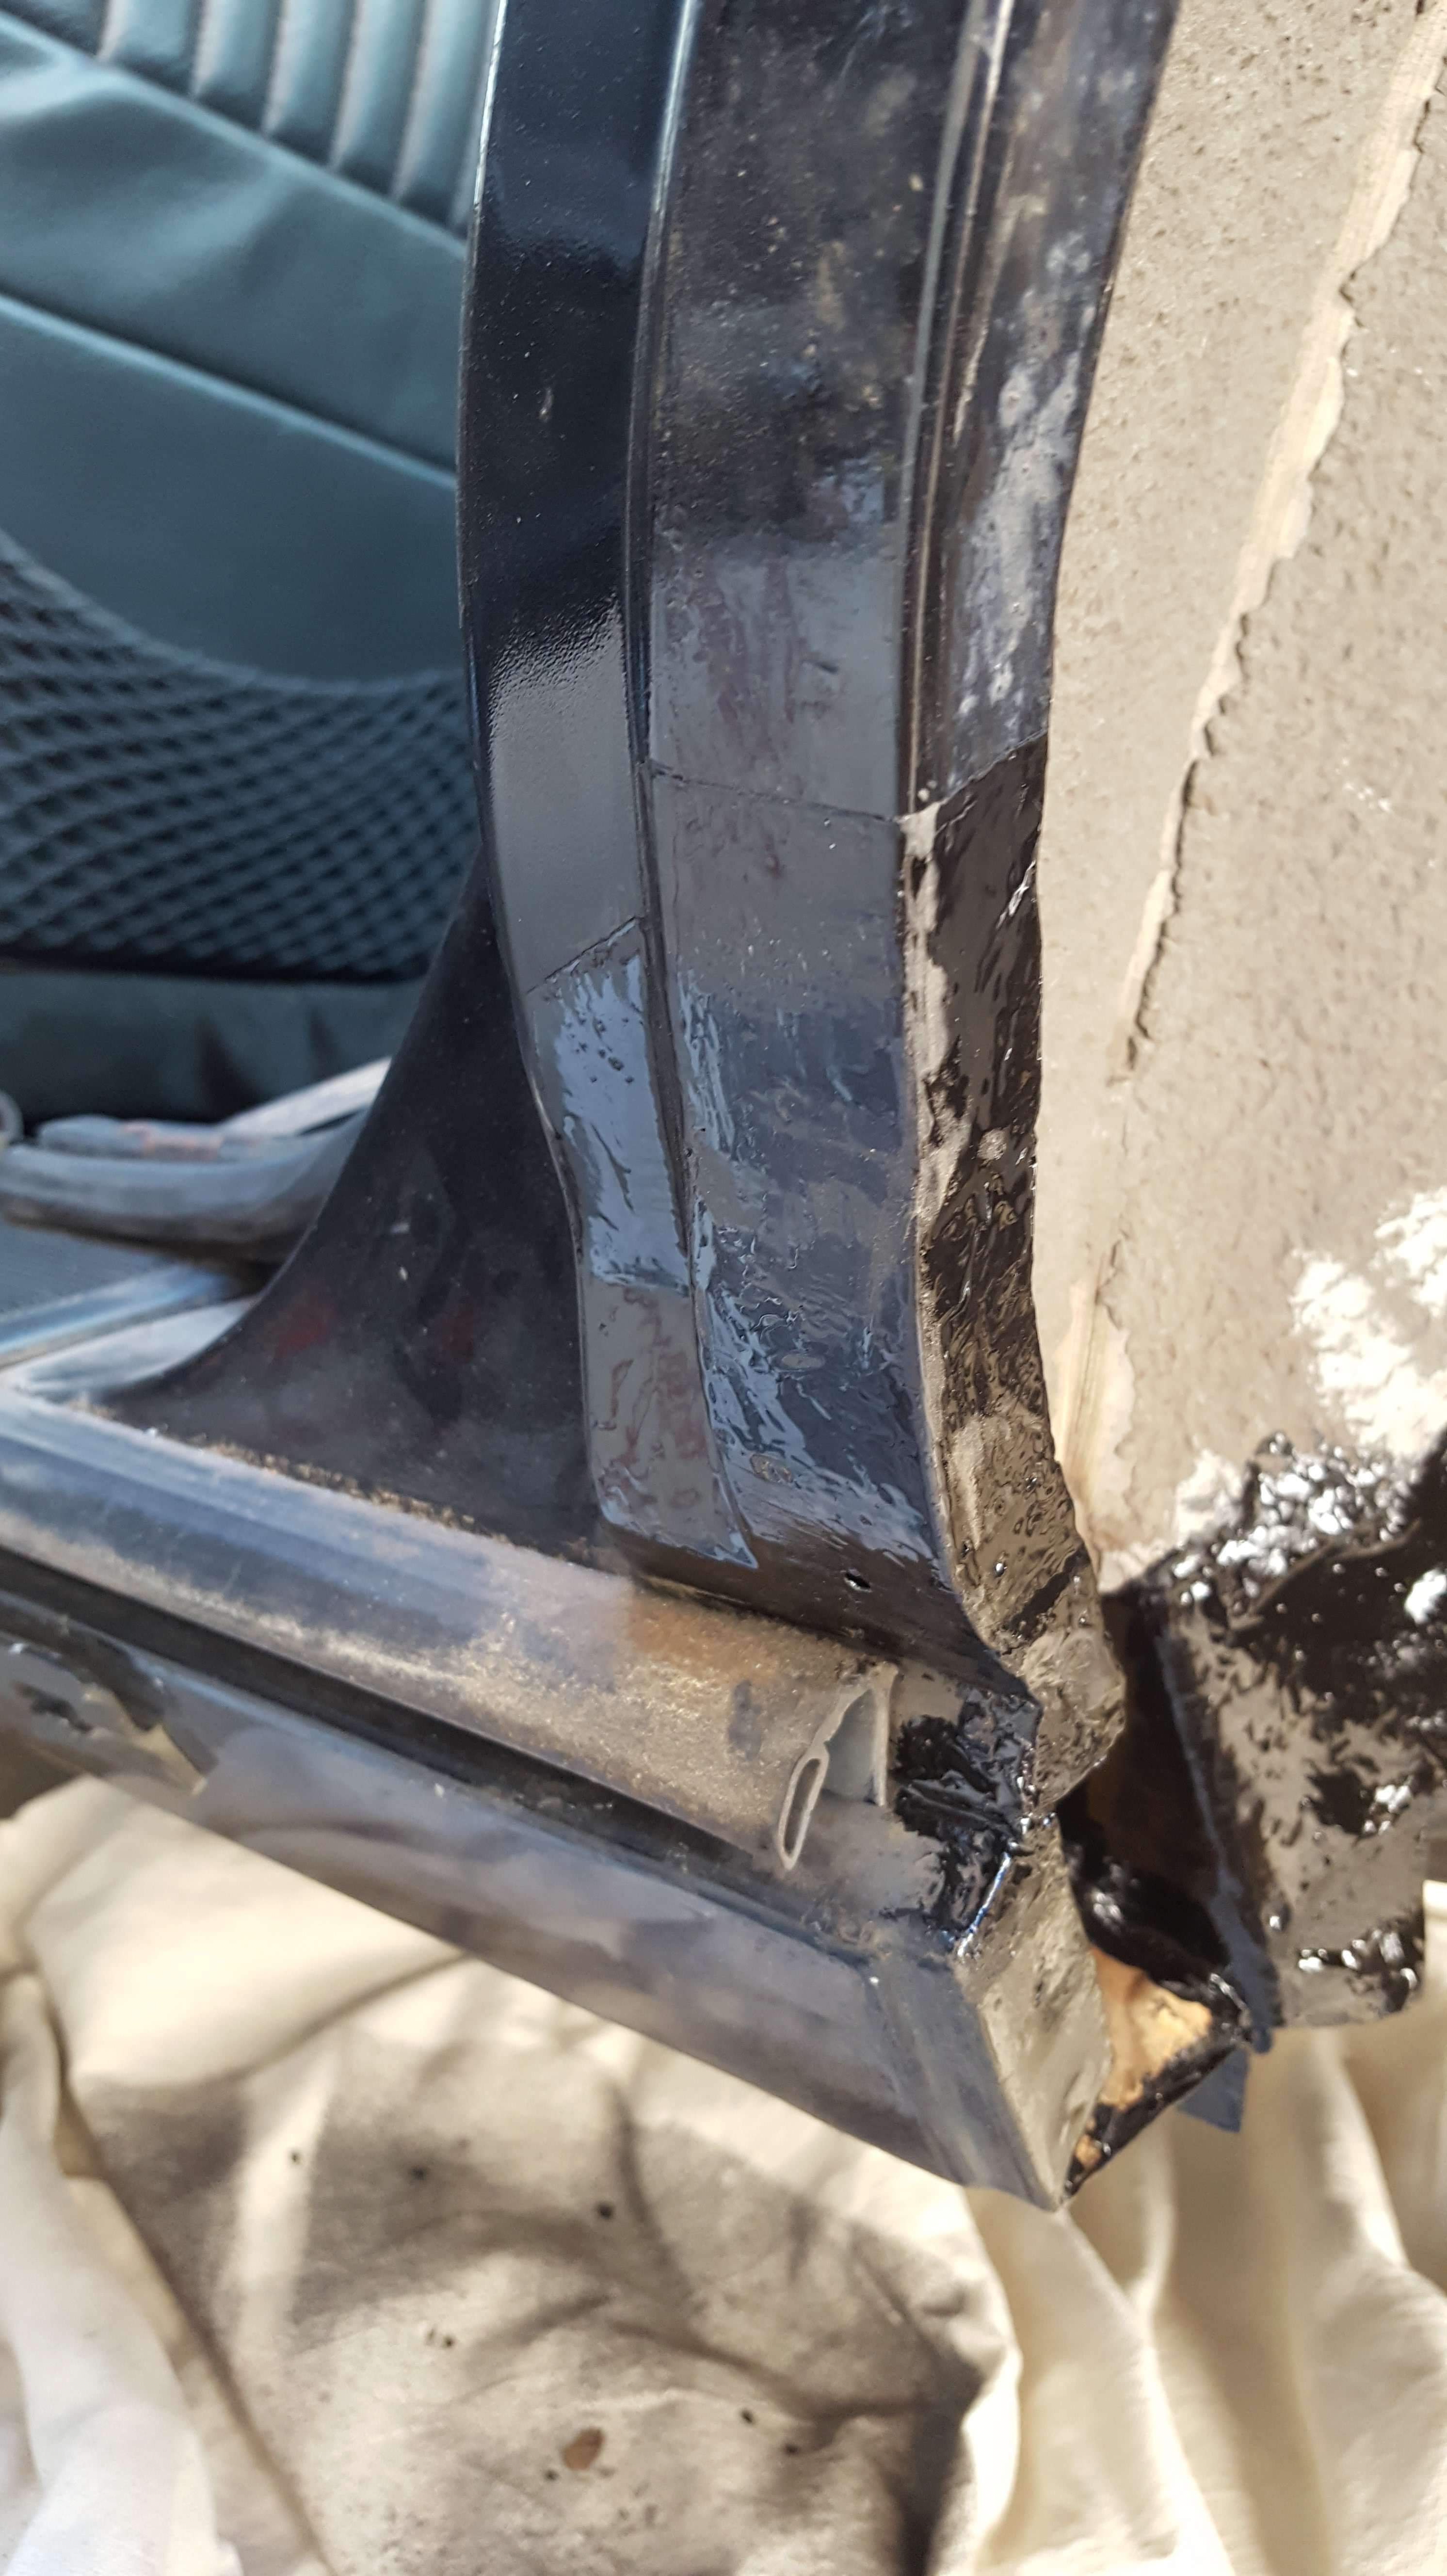
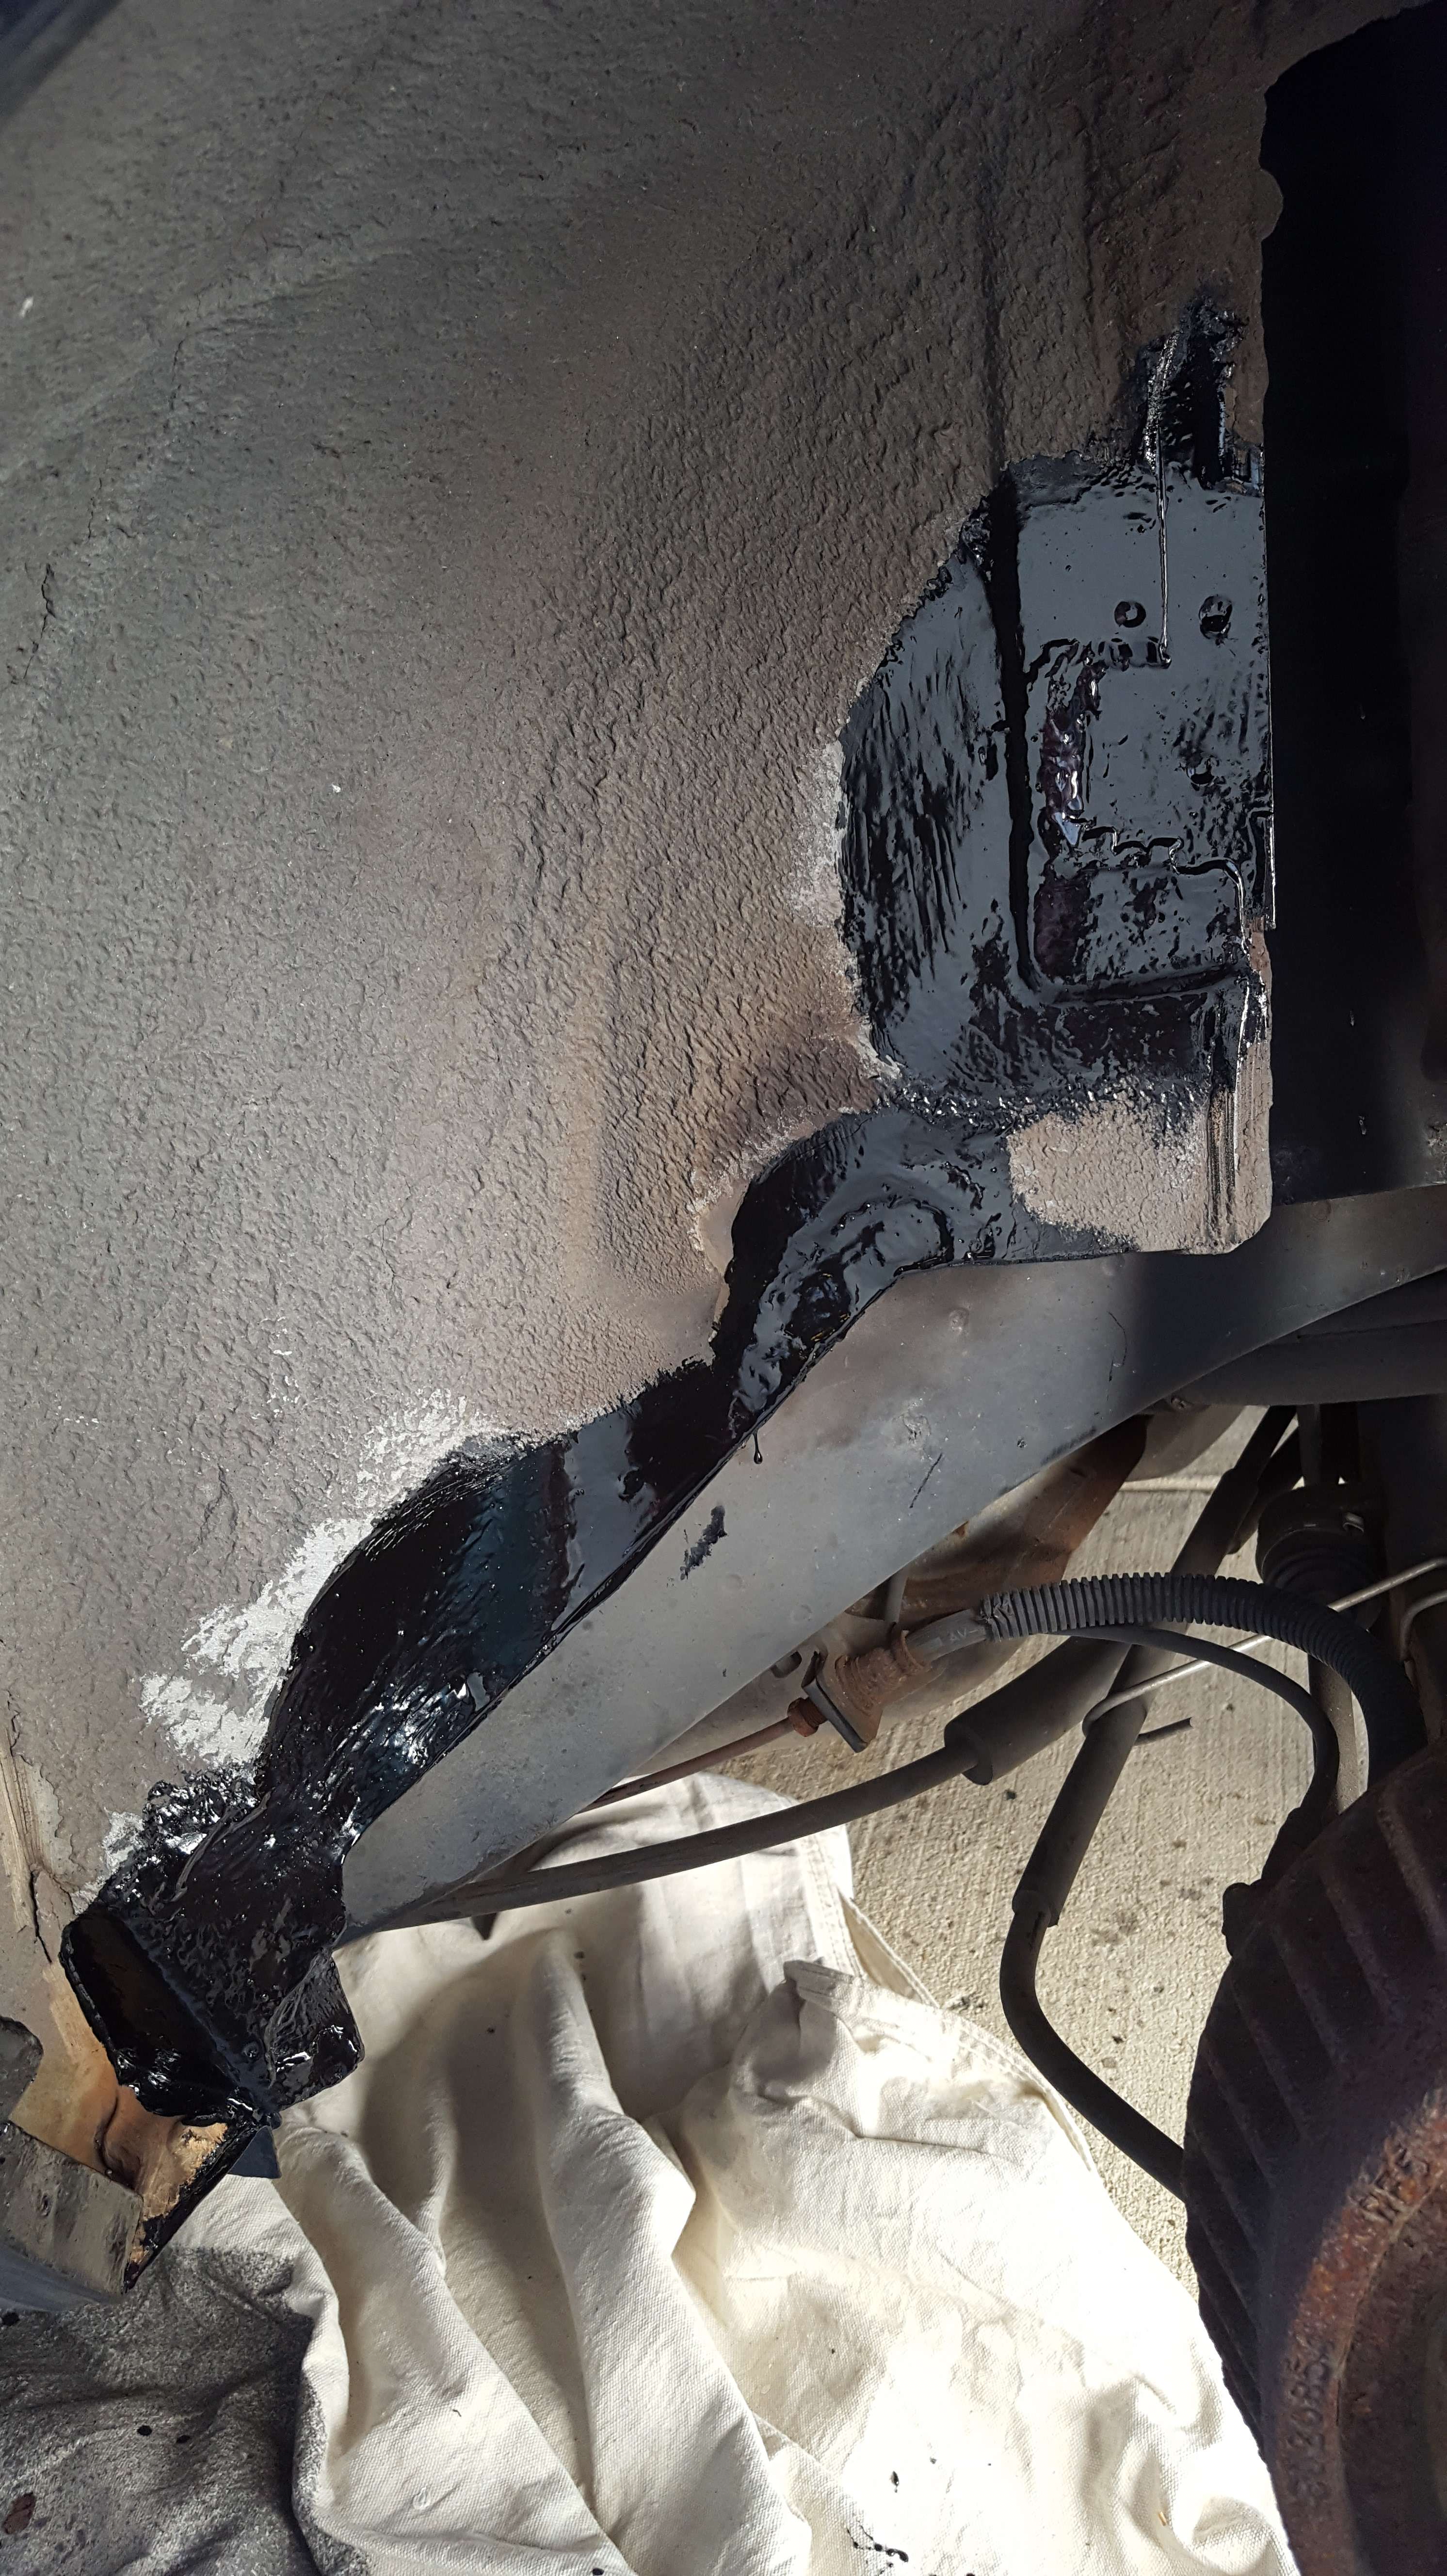
And finally I repaired the bottom of the fender where it mounts to the body.

The interior patch is seam sealed up, the B pillars are covered in suede, and I repaired a crack in the driver's side drip molding.
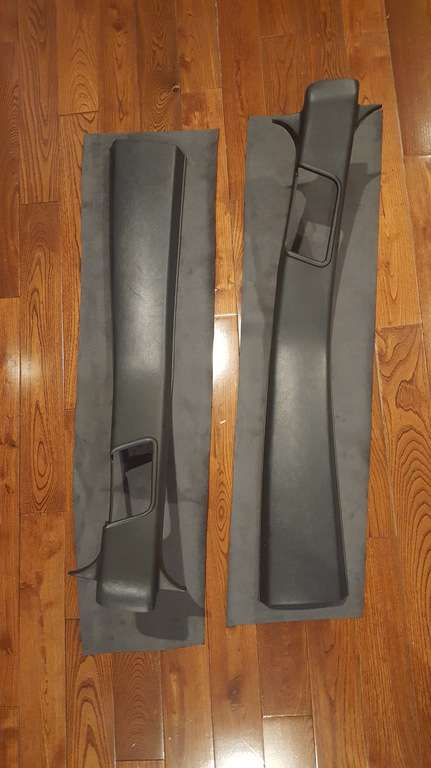
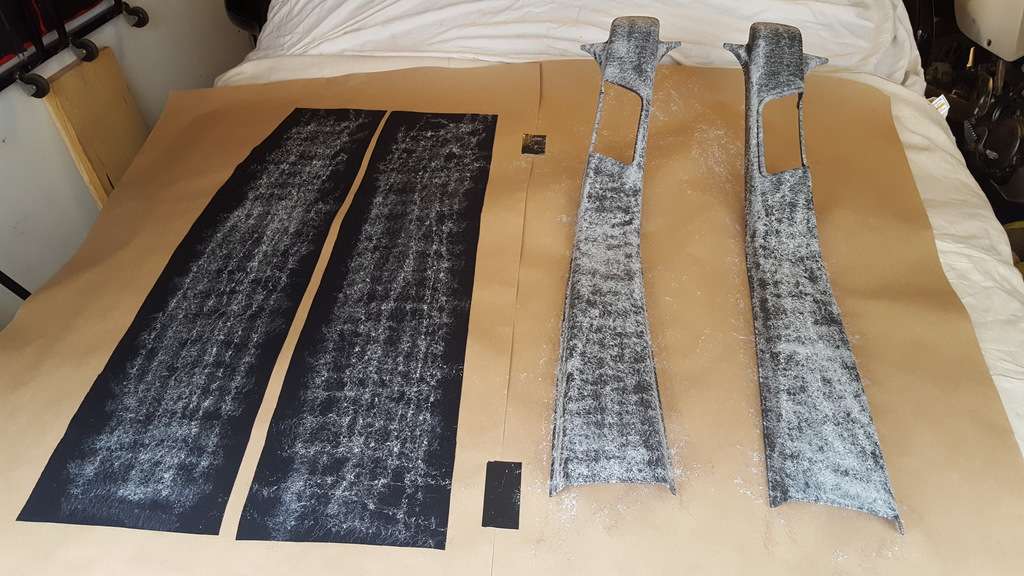

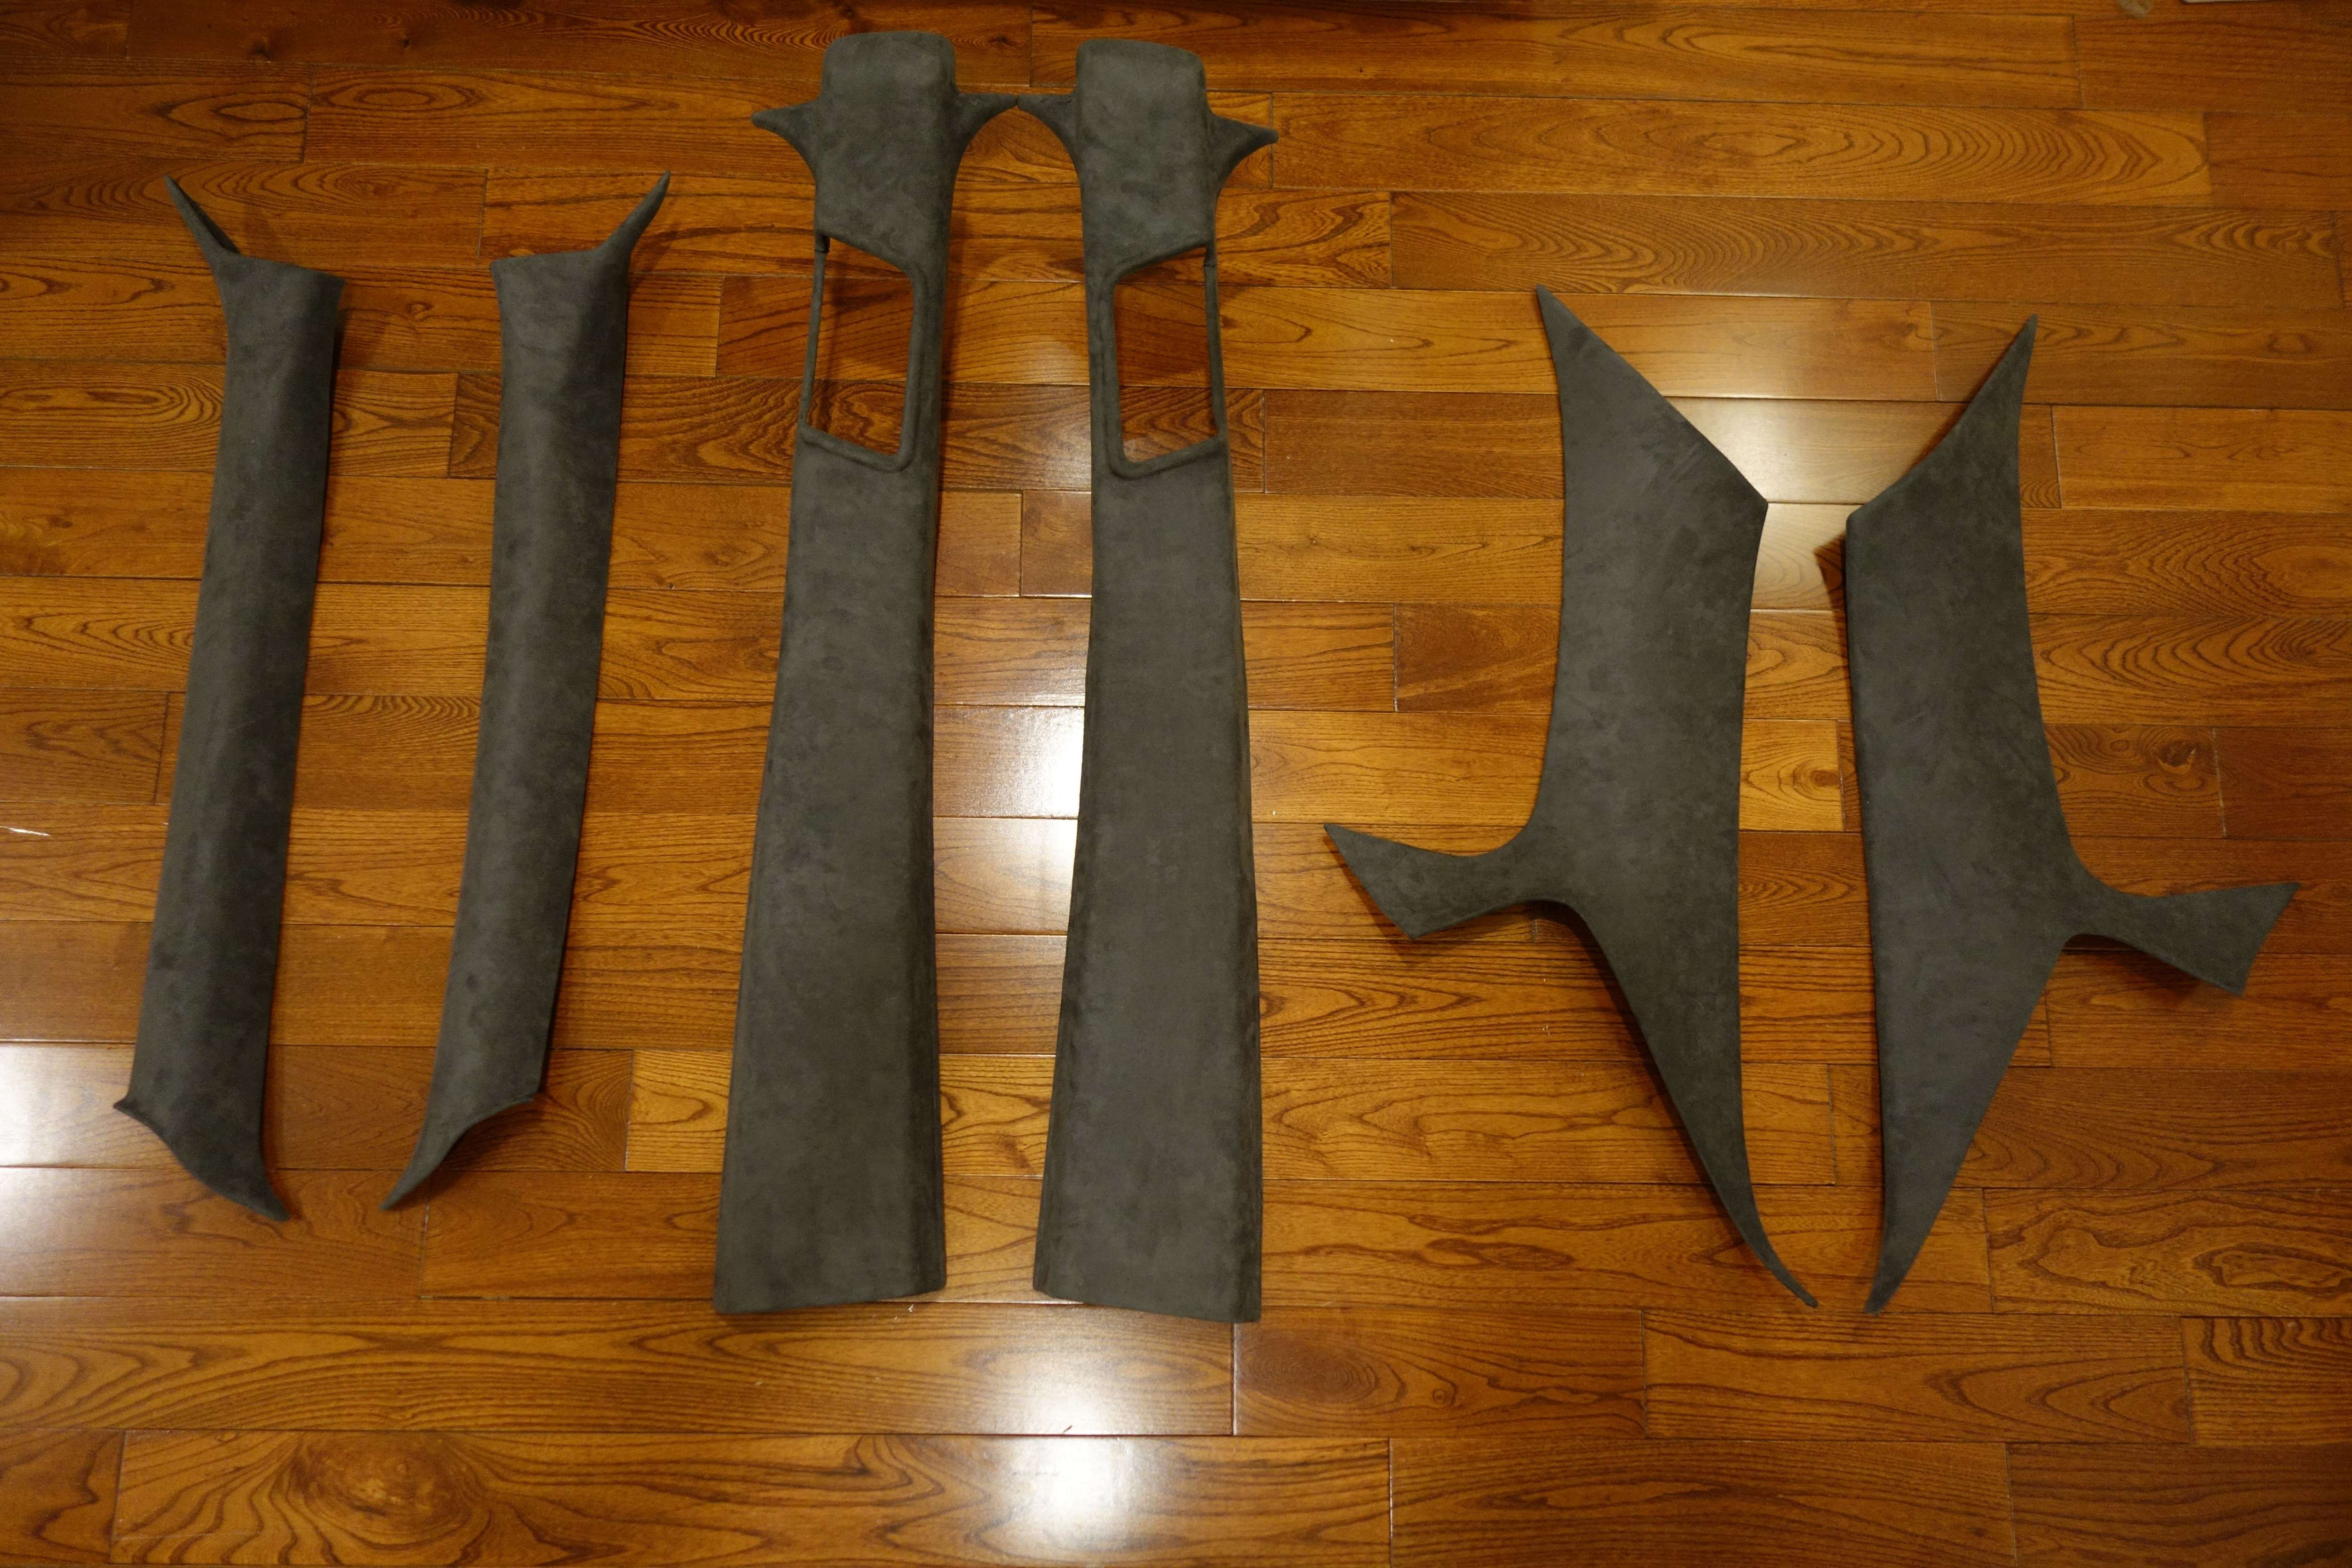
A B C pillars.
At this point there are only a few things left preventing me from putting the interior back in the car. I still need to:
Weld in the patch in the rear seat pan
Put a second coat of Zero Rust over the whole floor
Pull the windshield again (probably could get away with not but might as well)
Paint the upper windshield frame. Right now there's only primer behind the front reveal molding
Install new OEM headliner board redone in suede.. Still need to redo it
Install windshield
Ok.. More than a few. But that's the order of operations at least.
Since I can't do the same thing twice without figuring out a way to do it better, I found the windshield plastic locating supports to help reinstallation. p/n 25654094. My original ones were broken and window welded in place.
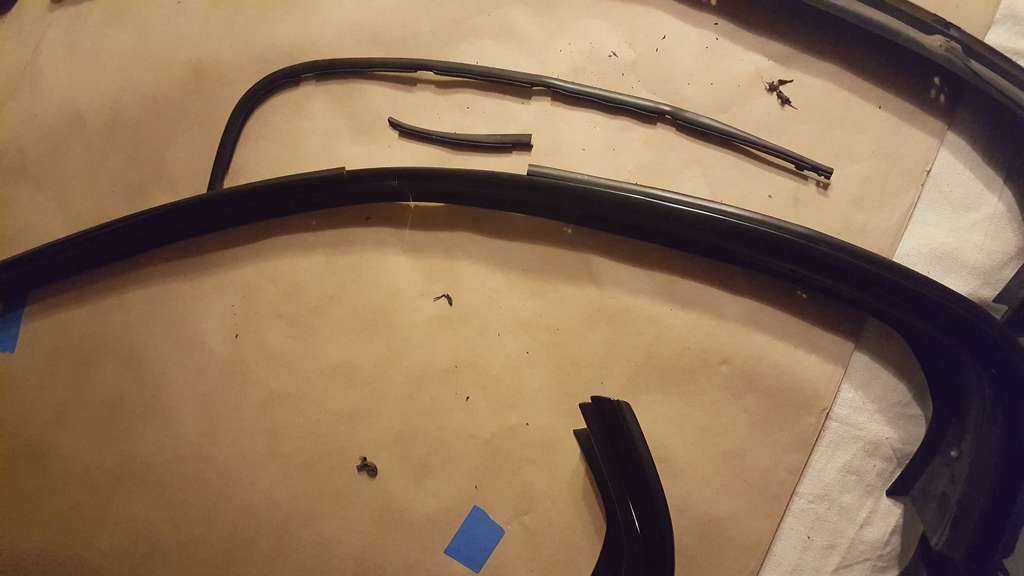
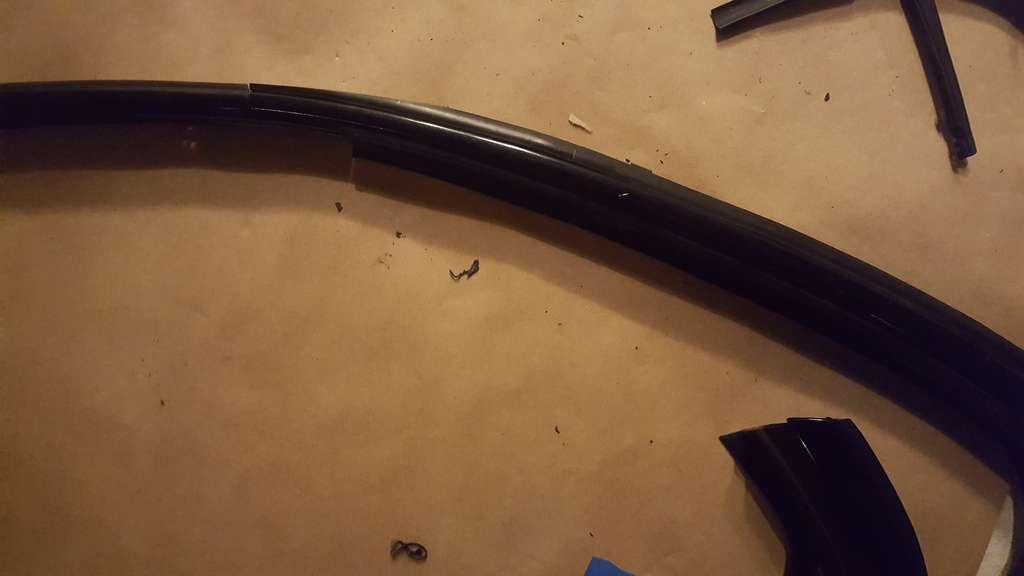
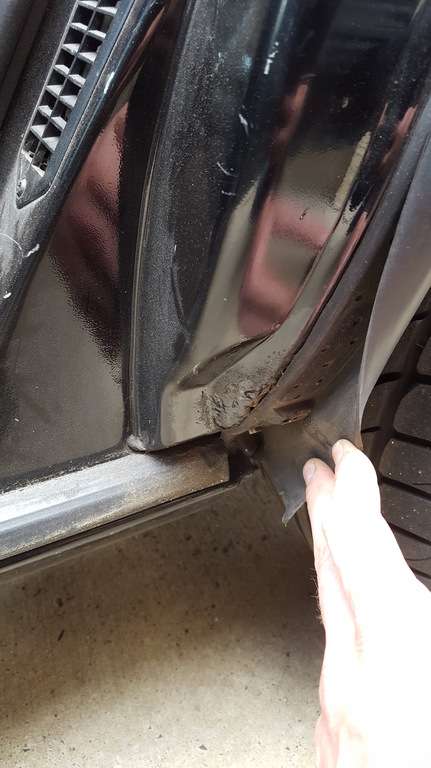
Not too long ago I picked up a NOS passenger drip molding (p/n 25649720) but the driver's side (p/n 25649721) is no longer available. The driver's side is of course in worse shape. It's mainly the rubber strip that attaches to the rear portion of the molding. It shrinks and pulls away. I decided to use a section of the old passenger side rubber to stitch in and repair the driver's.
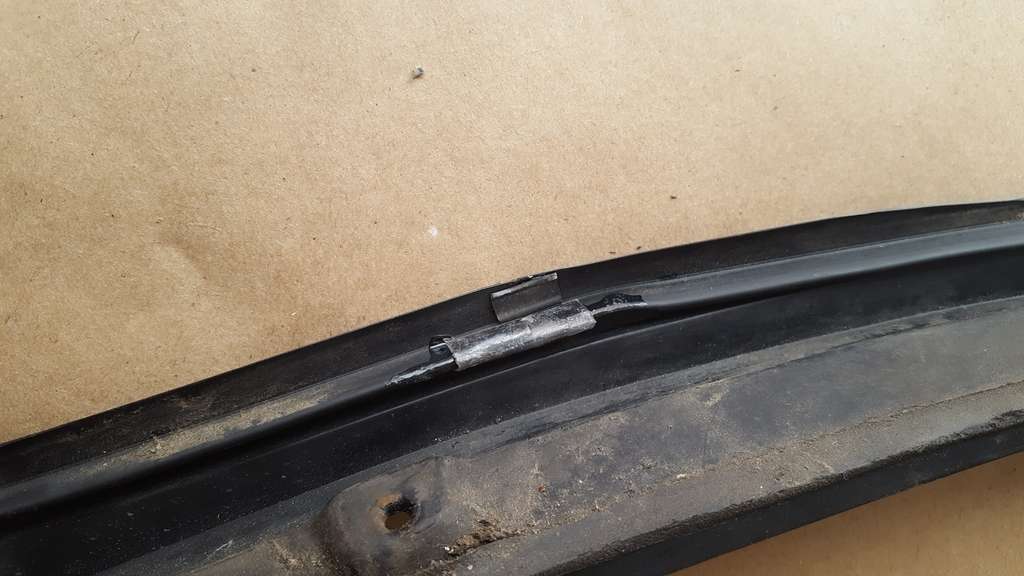
Here you can see the shriveled part cut off here:
Sacrificial part cut to length
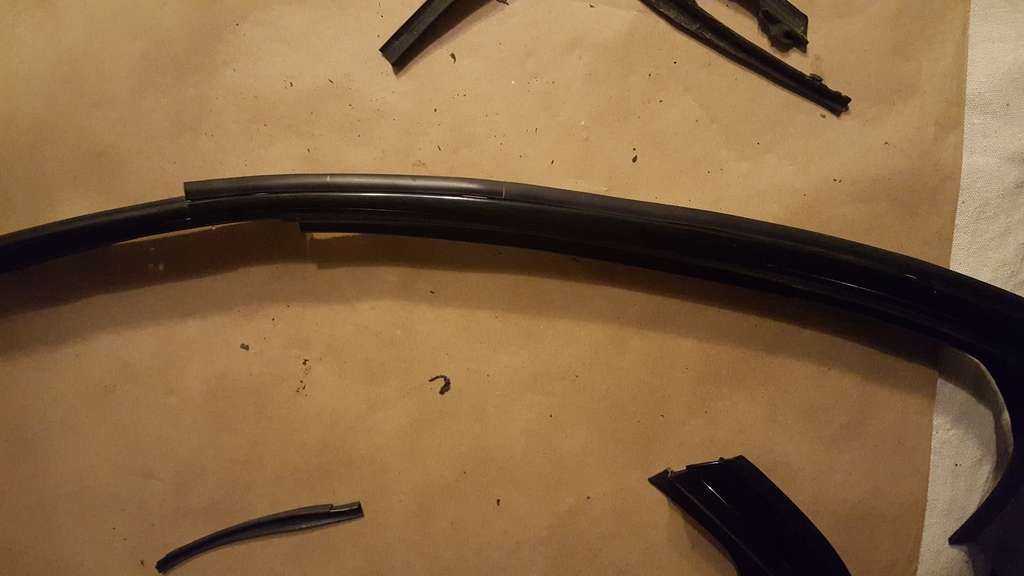
Cut down to match the contour of the other side
Epoxied and supported from the back. I ended up adding more epoxy over all this.
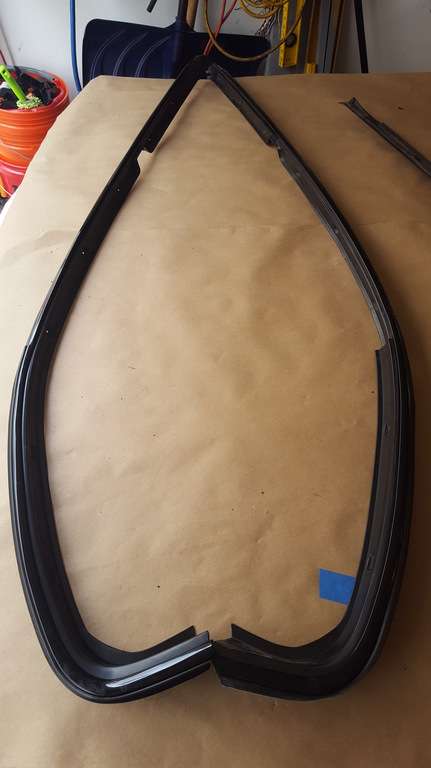
Passenger and Driver's
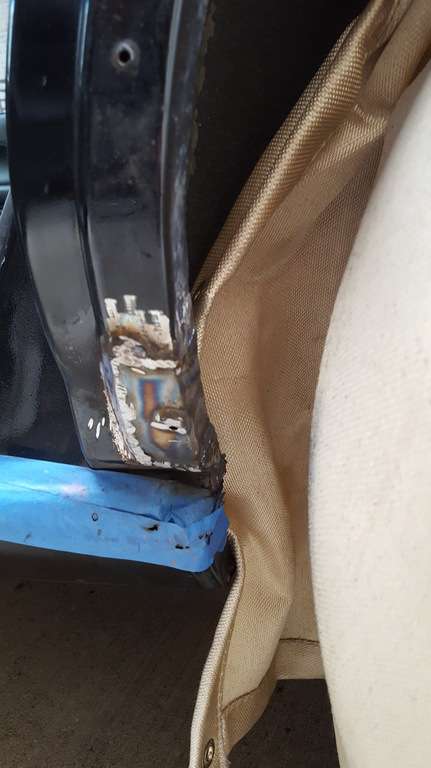
I got the hole in the seat pan welded up. It's Zero Rust coated from underneath but I still have to do a second coat. The frame rail actually had decent access to the underneath.
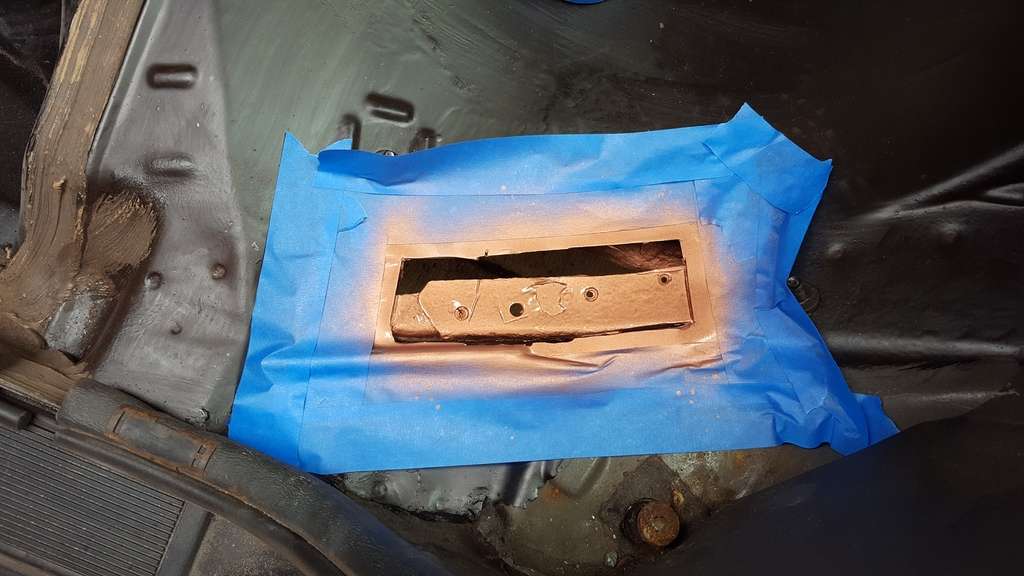
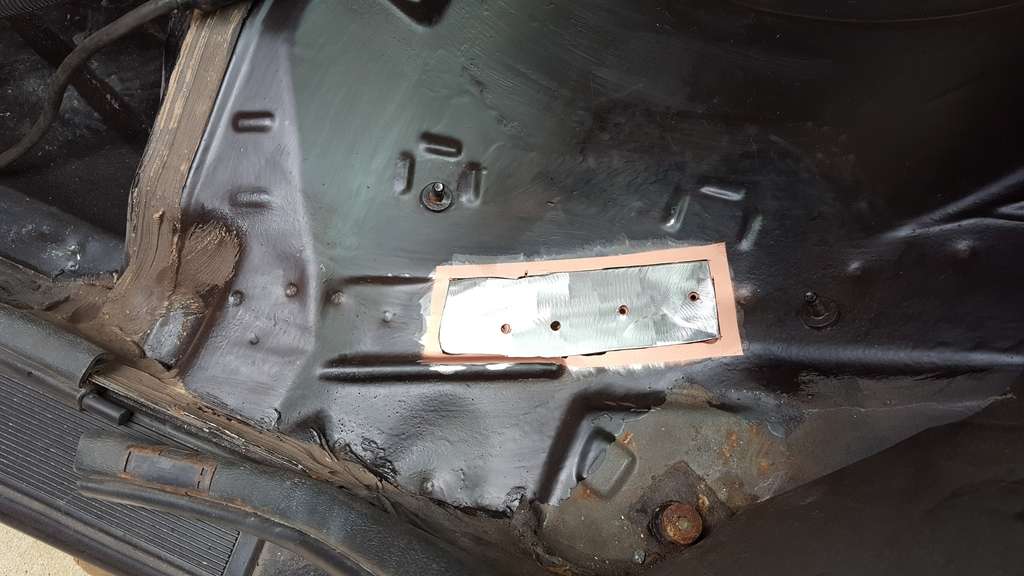
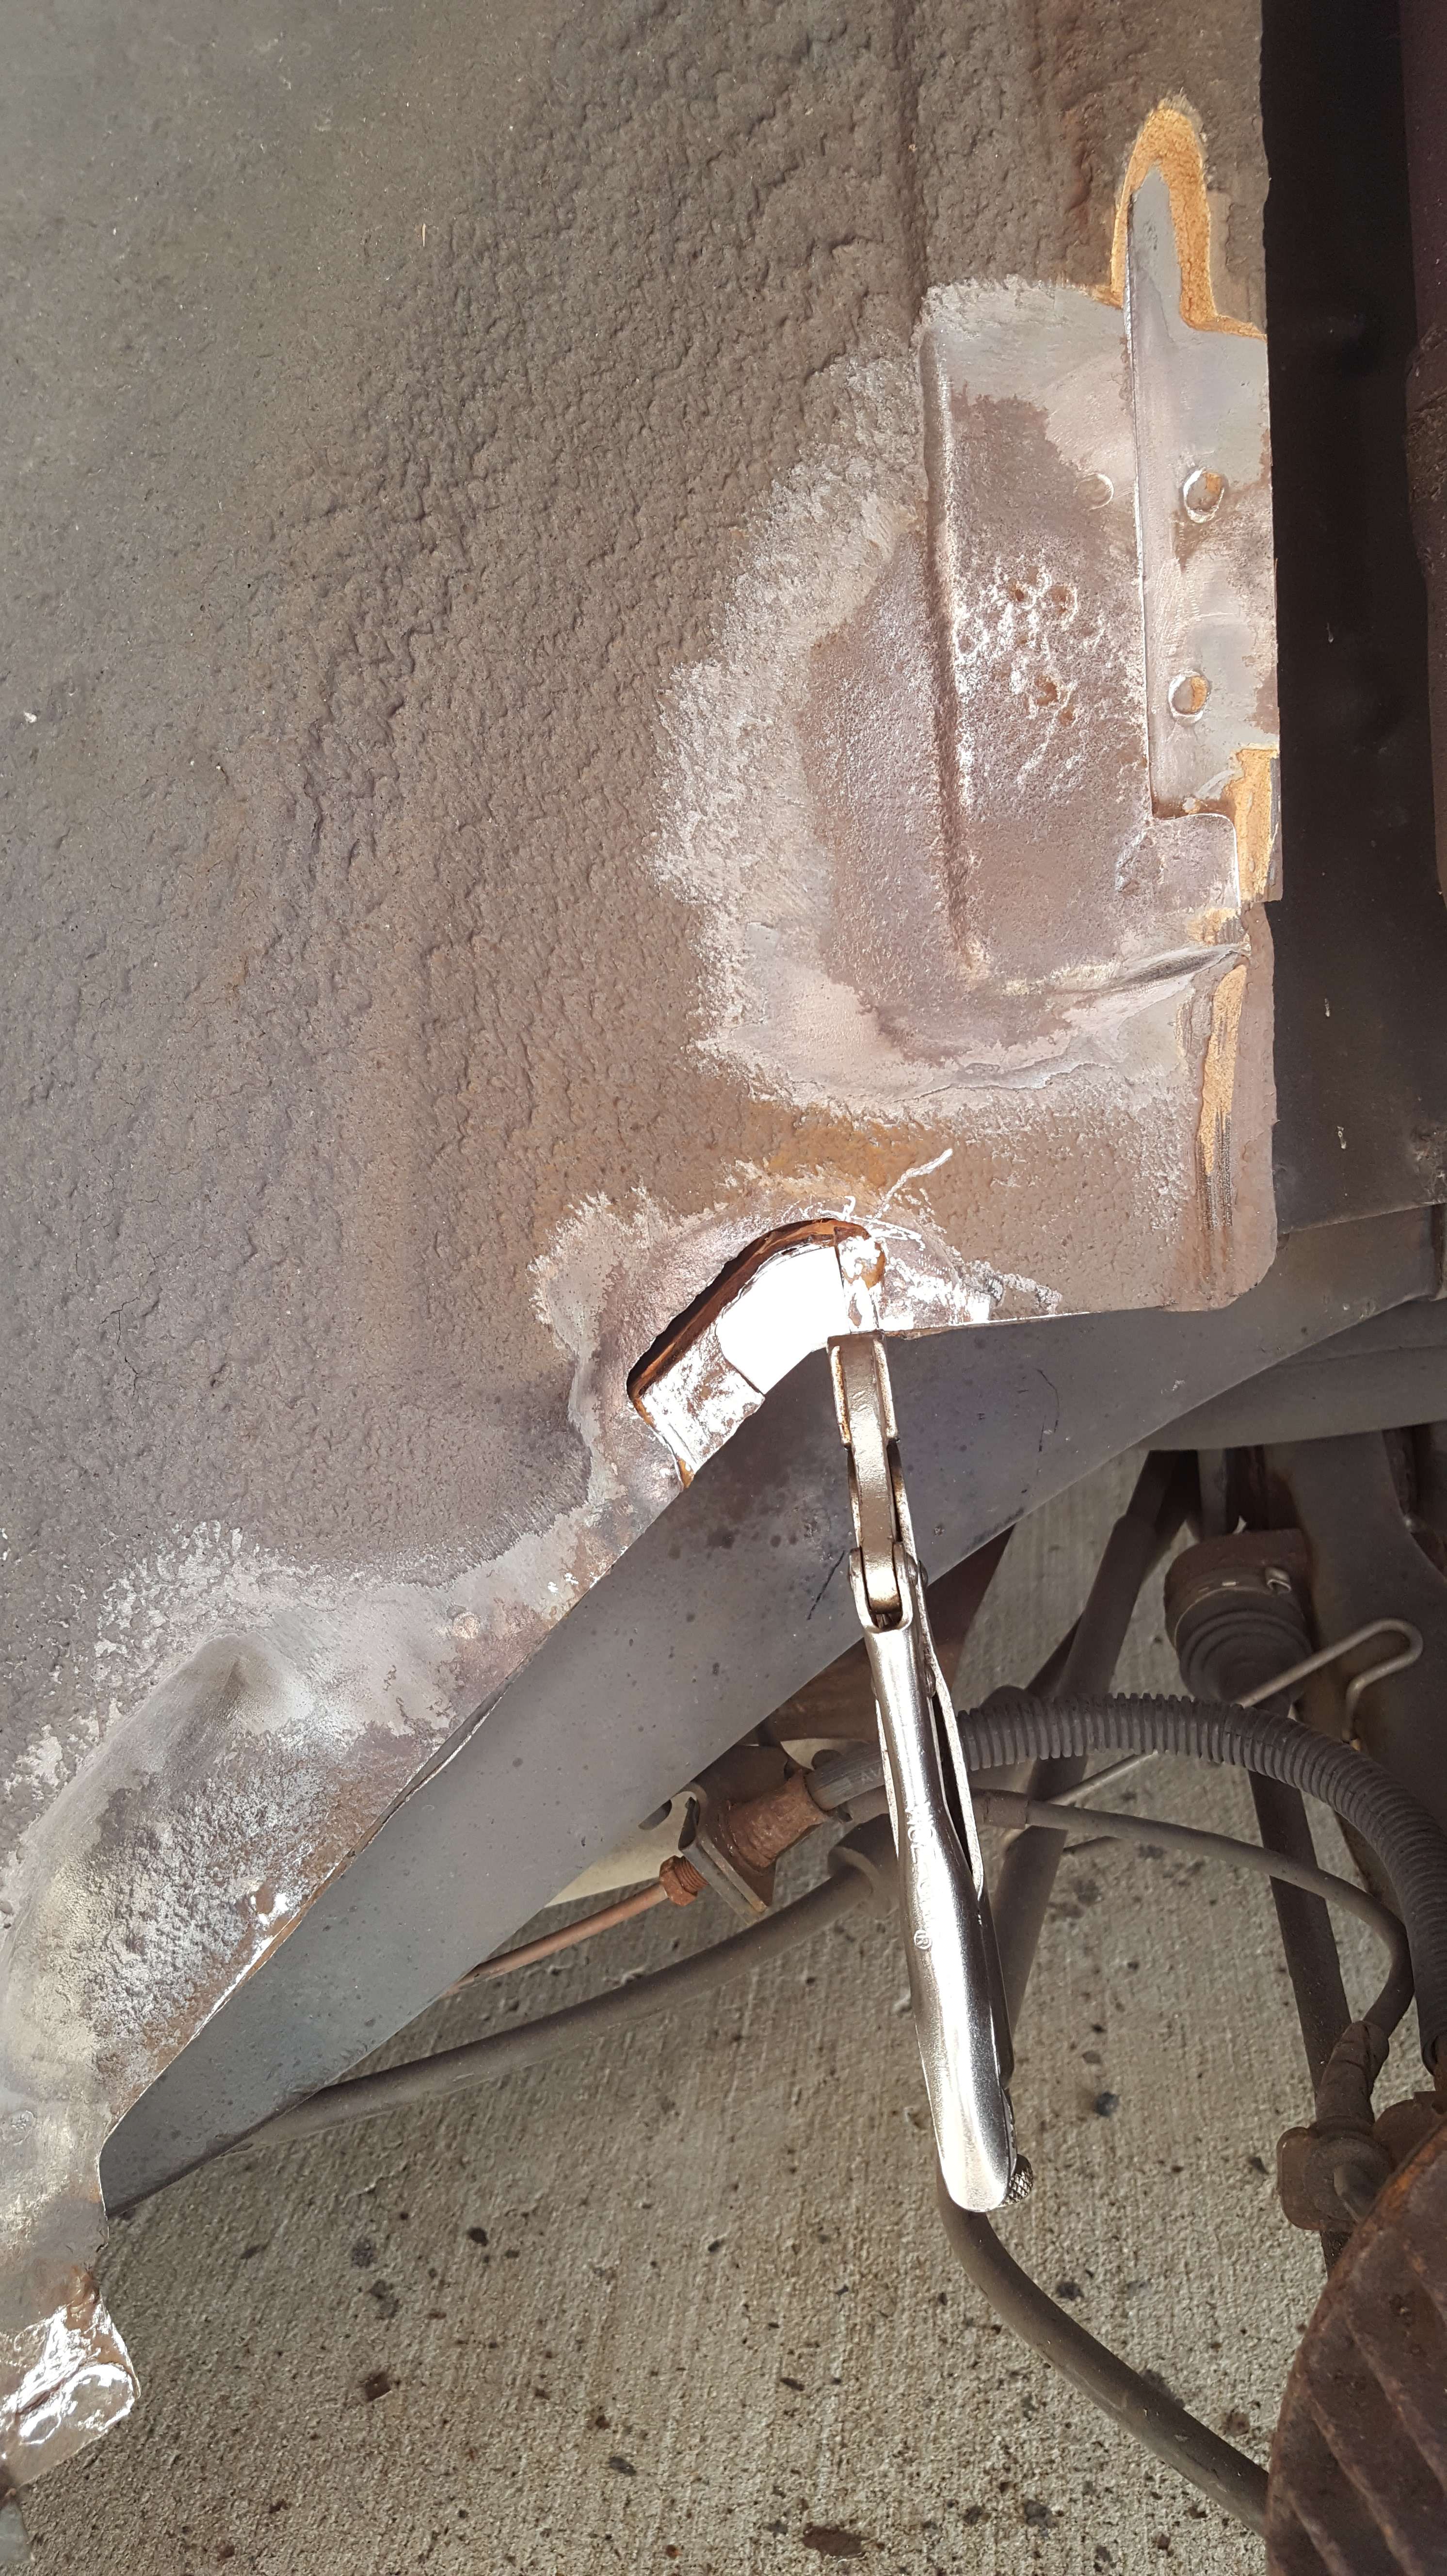
While fixing the seat pan I saw more rust and I started to fix it.

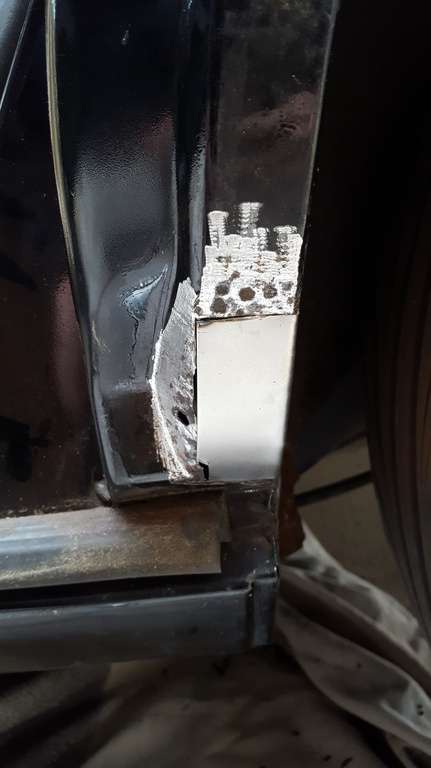
I need to clean that up a bit more before paint. I also need to drill a hole for the lower rubber screw and the plan is to cavity wax through that hole. I'll seam seal it from the back in the wheel well too.
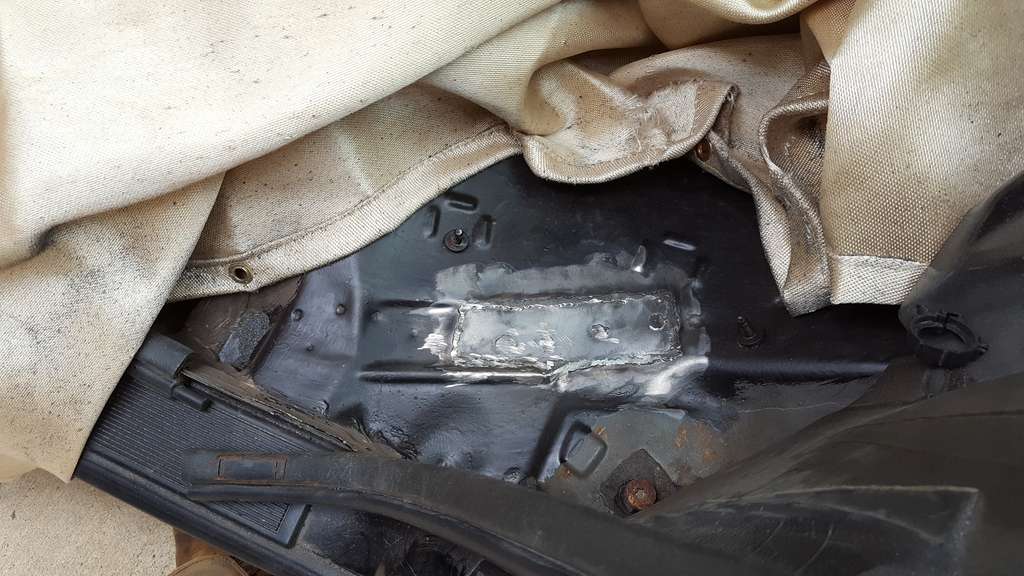
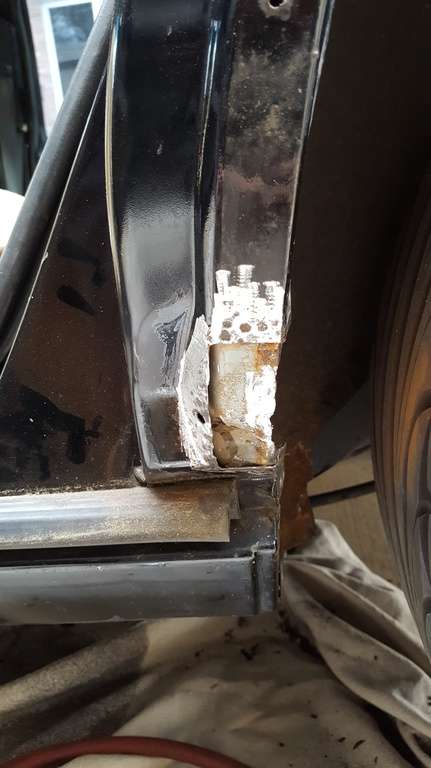
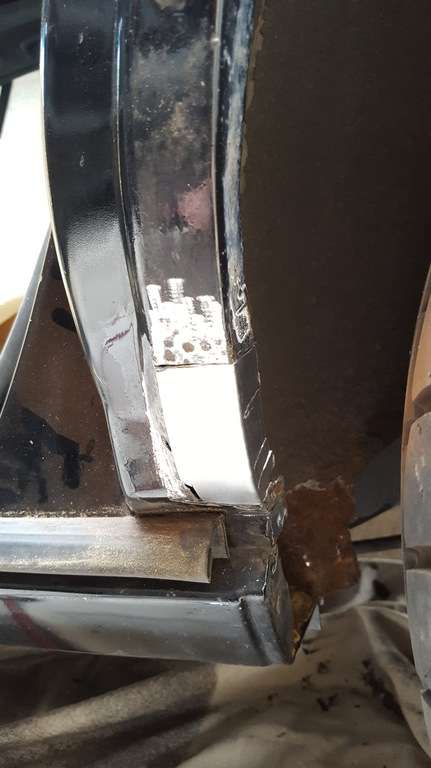
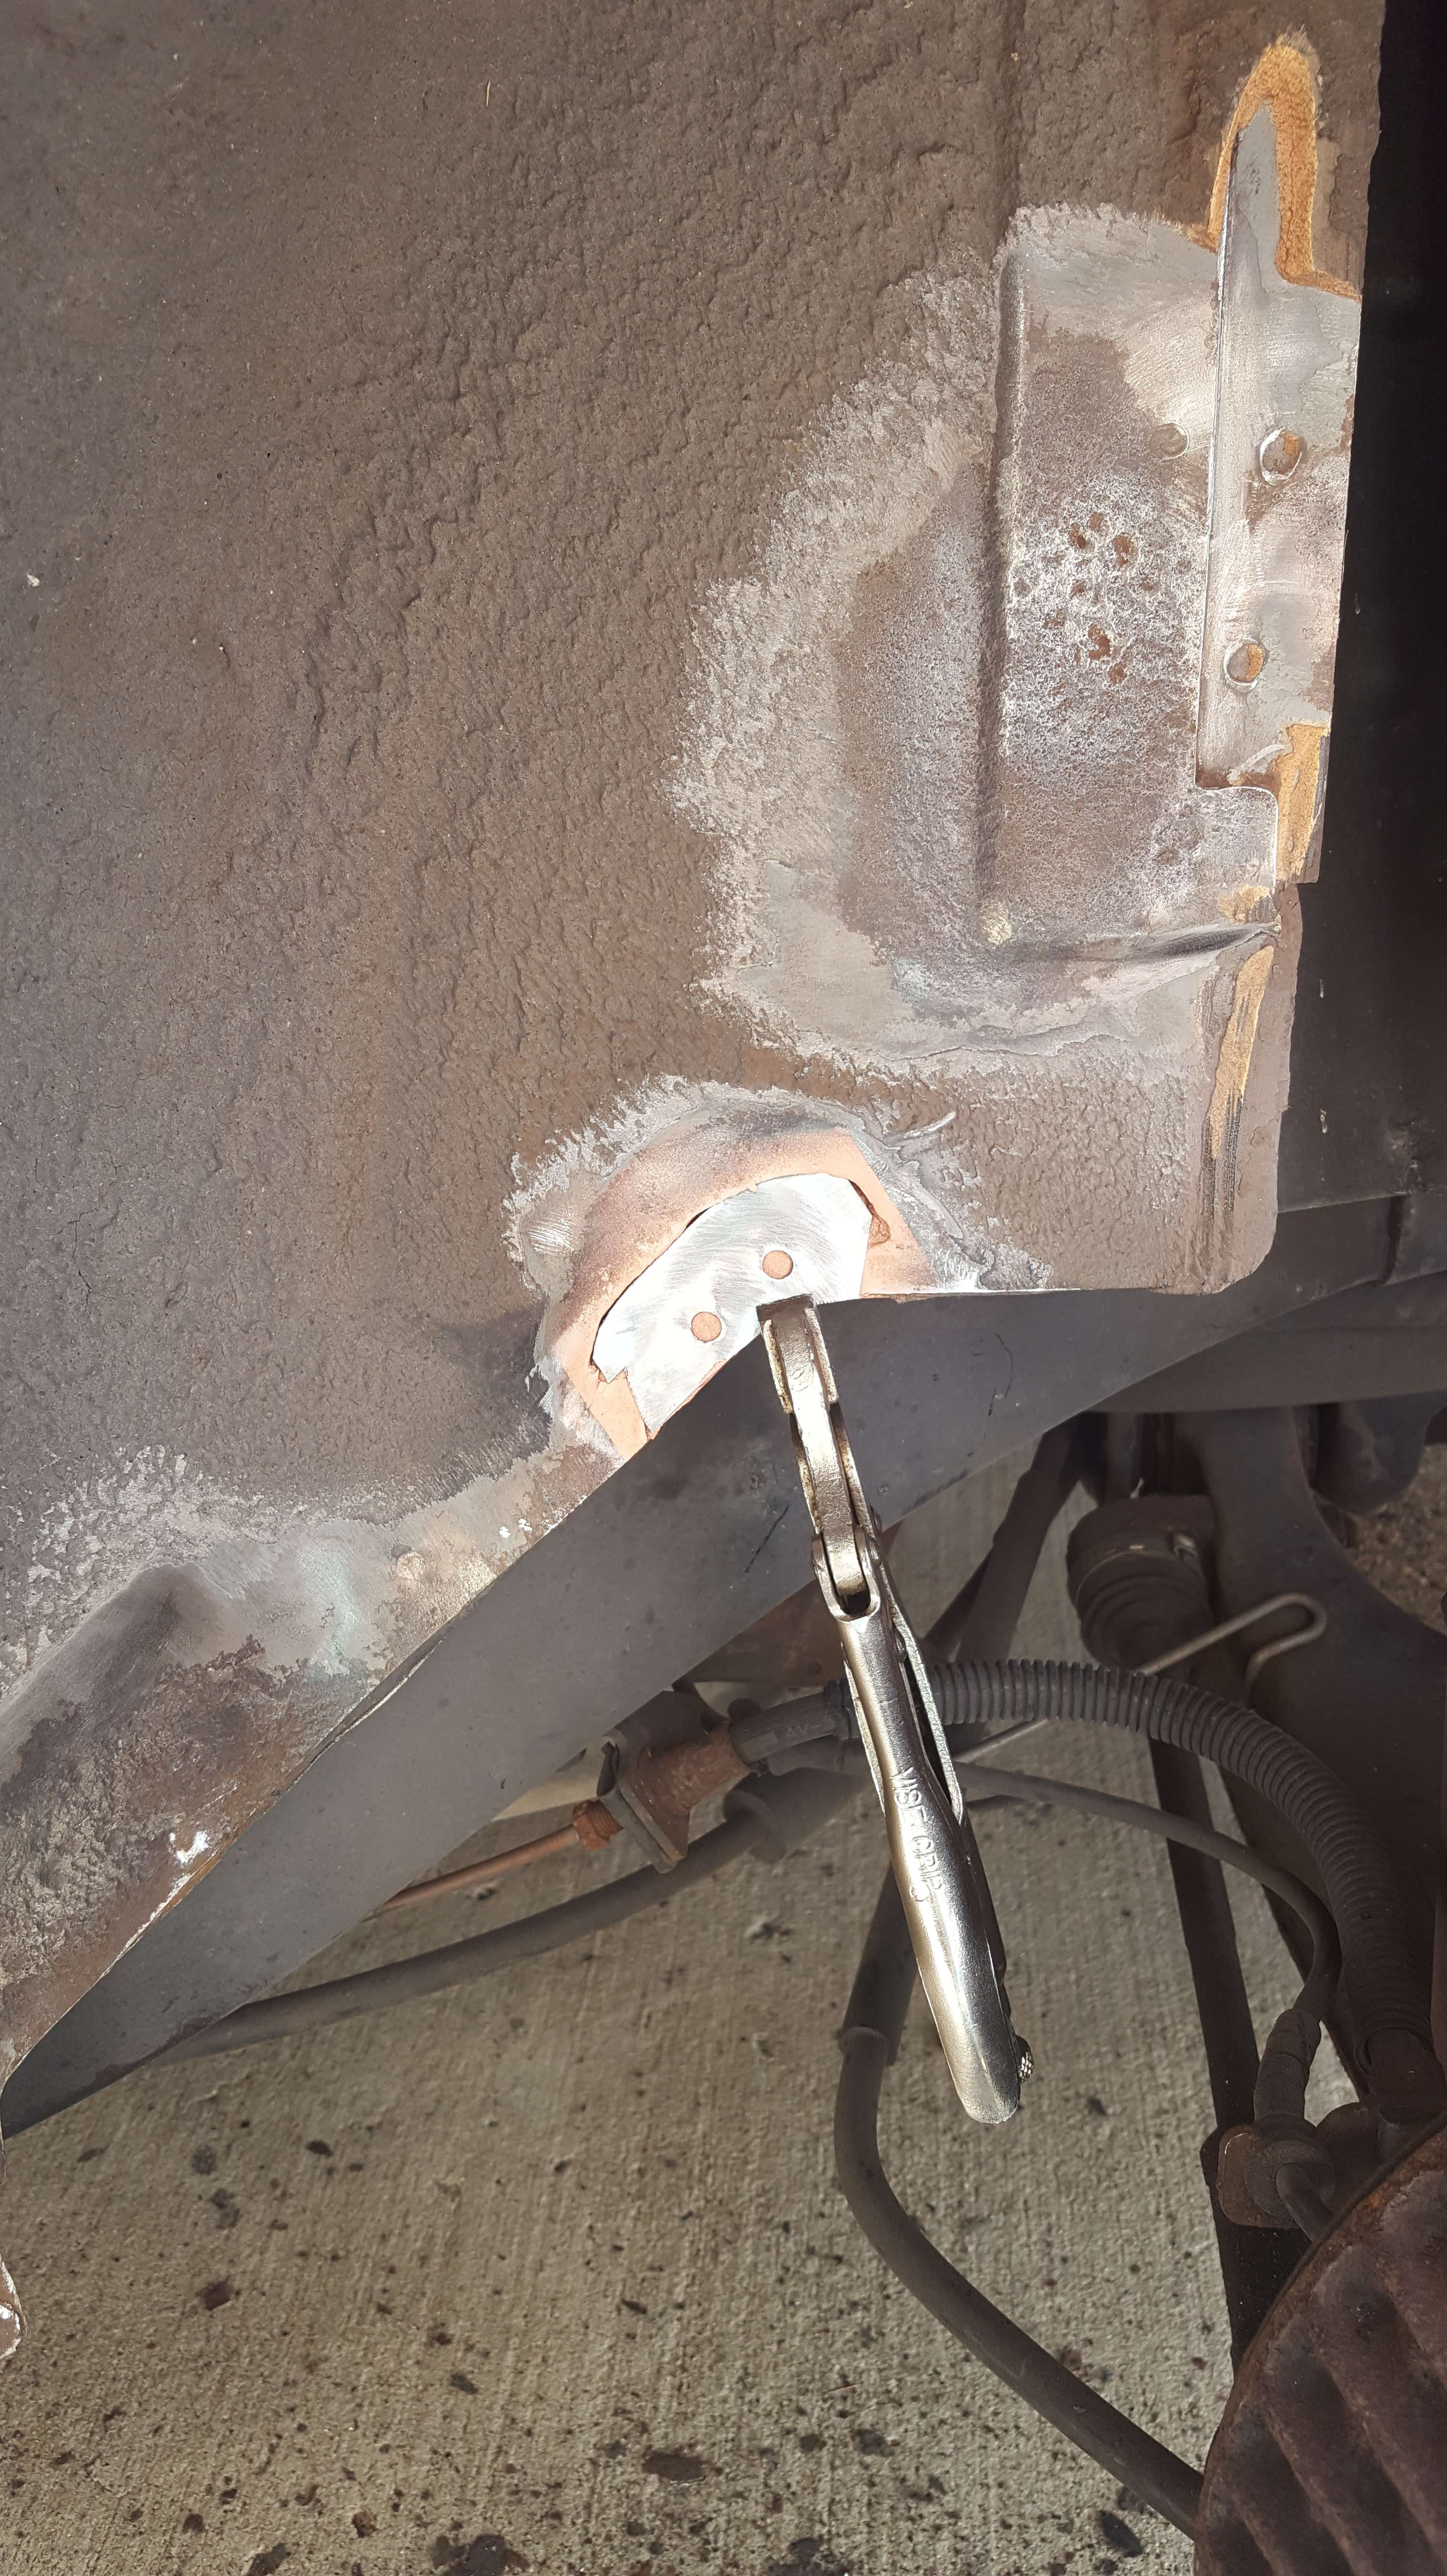
I went to finish the small patch on the driver's rear door seal but the few spots of wheel well rust were staring me in the face.. that lead to more metalwork.
For the door seal metal, I actually ended up welding it from the back via mirror to get it sealed up instead of seam sealing it. When grinding down the rust spots in the wheel well, there were two spots that needed more than a grinder to fix. The one section needed new metal worked on both sides of a pinched seam. The other section near the shock turned out to have good metal behind it so I just welded the superficial metal to the good metal underneath. Eventually I'll have to go back and re-do the wheel wells with the proper coating but for now it has 2 coats of Zero Rust.
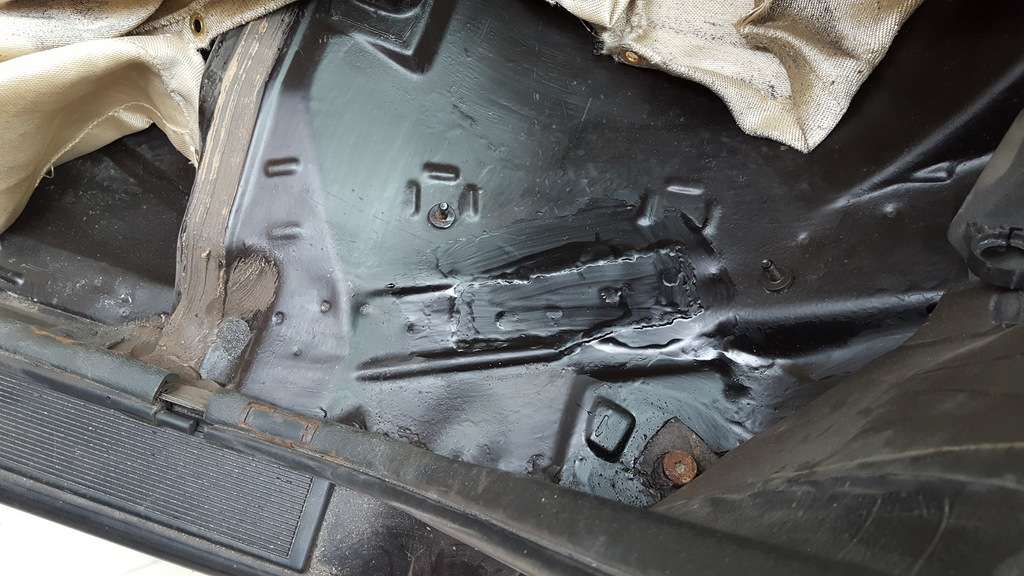
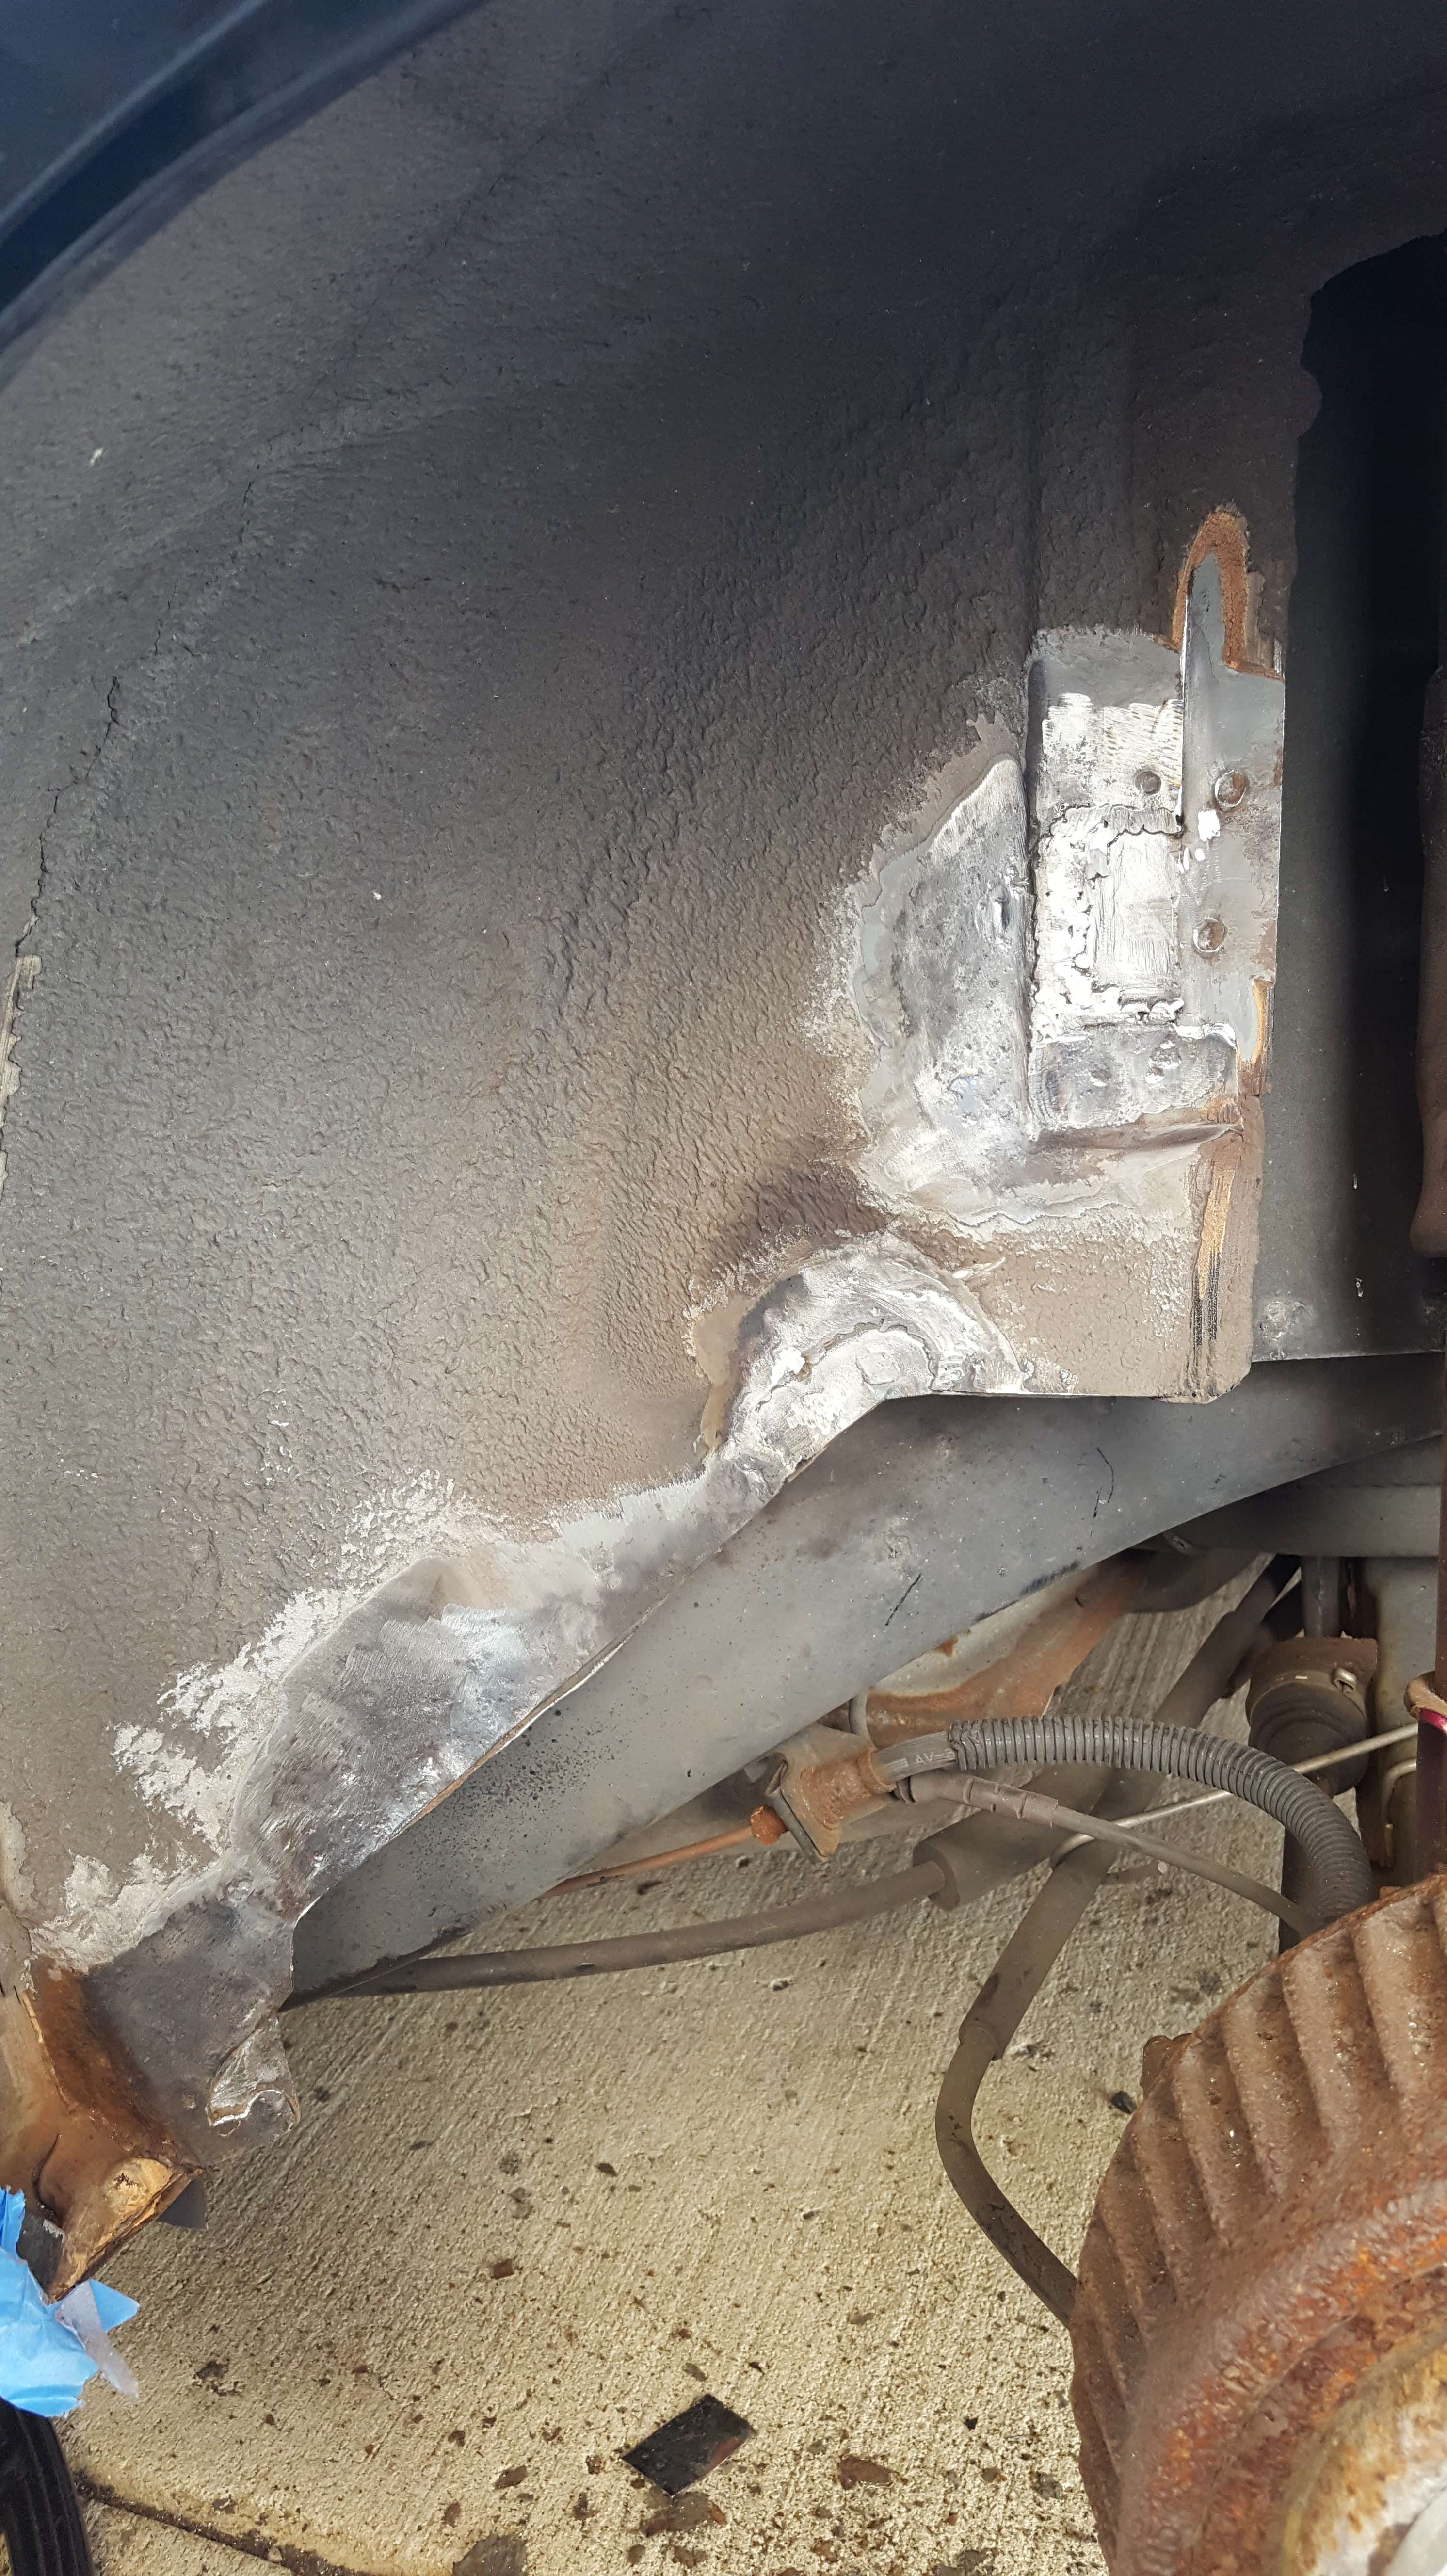
I did re-coat the areas I repaired earlier. All that's left to close out these repairs is cavity waxing the door seal repair through the mounting hole drilled in the fresh metal and seal sealing from inside.

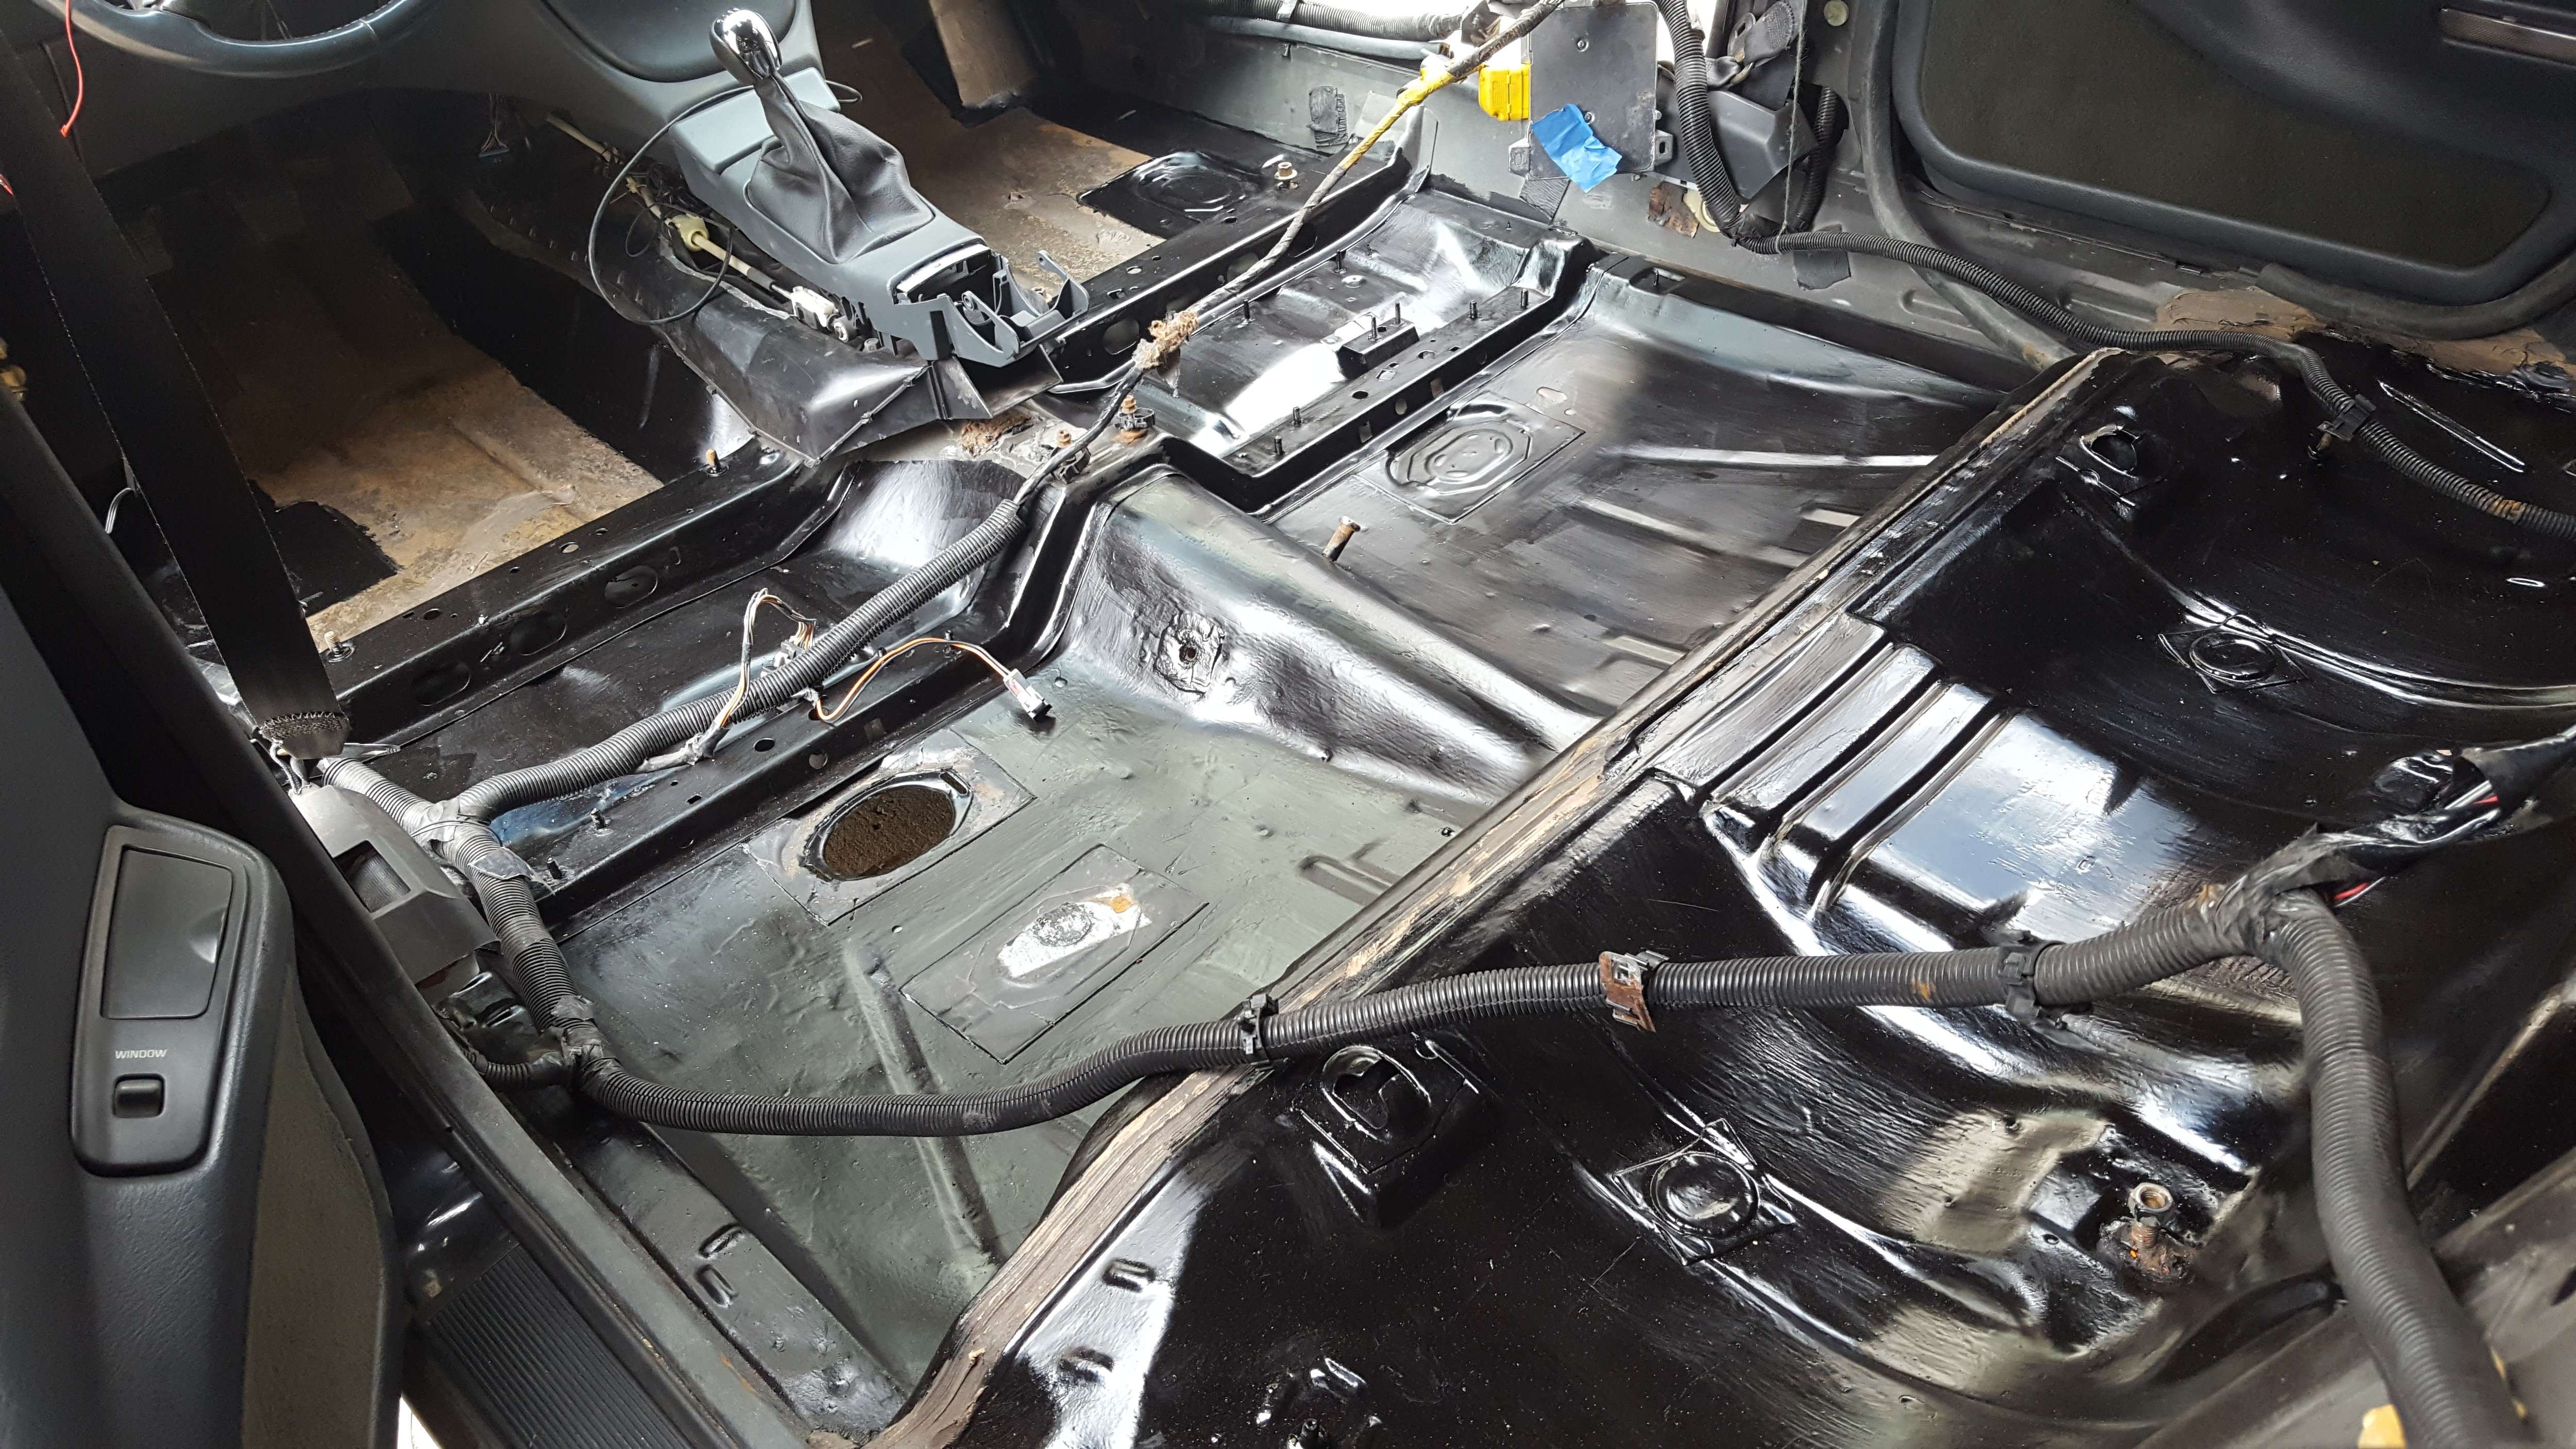
I also started putting a second coat of Zero Rust on the interior. The rear seat pan is done. The rest of the floor is next.
There's not many pics but I actually spent a fair amount of time on the car over the past few days.
The breakdown:
-Threw a 2nd coat of Zero Rust over the interior floor
-Wired in the rear SSEi speakers I got at the yard
-Installed SSEi rear deck
-Saw one driver's side floor access panel pushed through the rubber/tar sealing mat. No corrosion luckily. So I removed the metal, painted it, and installed Hush Mat over it to seal. (You can see the hole on the one pic below)
-Hush Mat'd the hole in the front driver's patch panel
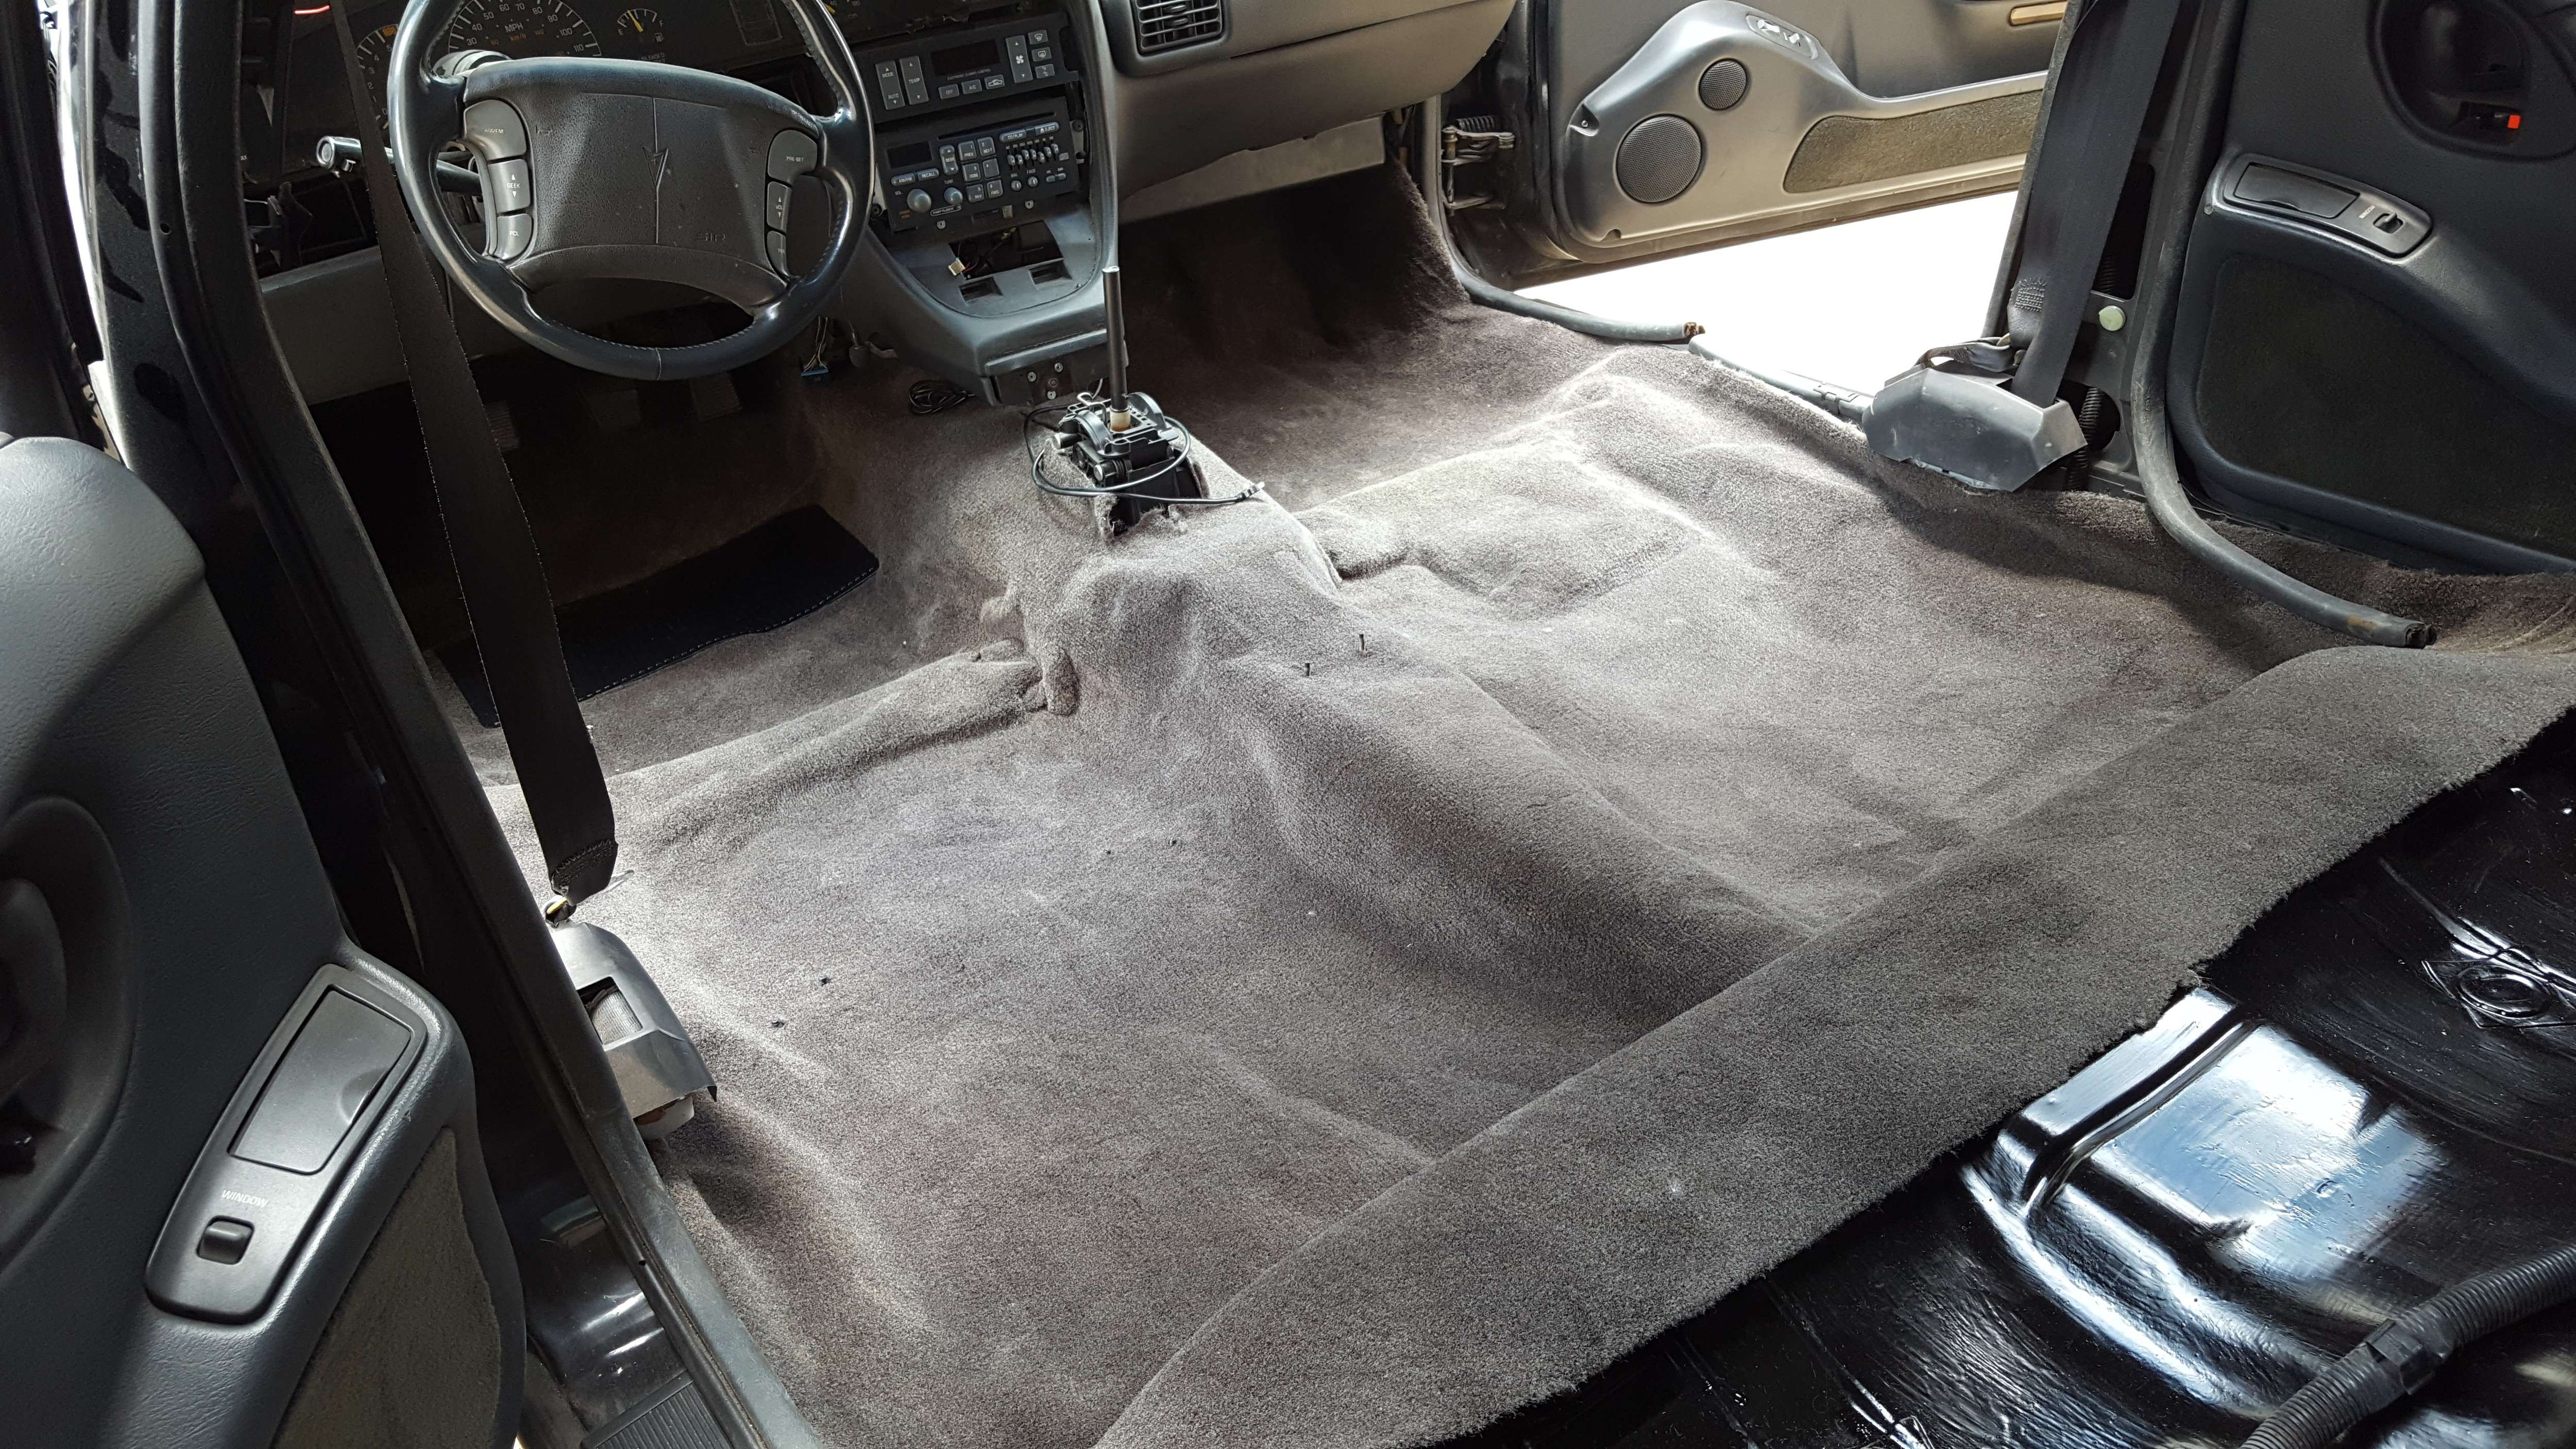
-Laid the new carpet out inside for a couple days to let it settle
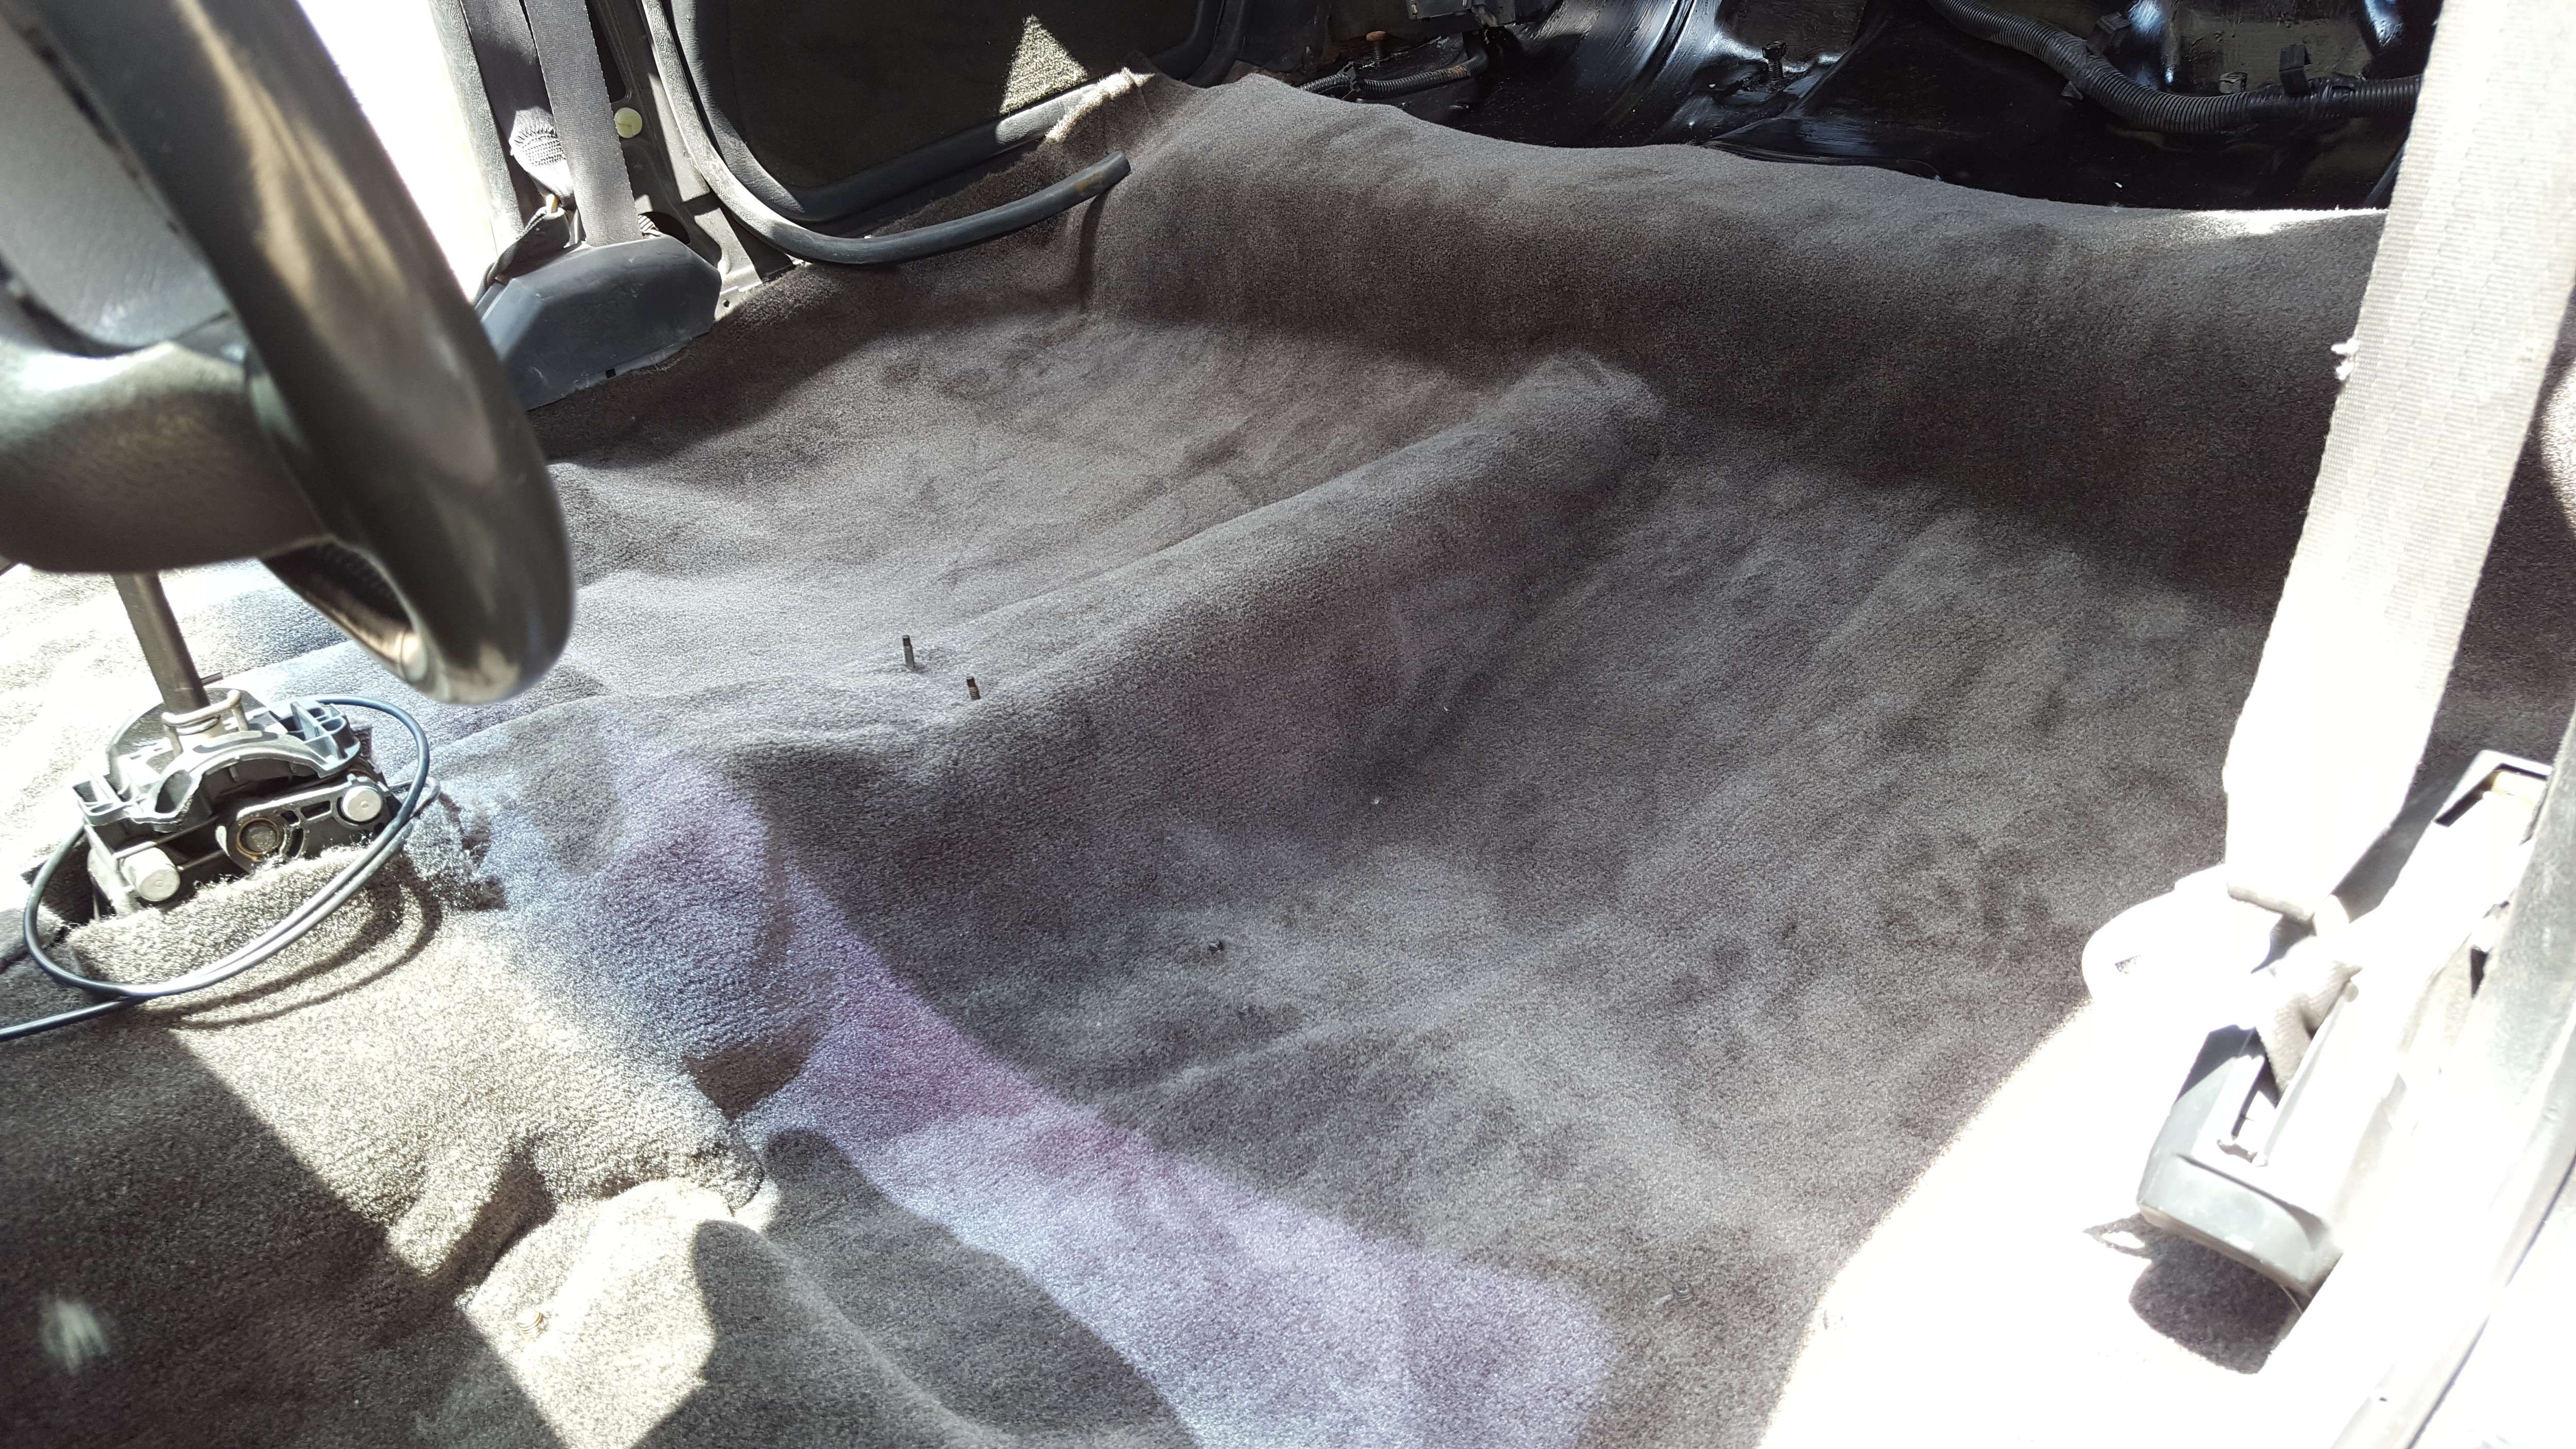
-Started to install the carpet. Driver's seat is in.
I still need to cut the carpet for the passenger seat and down the sides yet. The last time I installed a carpet with the nose higher than the rear and it ended up with slack at the end of the exhaust tunnel. I also ended up trimmed the one side a little to far. So, I did the install this time with the nose lower and worked the carpet from the rear seat forward. I'll leave the sides long until it settles.
I haven't had carpet in the car for like 6 years because of water leaks.. It might not seem like a big thing but it's a nice milestone for me.
The rest of the interior will go in easy enough. The A/B/C pillars will stay out till I redo the NOS headliner board and pull the windshield.
All the seats and the center console are back in. Pics of that will come.
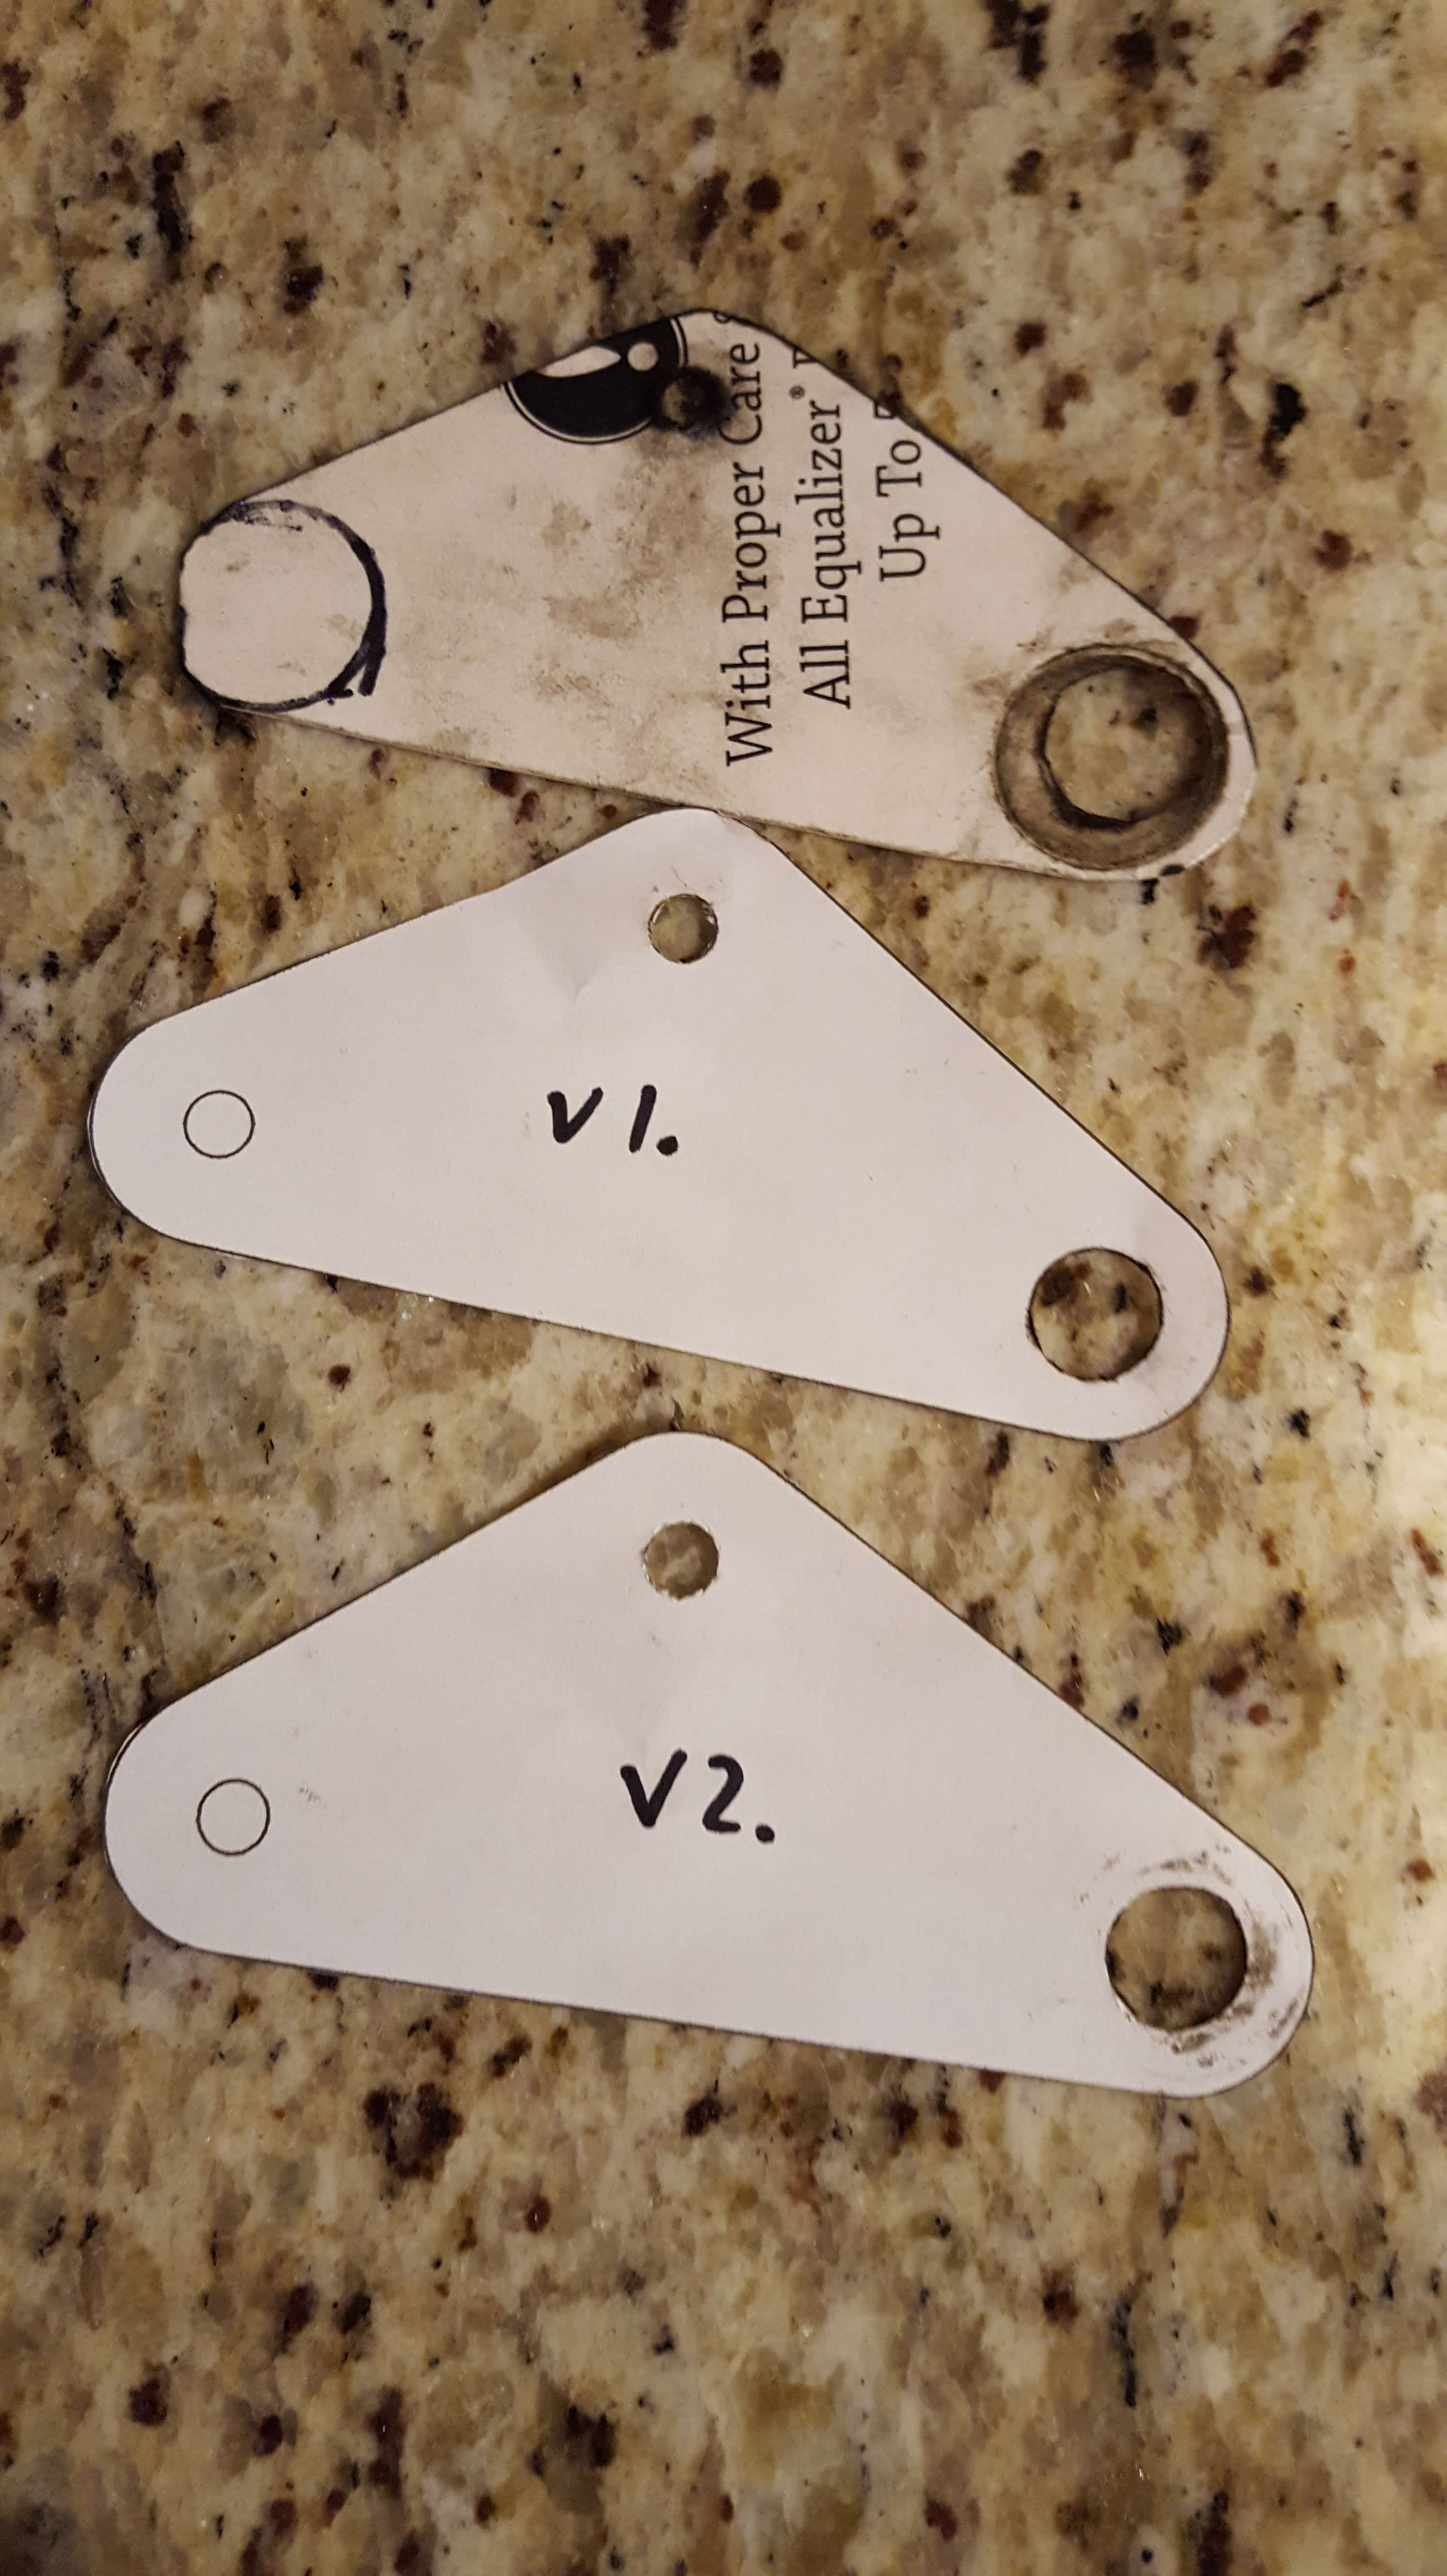
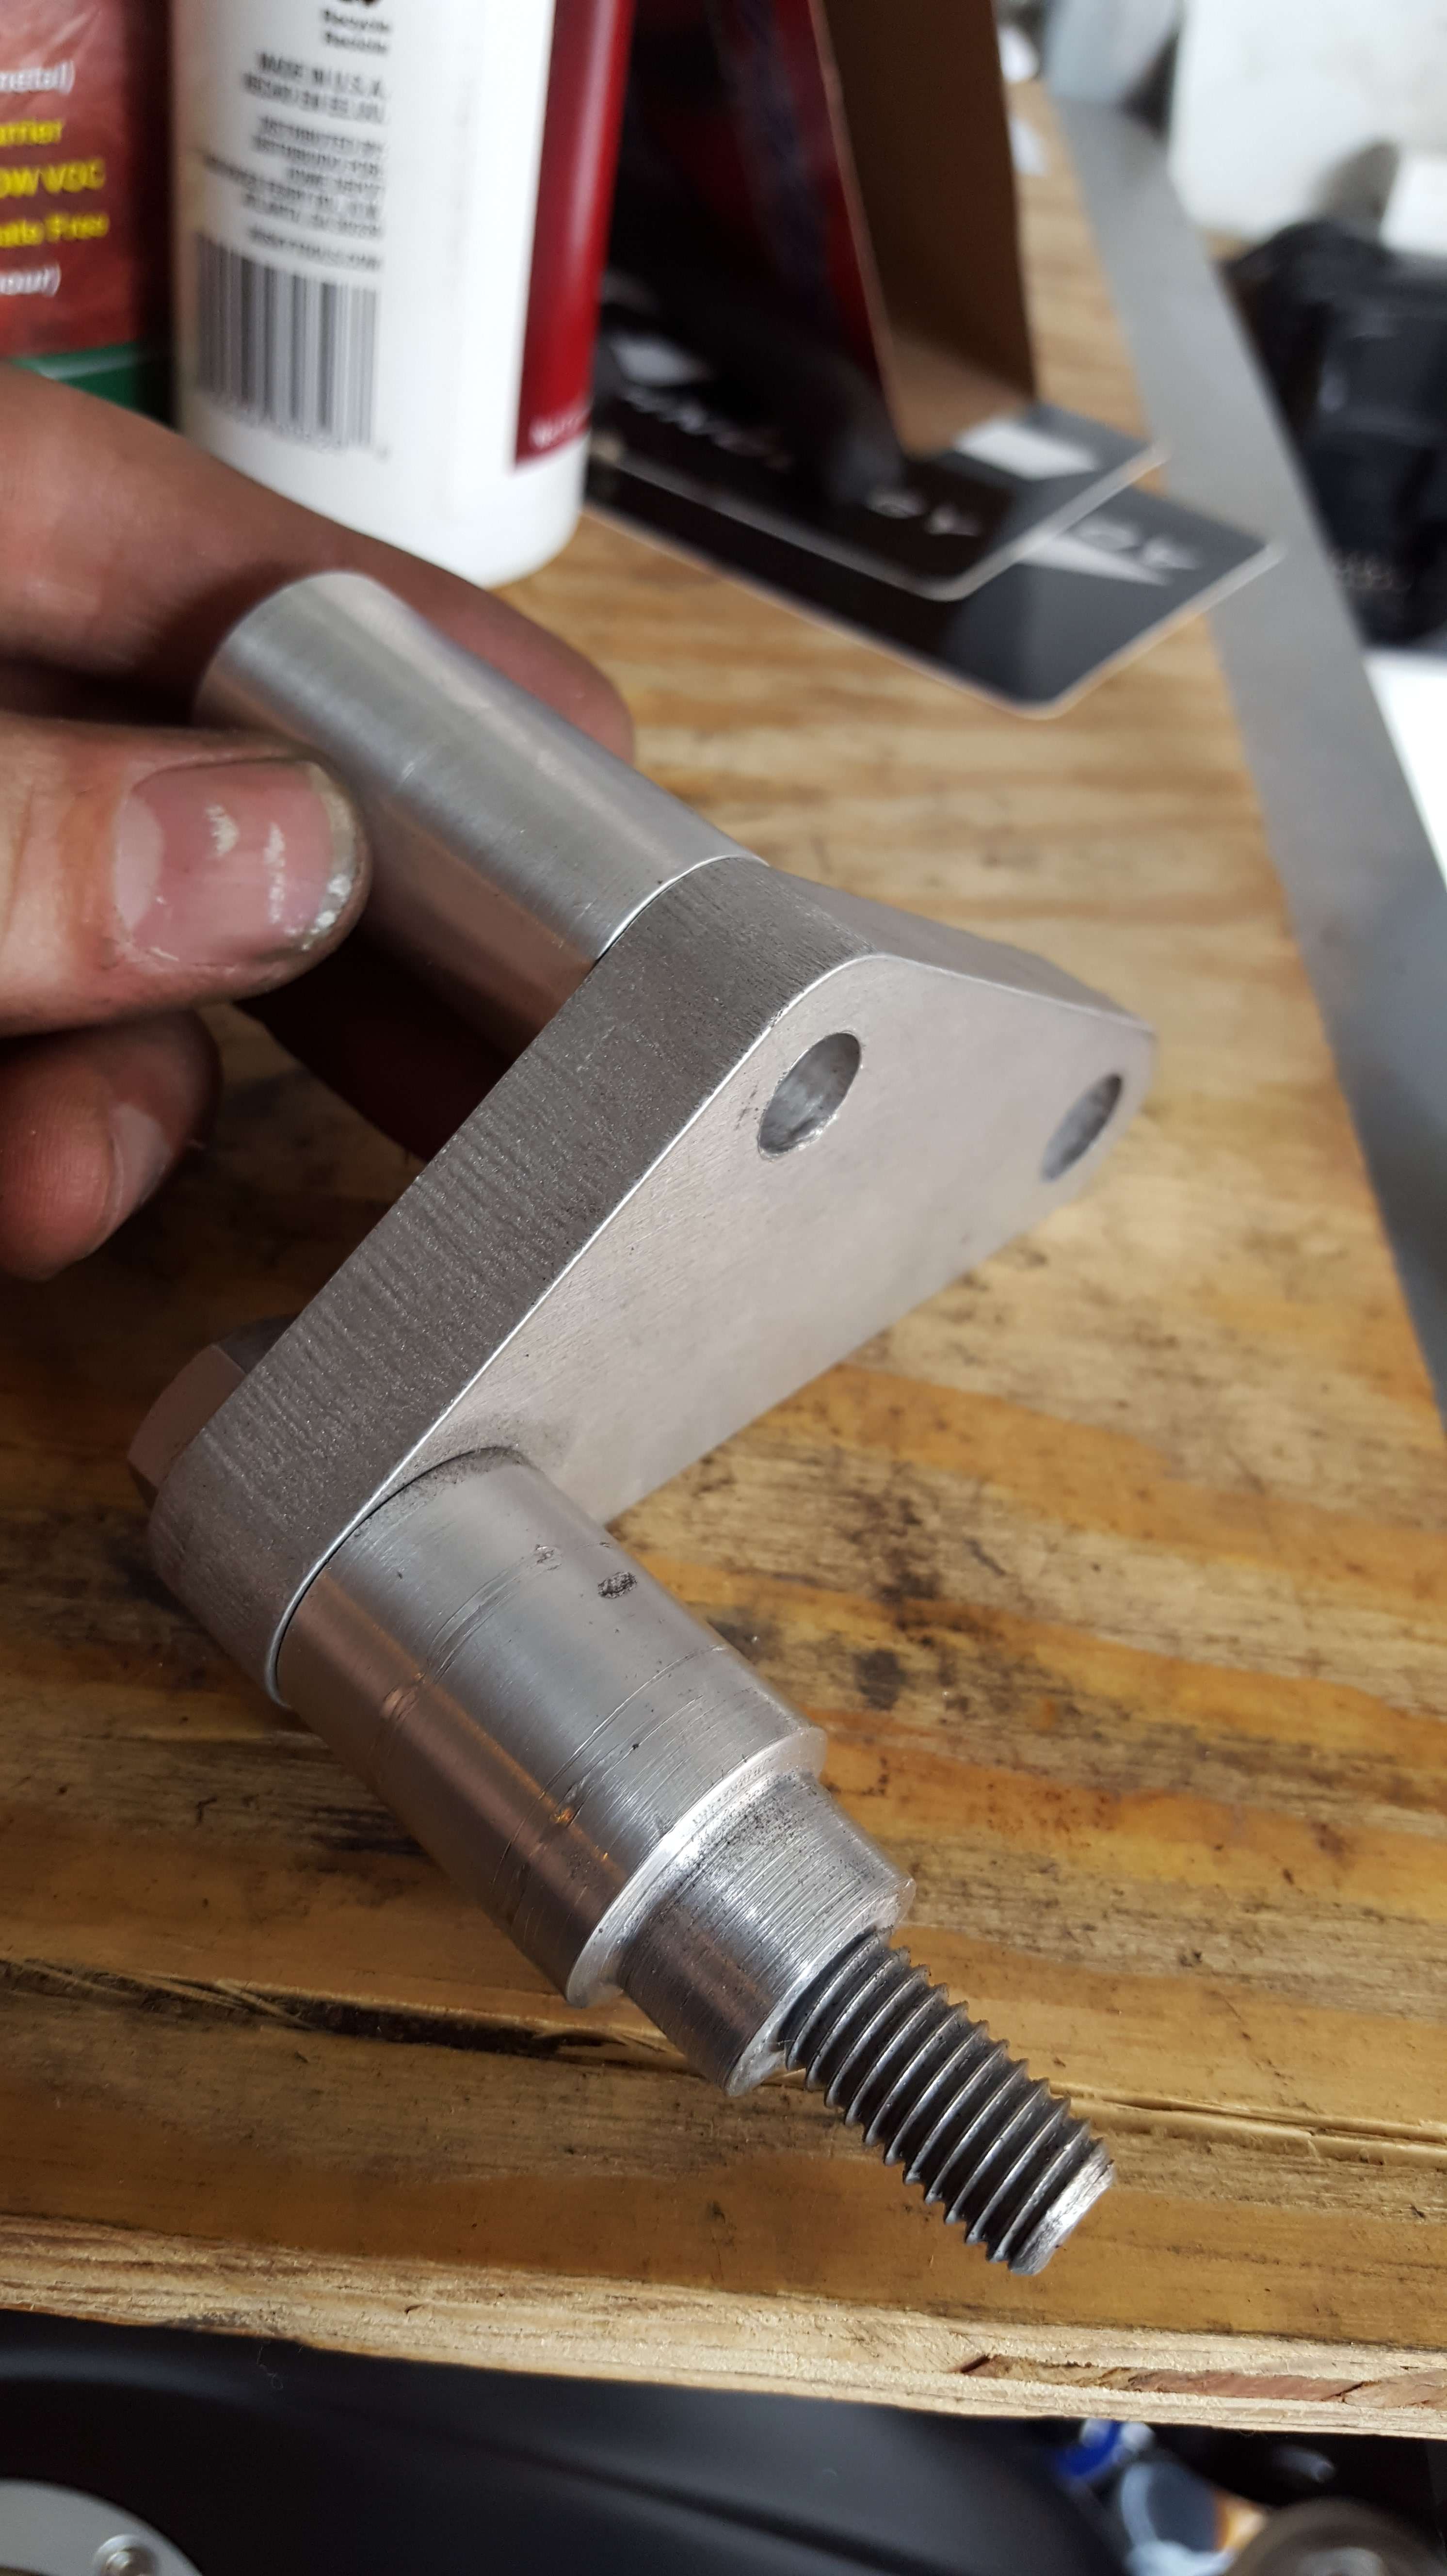
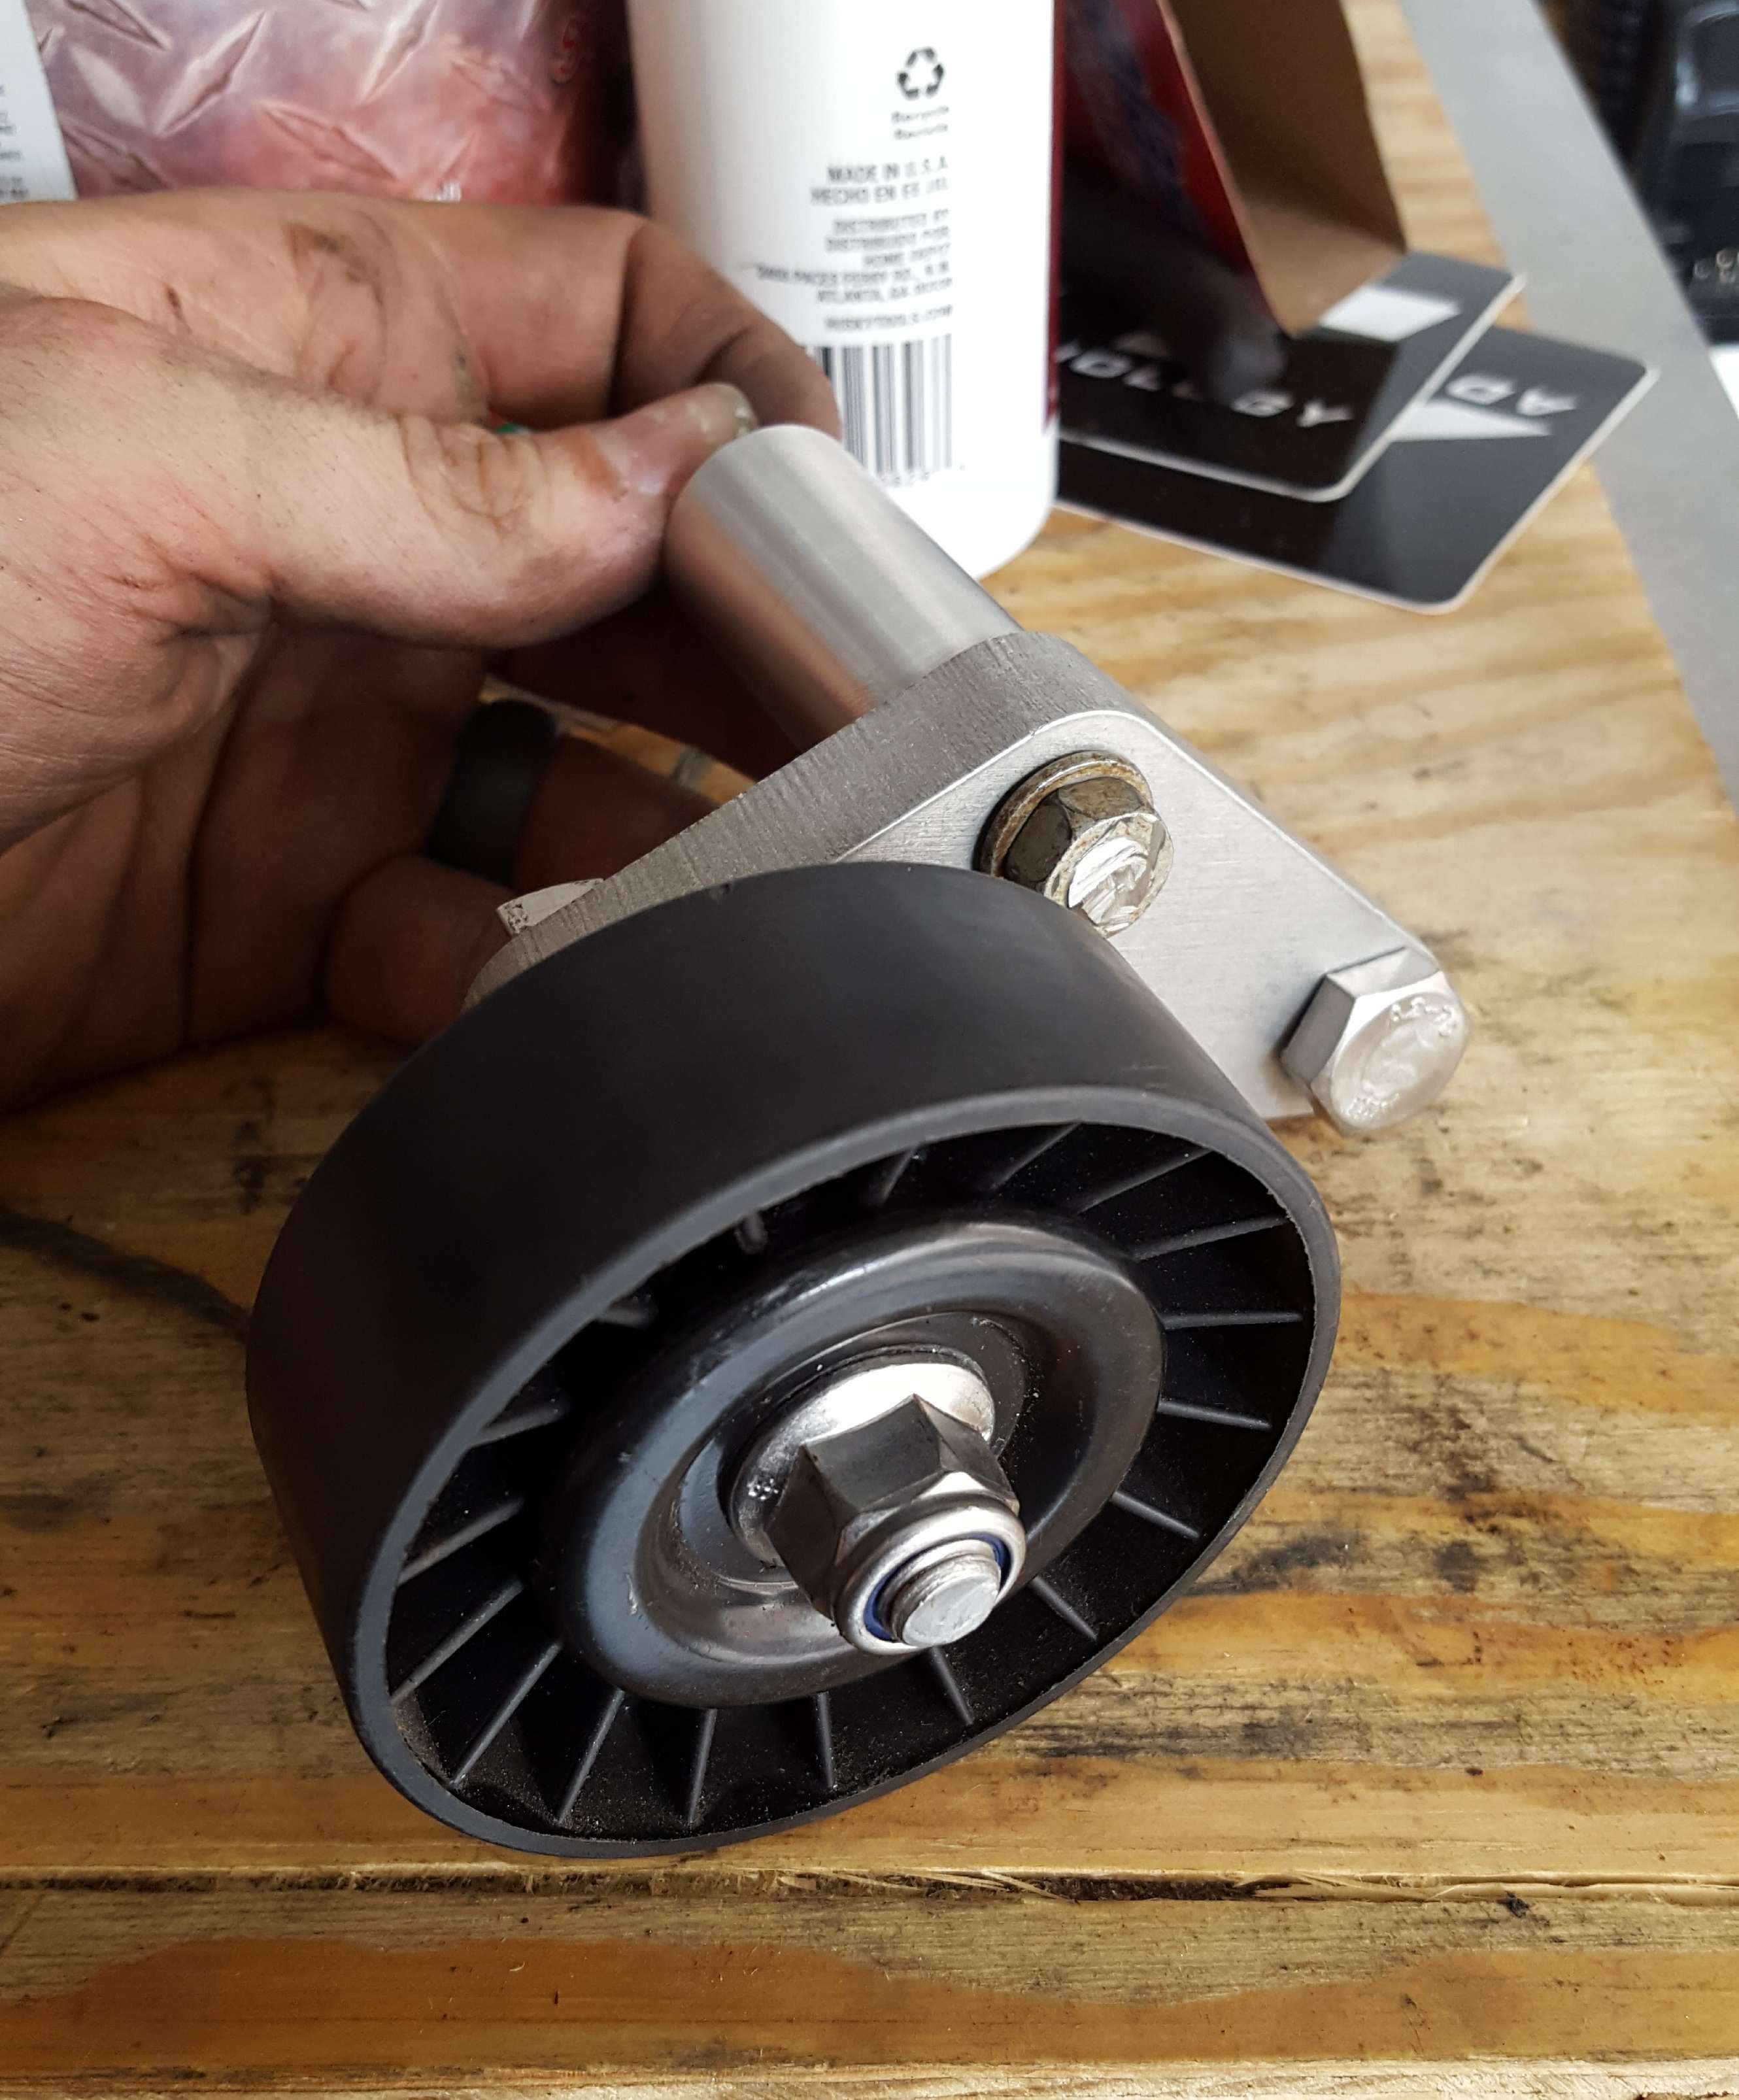
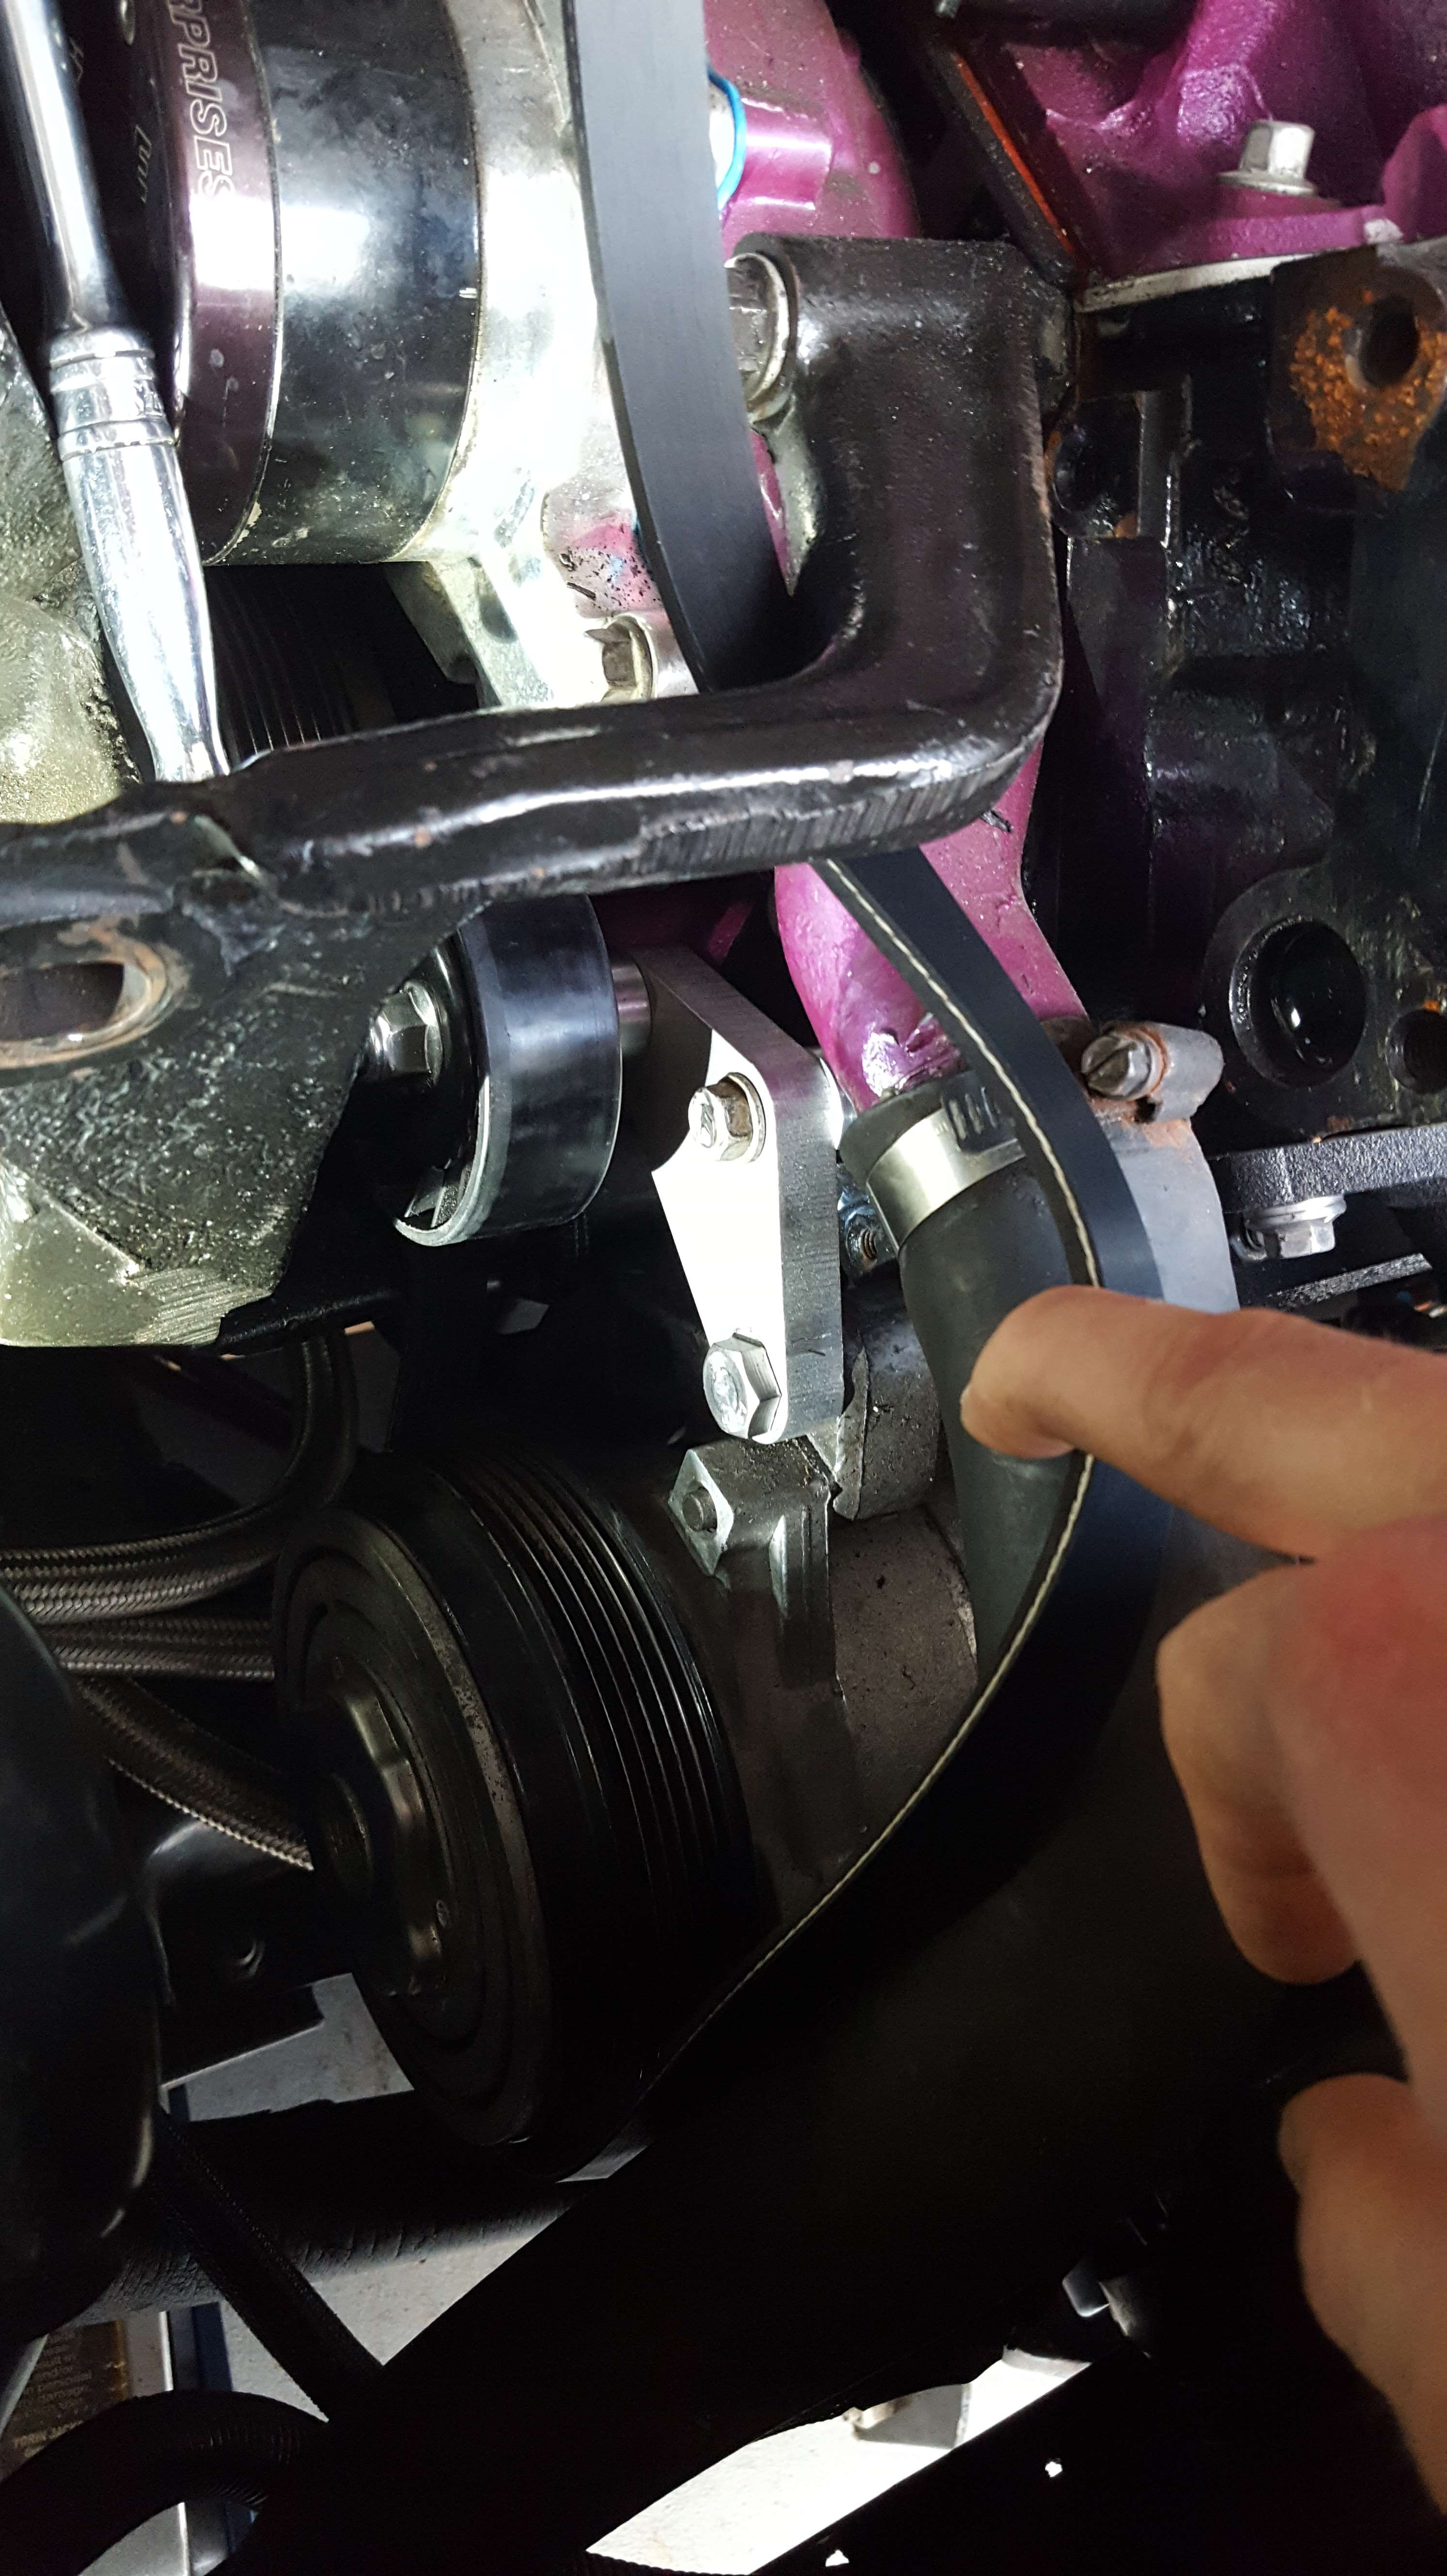
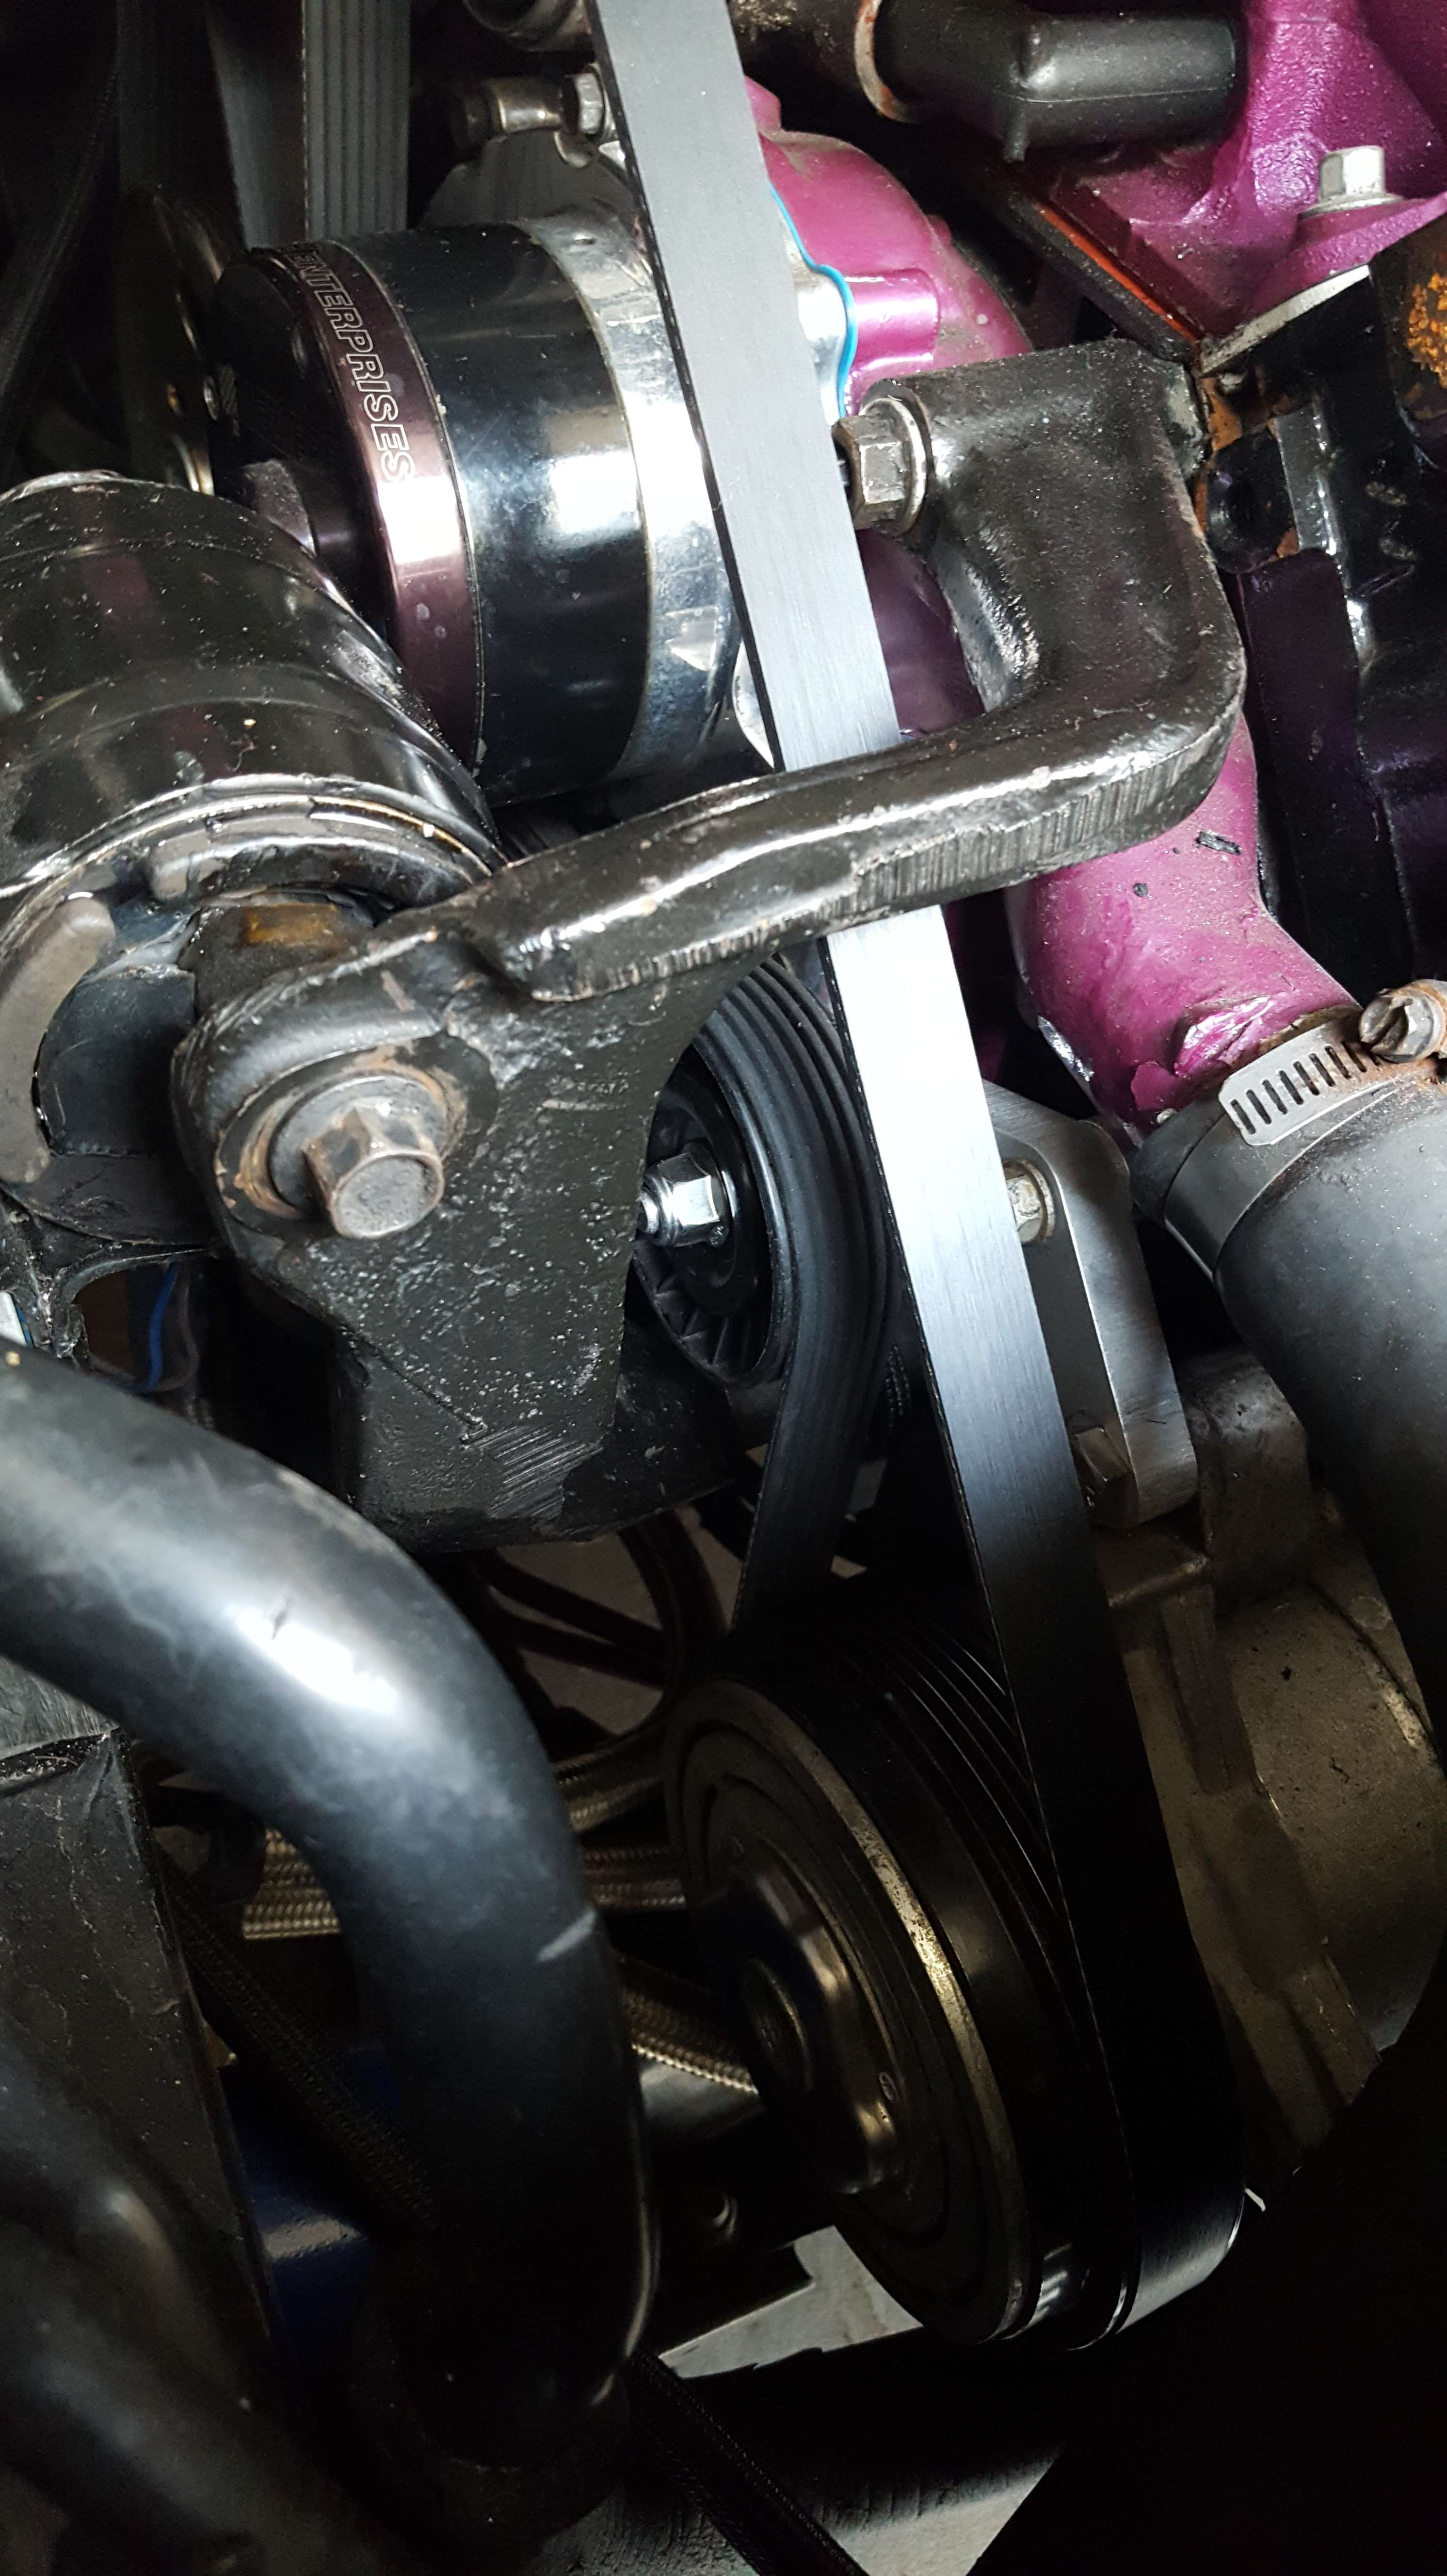
I decided to tackle a small project I've been thinking of doing for a long time.. Belt wrap with the re-routed belt for my electric water pump has always been lackluster. High rpm shifts or low rpm dips always seem to make it slip a little. So, I decided to make another idler pulley in a similar location to a 00+ H body supercharger idler. I did a little cardboard mock up, drew the part in CAD, tested, tweaked and had S&W Race Cars waterjet the bracket for me. They're the same folks I used for waterjetting all the F40 associated mounts I designed. I also had them spin down some stand off spacers for it too. Once I got the parts back, I tapped the pulley spacer, did a little tweaking and found a belt that would work.

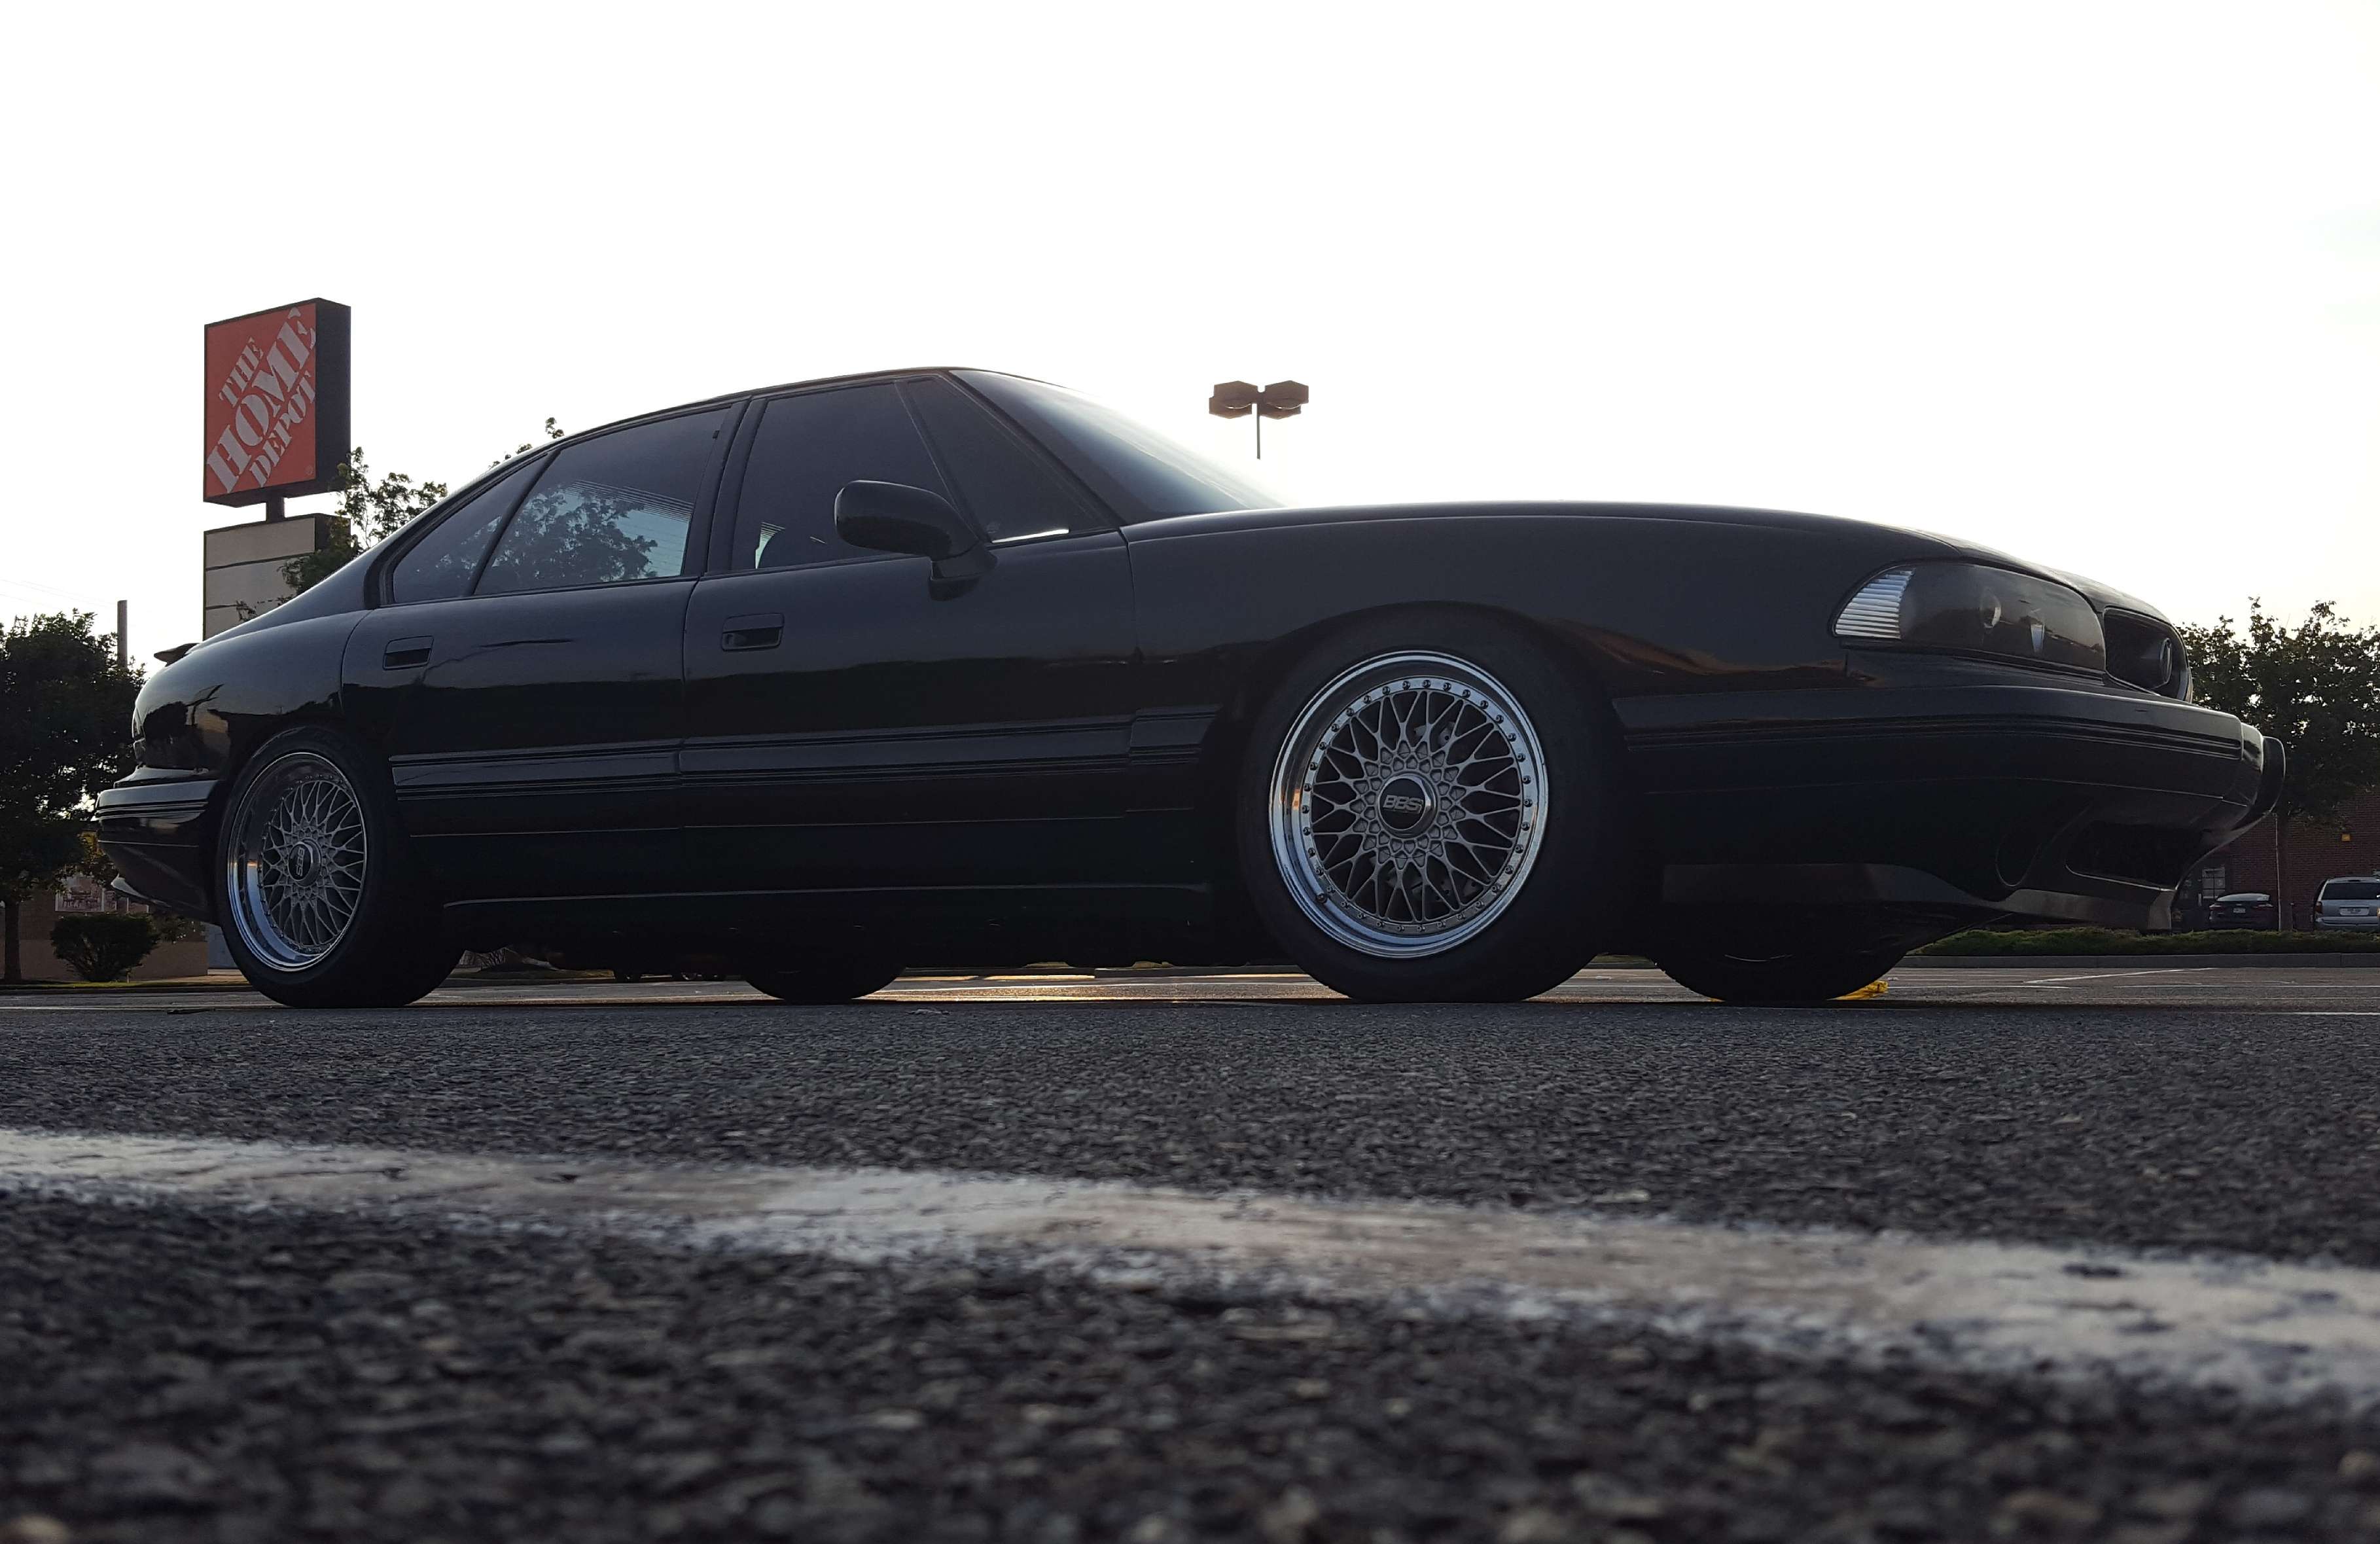
Home Depot run.
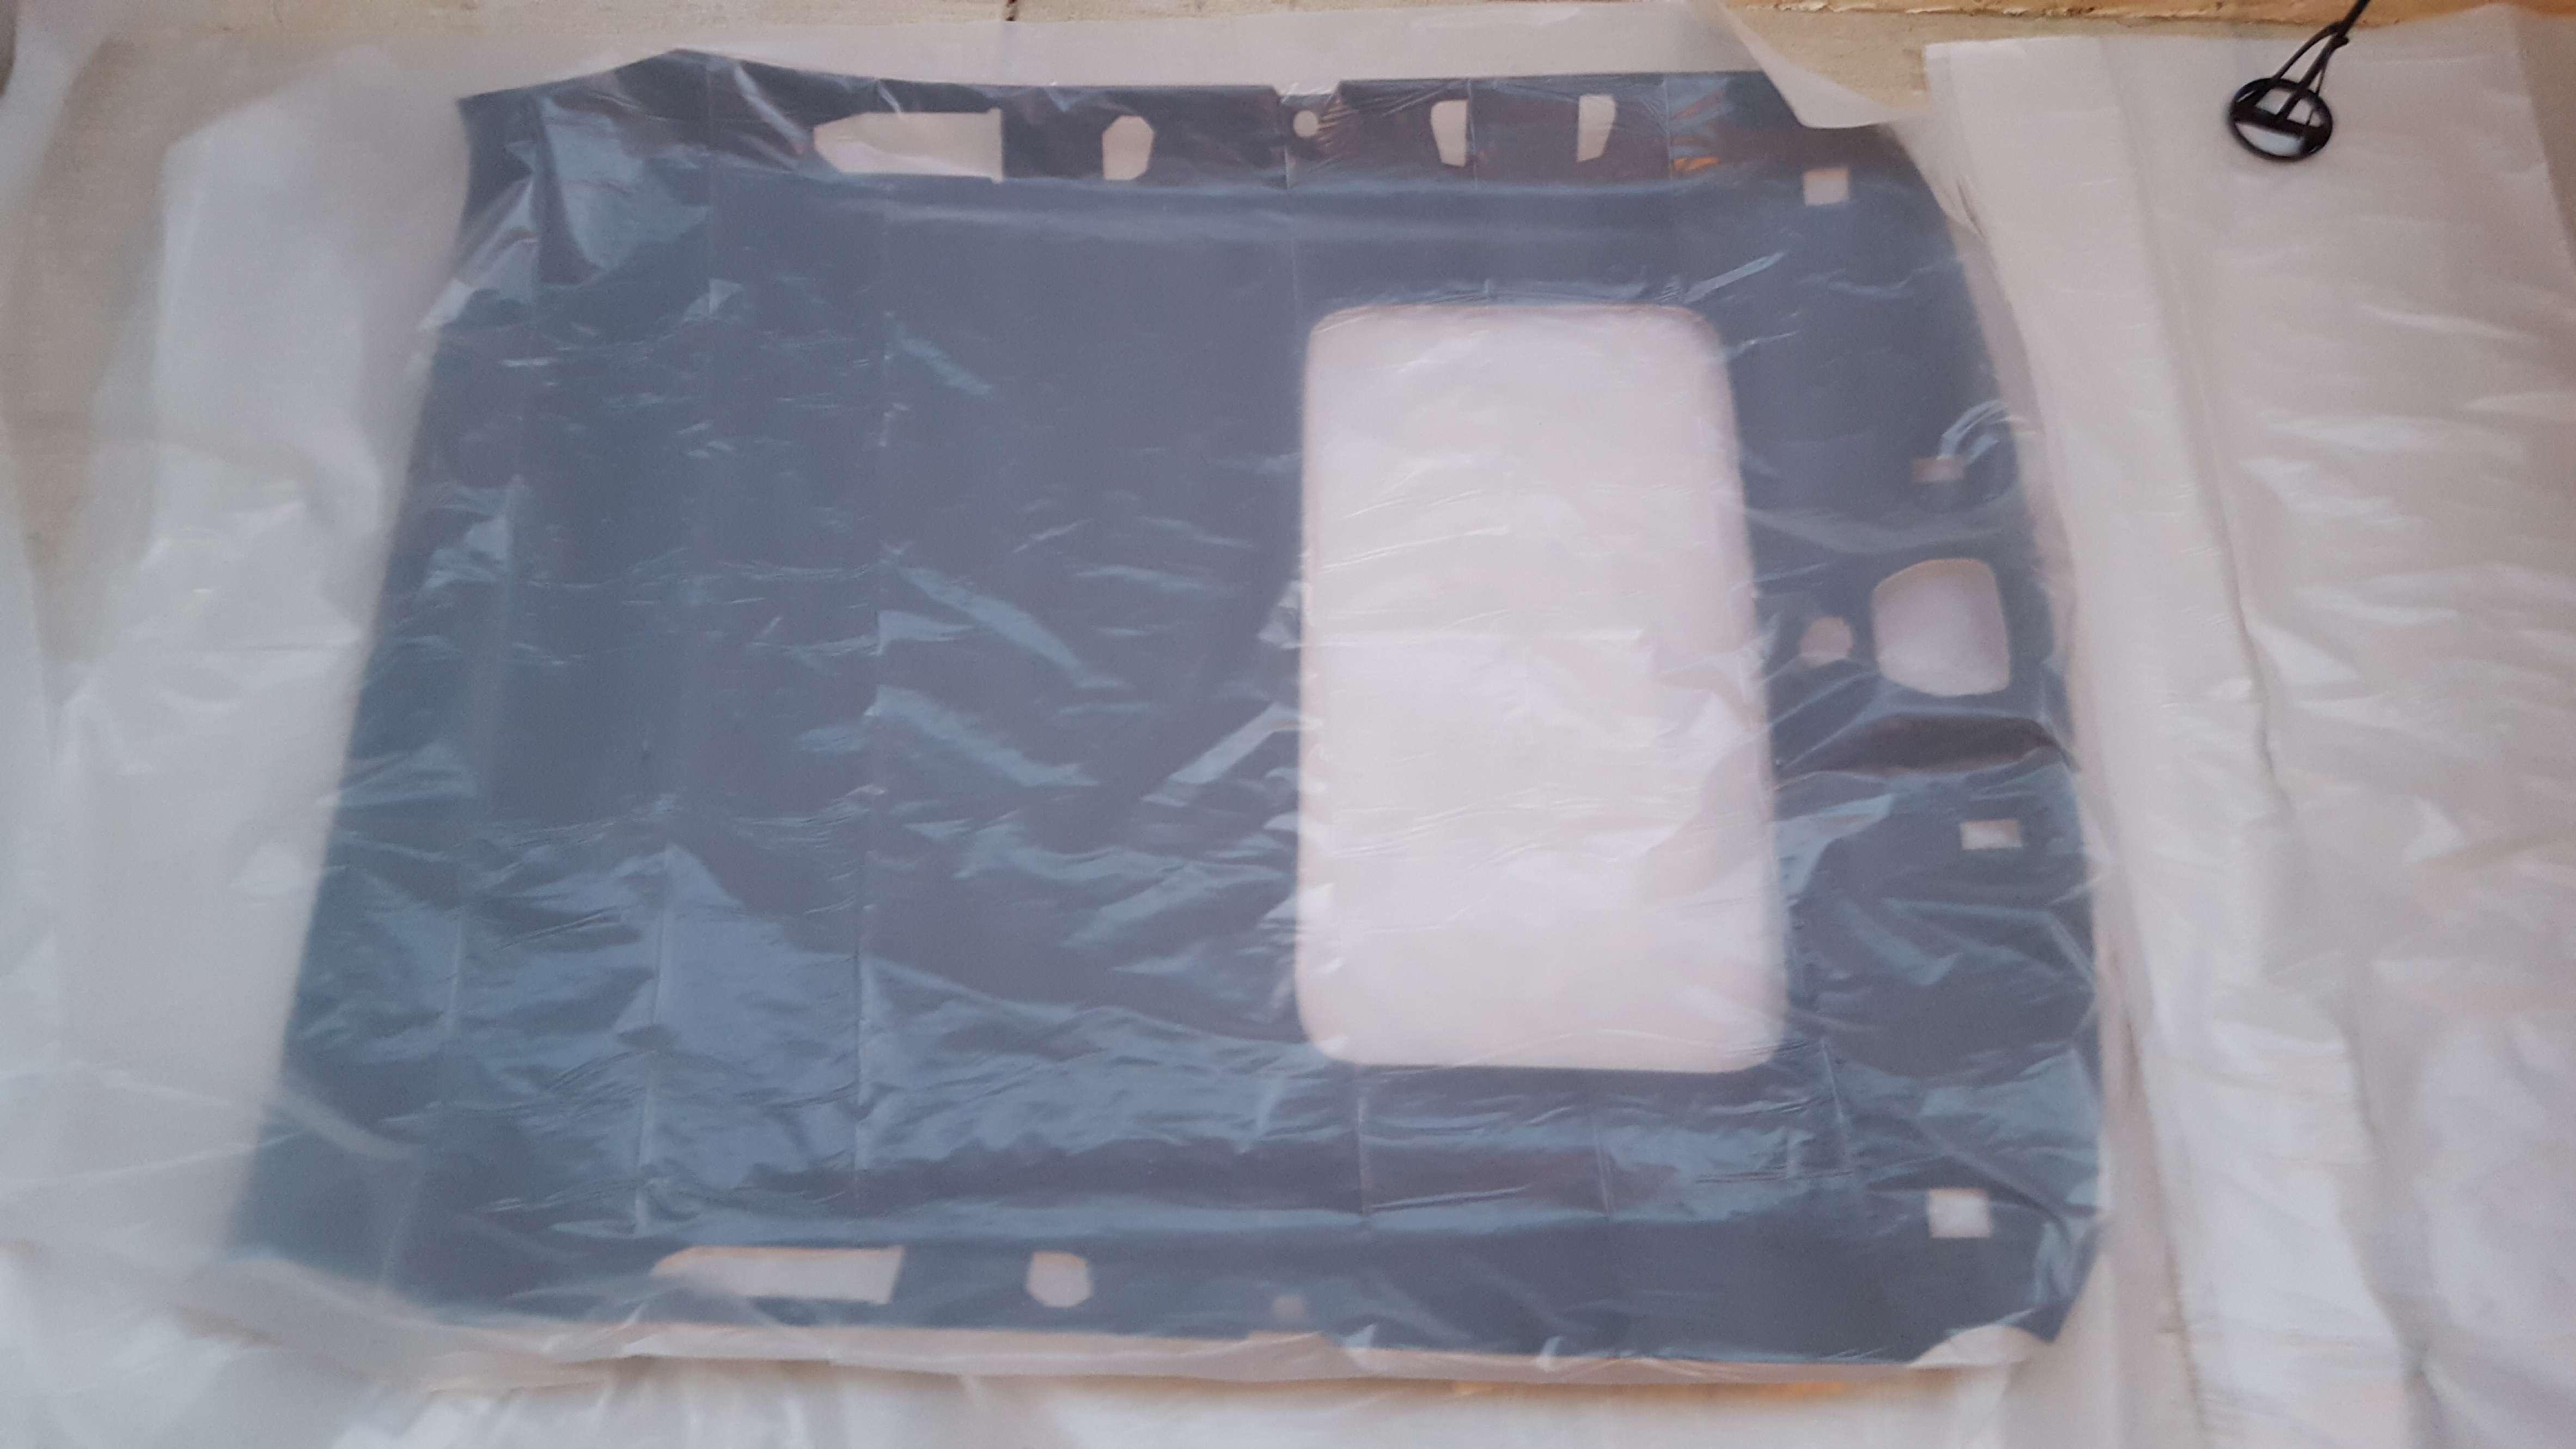
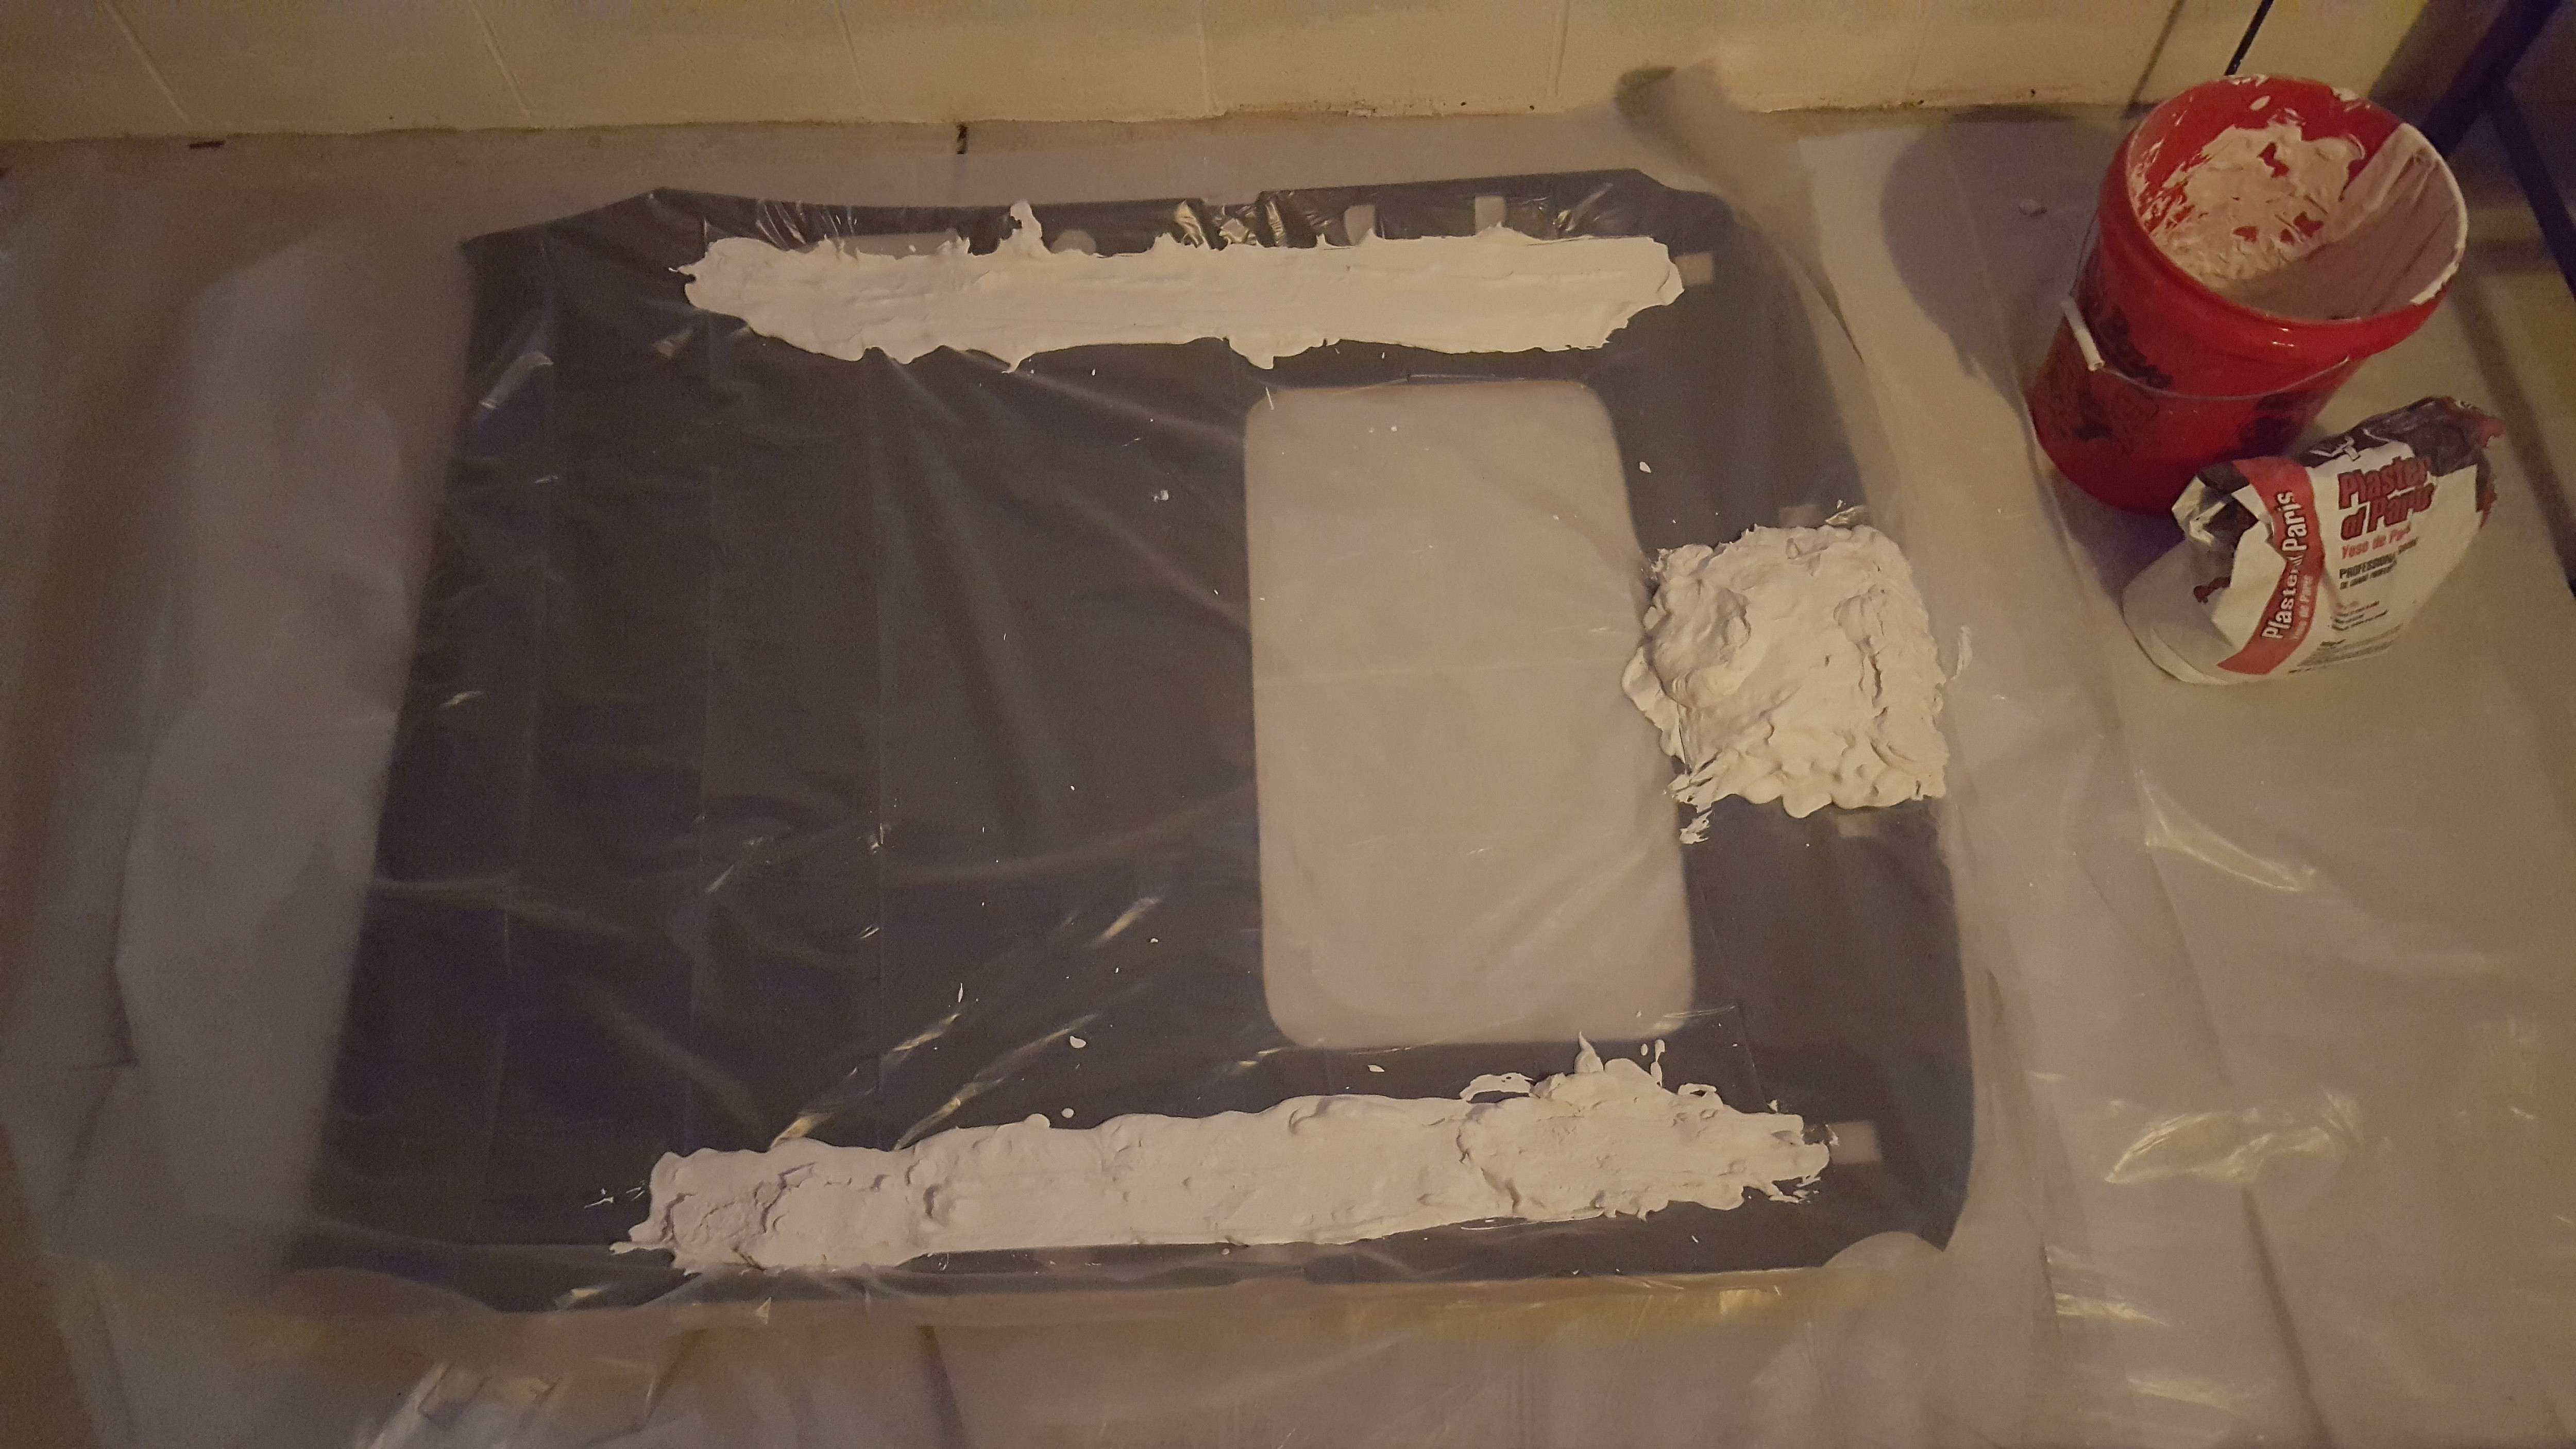
I finally got the new headliner done.. Not without issue either..
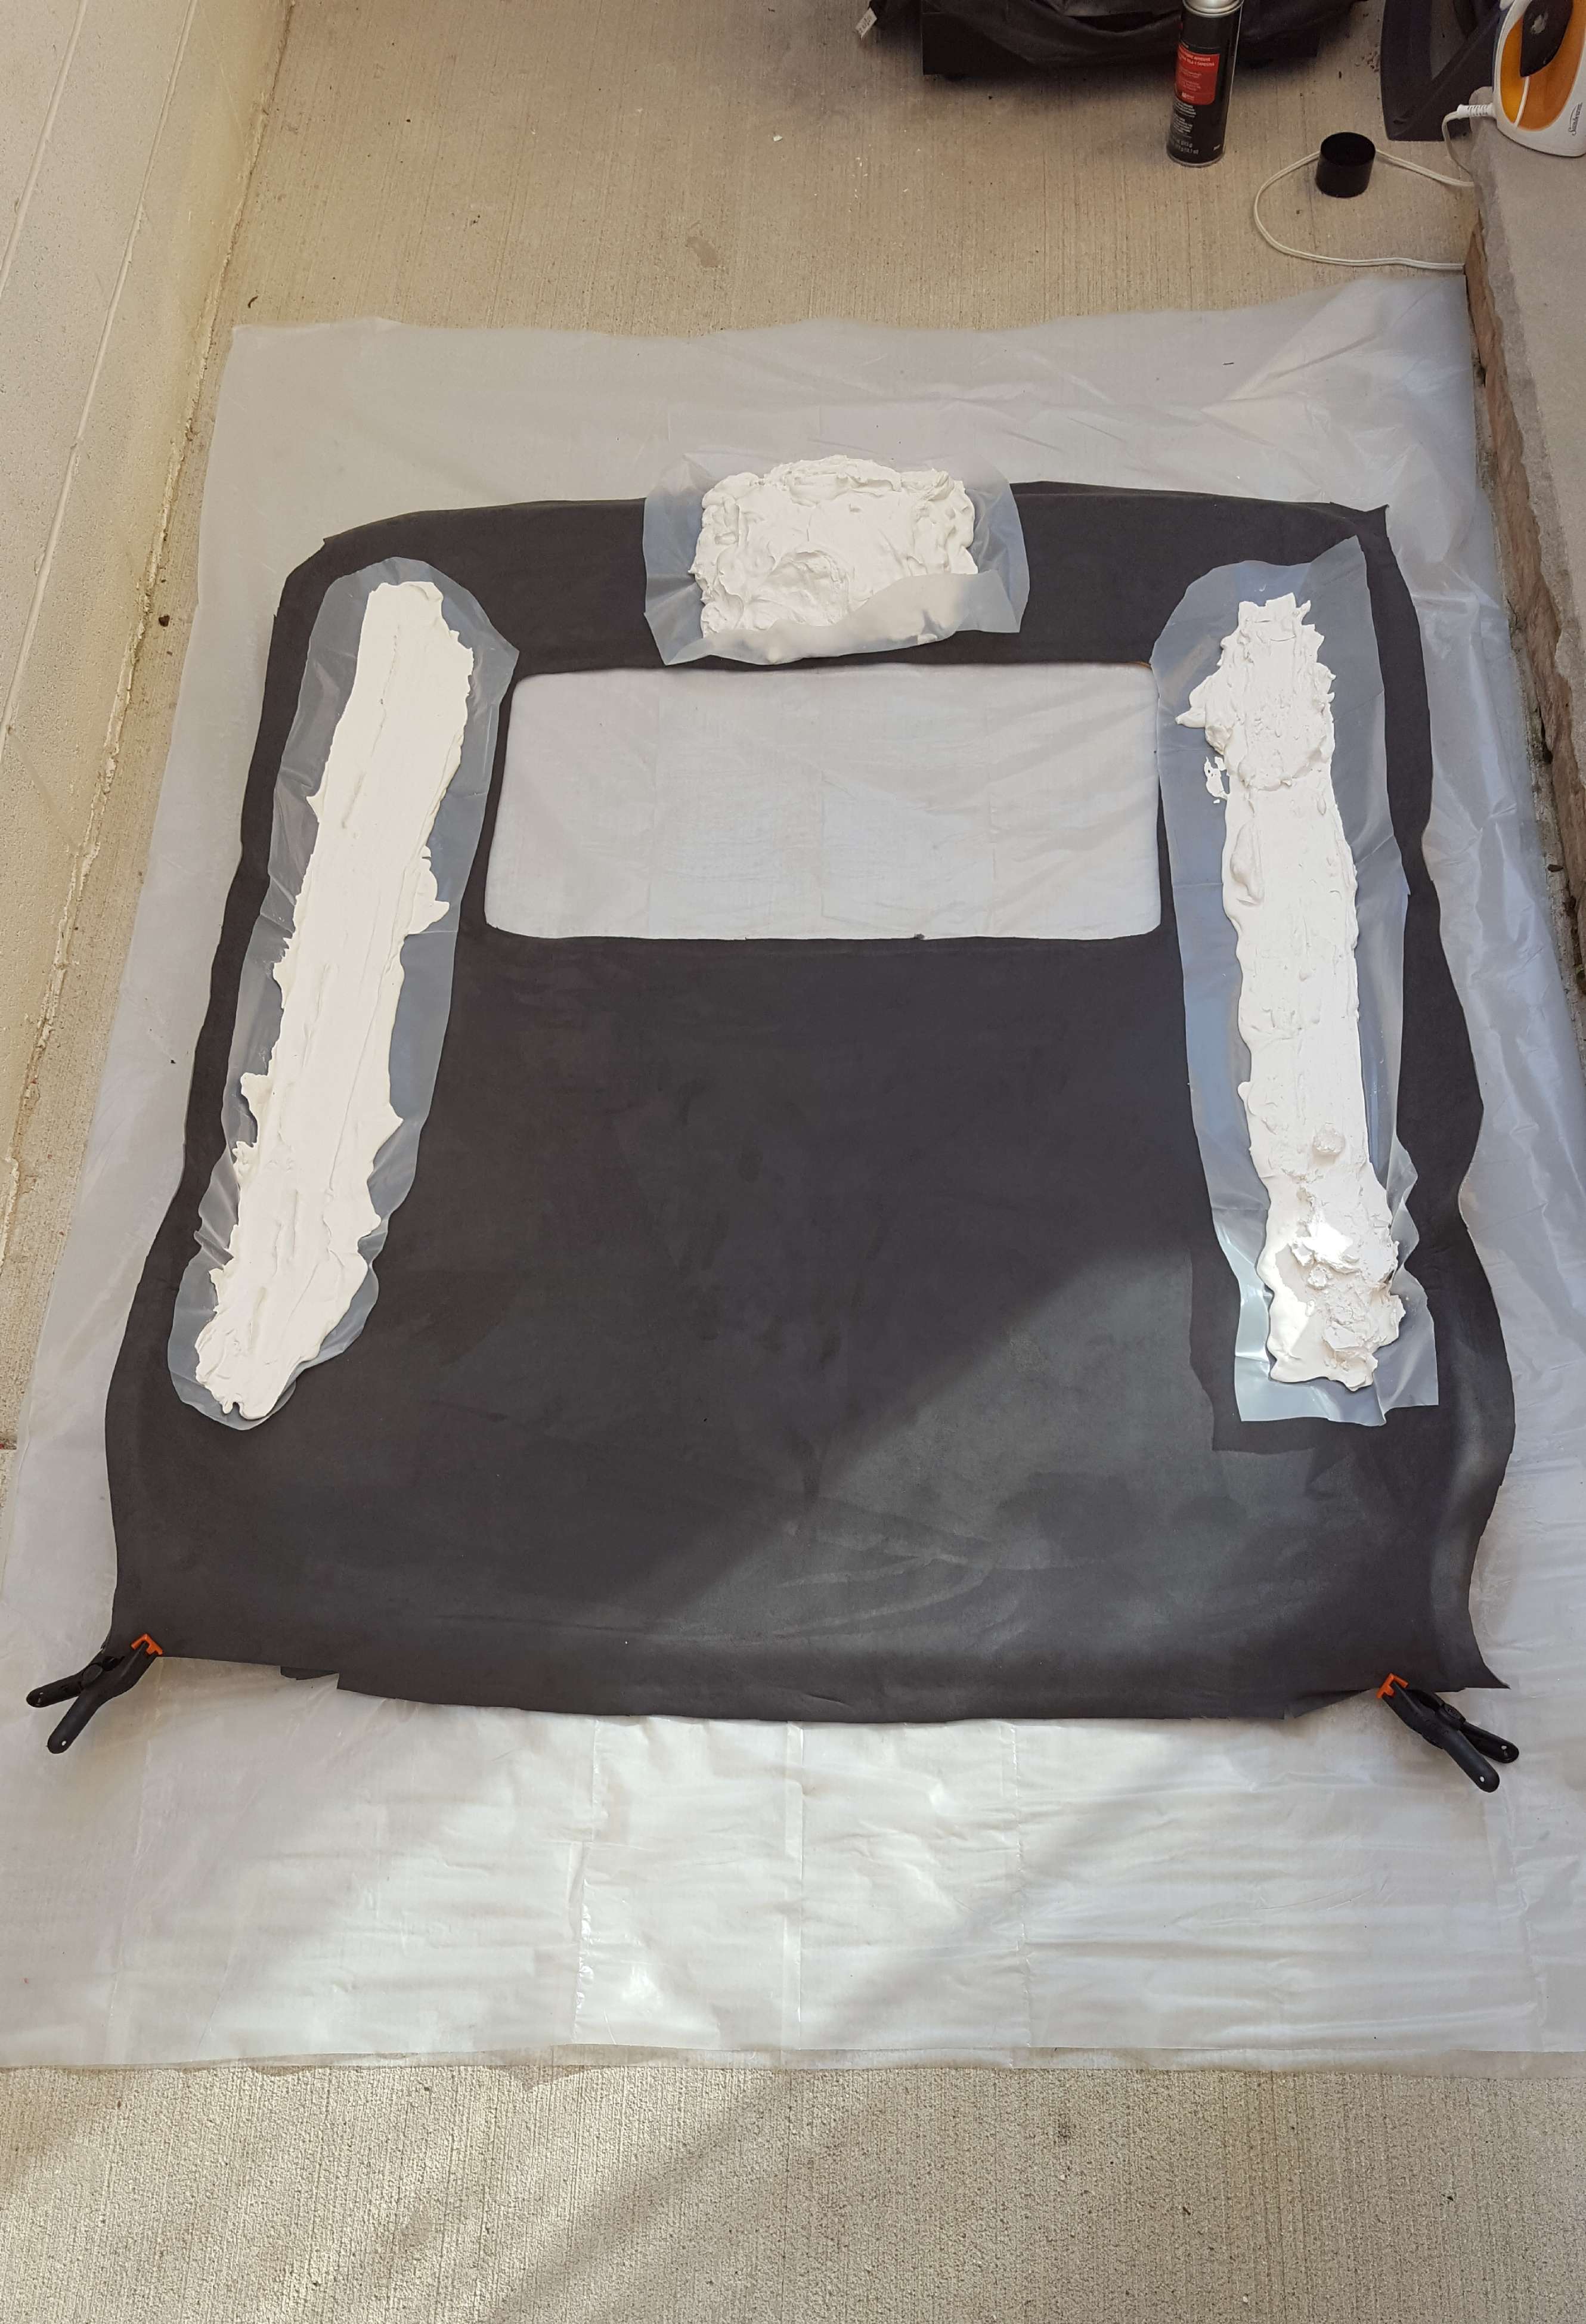
Since this is the 3rd time doing this, I wanted to try something new. The soda can weight method works for a lot of the contours but not all of them. So, I figured, why not spend 20 bucks on Plaster of Paris and make molds.
It took me so long to strip the OEM fabric that my wife actually offered to help me. Complete PITA.
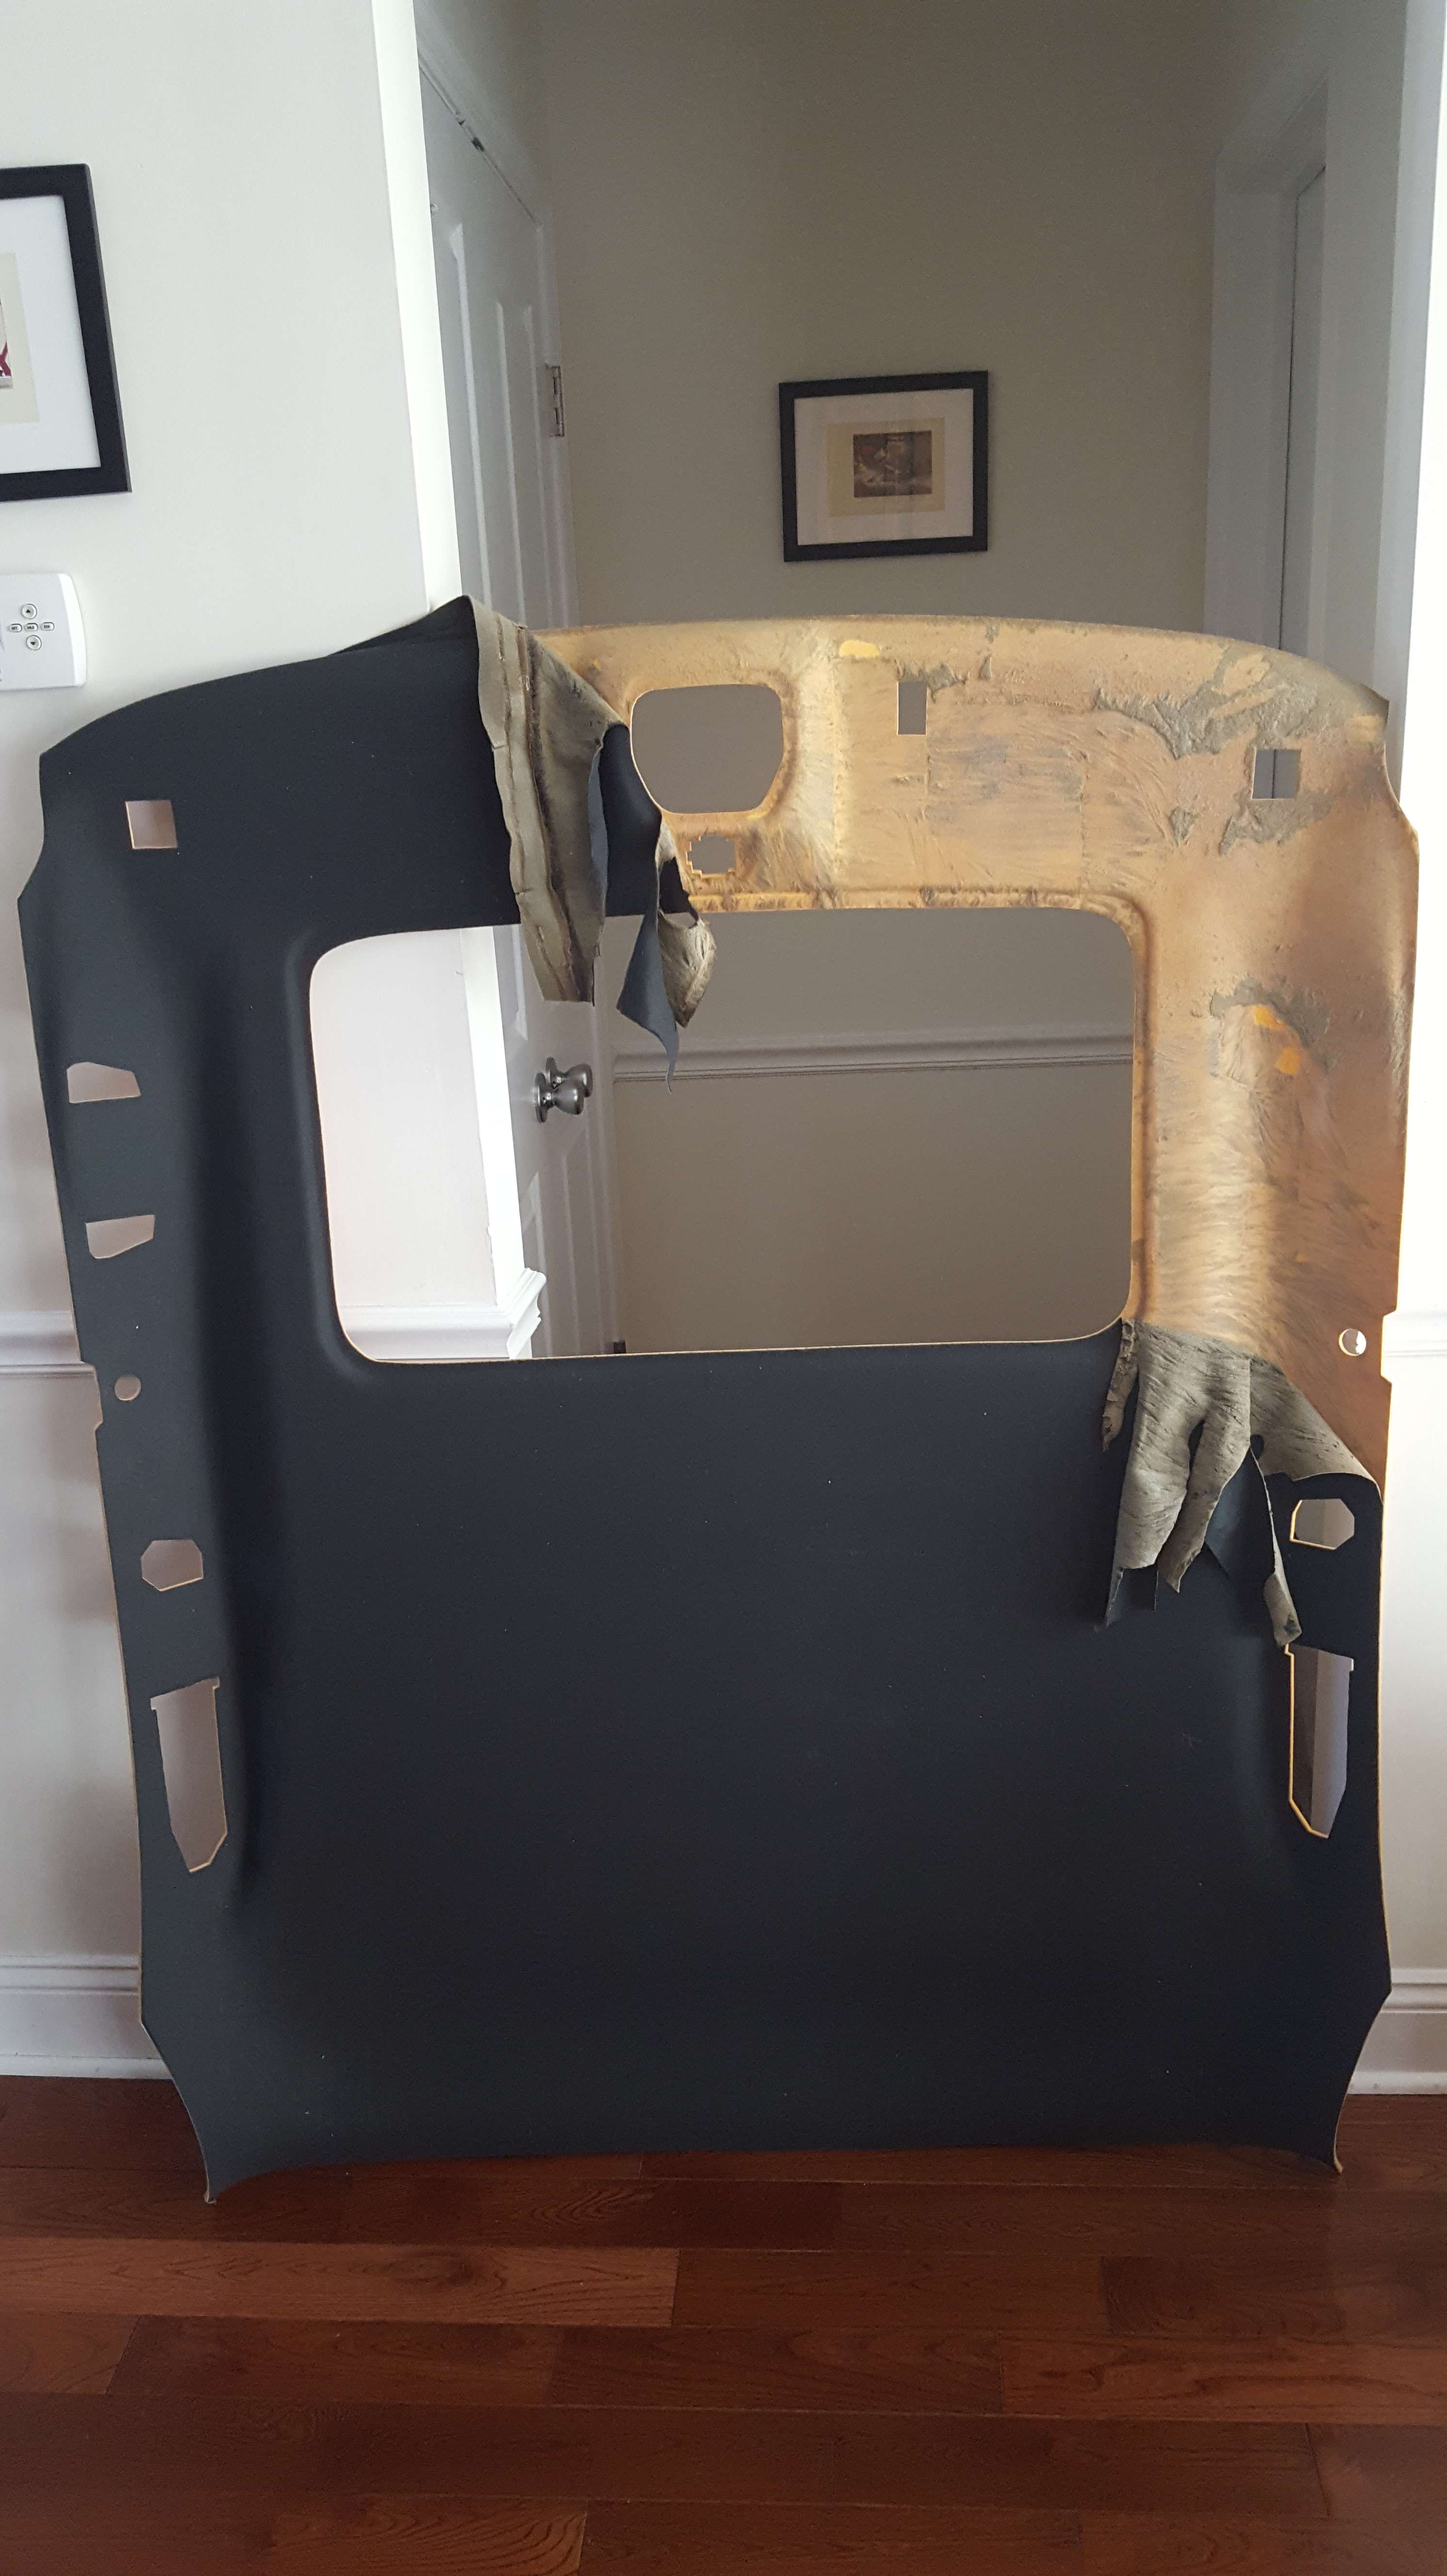
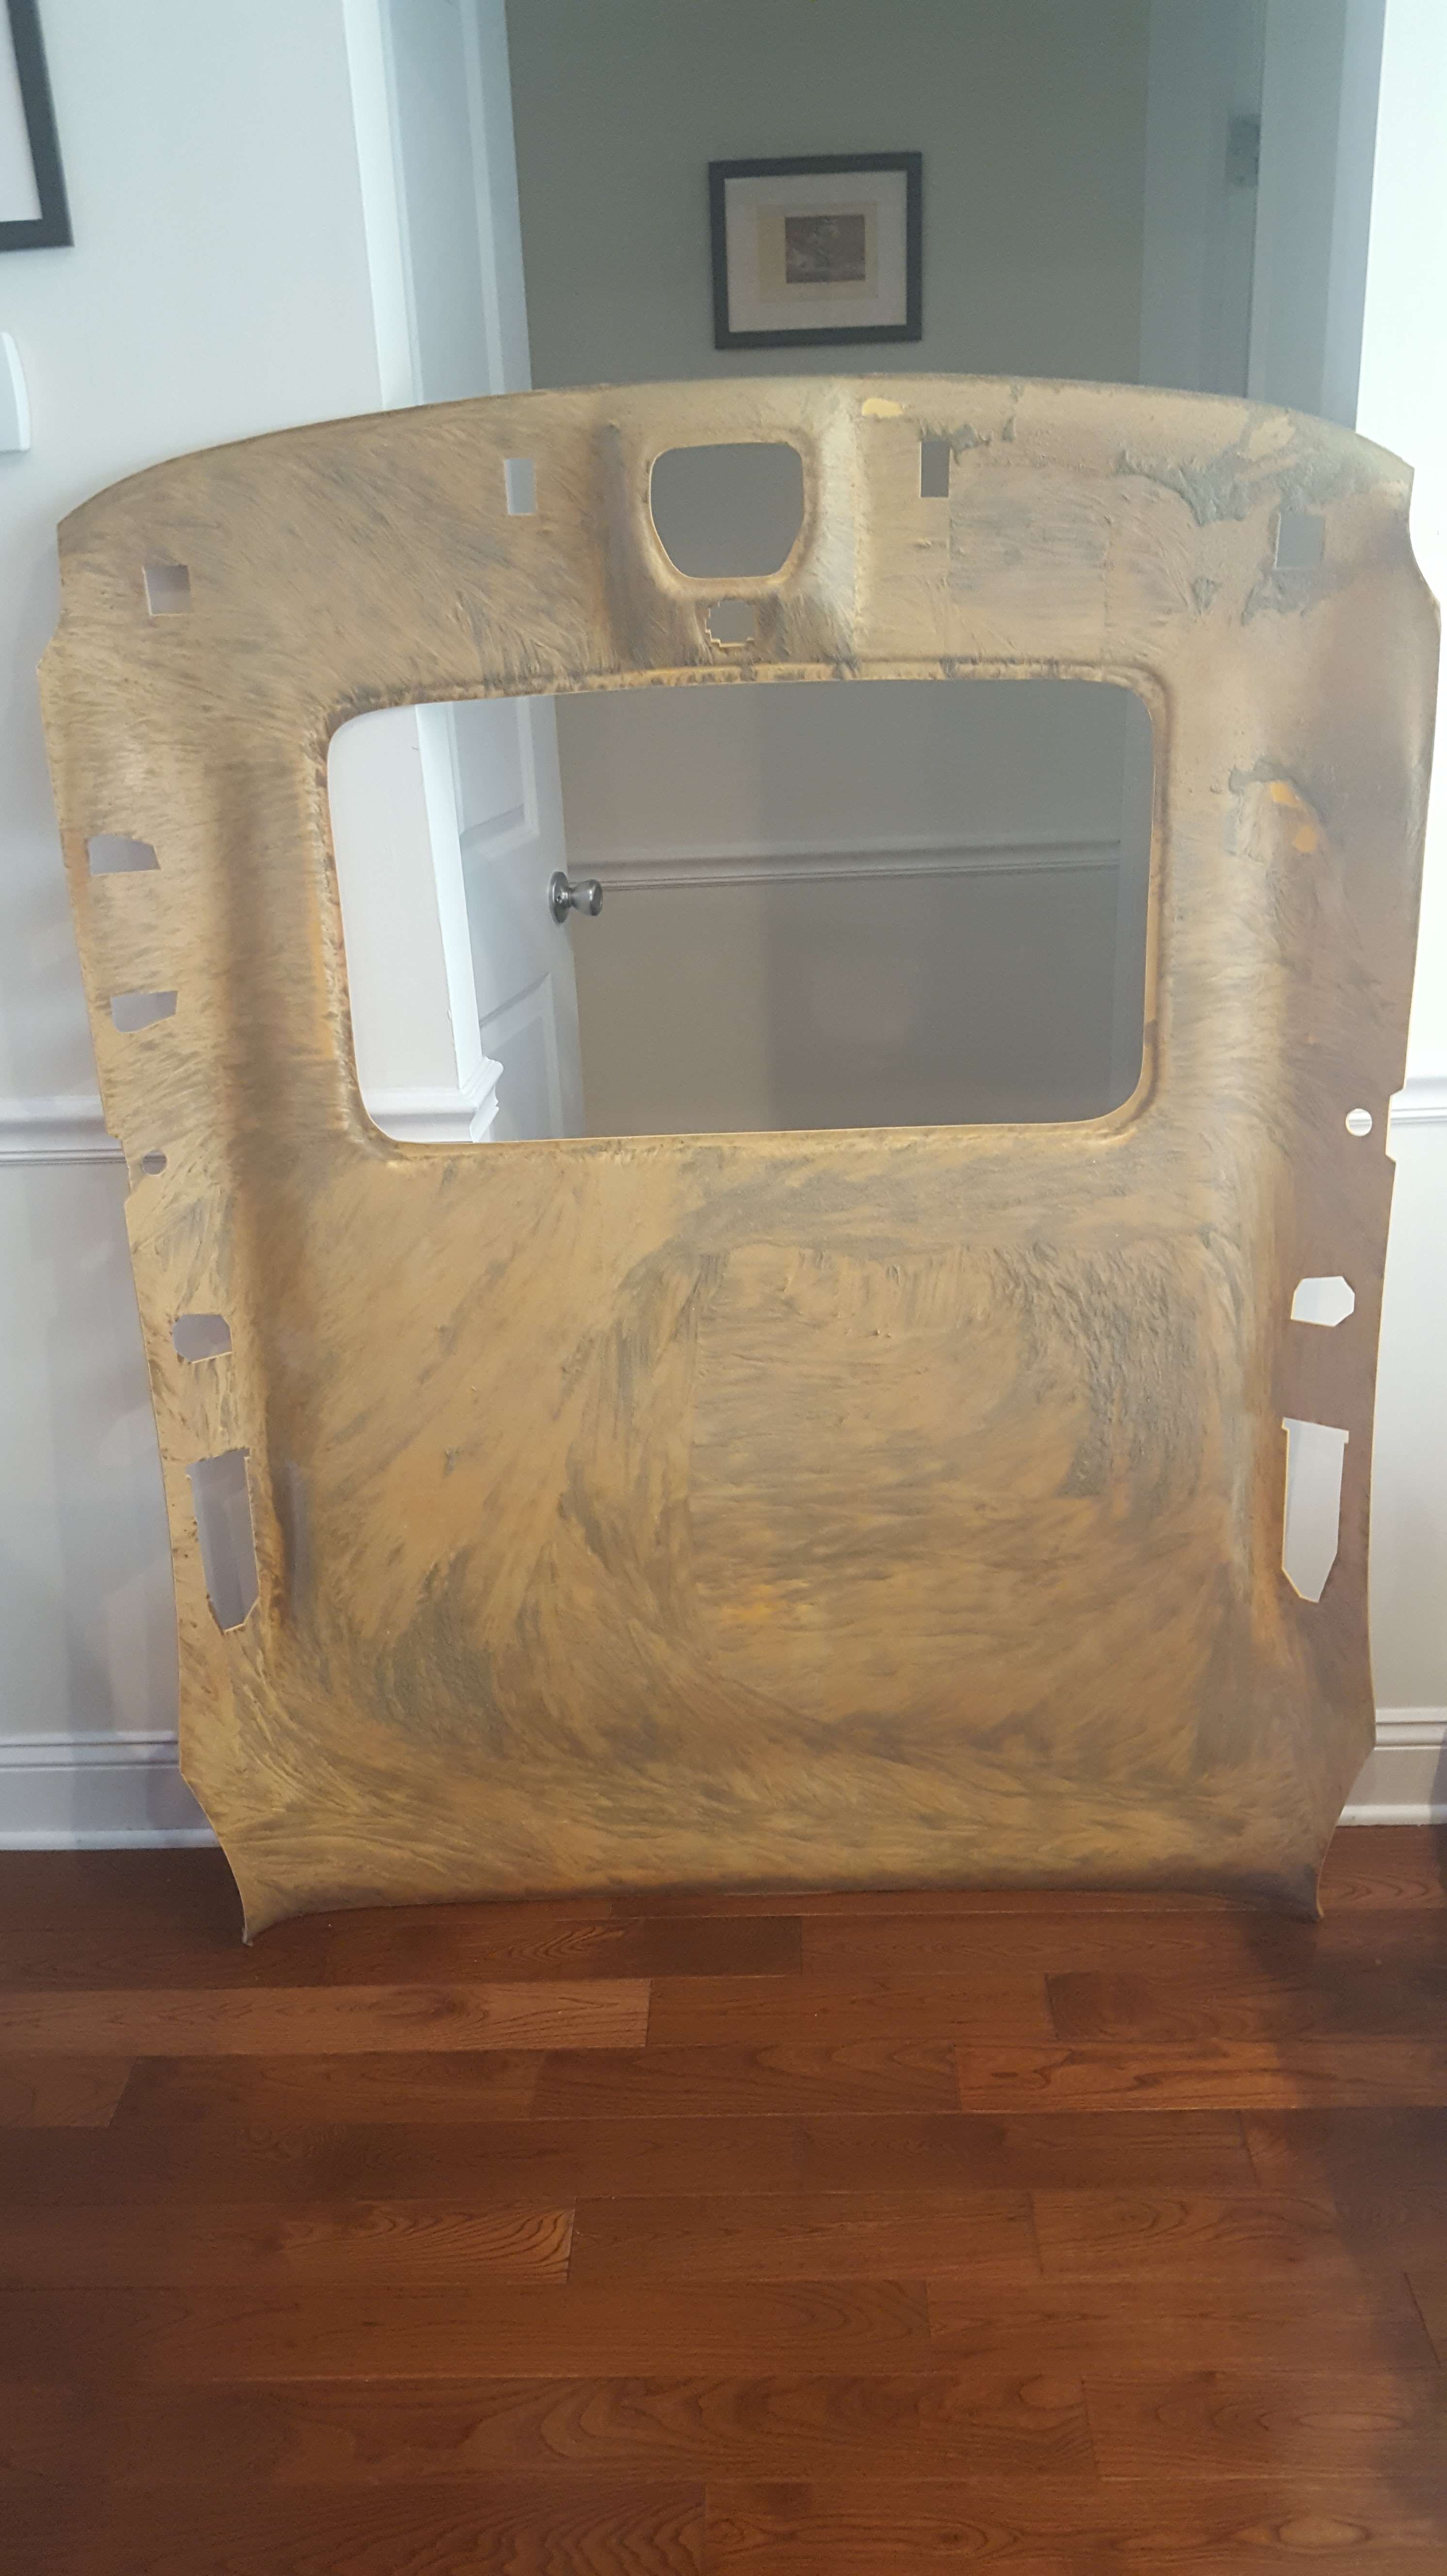
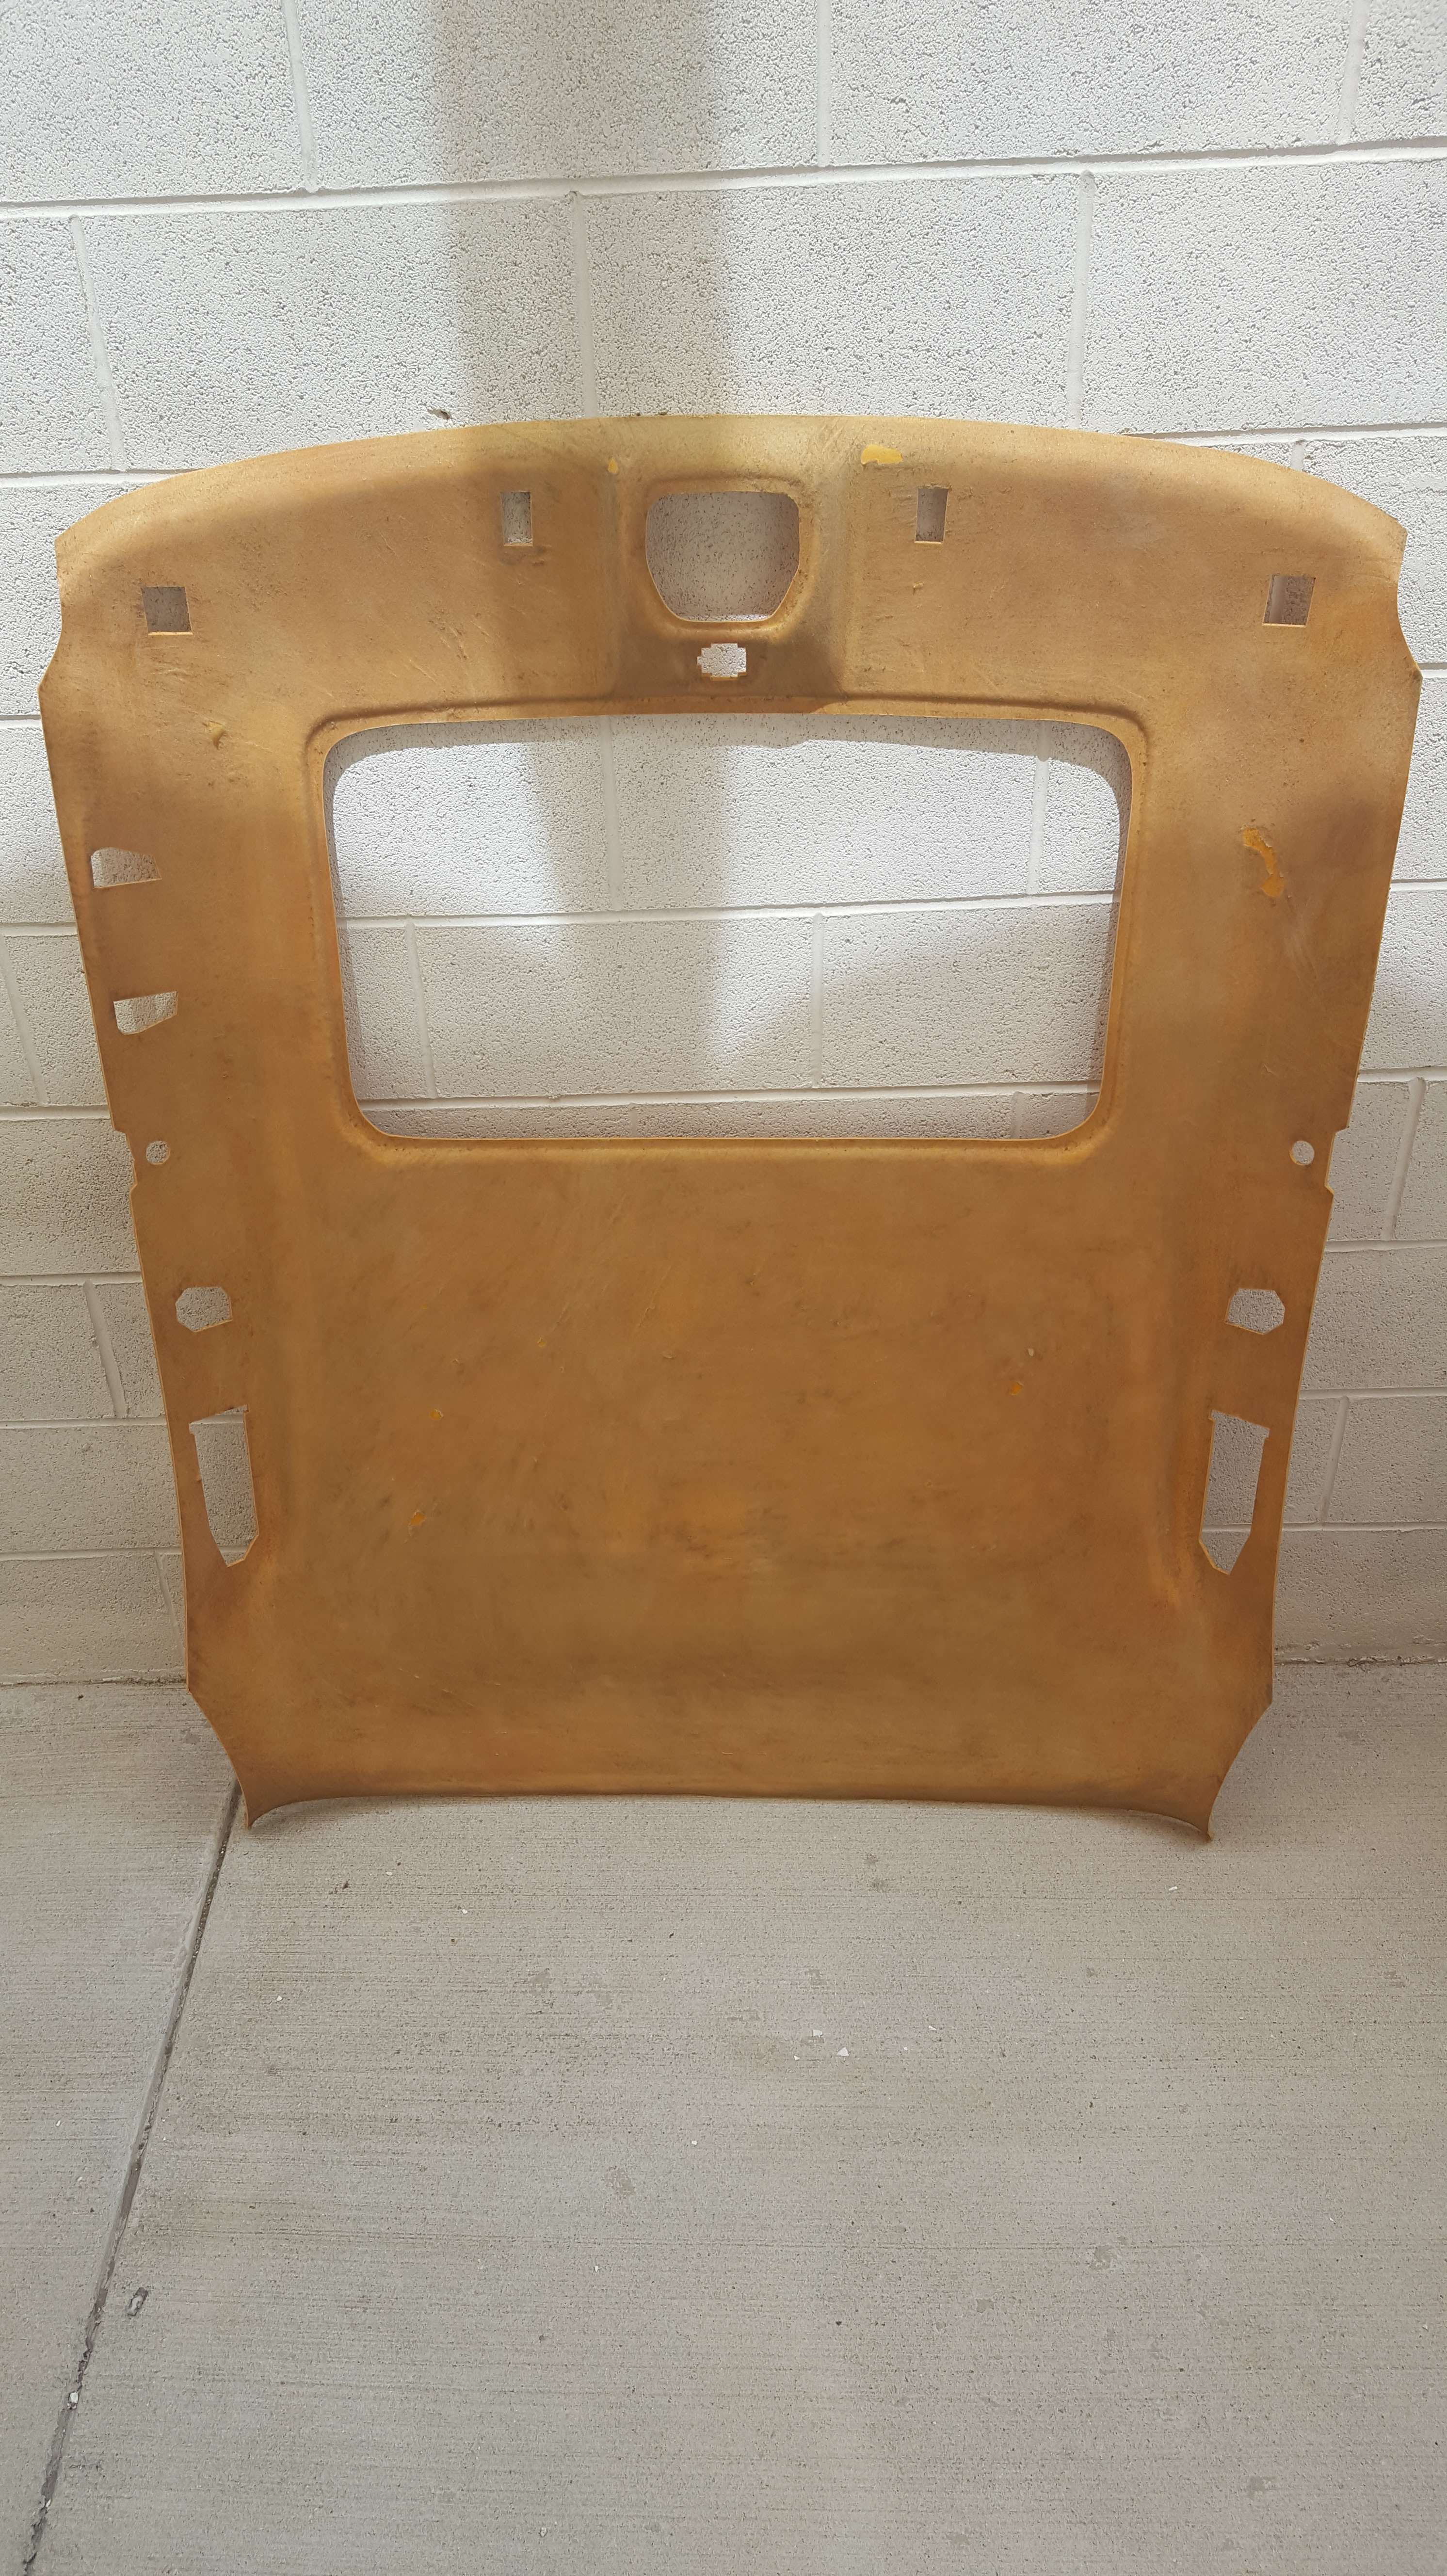
I actually screwed up when I went to lay the suede down. There wasn't enough slack in between the front dome light bulge and the back of the sunroof. I cut open the sunroof hole to try and fix it but it ended up creasing the fabric beyond repair. I used an iron to separate the fabric but the board required some repair. The new suede came in over the past week so I went for round 2 with this attempt.
I decided I was going to glue down the fabric in sections, starting with the dome light first, just taking my time to avoid creases. It worked out pretty good.
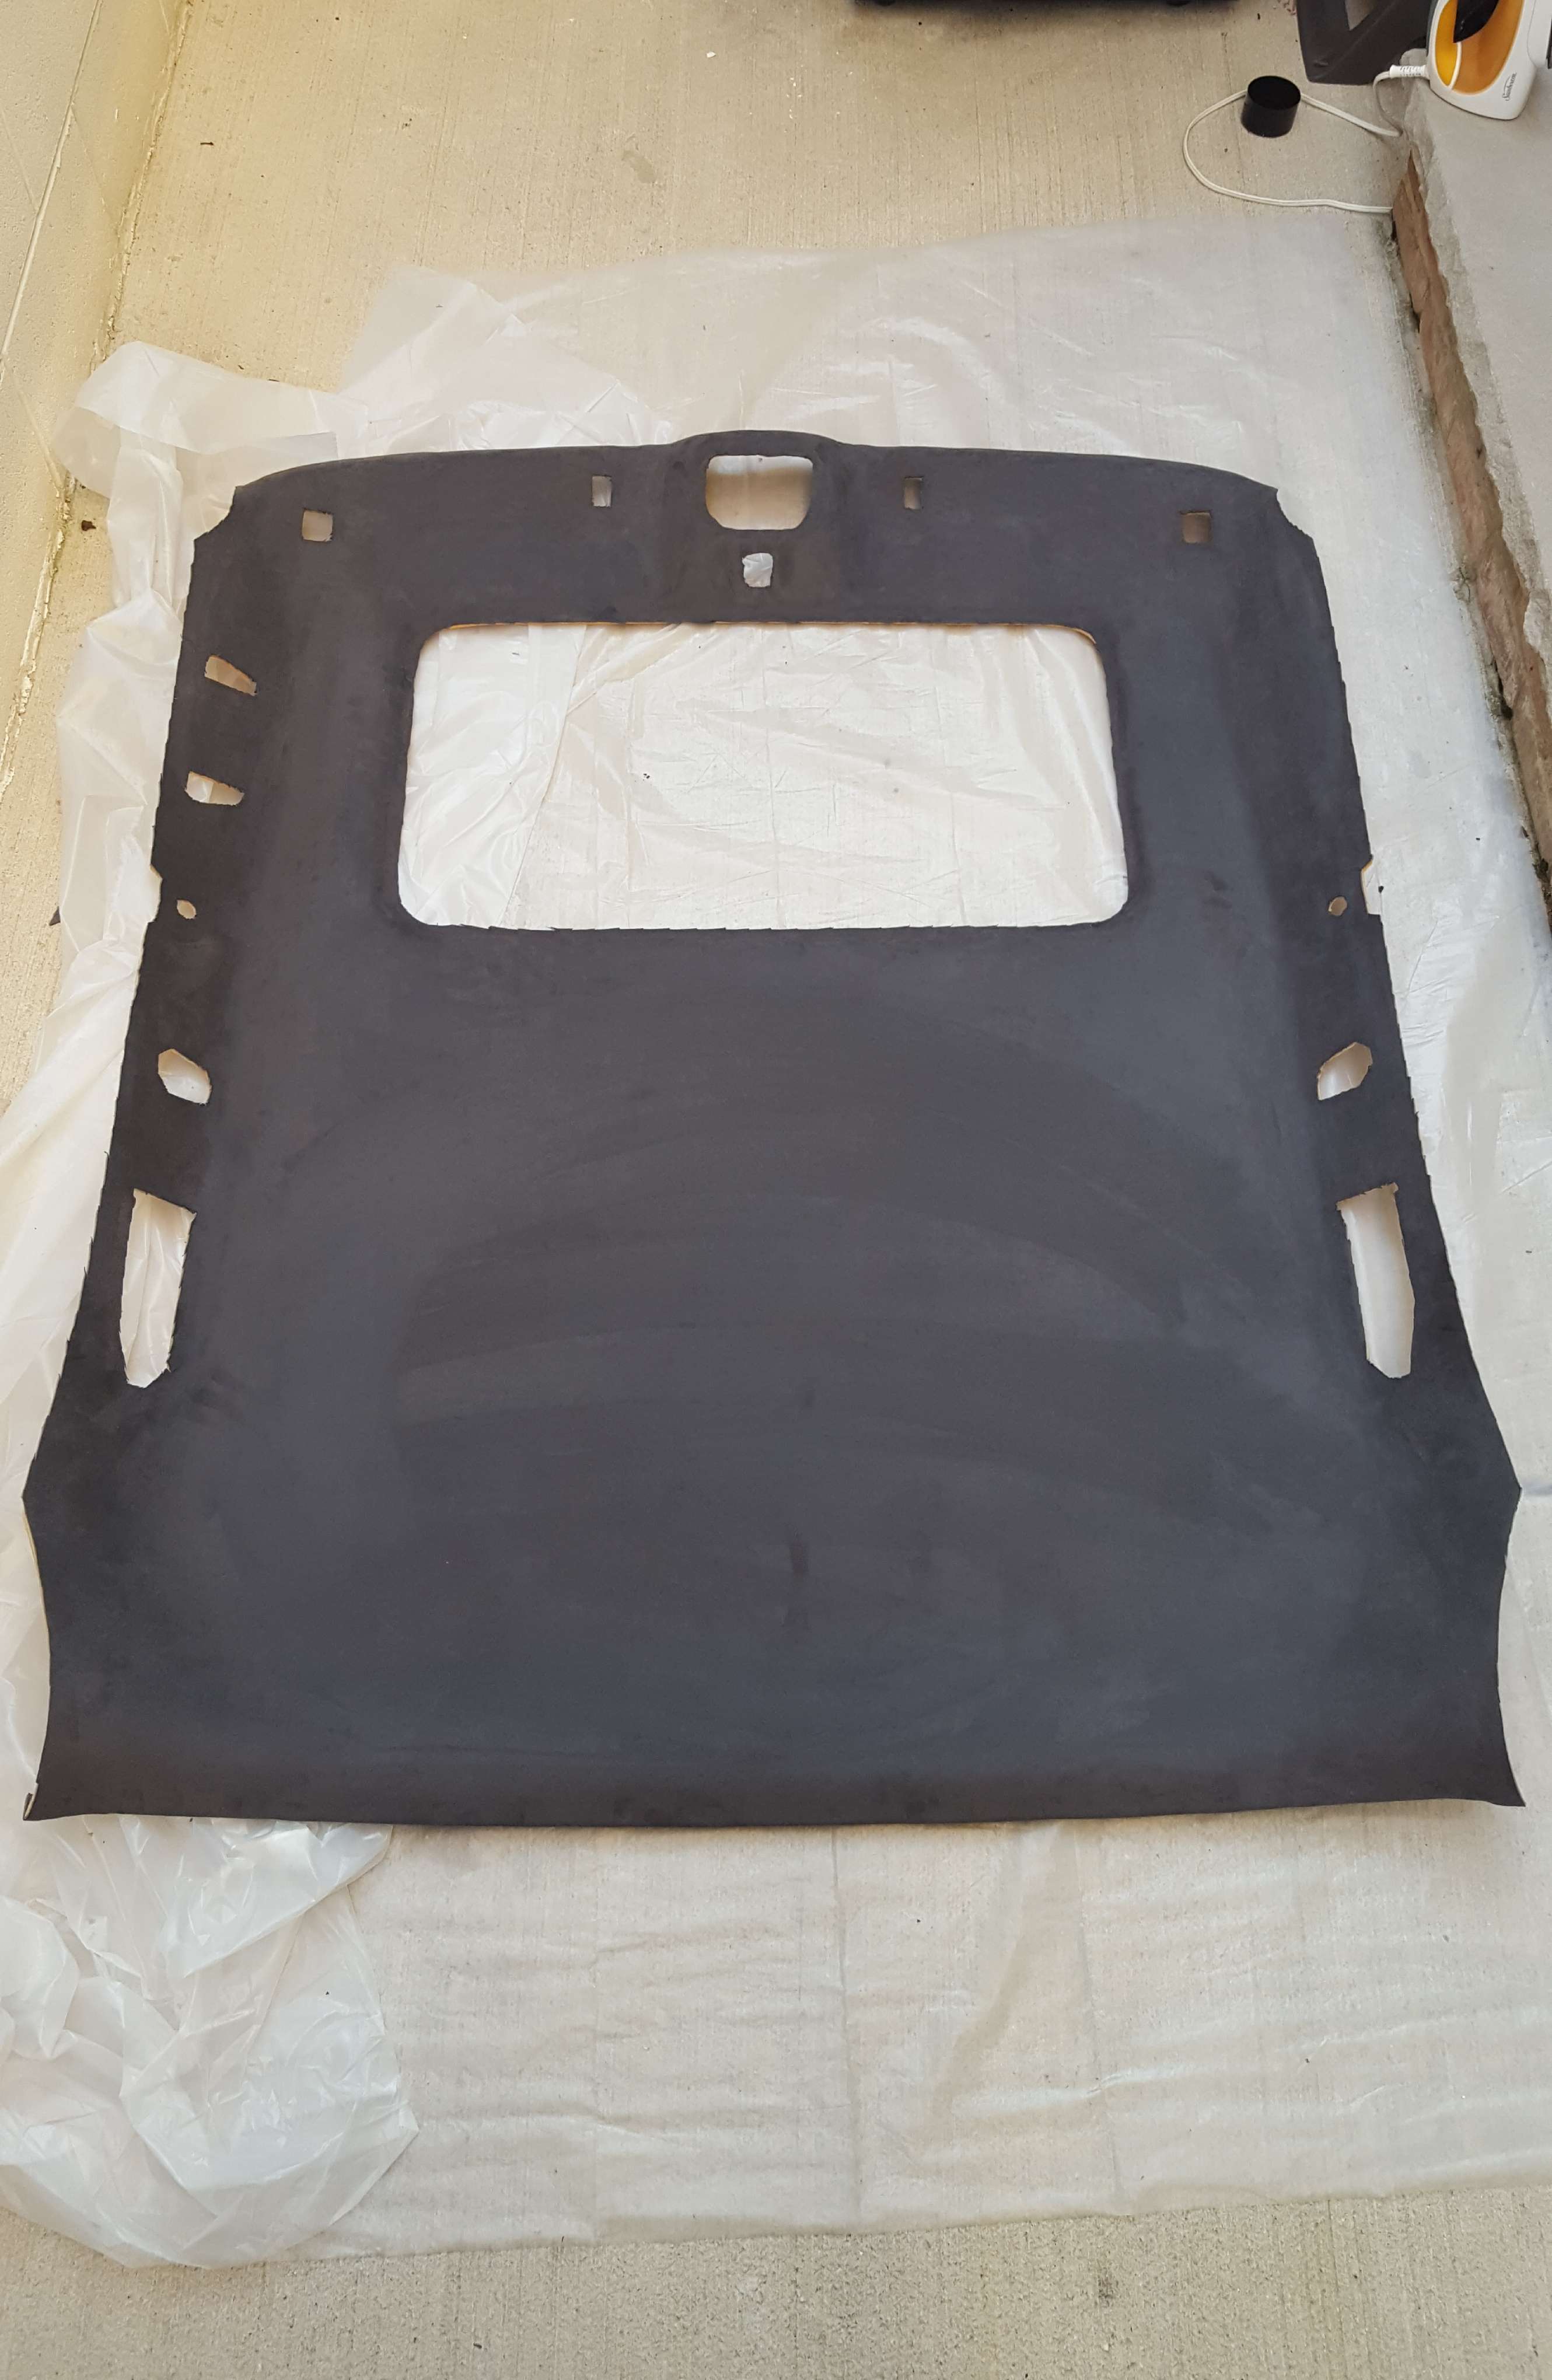
Hopefully this is the last time for this.